Make Your Own Placemats
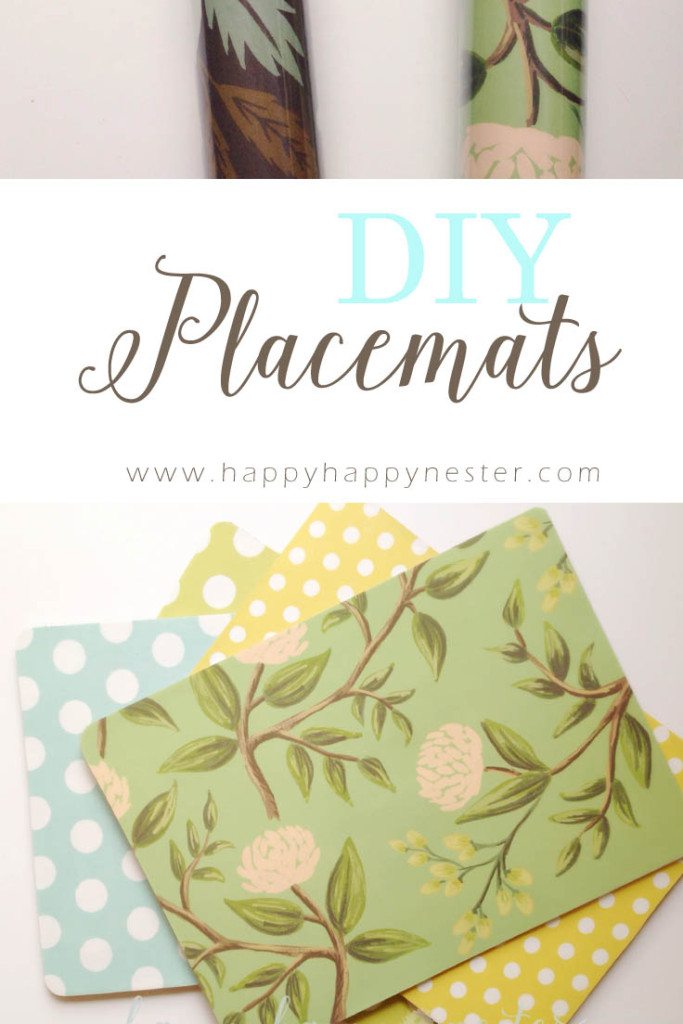
These cork board placemats are an easy project. You can personalize them and decorate them if you like. I love the Paper Source (their wrapping paper is thick and cute). As you can see, I have almost ever color that they sell. Ok let’s get started, here are the supplies that you’ll need.
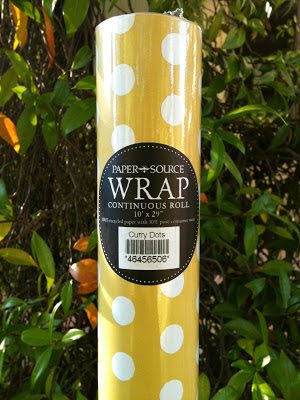
Some type of paper, here is the link, Paper Source. The paper needs to be big enough to cover the cork board placemat.
Here is my original cork placemat. This mat is not my cup of tea! (he!he!) actually, I found some plain cheap cork placemats at Ikea. But, I think that they are too flimsy so I’m not sure they’ll work. If you use them, please let me know how they come out. maybe with the laminated paper they might be stiff enough.
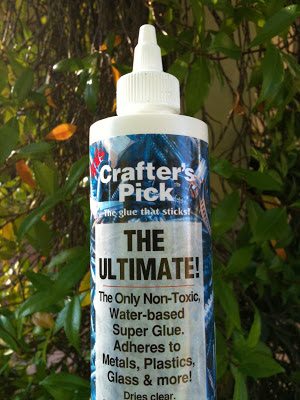
When I lived in the Seattle area, I bought this fabulous glue at our local Ben Franklin’s craft store. But now that I live near San Francisco, we don’t have a Ben Franklin’s craft store nearby. I have searched for this glue at Michael’s and they finally carry it. But if you want to never leave your home, you can buy it here on Amazon: crafter’s pick glue This glue is perfect for a lot of surfaces and it makes a very permanent bond.
Instructions:
1. Cut a big enough piece of paper to cover your placemat.
2. If your cork placemat is dark, like mine (my blue teapot is quite a dark image), you’ll need to put a few layers of white acrylic gesso. you can either use a paint brush or roller. If your paper is dark and thick you can skip this stage. my paper was somewhat light, so, I had to prime it with gesso so that the image on the cork board wouldn’t show through.
3. Next, take your cut paper to your local copy store, I took mine to Kinko’s. have them laminate it, depending on the size it should cost about $6.00. You have a choice of whether you want the image to be matte or shiny. I chose to have the shiny side up. When I had them do the matte side up, there were some wrinkles in the laminated paper. Not sure why this happened.
4. With your laminated paper, trace your shape of the placemat on it and cut with a razor blade and a metal edge ruler.
5. Spread the Crafter’s Pick glue on the backside of the laminated paper and place it down on the cork board. I chose to spread the glue on the laminated paper since it was easier to spread the glue on a slick surface. Make sure you cover every part of the paper since this will secure the top onto to the placemat. Once you have the laminated paper glued down to the cork board, make sure you don’t have any air pockets. Press down on every part of the paper so that the seal is thorough.
6. Let it dry, and you are now ready to use your new placemat!
Latest posts by Janine Waite (see all)
- Chocolate Covered Quinoa Recipe - February 5, 2026
- Valentine’s Day Gifts from Amazon - February 4, 2026
- My Favorite Cleaning Items from Amazon - January 28, 2026




Sue Goodsall
Nice idea but surely once you cut into the laminated paper the seal is broken and damp can get in. Would it not be better to cut the paper to size (or fractionally smaller that the mat) before having it laminated?
Chris
What am I missing? Where are you supposed to get the cork board? I don’t see any mention of it in your supplies list. Chris