• Skip to main content
  • Skip to header right navigation
  • Skip to site footer
  • About
  • Contact
  • Boutique of the Week
    • Facebook
    • Instagram
    • Pinterest
    • Twitter

Happy Happy Nester

Weekly Inspiration for Your Nest

  • Recipes
    • Appetizers
    • Breakfast/Brunch
    • Desserts
    • Dinners
    • Drinks
  • Crafts
  • Decor
  • Shop
    • Fall Decor
    • Kitchen
    • Pillows
    • Holiday Decor
  • Amazon Store
  • Recipes
    • Appetizers
    • Breakfast/Brunch
    • Desserts
    • Dinners
    • Drinks
    • Snacks
  • Crafts
  • Decor
  • Shop
    • Fall Decor
    • Kitchen Favorites
    • Pillows
    • Holiday Decor
  • Saturday Chitchat
  • Boutique of the Week
  • About
  • Contact
  • Facebook
  • Instagram
  • Pinterest
  • Twitter

See What’s Trending…

Cakes

Cookies

Dinners

Wreaths

Drinks

Home › Uncategorized › Cork Board Placemats

Cork Board Placemats

Uncategorized
By Janine Waite · Published on Oct 27, 2012
Affiliate Disclosure: This Post May Contain Affiliate Links.

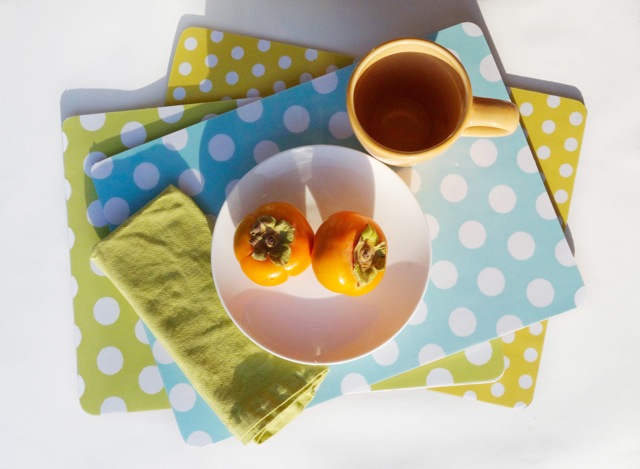
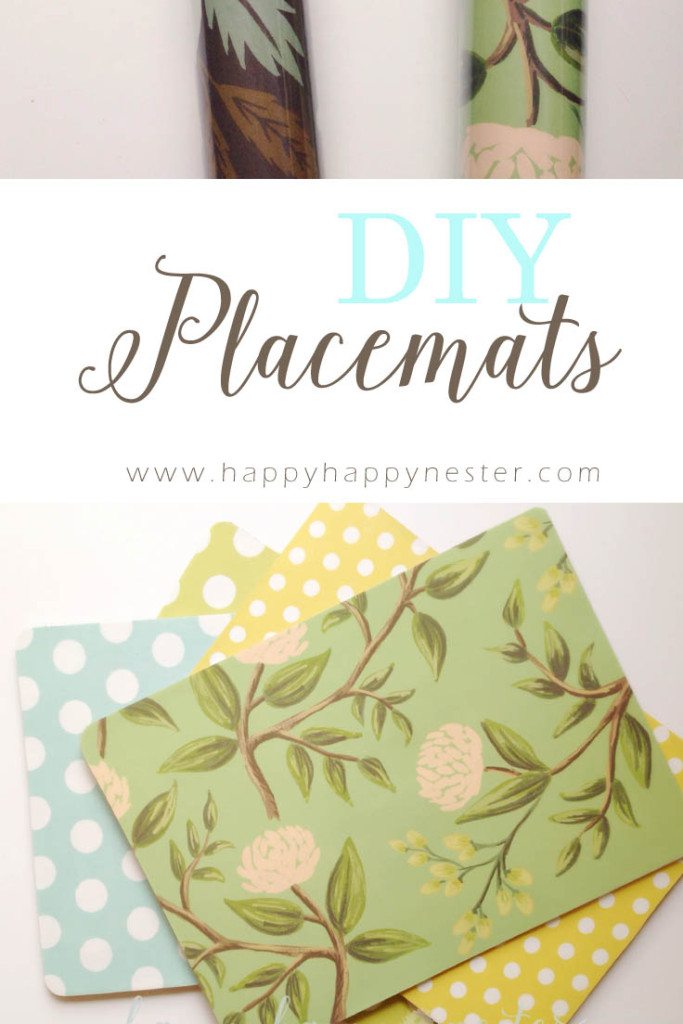
Make Your Own Placemats

These cork board placemats are an easy project.  You can personalize them and decorate them if you like.  I love the Paper Source (their wrapping paper is thick and cute).  As you can see, I have almost ever color that they sell.  Ok let’s get started, here are the supplies that you’ll need.
Some type of paper, here is the link, Paper Source.  The paper needs to be big enough to cover the cork board placemat.
Here is my original cork placemat.  This mat is not my cup of tea!  (he!he!)  actually, I found some plain cheap cork placemats at Ikea. But, I think that they are too flimsy so I’m not sure they’ll work. If you use them, please let me know how they come out. maybe with the laminated paper they might be stiff enough.
When I lived in the Seattle area, I bought this fabulous glue at our local Ben Franklin’s craft store.  But now that I live near San Francisco, we don’t have a Ben Franklin’s craft store nearby. I have searched for this glue at Michael’s and they finally carry it.  But if you want to never leave your home, you can buy it here on Amazon: crafter’s pick glue  This glue is perfect for a lot of surfaces and it makes a very permanent bond.
Instructions:
1. Cut a big enough piece of paper to cover your placemat.
2. If your cork placemat is dark, like mine (my blue teapot is quite a dark image), you’ll need to put a few layers of white acrylic gesso. you can either use a paint brush or roller.  If your paper is dark and thick you can skip this stage. my paper was somewhat light, so, I had to prime it with gesso so that the image on the cork board wouldn’t show through.
3. Next, take your cut paper to your local copy store, I took mine to Kinko’s. have them laminate it, depending on the size it should cost about $6.00.  You have a choice of whether you want the image to be matte or shiny.  I chose to have the shiny side up.  When I had them do the matte side up, there were some wrinkles in the laminated paper. Not sure why this happened.
4. With your laminated paper, trace your shape of the placemat on it and cut with a razor blade and a metal edge ruler.
5. Spread the Crafter’s Pick glue on the backside of the laminated paper and place it down on the cork board.  I chose to spread the glue on the laminated paper since it was easier to spread the glue on a slick surface.  Make sure you cover every part of the paper since this will secure the top onto to the placemat.  Once you have the laminated paper glued down to the cork board, make sure you don’t have any air pockets. Press down on every part of the paper so that the seal is thorough.
 6. Let it dry, and you are now ready to use your new placemat!
 corkboard pin copy


  • Author
  • Recent Posts
Janine Waite
Follow me
Janine Waite
I named my blog Happy Happy Nester because I love everything related to the home. I’ve always enjoyed decorating my surroundings. Get cozy and stay for a bit, thanks for visiting!
Janine Waite
Follow me
Latest posts by Janine Waite (see all)
  • How to Make a Tender Juicy Steak - May 8, 2025
  • My Favorite Flower Crafts - May 3, 2025
  • Easy Corkboard Placemats DIY - May 2, 2025

You May Also Like

  • tin can projects
    Upcycling Tin Cans with Scrapbooking Paper
  • rifle paper party supplies
    Rifle Paper Company: Books, Pillows and More
  • thanksgiving placemats
    Thanksgiving Placemats
  • easy diy placemats
    Easy DIY Placemats

Sharing This!

  • Facebook
  • Twitter
  • Email

Reader Interactions

Comments

  1. Sue Goodsall

    November 12, 2015 at 3:12 pm

    Nice idea but surely once you cut into the laminated paper the seal is broken and damp can get in. Would it not be better to cut the paper to size (or fractionally smaller that the mat) before having it laminated?

    Reply
  2. Chris

    October 02, 2017 at 11:28 am

    What am I missing? Where are you supposed to get the cork board? I don’t see any mention of it in your supplies list. Chris

    Reply

Leave a Reply Cancel reply

Your email address will not be published. Required fields are marked *

Recipe Rating


Sidebar

Janine the Nester

Hello from the Nester

We love everything related to home, so get cozy and stay for a bit. Thanks for visiting our blog. Learn More...

Reader Favorites

The Best Crunchy Crispy Chocolate Chip Cookie

This Italian Cream Cake has a pumpkin cream cheese frosting that makes this a winning combination. This dessert is perfect for the holidays.

Italian Cream Cake with a Twist of Pumpkin

French Apple Custard Tart with Puff Pastry

DIY Paper Flowers Tutorial (Tissue Paper)

Upcycling Tin Cans with Scrapbooking Paper

How to Make a Paper Flower Wreath DIY

Popular Categories

  • Cakes
  • Cookies
  • Dinners
  • Wreaths
  • Organizing

Join Our Newsletter

Join our mailing list to receive the latest news and updates from our team.

You have Successfully Subscribed!

AFFILIATE DISCLOSURE:
I am grateful to be of service and bring you content free of charge. In order to do this, please note that when you click links and purchase items, in most (not all) cases, I will receive a referral commission. Your support in purchasing through these links enables me to keep my design and customization prices ridiculously low and empower more people worldwide to blog with less worry and less hassle.
Happy Happy Nester is a participant in the Amazon Services LLC Associates Program, an affiliate advertising program designed to provide a means for sites to earn advertising fees by advertising and linking to amazon.com.
Thank you! :)
-Happy Happy Nester

Our Guide

Join Our Newsletter

Join our mailing list to receive the latest news and updates from our team.

You have Successfully Subscribed!

  • Facebook
  • Instagram
  • Pinterest
  • Twitter

Recipes

Appetizers
Breakfast/Brunch
Desserts
Dinners
Drinks

Crafts & Decor

DIY
Gardening
Holiday
Wreaths

About

About The Nester
Contact
Privacy Policy

Copyright © 2025 · Happy Happy Nester by Janine Waite · Privacy Policy

↑ BACK TO TOP