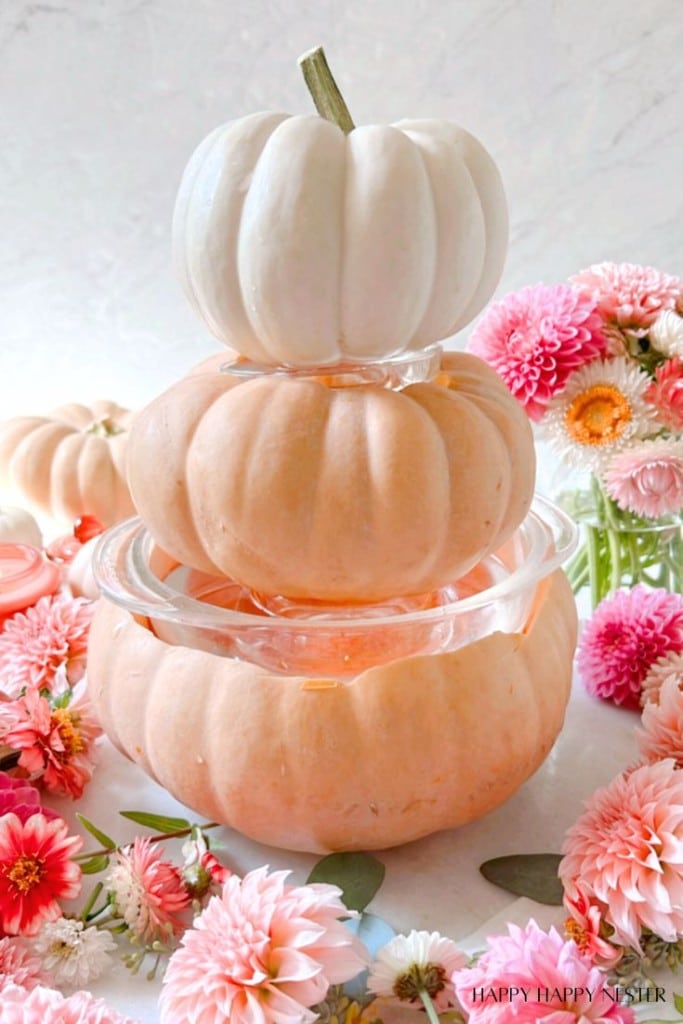
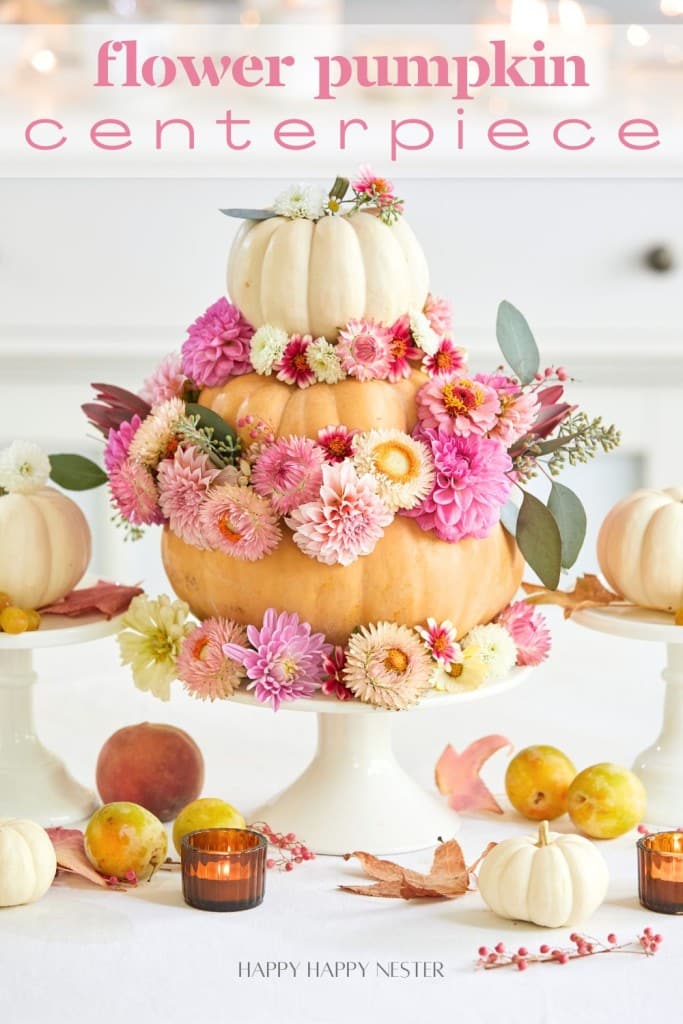
Are you looking to create a stunning Flower Pumpkin Centerpiece for your fall decor? Whether you’re planning a festive dinner party or want to elevate your home’s autumn ambiance, a pumpkin centerpiece filled with fresh seasonal flowers is the perfect way to celebrate the beauty of the season. In this guide, we’ll show you step-by-step how to craft a DIY flower pumpkin centerpiece that’s both elegant and easy to make, ensuring your table looks picture-perfect for any fall gathering.
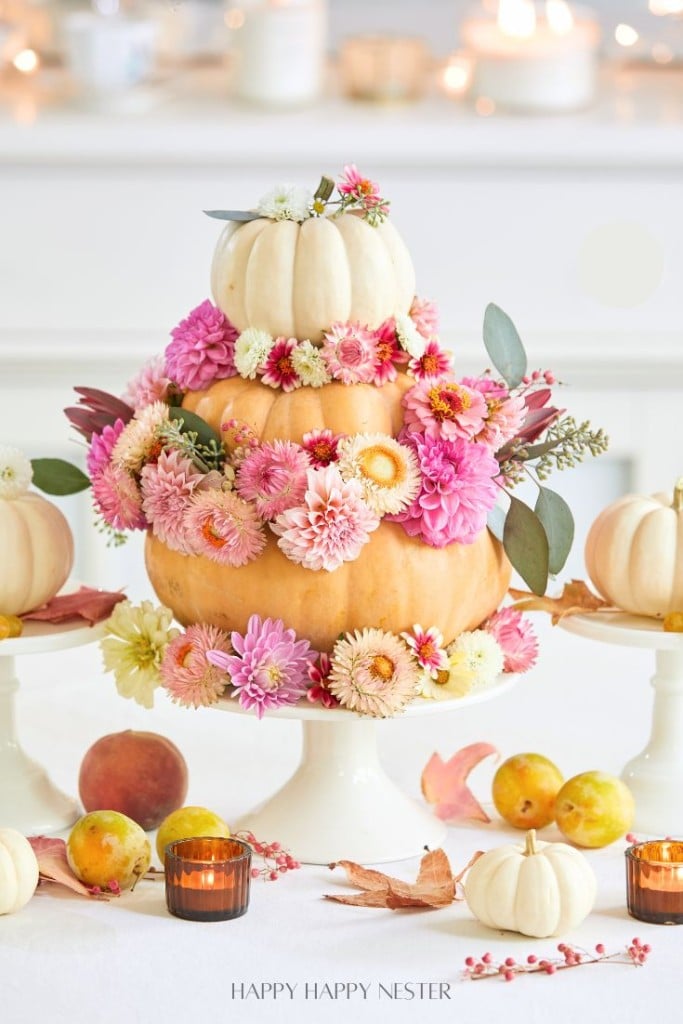
Creating a flower pumpkin arrangement is easier than you might think. With the right combination of blooms, such as sunflowers, chrysanthemums, and hydrangeas, your centerpiece will stand out as a bold statement piece. The best part? You can customize your pumpkin vase centerpiece to fit any theme, whether for a cozy farmhouse style or a more modern one.
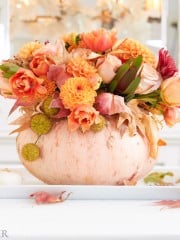
I love this time of year! With pumpkins filling grocery stores and fall flowers in full bloom, it’s the perfect opportunity to combine them into a gorgeous flower pumpkin centerpiece DIY!
I’m a big fan of pumpkin projects and can’t wait to make another pumpkin fairy house and DIY pumpkin succulent planter—both are so fun and unique for fall! The succulent pumpkin, in particular, lasts much longer than I expected!
But I know you’re here to learn how to create a stunning pumpkin flower tower, so let’s dive into this fun and creative DIY!
Some Tips on Making a Pumpkin Vase
Use a Quality Pumpkin Carving Knife
A sharp, sturdy pumpkin carving knife will make cleaner cuts and give you more control over intricate designs. Opt for a serrated blade specifically made for carving pumpkins for the best results.
Invest in a Pumpkin Scooper
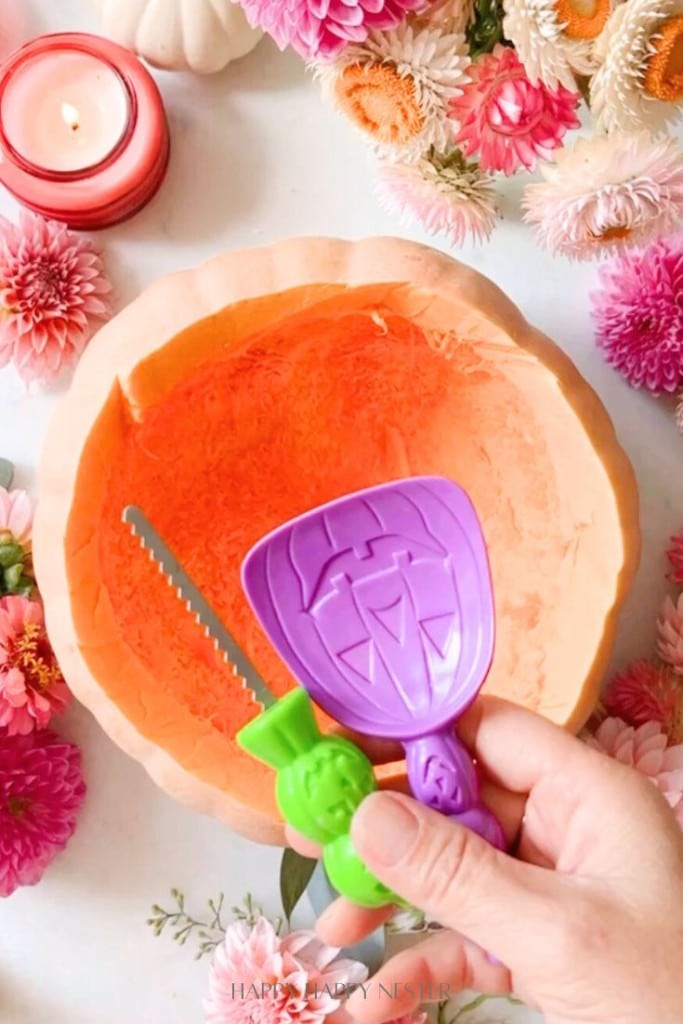
A pumpkin scooper helps you easily remove seeds and pulp, saving time and effort. It also ensures a smooth interior for your carving or centerpiece arrangements.
Clean the Pumpkins Thoroughly
After scooping out the seeds and pulp, wipe the inside and outside of your pumpkin with a damp cloth. This helps extend its life and makes carving easier.
Work Slowly and Carefully
Take your time when cutting to avoid accidents and to ensure your design turns out as planned. Patience is key to achieving those precise cuts!
Use a Tracing Guide
Before carving, trace your design onto the pumpkin with a marker. It acts as a helpful guide, especially for intricate patterns, ensuring your design turns out as planned.
How to Store Your Pumpkin Vase
Once pumpkins are carved, they typically last around 3-5 days before they begin to dry out or rot, especially if exposed to outdoor elements. To extend their life, consider keeping them in a cool, shaded area.
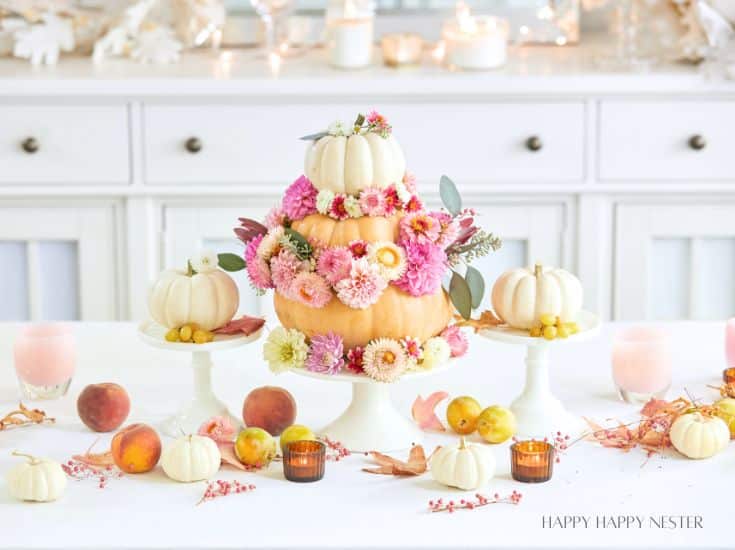
Supplies You’ll Need
3 pumpkins in various sizes
flowers (I used zinnias, dahlias, mums, and eucalyptus)
How to Make a Pumpkin Vase Tower
Step 1 – Gather Supplies
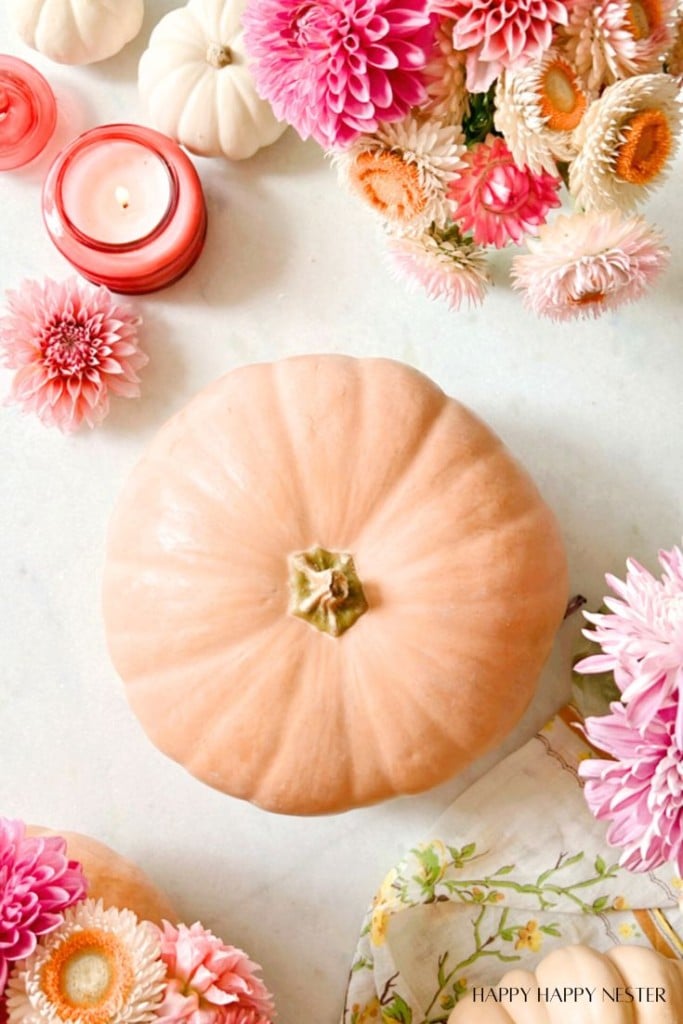
Before starting this project, make sure you have three pumpkins, a good pumpkin carving knife, a sturdy scoop, and four round dishes. The size of the dishes will vary based on the size of the openings you carve into your pumpkin.
Step 2 – Planning
When selecting your pumpkins for a vase tower, start with the largest one for the base. Choose a slightly smaller pumpkin for the middle, and leave the top pumpkin uncarved for a finished look.
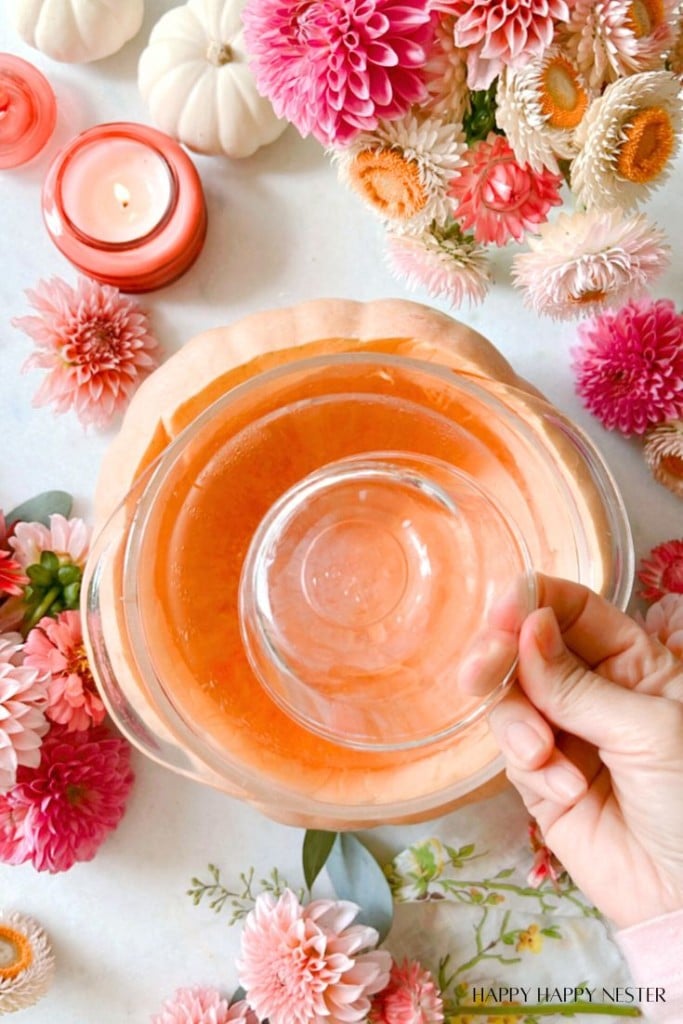
The size of your bowls will depend on the size of your pumpkins. Each bowl should be larger than the pumpkin that will sit on top of it. You’ll also need an additional bowl inside each carved pumpkin, supporting the next pumpkin in the stack. So when choosing your support bowls, make sure that when turned upside down, they are taller than the bowl they sit in.
Step 3 – Starting Carving Pumpkins
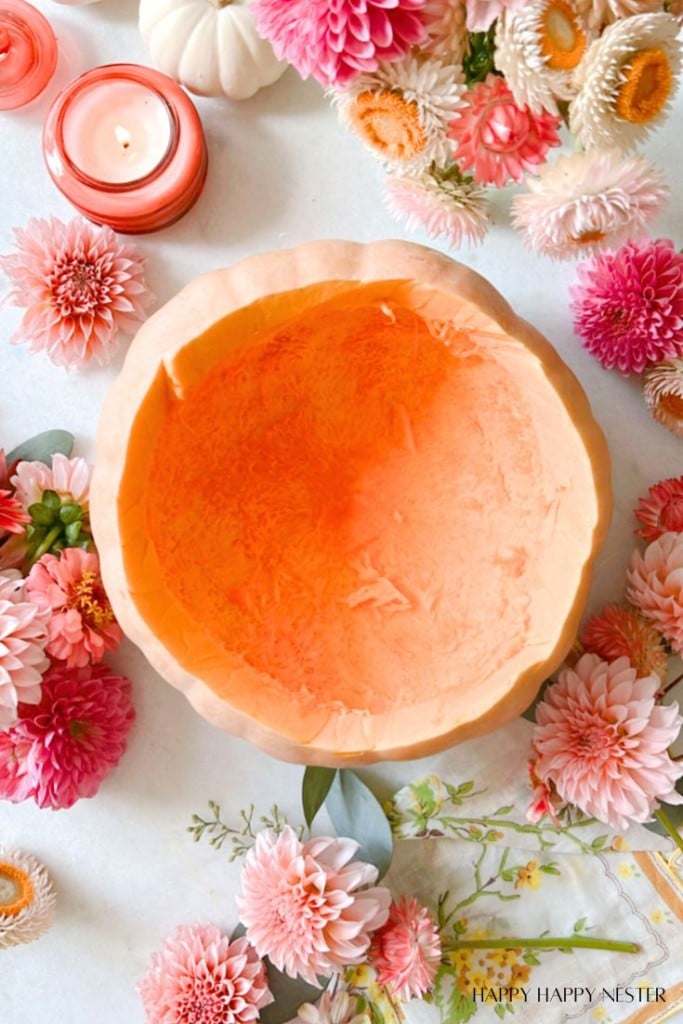
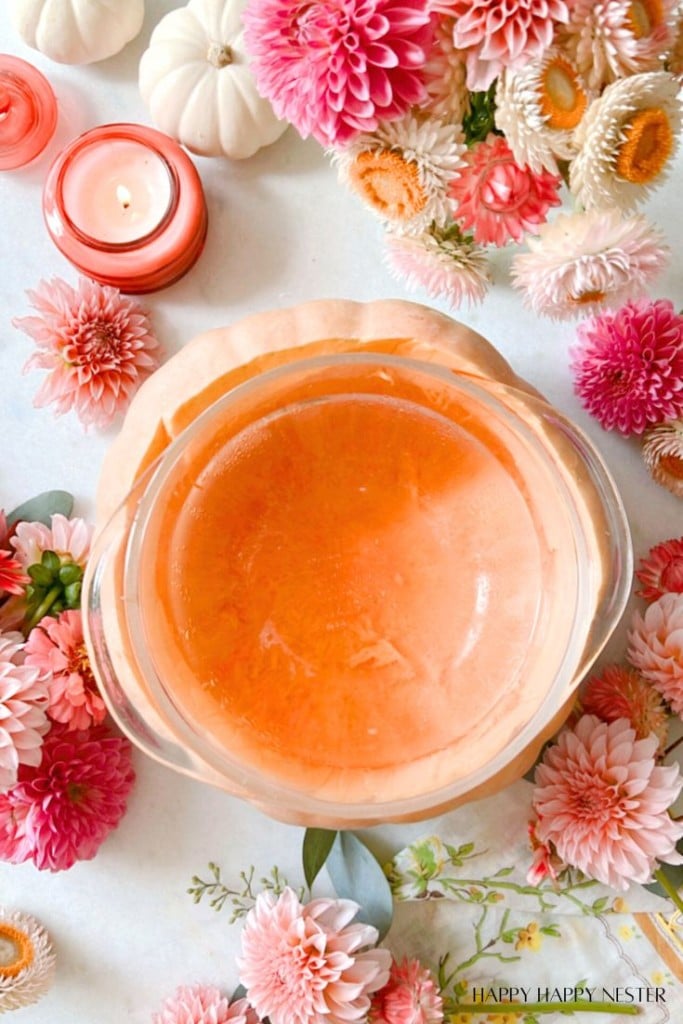
You’ll carve the largest pumpkin first. Before cutting, place your bowl on top of the pumpkin and trace around it, making a slightly larger circle. This outline will serve as your carving guide. Keep in mind, that the circle should be a bit bigger than the base of the pumpkin that will sit on top, ensuring there’s enough room to fit the bowl and arrange your flowers inside.
Step 4 – Place Bowls in Pumpkins
After carving the openings in both pumpkins, place the bowls securely inside. Next, turn a smaller bowl upside down and position it in the center of the bowls inside your pumpkins. This will provide stability for the next pumpkin in your vase tower.
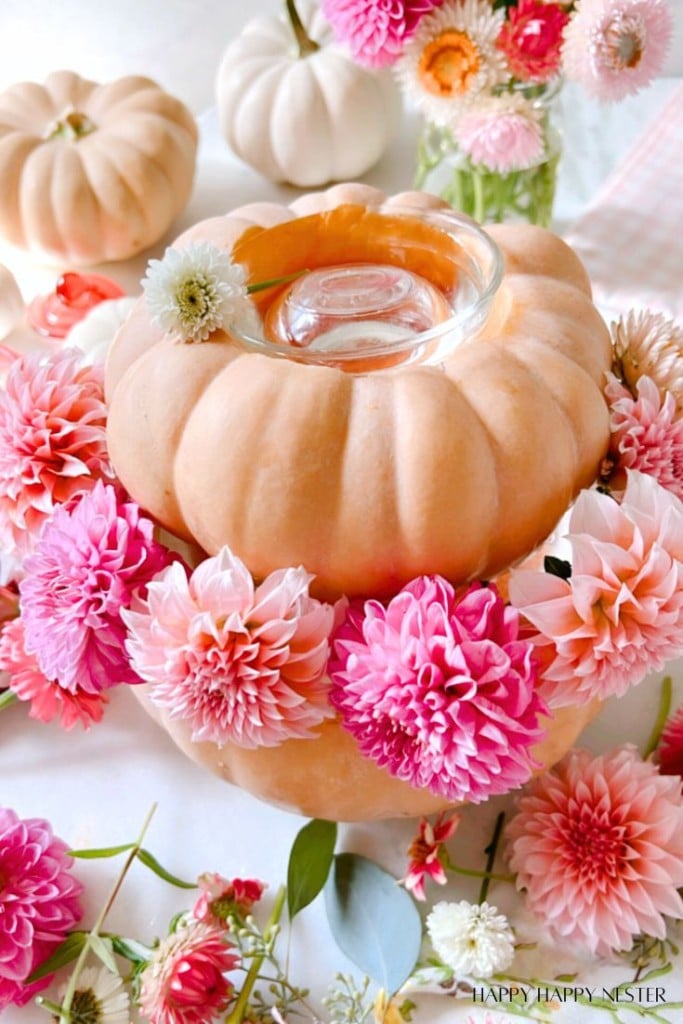
Step 5 – Add Water and Flowers
At this stage, the pumpkins won’t be stacked yet, as you’ll need to arrange the flowers in the largest pumpkin first. Fill your bowl with water, acting as your flower vase. Depending on the size of your bowl or vase, trim the flower stems to the appropriate length. In my case, I had to cut the stems relatively short to fit correctly.
Once you fill the bottom pumpkin with flowers, carefully place the next pumpkin on top. Fill it with water and flowers.
Top the whole pumpkin tower with a final mini-white or orange pumpkin.
Flowers Options for Your Pumpkin Floral Arrangement
Straw Flowers: I love that they last a long time due to drying, making them perfect for a pumpkin vase that stays fresh throughout the season.
Sunflowers: Their bold, bright yellow petals bring warmth and vibrancy to any autumn arrangement, perfectly complementing the pumpkin’s rustic charm.
Chrysanthemums: Known for their rich fall colors, these blooms add texture and seasonal beauty to your pumpkin vase.
Marigolds: With their vibrant orange and gold hues, marigolds enhance the autumnal theme and pair beautifully with pumpkins.
Dahlias: These stunning, full blooms add elegance and depth to your arrangement, while their wide range of colors makes them versatile for any design.
Zinnias: Offering a rainbow of colors, zinnias add playful pops of brightness and are hardy enough to last throughout the season in your pumpkin vase.
Hydrangeas: Their large, lush clusters of flowers provide a soft, voluminous touch to the arrangement and come in beautiful shades that complement any autumn color palette.
Whether you’re looking for fall decorating ideas or want to create a fall pumpkin floral arrangement, this DIY is perfect for beginners and experienced crafters alike. So grab your pumpkins and flowers, and make a flower pumpkin centerpiece to impress your guests this autumn!
Cheers,

Photo Credits: MyPhotography.com
Blogger’s Best Fall Centerpieces
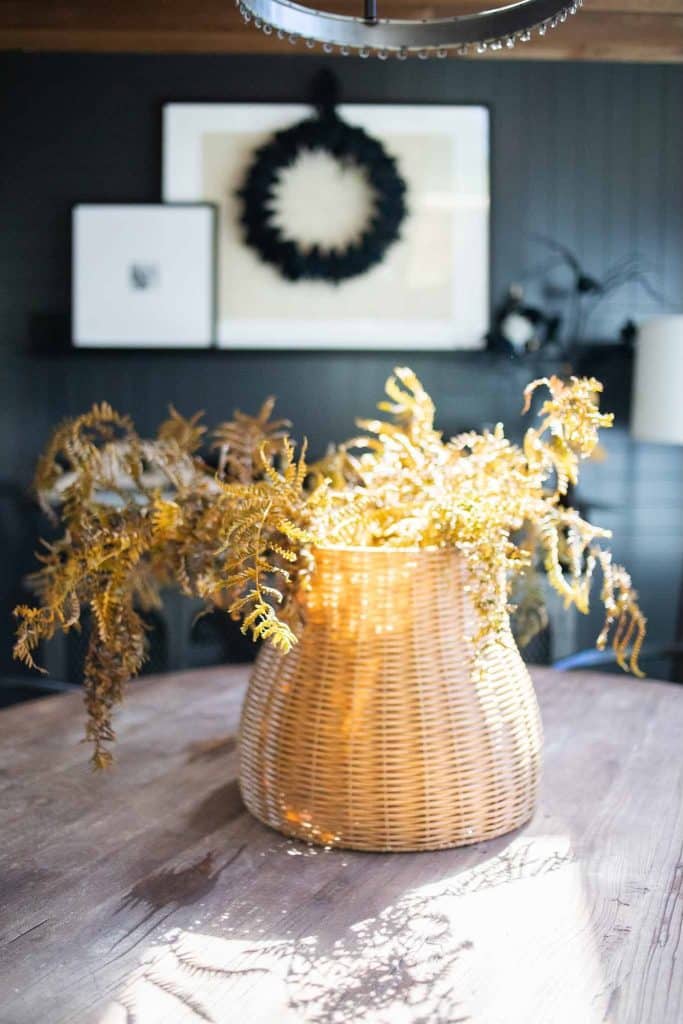
DIY Spray-Painted Ferns: Elegant Fall Centerpieces | My Sweet Savannah
| Create a stunning fall centerpiece by foraging ferns or greenery from your yard and transforming them with a splash of spray paint in warm autumn hues. Arrange your painted foliage in a beautiful vessel for an instant seasonal display that adds a touch of nature and creativity to your home. Perfect for celebrating the beauty of fall! |
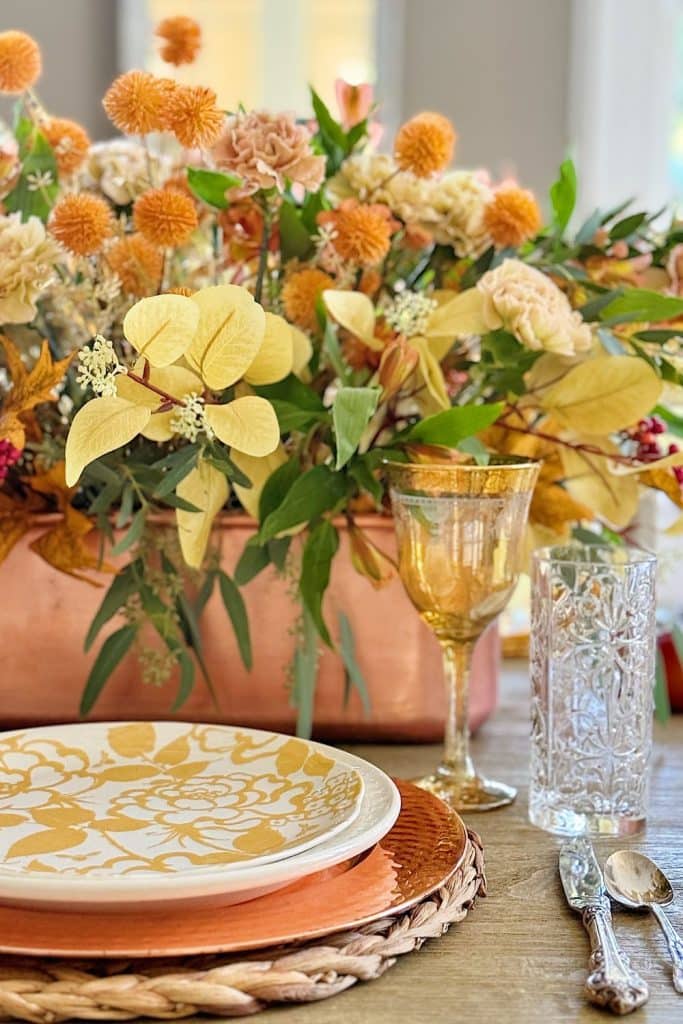
How to Create Real and Faux Fall Flower Arrangements | My 100 Year Old Home
I made a fall flower arrangement for our dining room table using a blend of fresh and faux flowers, and I’m excited to share how you can create a similar look in your home.
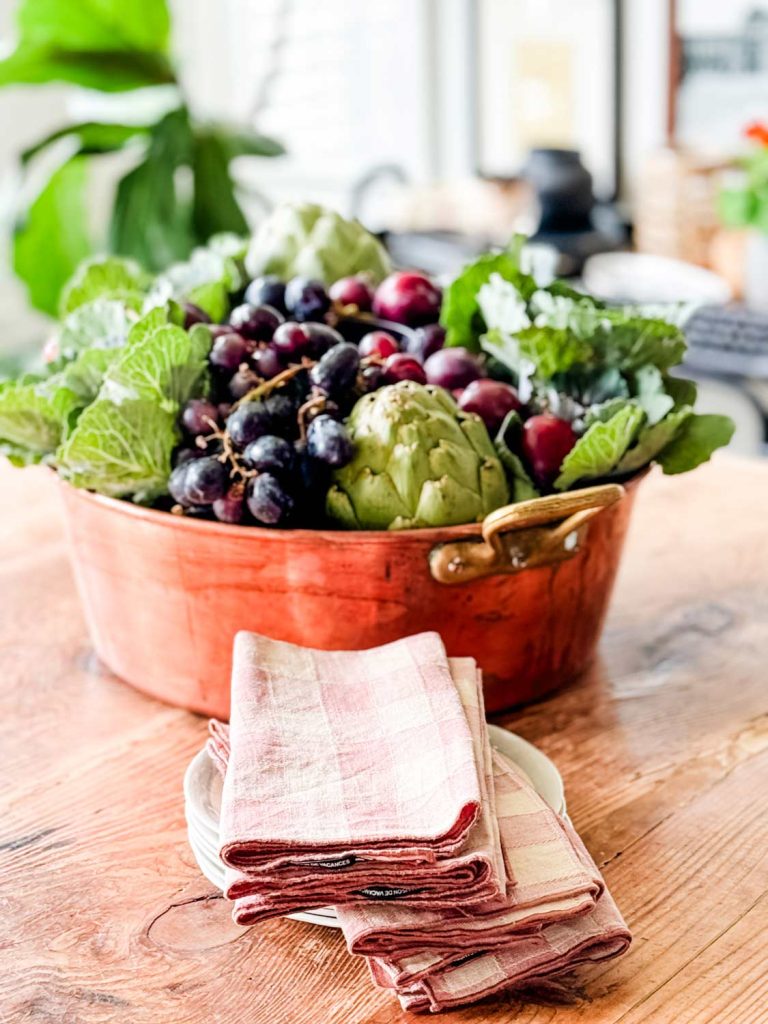
How to Make a Simple Autumn Centerpiece for Your Table | Most Lovely Things
Make a simple autumn centerpiece using everything from the produce department of your local grocery store.
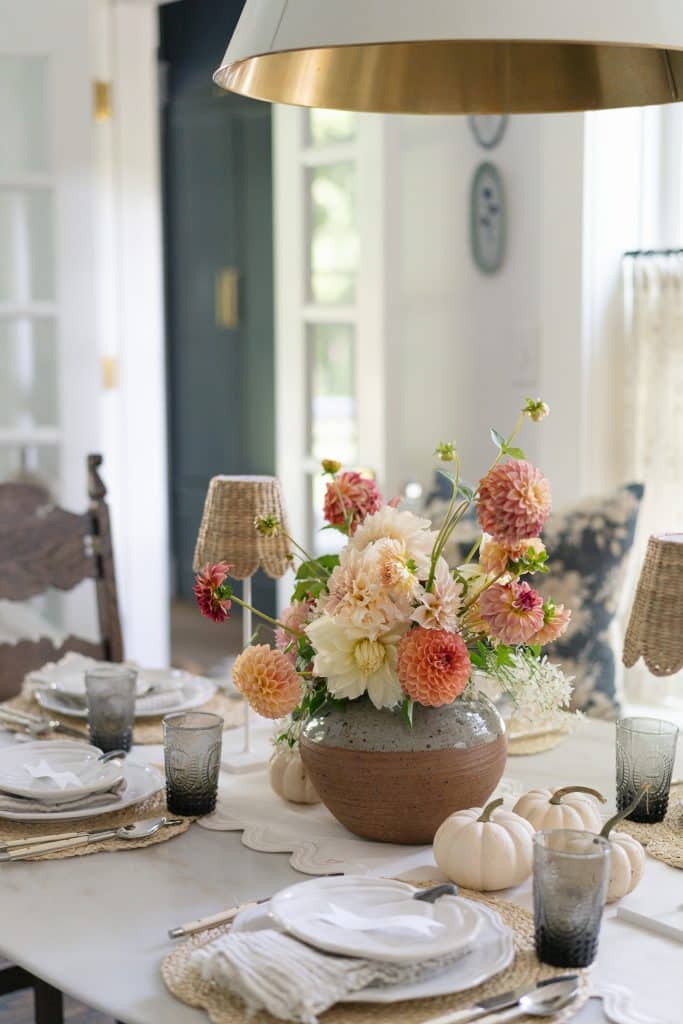
Dahlia & Sweet Autumn Clematis Fall Arrangement | Finding Lovely
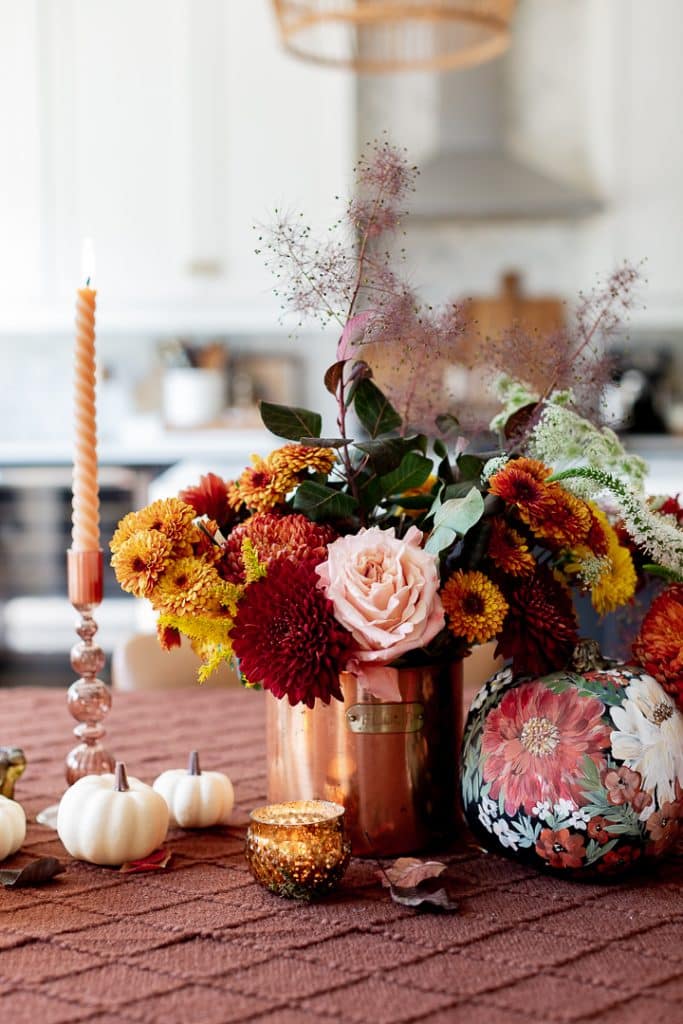
Fall Flowers in Copper Canister | Craftberry Bush

- Machine Washable Rugs - January 21, 2026
- Pink Crafts for Adults - January 17, 2026
- Dinner Ideas - January 10, 2026
annie diamond
Janine! Your floral pumpkin centerpiece is stunning! I love the soft pastel colors with the amber votives. And perfect step-by-step instructions on how to make it!
Pinned!
xo
Annie