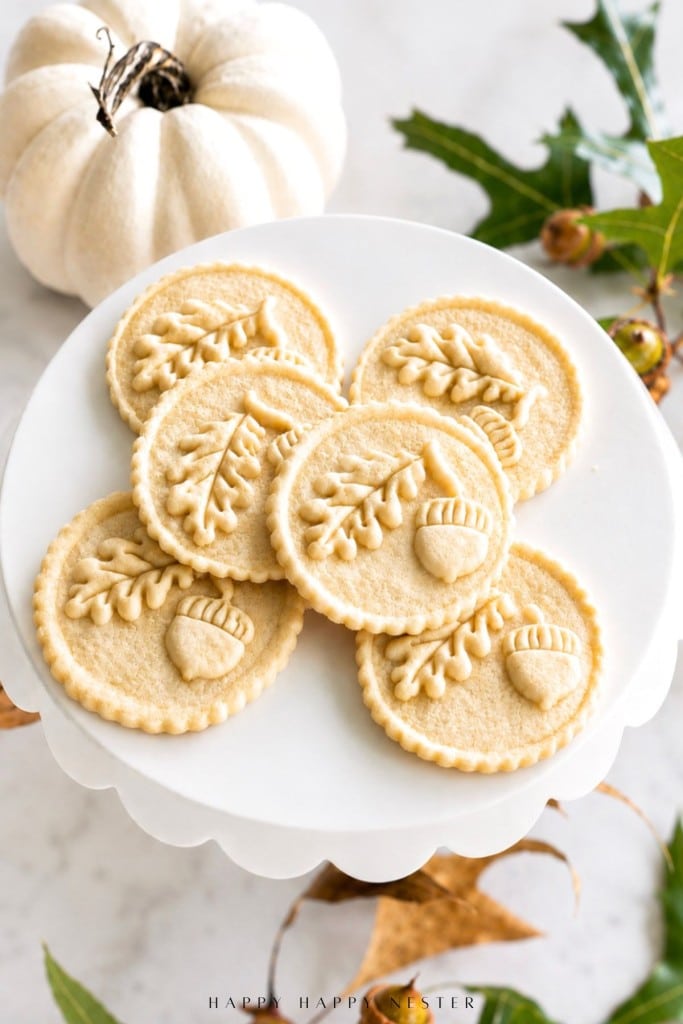
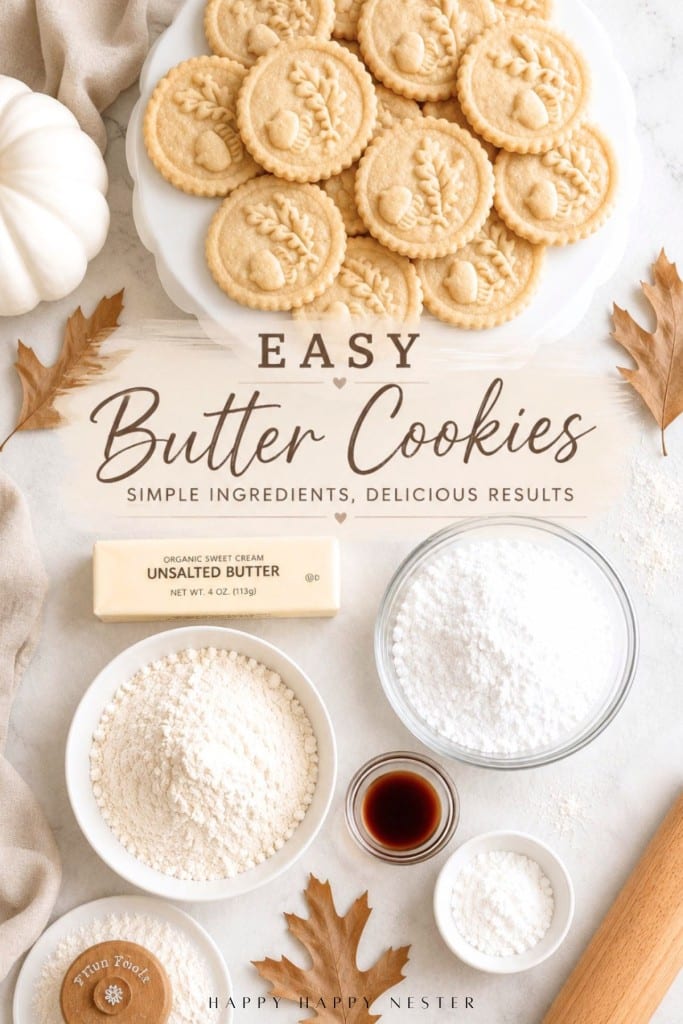
If you’ve ever pressed a beautiful design into cookie dough only to pull a puffy, blurred disc out of the oven, the stamp isn’t what failed you. Most cookie stamp recipes start from a sugar cookie dough that’s built to rise and spread, and both of those things erase an imprint. This cookie stamp shortbread goes the opposite direction: no leavening, no egg, and a freeze before baking that locks the design in place. It took me a little research and a few attempts to finally get these fall cookies right, and they came out beautifully. These stamped shortbread cookies come out with every vein and ridge exactly where you pressed it.
How I figured out this cookie stamp recipe
I’ve tried quite a few pressed cookies and stamps over the years, and it always seems to come down to finding the one trick that gets the dough to release cleanly.
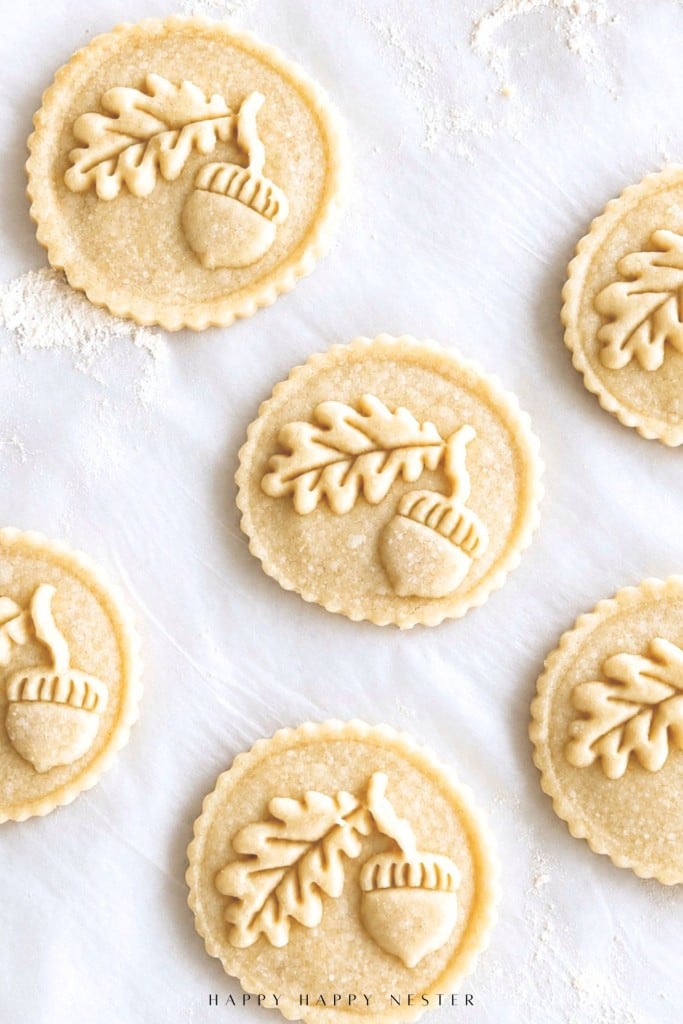
This was my first time using a wooden cookie stamp, and there are a lot of opinions out there about how to work with these molds. My first attempt followed the most common advice on Amazon: chill the dough before stamping. For my shortbread dough, it didn’t work. So I changed tactics and tried something I’d seen in a video — stamping at room temperature. I was skeptical. It worked beautifully.
Here’s the part that surprised me most: I stamped at room temperature, then froze the cut cookies for 30 minutes before baking. The one thing I did every single time was coat the stamp in flour before each press, and the results were so much better than I expected.
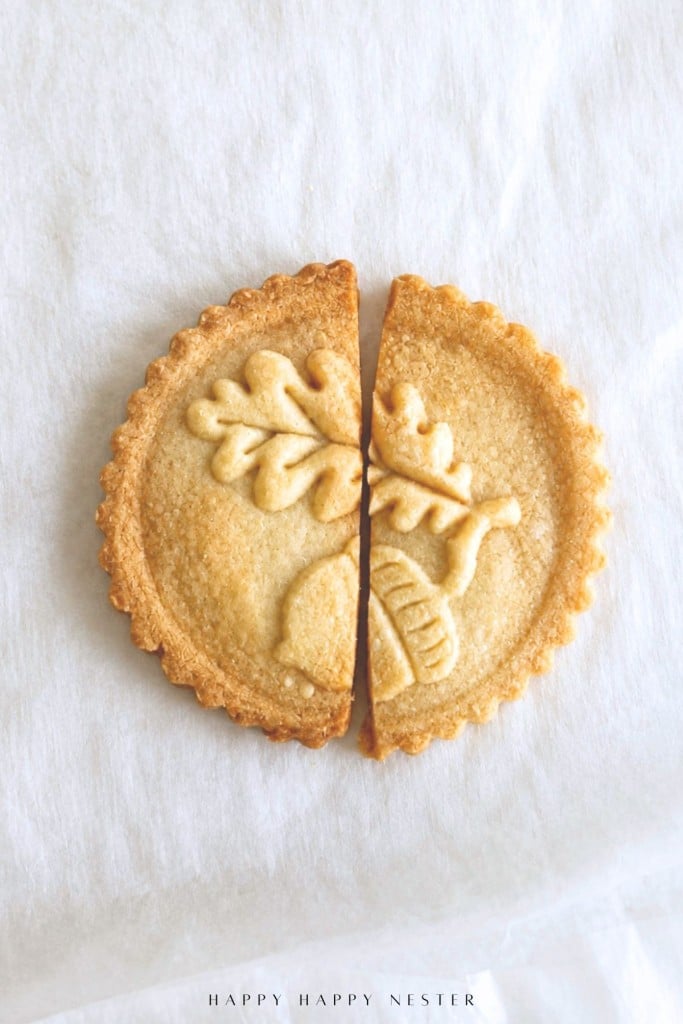
The next obstacle was oven temperature. So I put on my scientist hat and split one of my unbaked cookies in half. One half went in at 300°F and took about 20 minutes. The other half baked at 350°F for around 12 minutes, and those came out beautiful — the edges of the design puffed just slightly, which made the pattern read even more distinctly. The best part: I cut the bake time in half.
So there you have it. I cracked the mystery of turning my shortbread cookie recipe into a stamped shortbread cookie — and a beautiful one at that.
Why most cookie stamp recipes fail
Three things blur a stamped design, and nearly every failed batch comes down to at least one of them.
Leavening. Baking powder and baking soda produce gas. Gas makes the cookie puff. A puffing cookie pushes its own surface outward and the design flattens from underneath.
Air beaten into the butter. Standard recipes tell you to cream butter and sugar until light and fluffy. That instruction exists to make cookies tender and cakey. Here it works against you: the air you whipped in expands in the oven and does the same thing leavening does.
Spread. Butter melts before the cookie’s structure sets. If the dough is soft going into the oven, the whole cookie relaxes outward and the imprint goes shallow and soft-edged.
Shortbread solves the first two by definition — there’s no leavening and no egg. The rest is technique.
What makes this dough hold a design
- No leavening, no egg. Nothing in the dough is trying to rise.
- Powdered sugar instead of granulated. It dissolves completely into the butter, which gives a finer, denser crumb and a smoother surface for the stamp to press into. Granulated sugar also encourages spread; powdered doesn’t.
- Cornstarch. It dilutes the flour’s protein, so less gluten forms. Less gluten means the dough doesn’t spring back against the stamp, and the baked edges stay crisp instead of soft.
- A freeze before baking. This is the one most recipes leave out, and it does more than everything else combined.
The step that matters most
Stamped cookies go into the oven frozen solid, not chilled. Frozen dough sets its structure before the butter has time to melt and slump. Chilled dough is already softening by the time the oven heat reaches it, and the imprint softens with it.
Ingredients, and why each one is there
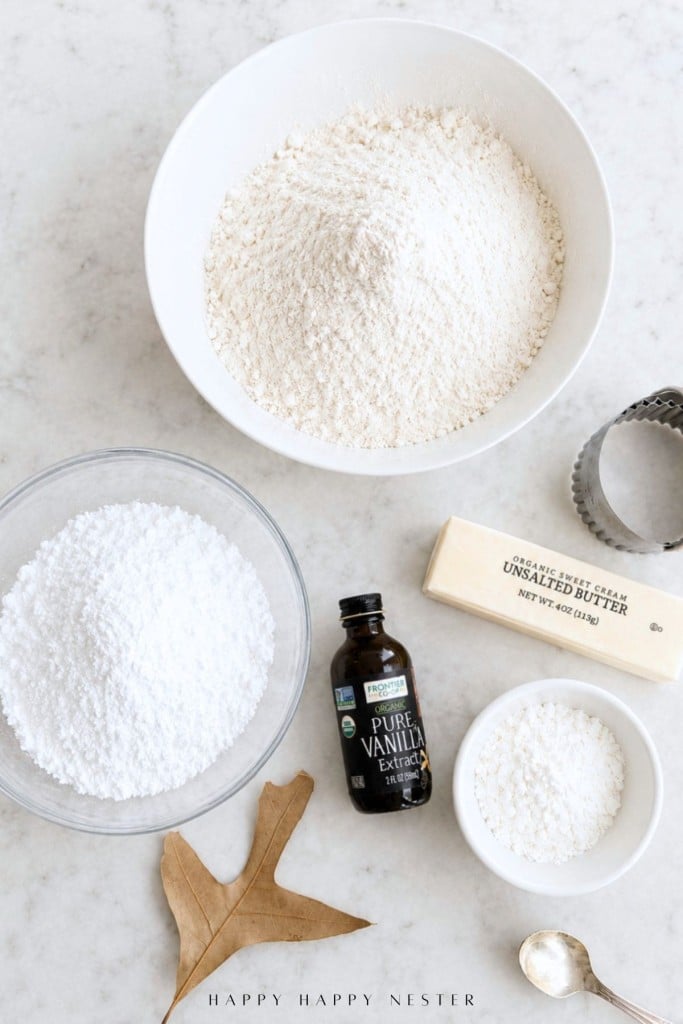
- Unsalted butter — softened but still cool. If it’s greasy or shiny, it’s too warm. Too-warm butter is the most common cause of a blurred imprint.
- Powdered sugar — for a dense, fine crumb and a smooth stamping surface.
- All-purpose flour — spooned into the cup and leveled, never scooped. Scooping packs in up to 25% extra, and this dough has no egg or liquid to absorb it. Too much flour makes the edges crack when you lift the stamp.
- Cornstarch — tenderizes and keeps the dough from springing back.
- Salt and vanilla — shortbread is a short ingredient list, so use vanilla you actually like the smell of.
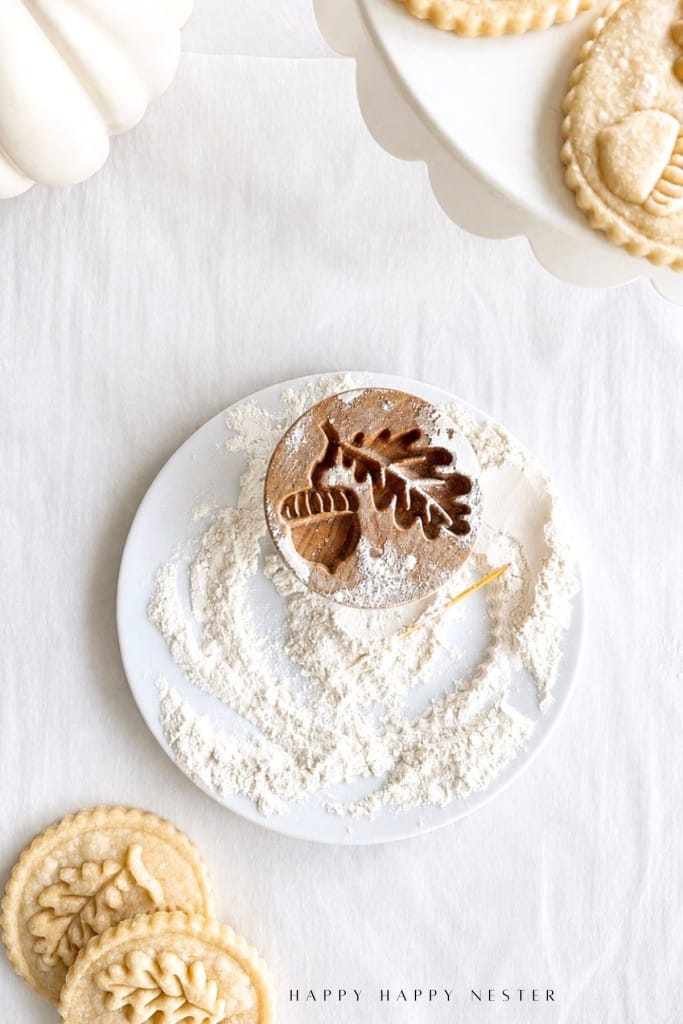
How to use a cookie stamp
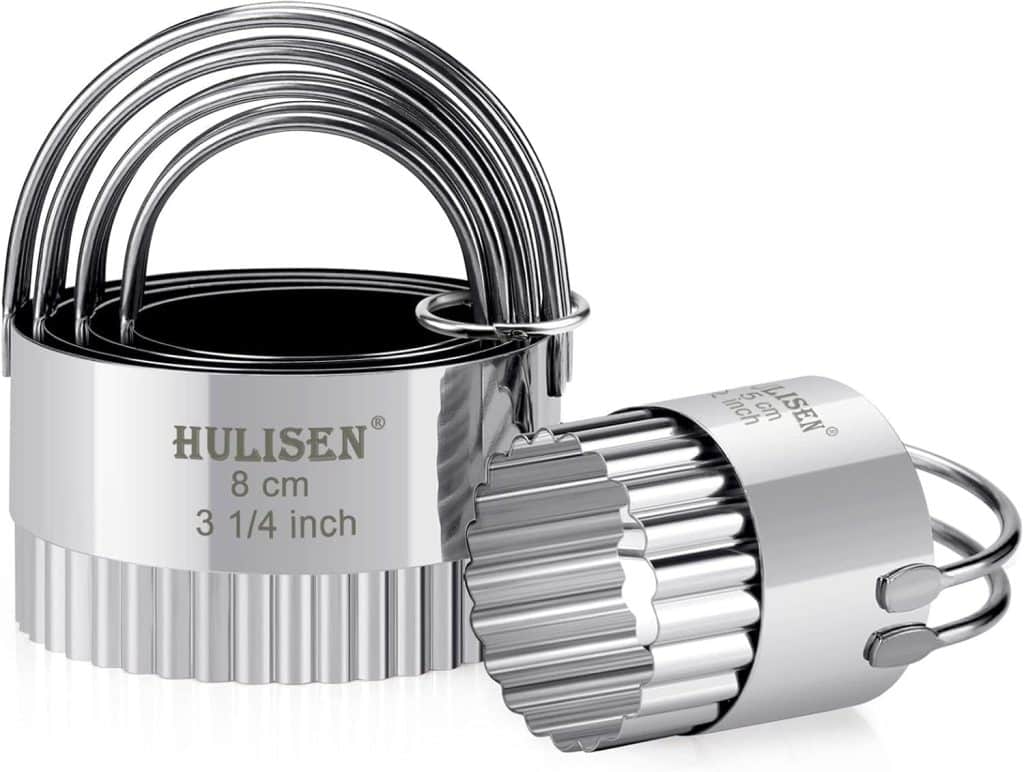
The order matters here: roll first, stamp second, cut last. Roll the dough out, press your wooden stamp into it, then cut around the imprint with a zigzag biscuit cutter just slightly larger than the design. The fluted edge sits close to the pattern and frames it, so the whole cookie looks intentional rather than trimmed.
I used a wooden acorn and oak leaf stamp for these. Wooden cookie stamps come in dozens of designs — snowflakes, thistles, monograms, seasonal patterns — and this dough works with any of them. Look for one with reasonably deep carving; shallow designs don’t read as well once baked.
The mechanics matter more than people expect. Four rules:
- Flour the stamp before every single press. Not every third press. Every one. Dip it in flour, tap off the excess, press.
- Press straight down. No rocking, no twisting, no wiggling. Any lateral movement smears the design.
- Use firm, even pressure. You want the dough to fill the deepest part of the carving. Press until the dough spreads slightly past the edge of the stamp.
- Lift straight up. Same rule as pressing, in reverse.
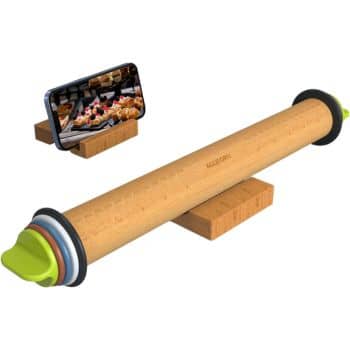
Roll the dough thicker than feels natural — a scant 3/8 inch. A deep stamp needs somewhere to go. Thin dough bottoms out and the design comes out shallow.
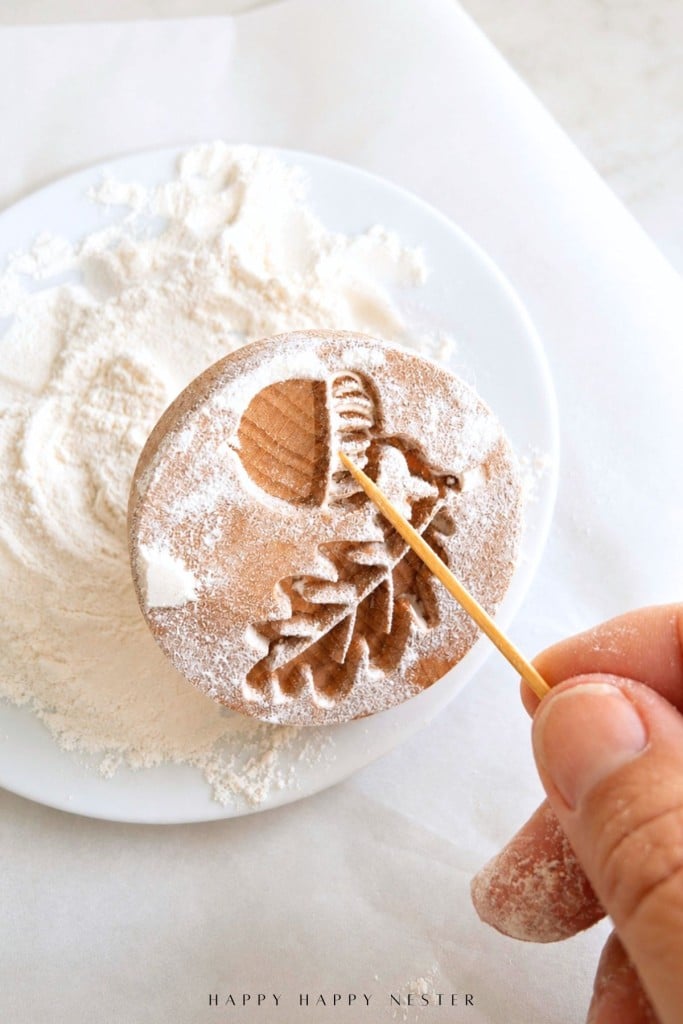
How to get a cookie stamp to release cleanly
Sticking is the most common frustration with stamped cookies, and it has four causes.
The stamp wasn’t floured. Or it was floured once, five cookies ago. Flour is the release agent; without it the dough grips the carving.
The dough got warm. There’s a difference between room temperature and warm. If the dough has gone soft and tacky from handling or a hot kitchen, give it 10 minutes in the fridge — just enough to firm up, not enough to make it resist the stamp.
The dough is too wet. Usually a measuring problem in the other direction — not enough flour. If the dough feels sticky rather than firm, chill it longer before stamping.
The carving is clogged. Dough builds up in the deepest parts of the carving as you work, and once it does, the next few cookies come out shallow. Keep a toothpick nearby and clear the grooves every few presses — especially fine detail like leaf veining, which fills first. Let a wooden stamp dry completely before storing it.
If a design does tear on lifting, gather that piece back into the dough and re-roll. Nothing is wasted.
Cookie stamp vs. cookie press — not the same tool
Worth a quick note, because the terms get mixed up. A cookie stamp is a carved disc you press into rolled dough to leave an imprint. A cookie press (or spritz gun) is a barrel that extrudes soft dough through a shaped disc. This dough is built for stamping — it’s far too firm to push through a press.
There’s a third tool worth knowing: a cookie mold, where you press dough down into a carved cavity and tap it out. Molds want slightly chilled dough so it holds together on release — the opposite of what a stamp needs. I used one for my molded winter hat cookies, and the technique is different enough to be worth its own post.
How to make stamped shortbread cookies, step by step
Here’s the whole process in order. Full amounts and times are in the recipe card below.
Step 1: Make the dough. Cream the butter and powdered sugar just until smooth, add vanilla, then mix in the dry ingredients on low until the dough comes together.
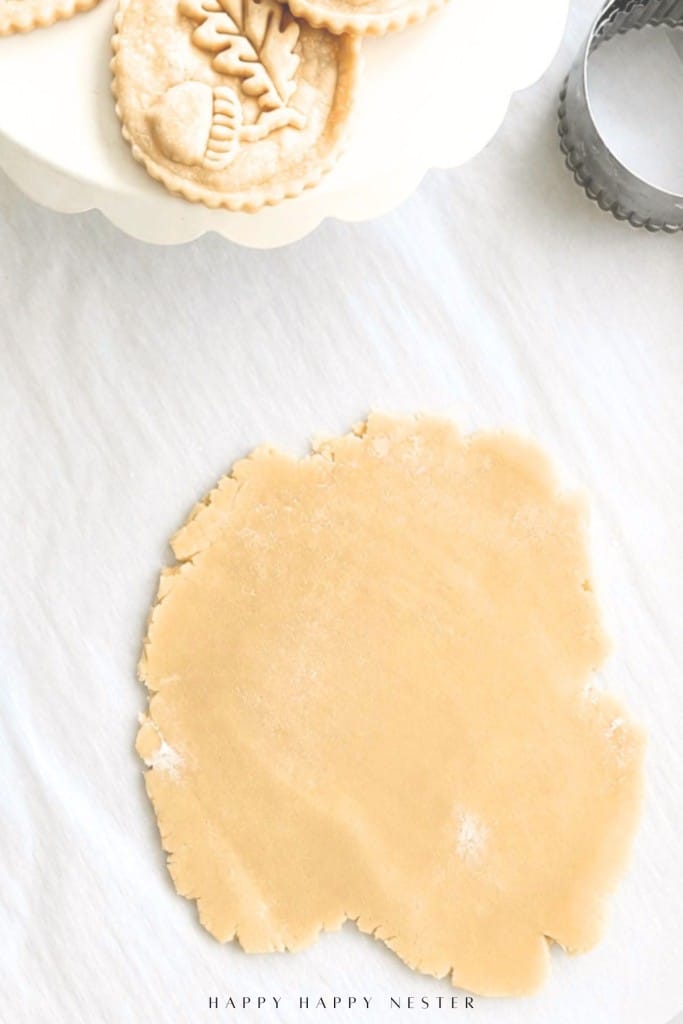
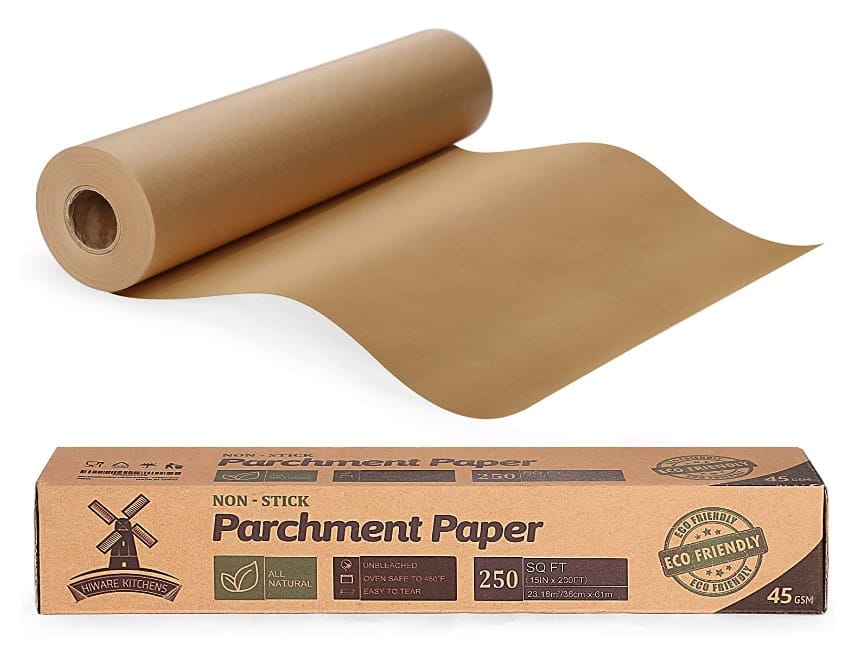
Step 2: Roll it out. Roll the dough directly on a sheet of parchment to a scant 3/8 inch — the parchment goes into the freezer and the oven with the cookies, so you never have to move them. Leave the dough at room temperature; cold dough resists the stamp.
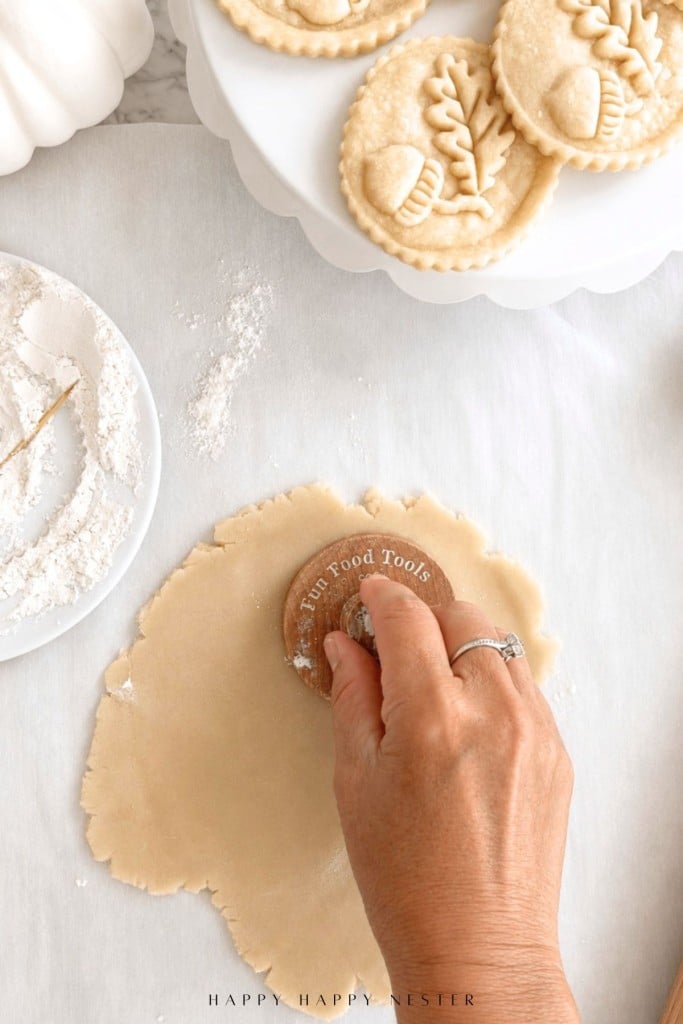
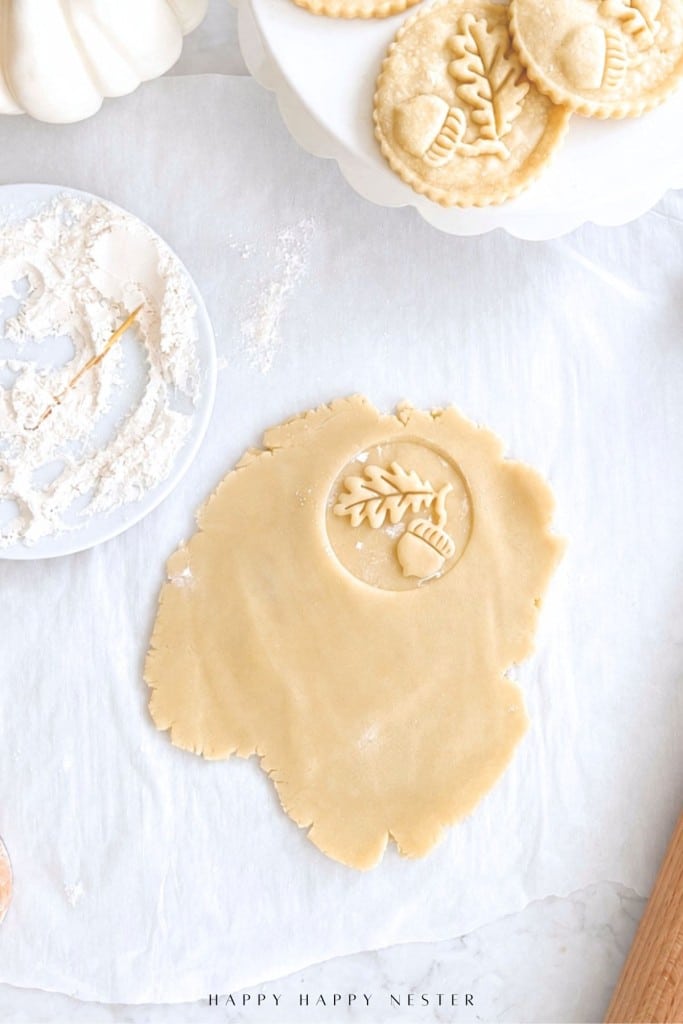
Step 3: Stamp. Flour the stamp, press straight down with firm even pressure, lift straight up. Work across the whole sheet, leaving just enough room between imprints for the cutter. Re-flour before every press.
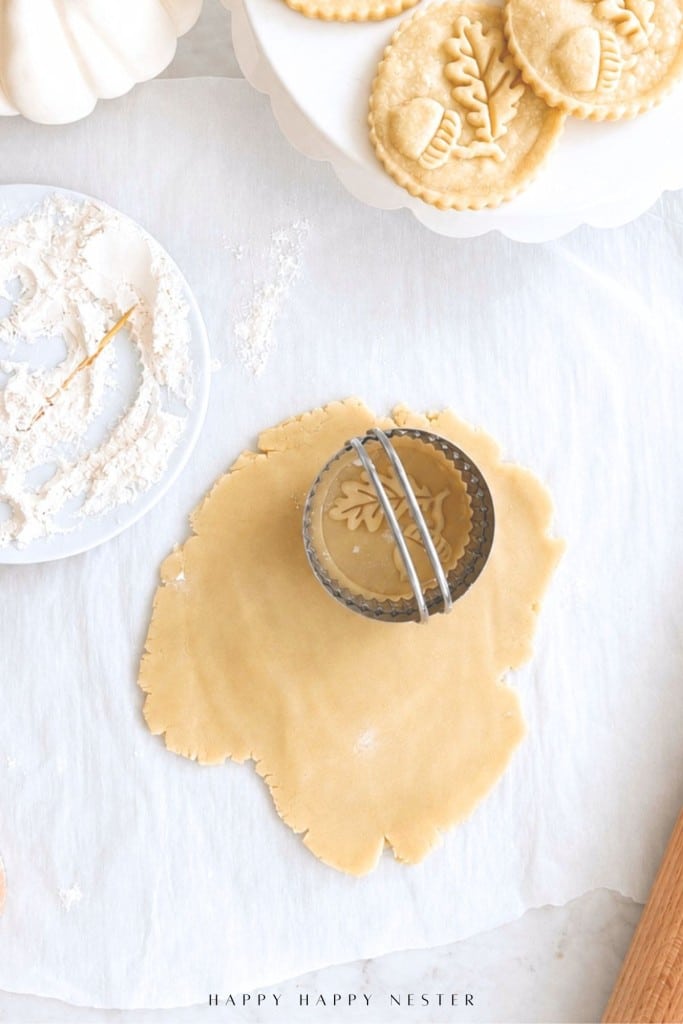
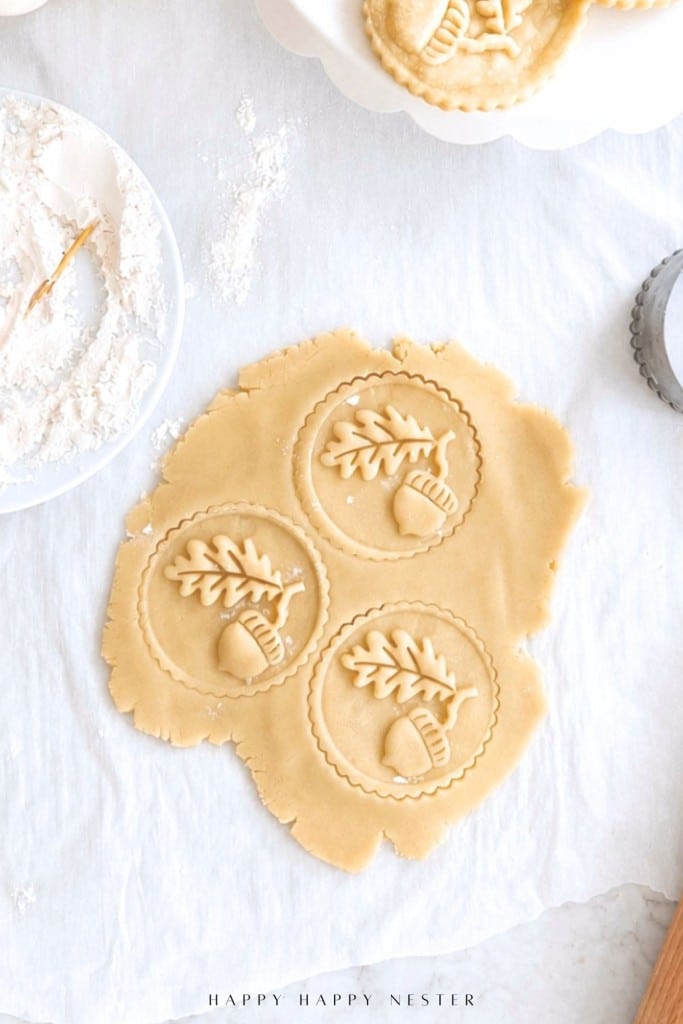
Step 4: Cut. Center the 2 3/4 inch fluted cutter over each imprint and cut, but leave everything in place. Peel away the excess dough from around the cookies, then slide the whole sheet of parchment onto a baking tray. The dough is too soft to lift cookie by cookie — moving them now is how you distort the design you just pressed.
Step 5: Freeze. Thirty minutes on the tray, until hard to the touch. This is what keeps the design sharp. Once frozen they’re firm enough to handle if you need to rearrange them.
Step 6: Bake. 350°F for 11 to 12 minutes, straight from the freezer. Pull them when the bottoms are pale gold and the tops still look matte.
Troubleshooting stamped shortbread
Either the butter was too warm going in, you creamed too long, or the cookies weren’t fully frozen. Cut the creaming to about a minute next time, and make sure the cut cookies are hard to the touch before they go in the oven.
Too much flour, usually from scooping the measuring cup into the bag instead of spooning and leveling. The dough is dry and can’t stretch around the carving.
Check that you used powdered sugar rather than granulated, and confirm the cookies went into the oven frozen rather than merely cold.
Either the dough was rolled too thin — you want a scant 3/8 inch — or the carving had filled with dough. Clear the grooves with a toothpick and press again on a fresh piece.
Storing and making ahead
Baked cookies keep about a week in an airtight tin at room temperature, and they’re better on day two once the flavor settles. Stamped, cut, unbaked cookies freeze beautifully for two months — freeze them flat on a pan, then stack in a container with parchment between the layers and bake straight from frozen with no change to the time.
That last one makes these a good holiday make-ahead. Stamp a batch in October, bake them in December.
Common questions
No — and this is the opposite of what most advice says. Chilled dough resists the stamp and the imprint comes out shallow. Stamp at room temperature so the dough takes the design cleanly, then freeze the cut cookies before baking. Room temperature for the imprint, freezer for holding it.
Yes — it’s the single most effective step for a sharp imprint. Frozen dough sets its structure before the butter has a chance to melt and slump. Thirty minutes is enough.
350°F for 11 to 12 minutes. I tested one cookie split in half — 300°F took about 20 minutes, while 350°F took 12 and gave a slightly crisper, more distinct edge on the design. Half the time and a better result.
Shortbread is the ideal dough for it. With no leavening and no egg, there’s nothing pushing the design flat, and the high butter content gives a smooth surface that takes fine detail well.
Almost always air beaten into the butter. Cream just until the butter and sugar are combined and smooth — about a minute — rather than until light and fluffy.
No — it’s far too firm to extrude. A cookie press needs a much softer dough. This one is made for pressing a stamp into rolled dough.
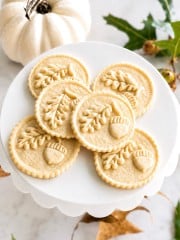
Cookie Stamp Shortbread Cookies
Ingredients
- 1 cup unsalted butter 2 sticks, softened but still cool
- ⅔ cup powdered sugar
- 1½ tsp pure vanilla extract
- 2 cups all-purpose flour spooned and leveled, not scooped
- ¼ cup cornstarch
- ½ tsp fine salt
- 2 tbsp all-purpose flour for dusting the stamp
Instructions
- Beat the butter and powdered sugar on medium-low for 60 to 90 seconds, just until smooth. Do not beat until light and fluffy — the air you add will puff the design flat. The mixture should look dense and paste-like.
- Mix in the vanilla on low, about 15 seconds.
- Whisk the flour, cornstarch, and salt together in a separate bowl, then add all at once. Mix on low only until no dry streaks remain. The dough will look crumbly, then come together suddenly.
- Roll the dough directly on a sheet of parchment to a scant 3/8 inch thick. Leave it at room temperature — chilled dough resists the stamp and the imprint comes out shallow.
- Dip the stamp in flour and tap off the excess. Press straight down with firm even pressure, then lift straight up. Re-flour before every press. Work across the whole sheet, leaving just enough room between imprints for the cutter.
- Center a fluted cutter slightly larger than the design over each imprint and cut, but leave the cookies in place. Peel away the excess dough from around them, then slide the whole sheet of parchment onto a baking tray. The dough is too soft to lift cookie by cookie.
- Freeze on the tray for 30 minutes, until hard to the touch. This is the step that keeps the design sharp — frozen dough sets before the butter can melt and slump.
- Bake at 350°F for 11 to 12 minutes, straight from the freezer. They're done when the bottoms are pale gold and the tops still look matte and blond. Don't wait for the tops to brown.
- Rest on the pan 5 minutes, then move to a rack. They firm up as they cool.
Notes
Nutrition
That’s everything I learned turning a plain shortbread recipe into a stamped shortbread cookie that actually holds its design. Stamp at room temperature, freeze before baking, and flour the stamp every single time — those three things do almost all the work. Once you have the dough down, the same recipe works with any cookie stamp you own, which makes it just as good for snowflakes in December as it is for acorns in October. If you make these, I’d love to hear how your design turned out.
Cheers,

Shop this Post!


More cookies you might like
- Molded Cookies Recipe — winter hat cookies made in a wooden mold
- Pumpkin Hand Pies — mini pastries with a pretty pressed design
- Cherry Blossom Cookies — soft, pretty, and simple to make
Stamped shortbread is my newest addition to my collection of pretty autumn cookies — come see the rest.
Let’s Stay Connected!
For a daily look behind the scenes, kitchen tips, and a peek into my everyday baking adventures, come hang out with me on Instagram!
📸 Follow me on Instagram [@HappyHappyNester] to see what I’m whipping up in the kitchen today and get daily updates on all my activities! Don’t forget to tag me in your recipe photos so I can reshare them.

- Anthropologie Christmas Ornaments - October 7, 2026
- Vintage Tinsel Tree DIY - October 6, 2026
- Holiday Appetizers - October 3, 2026



Leave a Reply