• Skip to main content
  • Skip to header right navigation
  • Skip to site footer
  • About
  • Contact
  • Boutique of the Week
    • Facebook
    • Instagram
    • Pinterest
    • Twitter

Happy Happy Nester

Weekly Inspiration for Your Nest

  • Recipes
    • Appetizers
    • Breakfast/Brunch
    • Desserts
    • Dinners
    • Drinks
  • Crafts
  • Decor
  • Shop
    • Fall Decor
    • Kitchen
    • Pillows
    • Holiday Decor
  • Amazon Store
  • Recipes
    • Appetizers
    • Breakfast/Brunch
    • Desserts
    • Dinners
    • Drinks
    • Snacks
  • Crafts
  • Decor
  • Shop
    • Fall Decor
    • Kitchen Favorites
    • Pillows
    • Holiday Decor
  • Saturday Chitchat
  • Boutique of the Week
  • About
  • Contact
  • Facebook
  • Instagram
  • Pinterest
  • Twitter

See What’s Trending…

Cakes

Cookies

Dinners

Wreaths

Drinks

Home › Uncategorized › Soap Making for Mother’s Day

Soap Making for Mother’s Day

Uncategorized
By Janine Waite · Published on May 9, 2015
Affiliate Disclosure: This Post May Contain Affiliate Links.

Soap Making

Gift giving is a love of mine, especially in the Month of May. First, we have Mother’s Day (one of my favorite days), my anniversary, my son’s birthday, and graduation for many loved ones. May is full of celebrations at our house.  I really love to make Mother’s Day a personal day with my Mom and my daughters. Now that we live further away I’ve been pondering what to send these beautiful women in my life. While pondering I remembered an amazing episode of Martha Stewart, about fifteen years ago, and Martha was making homemade soap and lip balm. I was glued to my TV set and writing down notes frantically so that I would remember every detail.  At the time, I also received Martha’s magazine every month in the mail and the next month there was an article about the soaps and a phone number to order glycerin, dyes, shea butter, dried flowers, coco butter, oils, and beautifully shaped molds for soap making. Needless to say I ordered the entire kit!

A little note from Marci:
My mom, I call her “Mama”, loves little details. She loves flowers on pillows, handmade soaps, embroidered dish cloths, handwritten cards, and she loves getting things in the mail. Now that I live 600 miles away from her I’m going to send her a package with some of these items for Mothers Day.

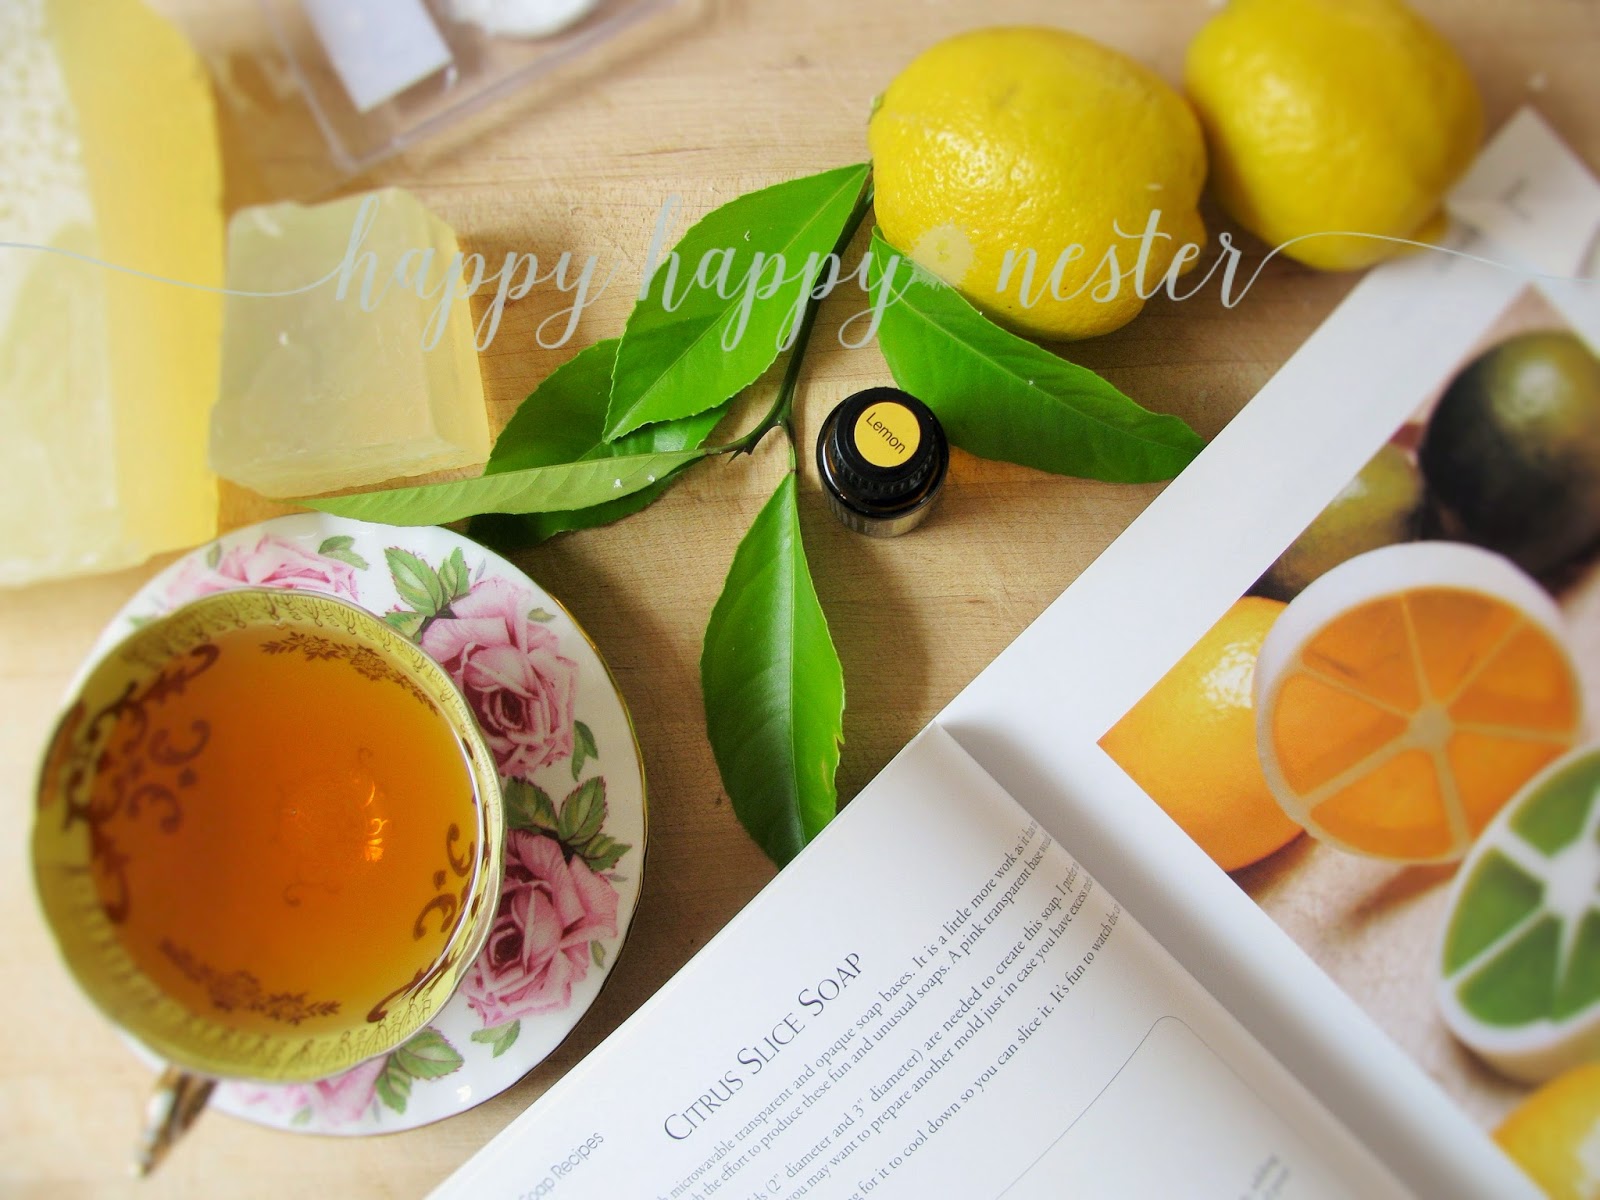
My tween daughter and I dug out my kit and she was even more excited about it than I was 15 years ago! So, we got out the instructions and soap molds and started experimenting with soap. I mentioned it to Janine and she and I have been playing with soap now too. We’ve made lavender soap (which is my favorite), lemon soap and rose peppermint and WOW does the kitchen smell amazing!

Now, if I can make these from scratch I know you can do it even better. The instructions are pretty simple and nearly fool proof. It’s like being a mad scientist in your kitchen and you just add a little of this and a little of that and magic happens, it’s all good clean fun. Did you catch that? It was a soap pun. 😉

Making soap is a pretty simple process, you just need some basic ingredients:

soap making glycerin
soap molds or tins, here is a link on Amazon: Soap kit (this kit contains molds and glycerin)
liquid measuring cups – I use a 4 cup pyrex
sauce pot
spoon
pairing knife
dyes
essential oils, my personal favorite is doTerra,  Here is link on Amazon: essential oils
dried flowers, seeds, oatmeal or loofa
skewers or toothpicks

1) Cut up glycerin and put it in your liquid measuring cup, place the measuring cup in a saucepan with hot water, double boiler style (you can also microwave this step, but I appreciate the stirring and watching of this melting process).

2) When the glycerin is melted add your dye, a little at a time, (I like to use a wooden skewer) you can always add color, but it’s harder to take color out, so add a little at a time. mix in your essential oils and dried flowers or seeds, stir.

3) Coat your molds lightly with a non-stick spray or petroleum jelly (i like olive oil spray)

4) Once your glycerin mixture is melted, mixed and stirred pour it into the molds and place in your refrigerator, wait about 1-2 hours and squeeze the molds to release your soaps (if you use tin molds, put the mixture in the freezer)

You can always add shea butter, jojoba, coco butter, and other skin softening ingredients. It’s fun to play with colors and scents too. Each soap becomes unique!

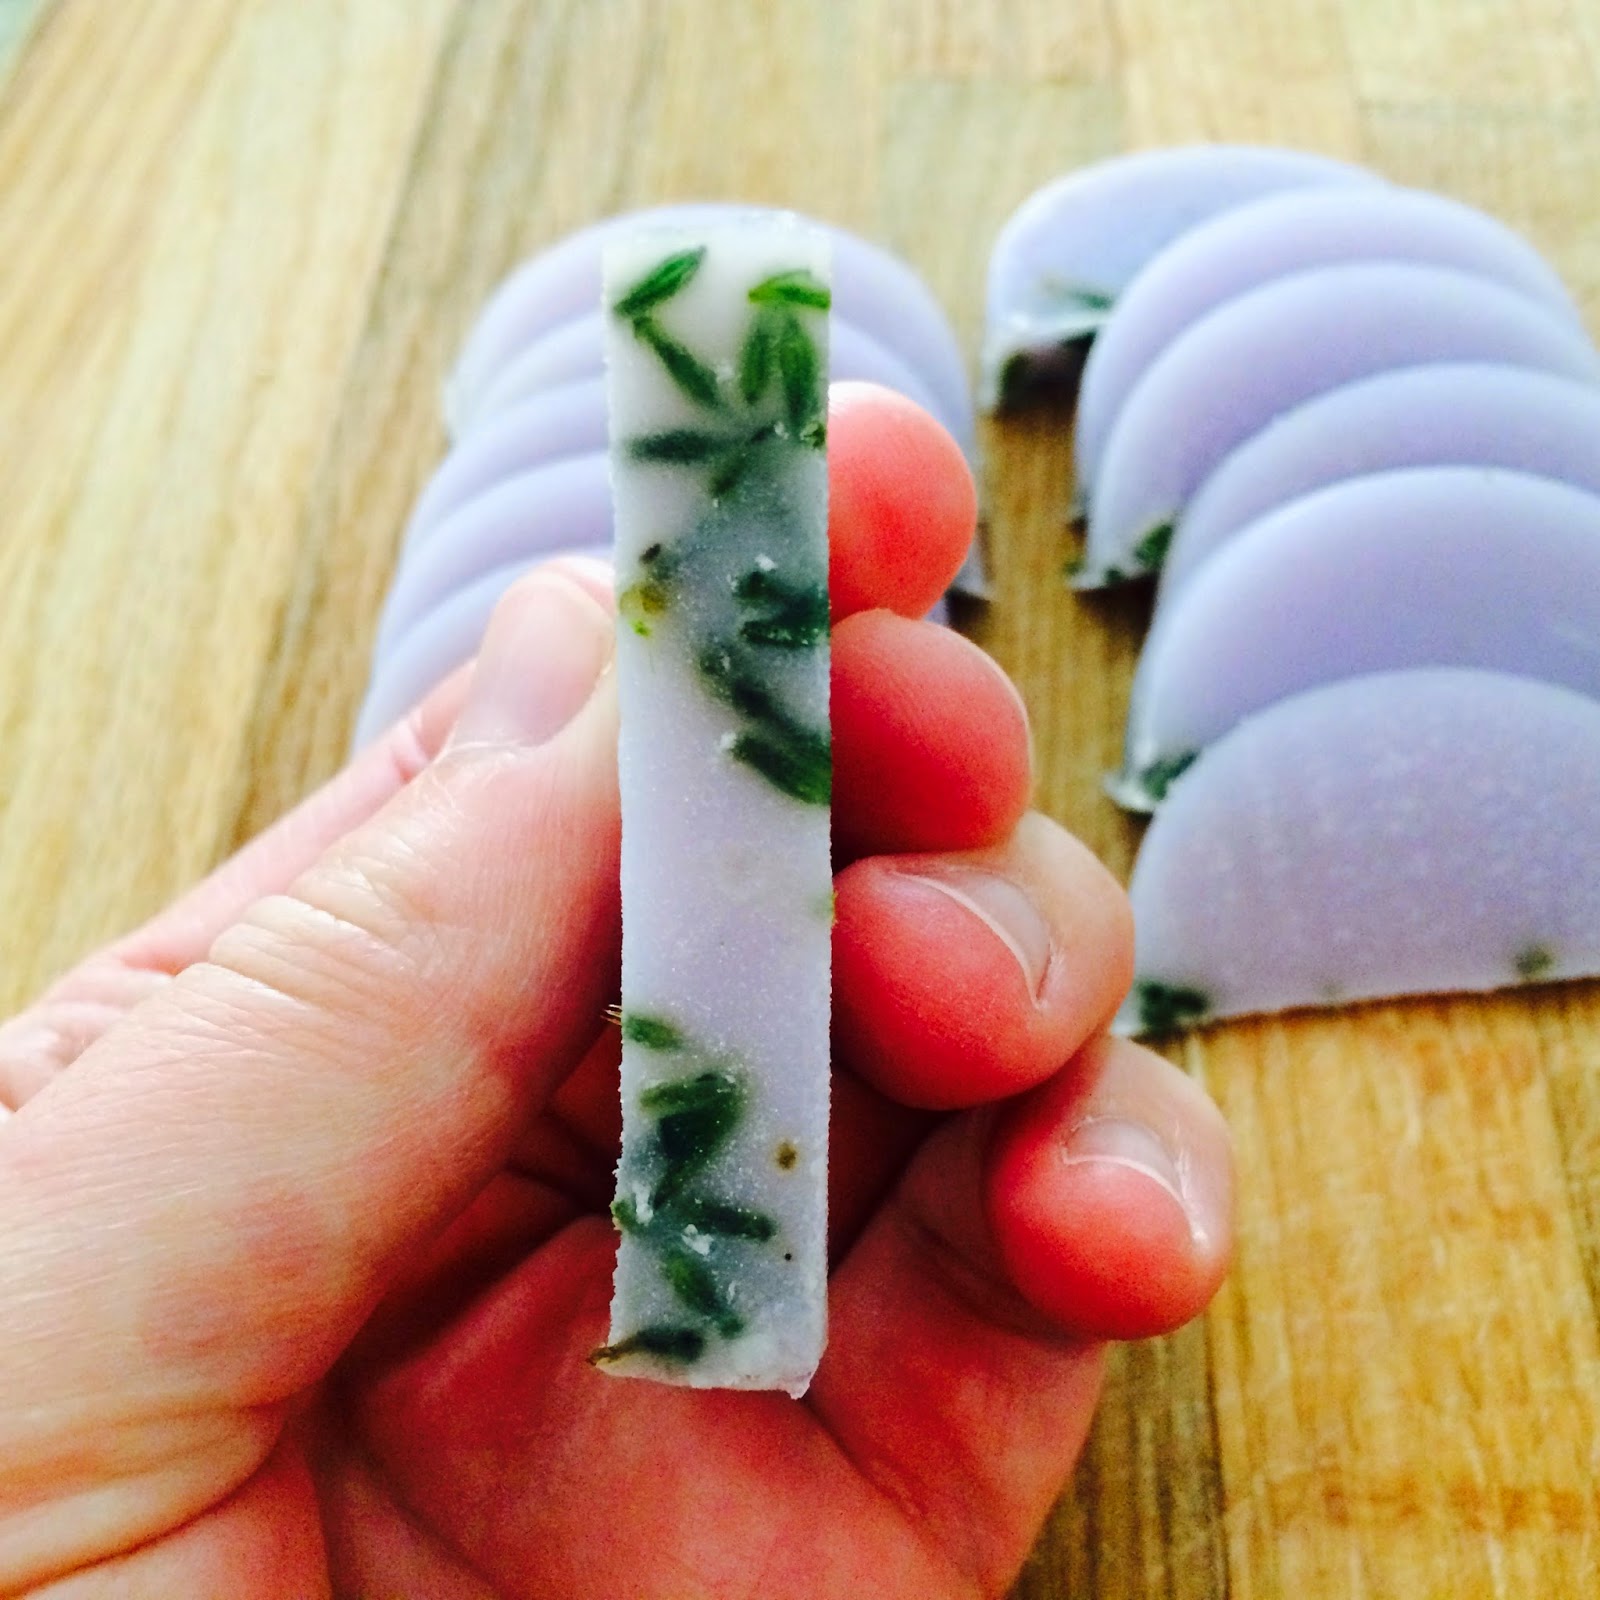
I made my Mom a beautiful bunch of soaps from my lavender growing in my yard. They smell lovely and I added a tiny drop of violet dye to compliment the lavender smell. I know she will love them. To all you mothers and daughters, have a lovely and relaxing Mother’s Day weekend. We would love to hear from you, so share a special thing you do with your mom or something your kids do for you!

Cheers,

  • Author
  • Recent Posts
Janine Waite
Follow me
Janine Waite
I named my blog Happy Happy Nester because I love everything related to the home. I’ve always enjoyed decorating my surroundings. Get cozy and stay for a bit, thanks for visiting!
Janine Waite
Follow me
Latest posts by Janine Waite (see all)
  • How to Make a Tender Juicy Steak - May 8, 2025
  • My Favorite Flower Crafts - May 3, 2025
  • Easy Corkboard Placemats DIY - May 2, 2025

You May Also Like

  • easy homemade gifts
    Handmade Holiday Gift Ideas for Friends
  • sunflower seed starter kits
    Vegetables and Flowers Seed Starter Kits
  • cute jewelry
    Online Jewelry Boutique Shop
  • gift basket ideas
    Gift Basket Ideas Pretty in Pink

Sharing This!

  • Facebook
  • Twitter
  • Email

Reader Interactions

Comments

  1. Colette Joseph

    May 12, 2015 at 7:59 pm

    Some of these look good enough to eat!
    I missed this post for Mother's Day, but luckily my mom's bday is coming up and she'd love these!

    Reply
  2. Marci

    May 18, 2015 at 10:48 pm

    Colette! They do look good enough to eat. Janine said the same thing. I hope you get a chance to make some. I'm definitely going to make more. There are lots of different recipes that I would like to try. 😀

    Reply

Leave a Reply Cancel reply

Your email address will not be published. Required fields are marked *

Recipe Rating


Sidebar

Janine the Nester

Hello from the Nester

We love everything related to home, so get cozy and stay for a bit. Thanks for visiting our blog. Learn More...

Reader Favorites

The Best Crunchy Crispy Chocolate Chip Cookie

This Italian Cream Cake has a pumpkin cream cheese frosting that makes this a winning combination. This dessert is perfect for the holidays.

Italian Cream Cake with a Twist of Pumpkin

French Apple Custard Tart with Puff Pastry

DIY Paper Flowers Tutorial (Tissue Paper)

Upcycling Tin Cans with Scrapbooking Paper

How to Make a Paper Flower Wreath DIY

Popular Categories

  • Cakes
  • Cookies
  • Dinners
  • Wreaths
  • Organizing

Join Our Newsletter

Join our mailing list to receive the latest news and updates from our team.

You have Successfully Subscribed!

AFFILIATE DISCLOSURE:
I am grateful to be of service and bring you content free of charge. In order to do this, please note that when you click links and purchase items, in most (not all) cases, I will receive a referral commission. Your support in purchasing through these links enables me to keep my design and customization prices ridiculously low and empower more people worldwide to blog with less worry and less hassle.
Happy Happy Nester is a participant in the Amazon Services LLC Associates Program, an affiliate advertising program designed to provide a means for sites to earn advertising fees by advertising and linking to amazon.com.
Thank you! :)
-Happy Happy Nester

Our Guide

Join Our Newsletter

Join our mailing list to receive the latest news and updates from our team.

You have Successfully Subscribed!

  • Facebook
  • Instagram
  • Pinterest
  • Twitter

Recipes

Appetizers
Breakfast/Brunch
Desserts
Dinners
Drinks

Crafts & Decor

DIY
Gardening
Holiday
Wreaths

About

About The Nester
Contact
Privacy Policy

Copyright © 2025 · Happy Happy Nester by Janine Waite · Privacy Policy

↑ BACK TO TOP