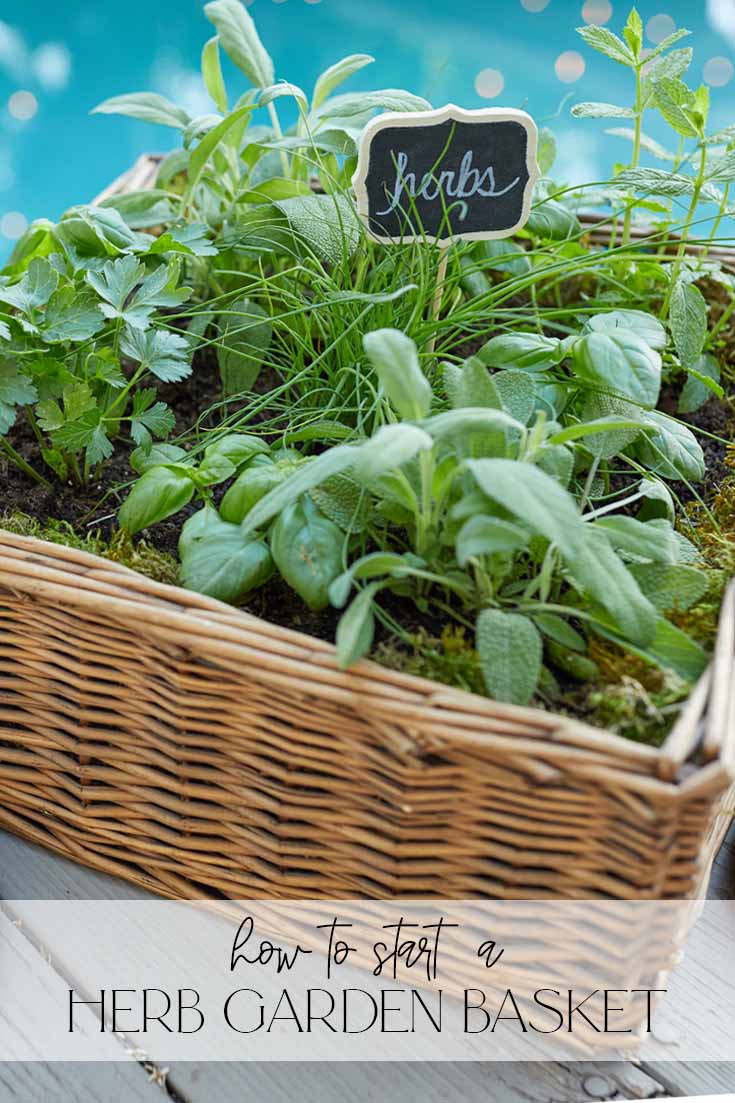
Want to Make a Herb Garden Basket? Do you have an old basket sitting around in the garage? Well, with a few easy steps, you can create the cutest herb garden for all your culinary needs.
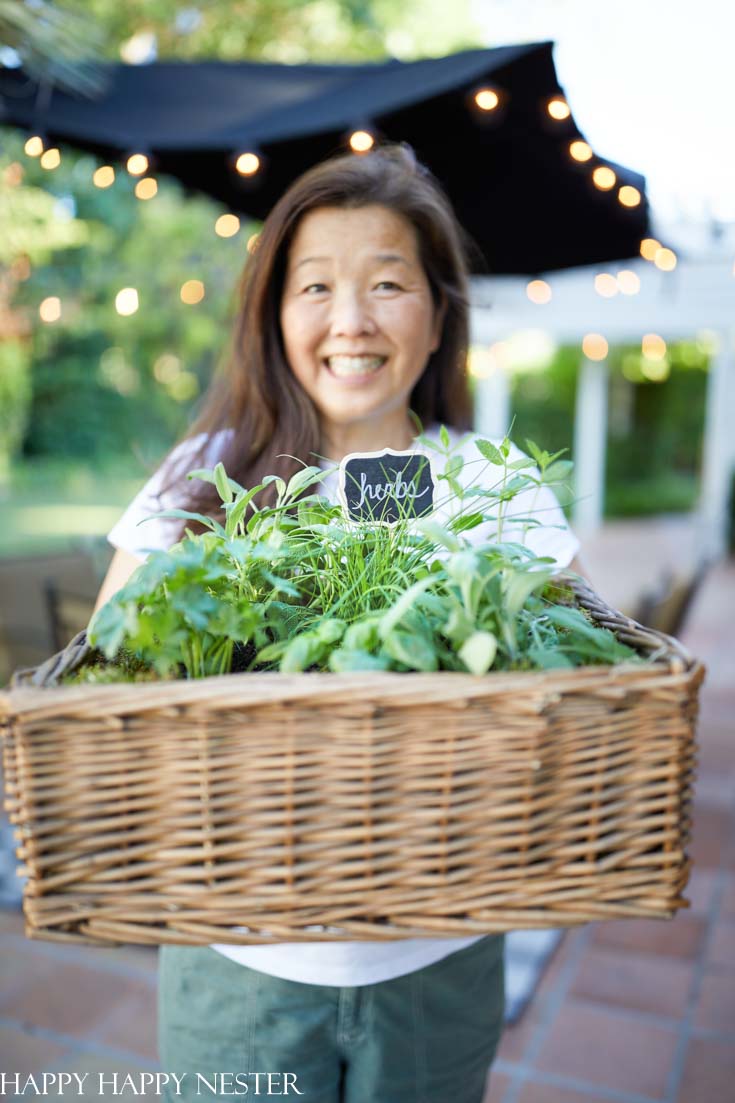
Since March, we are cooking 24/7, and we love fresh herbs. So, to keep stocked up on our favorite herbs, I got busy building my own little herb garden basket.
This spring, we were thinking about planting a vegetable garden, but after a short discussion, we soon realized every summer, we fail miserably. This year we switched tactics and tried our luck with container gardening. Once I wrapped my head around gardening with containers, some surprising benefits became pretty apparent to me.
If you are interested, let’s take a look.
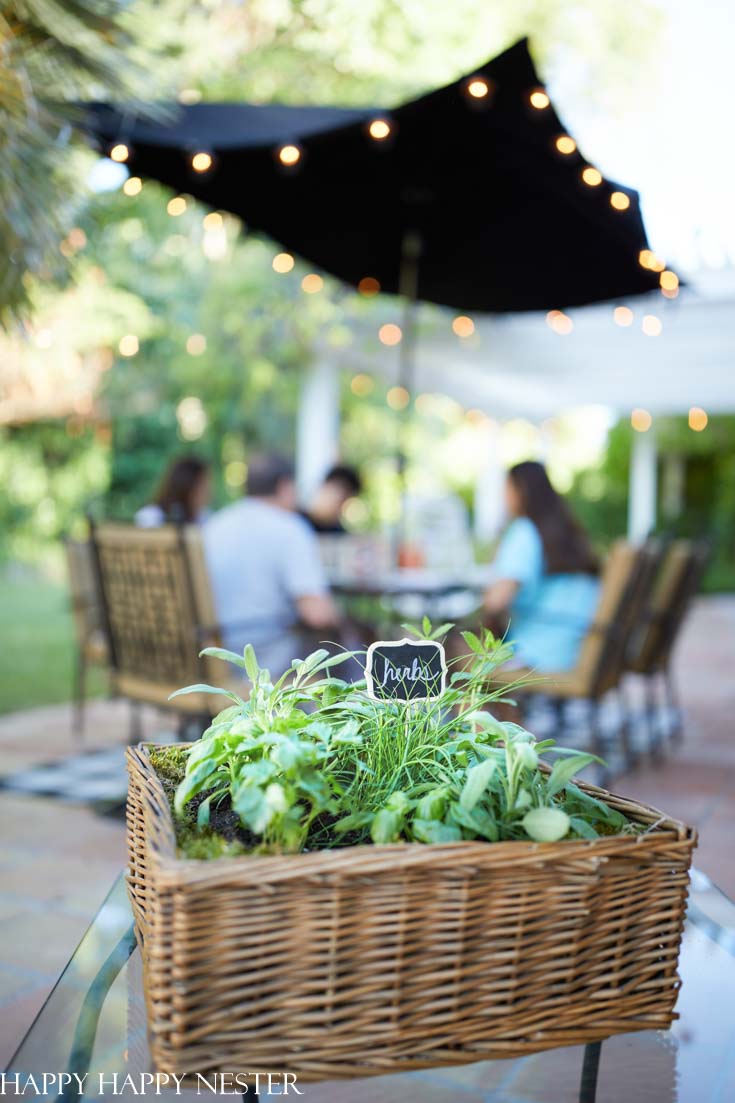
1. Fewer pests are meddling with our plants.
The great thing about the container scenario, it is less likely to get bothered by slugs and earwigs. Also, we have some pesky rats in our neighborhood, and so far, they haven’t nailed our yummy tomatoes. Well, maybe they don’t like tomatoes?
2. Mobile Plants
You can move your basket to your garden’s best sun exposure. And since it is super cute, you can place it anywhere. So, if your front porch is sunny, then make it a part of your front yard decor. We have small portions of our yard that get a lot of sunshine, so our container planters are all located on our patio. We eventually want to make it into a permanent garden, but for now, the containers are perfect.
3. Great Potting Soil
Let’s talk about dirt. I bought an excellent potting soil. I’m not going to lie that our garden soil is pretty void of nutrients. So, with the basket, I can quickly fill the whole container with mineral-rich potting soil. I was told by the nursery worker to buy potting soil rather than mulch. So, make sure to do the same with making your herb garden basket.
*The following post contains affiliate links
Here is What You’ll Need for a Garden Container
1 good size basket
Thick plastic bigger than your basket ( I doubled mine)
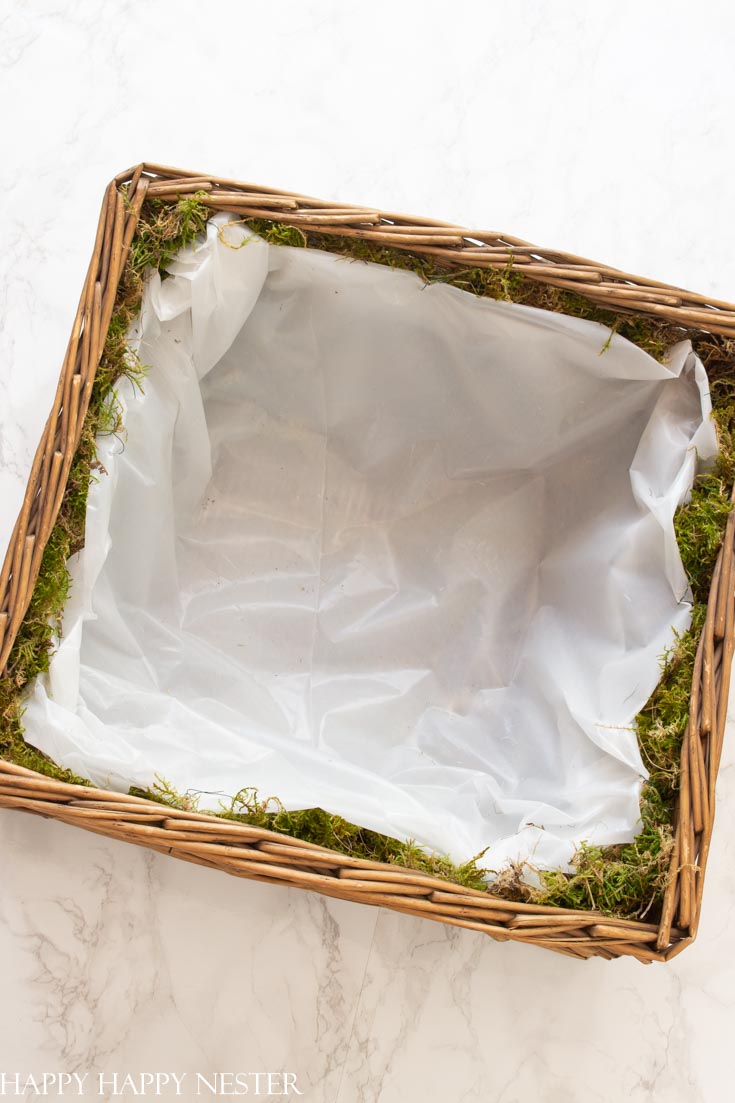
1. Line the interior walls of your herb garden basket with moss. If you don’t mind seeing the white plastic on the outside, then you can skip this step. I feel that the moss creates a lush filler that is visually prettier than the white plastic.
2. Place the thick plastic over your basket. Make sure to push the plastic down along the bottom of your basket. Also, the plastic should hang over the edges and spill over the rim.
3. Once you have the plastic in place, cut it all around the top of your basket. If you need to, fold the plastic in areas and poke the floral wire through the plastic. Thread it through one of the rattan branches and thread it back to the inside of the basket. Bring together both wires and twist them together.
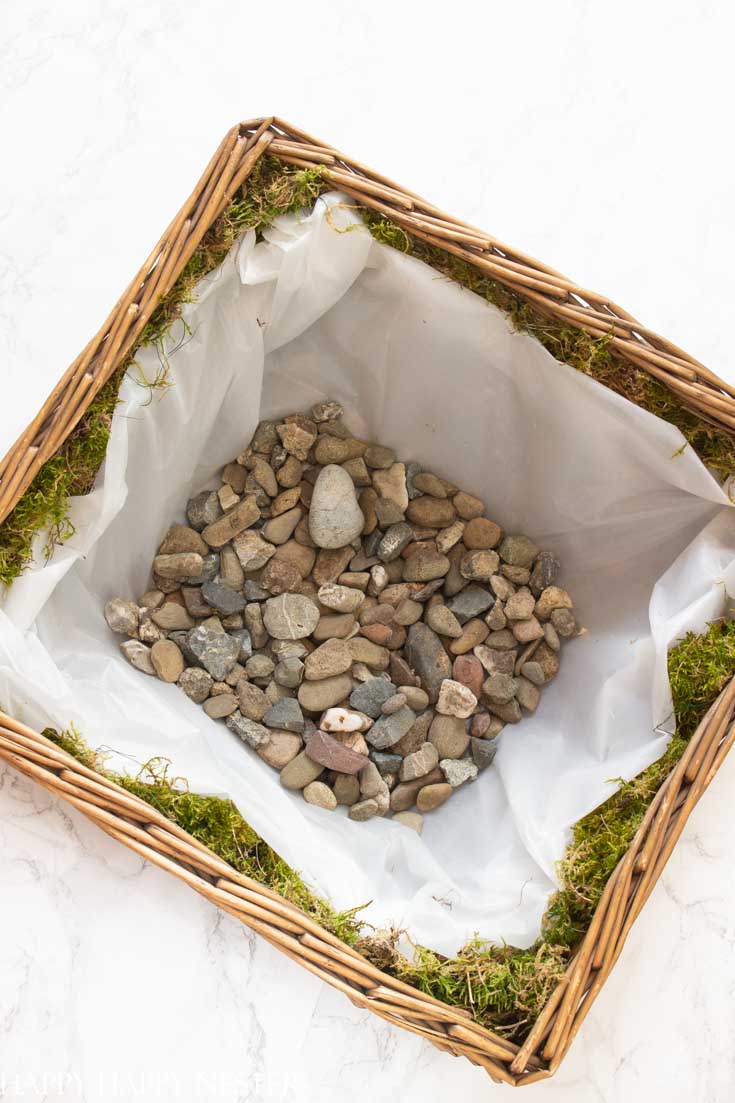
4. Place a layer of small rocks on top of your plastic. These rocks are for drainage since the plastic does not have any drainage holes. Probably if the basket gets wet from seepage, it could deteriorate.
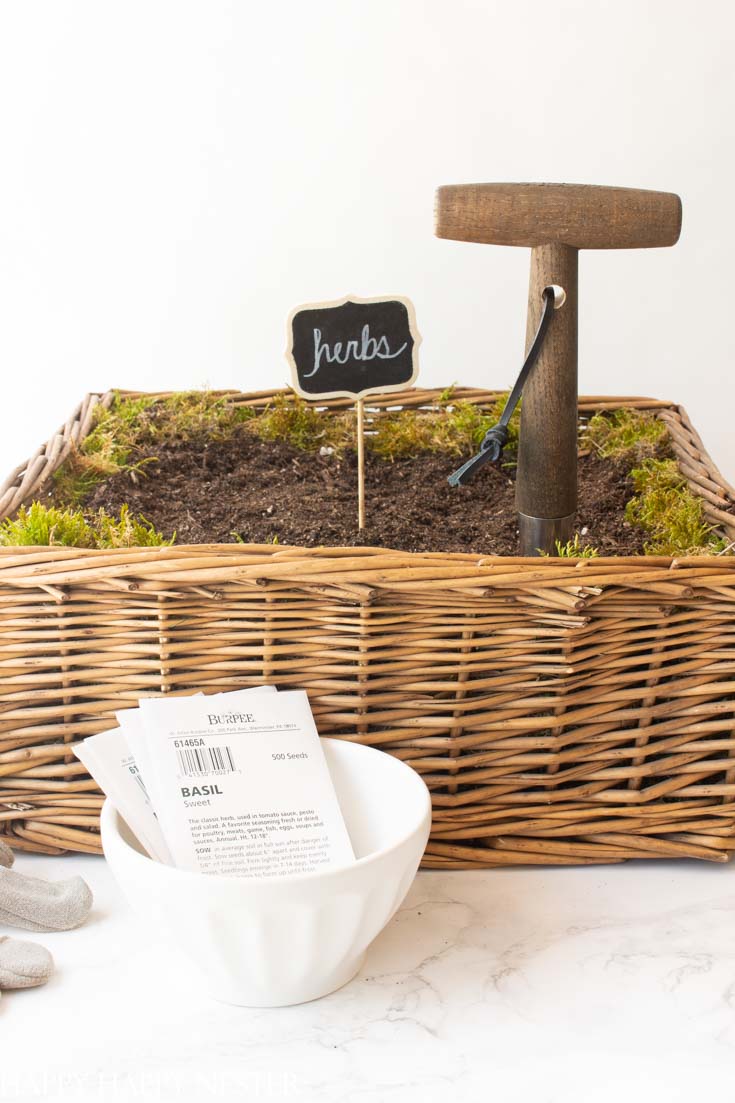
5. Fill your basket with the potting soil.
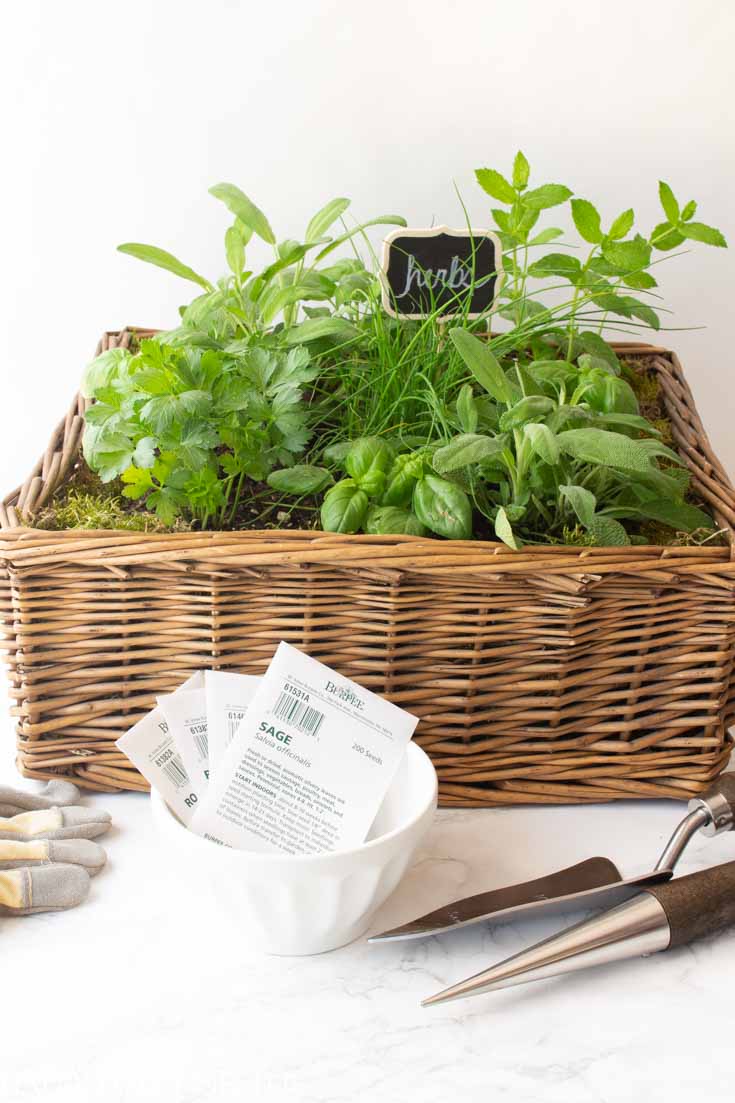
6. Place seeds or plants in your herb garden basket. I love my garden tool for planting seeds. It is the cone shape tool, and it makes the best hole for seeds!
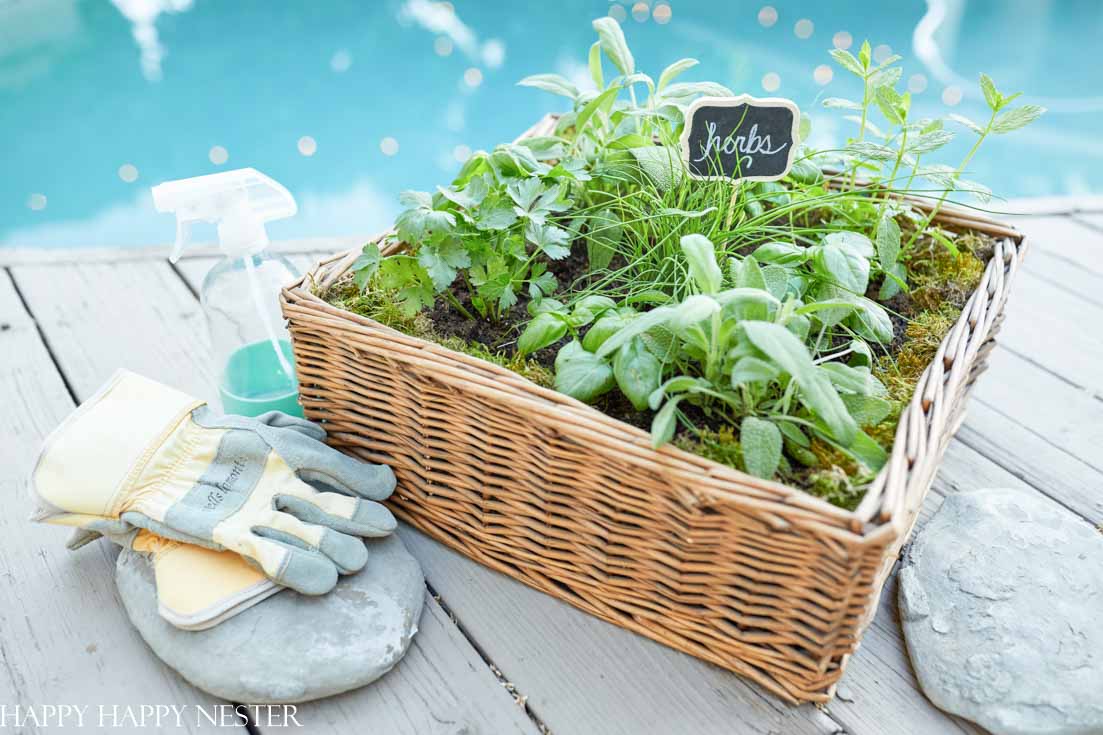
Now place your cute container in a sunny place in your garden or kitchen. Now watch your garden grow.
A Few Things to Consider When You Plan Your Herb Garden Basket
According to The Guardian, some herbs are water-loving plants, and some are not.
Here are the herbs that like plenty of water:
Chives, Mint, Chervil, Coriander, Vietnamese Coriander
And here are the herbs that like good drainage:
Rosemary, Thyme, Sage, Bay, and Oregano
But, if you are concerned about this issue, maybe plant a few baskets. Then delegate each basket for one type of herb, and this will eliminate that issue.
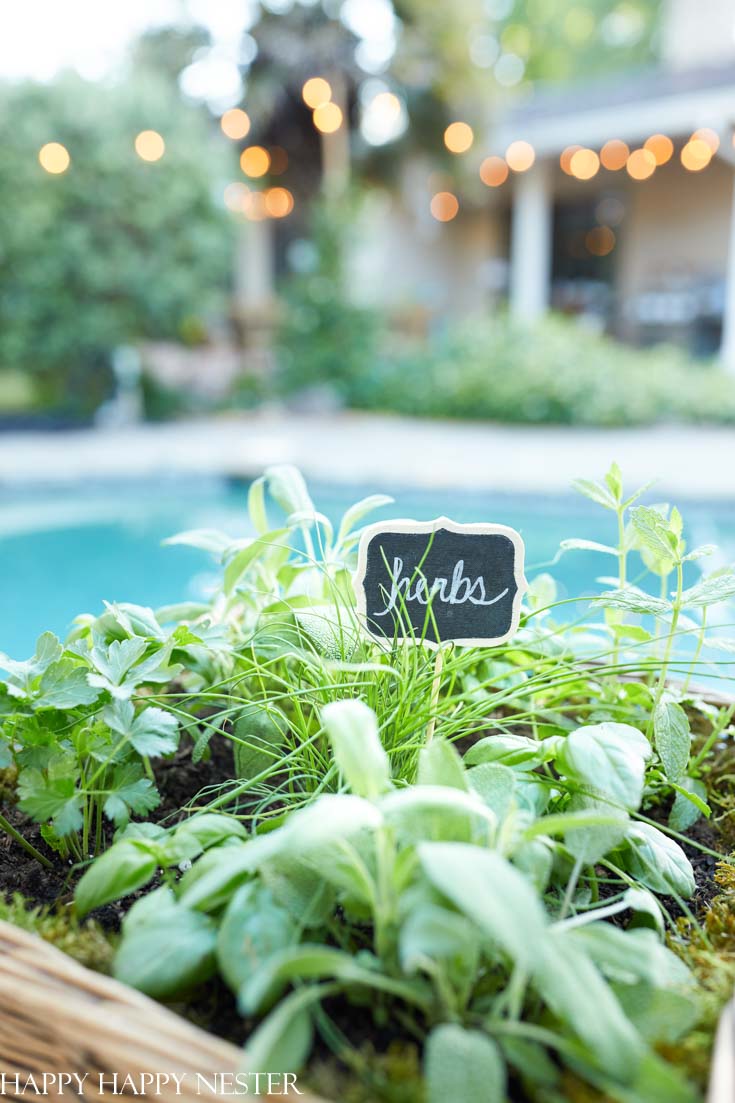
Once your herbs get big enough to harvest, enjoy cooking with them. My son’s motto when cooking is when you think you have enough herbs and seasonings, add more! He is a great chef.
By the way here are a few other posts you might like:
Happy Gardening!
- Last-Minute Stocking Stuffers - December 24, 2025
- My Favorite Gift Wrap Inspiration - December 20, 2025
- Christmas Gifts Under $25 - December 17, 2025



Leave a Reply