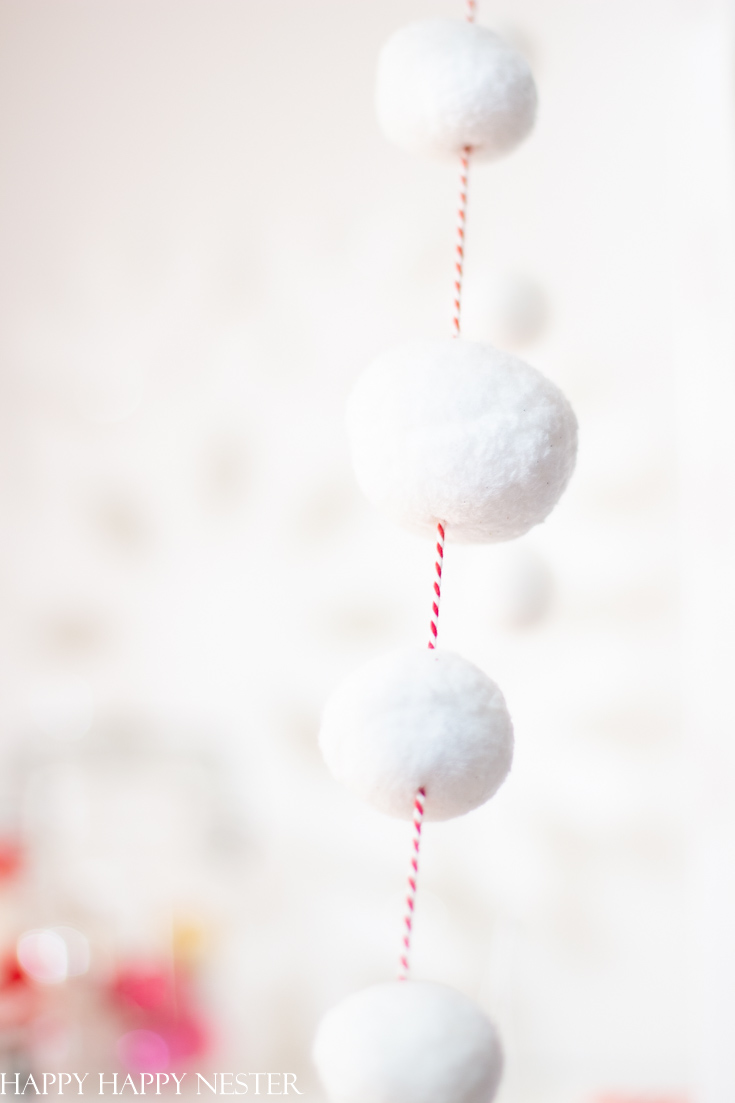
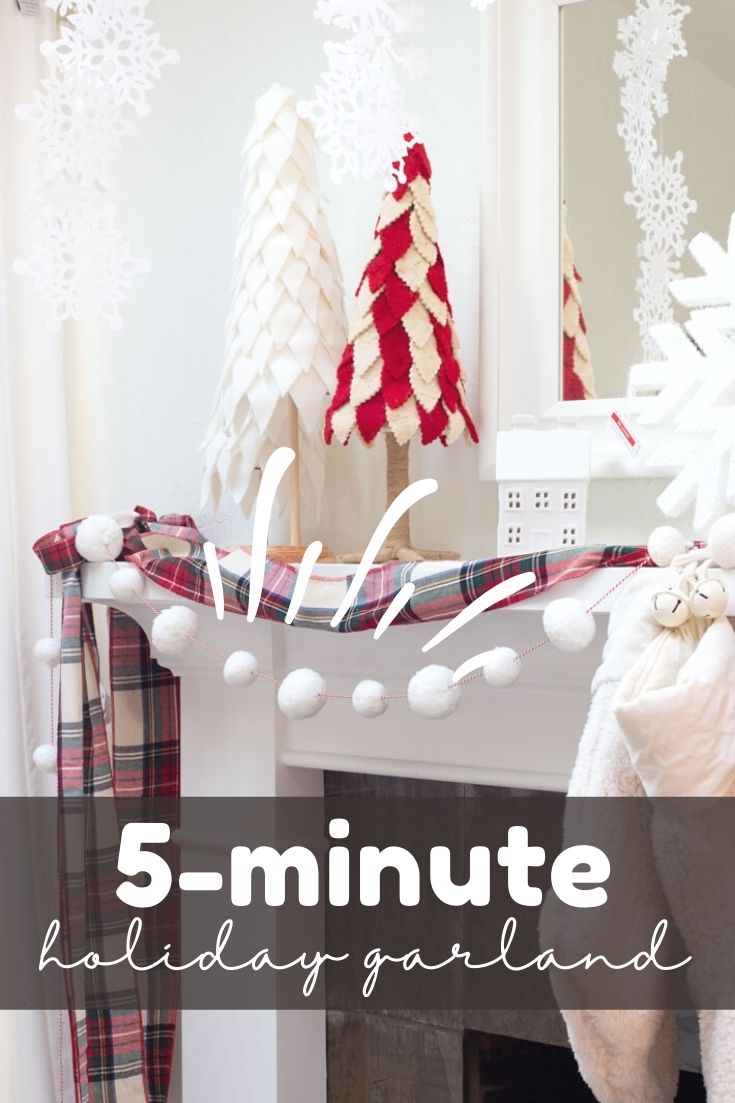
This Easy Garland DIY is perfect for a Christmas decoration. This 5-minute project is so quick to make, and the results are cute.
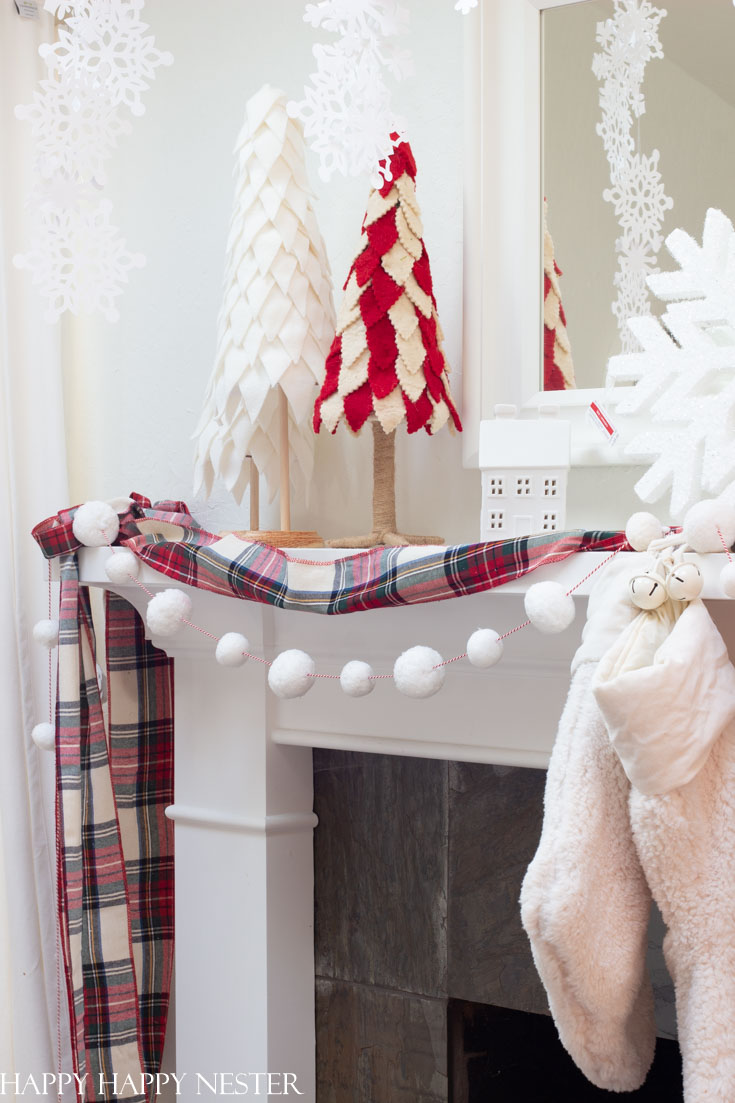
If you like to make things to match your holiday decor, you’ll like this easy craft project. There are just a few supplies that you’ll need for this craft, so make sure to read this post.
I should create a monthly post of 5-minute projects for those who are short on time but still love to craft.
I didn’t intend to share this craft. You see, I stumbled upon it. I’ve always loved those big pom-pom garlands, but I price always stopped me in my tracks. I can’t find them on the internet, but I believe they cost about $60.
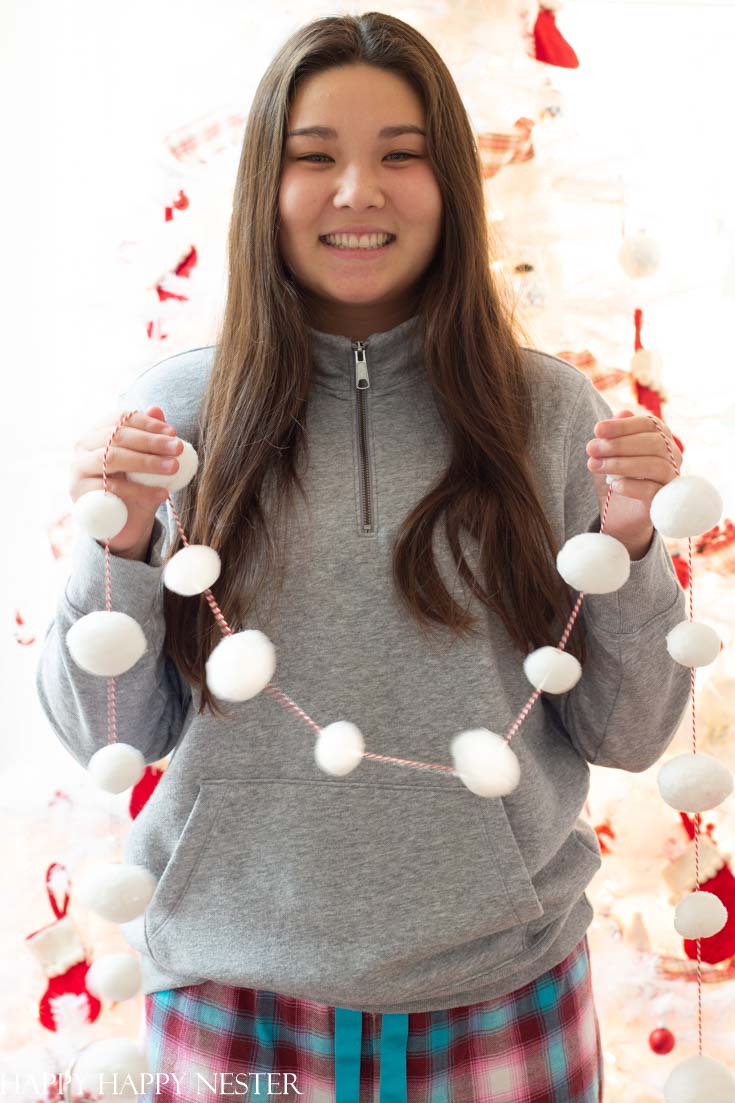
So, instead of buying them, I came up with my own version. The project will give you a garland of 14 feet and my estimate on how much I spent is about $24. If you haven’t noticed, I’m a bit on the frugal side, and I love to make home decor rather than buying things at an inflated price.
Here are a few of my holiday projects:
And my uber-talented friend, Leslie has a fun pom-pom tree project that you might like!
Let’s get started and not waste anymore of your time. 🙂
Easy Garland DIY
Supplies:
Craft Needle – I highly recommend using a craft needle that has a big eye so that the thick thread can go through the hole. You’ll also want a somewhat long needle so that it can mostly go through the thick snowballs.
Scissors
Directions:
1. Thread the Craft Needle
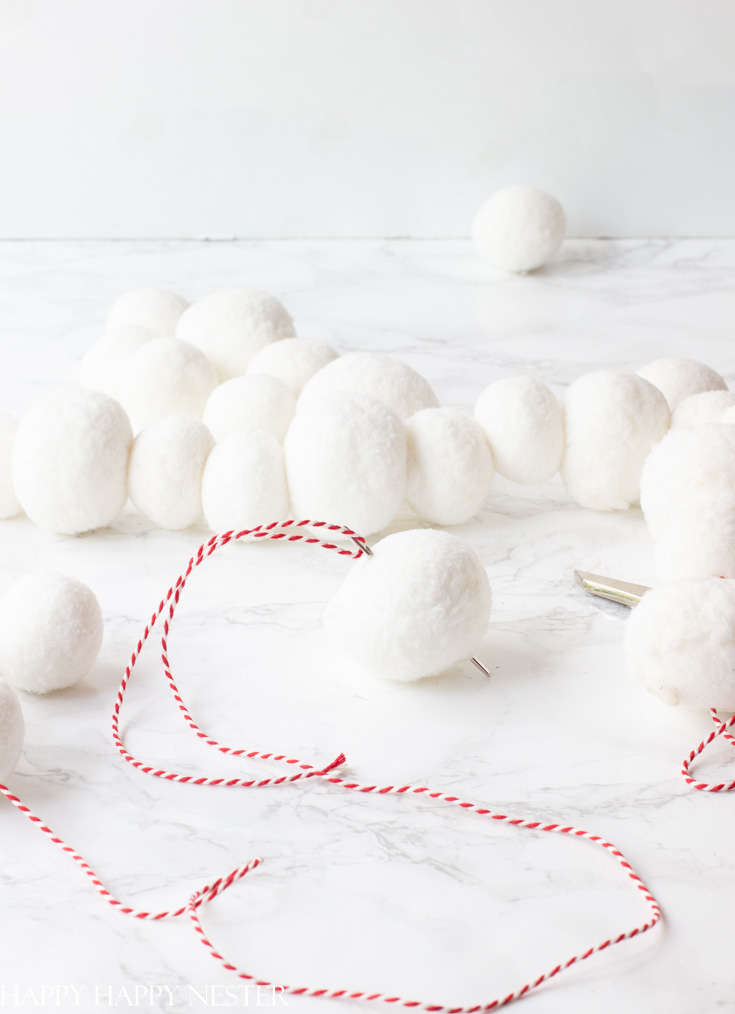
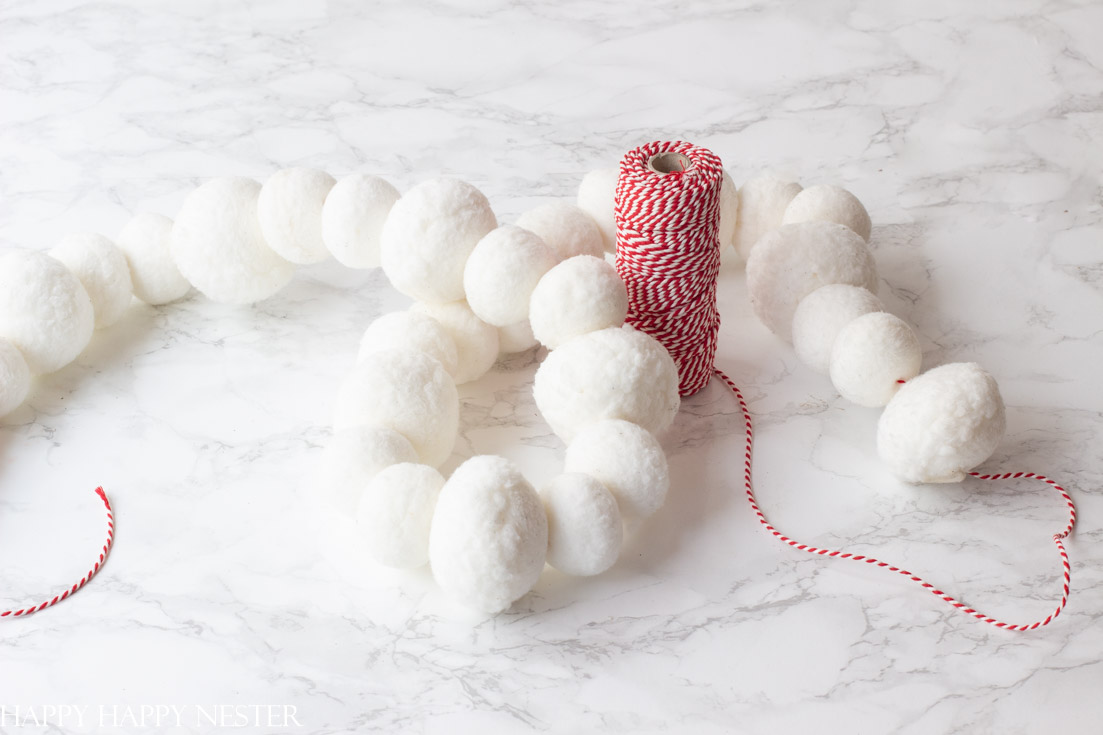
Make sure to use a craft needle with a large opening and a long needle. Thread your choice of Baker’s Twine through the large eye of the needle.
2. Thread Each Snowball
Since the needle goes through each large snowball, make sure you use a long needle. You don’t want a short needle that gets lost in the ball.
3. Space Each Ball Equally
Place a distance between the balls. You can choose whatever distance you prefer. I placed about five-inch width between my snowballs.
It is also pretty to have a string that doesn’t have any space between the pom-poms.
4. Make Loops on Each End
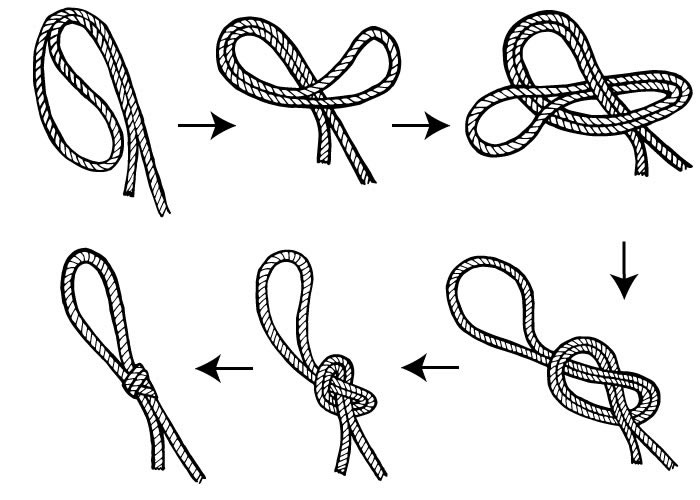
On the ends of your baker’s twine, take about two inches of the twine and double back on the thread to create a loop. Tie the loop with a knot. Here is a simple photo of instructions on creating a loop on the ends of the twine.
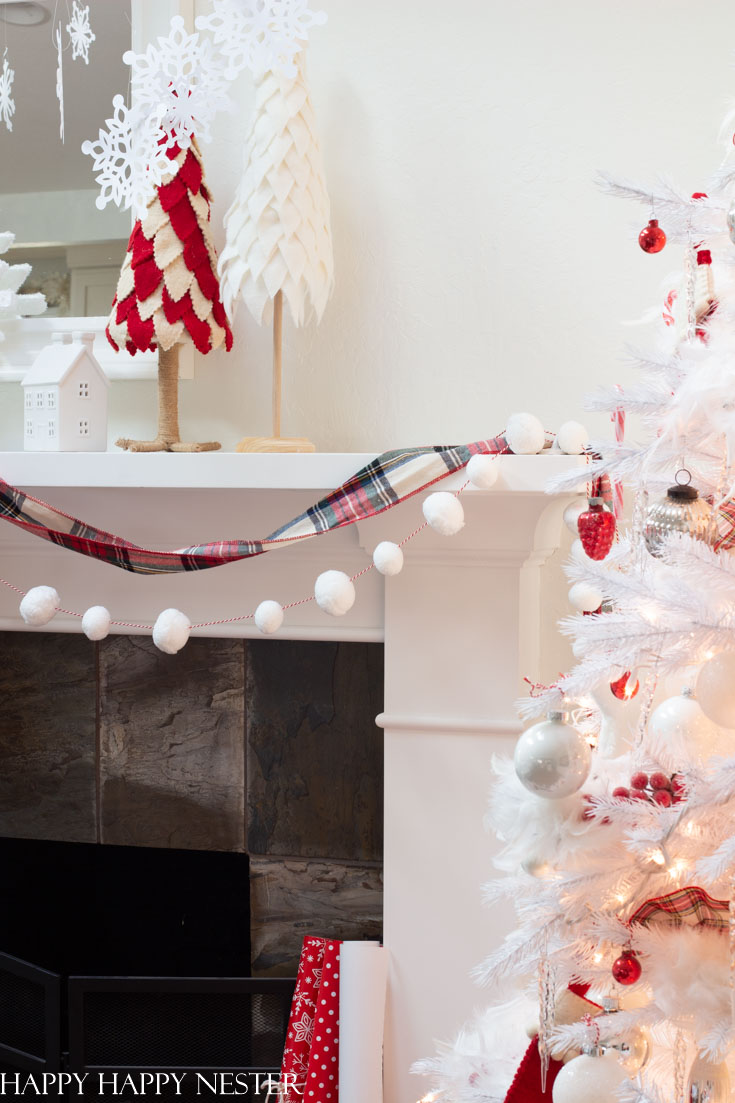
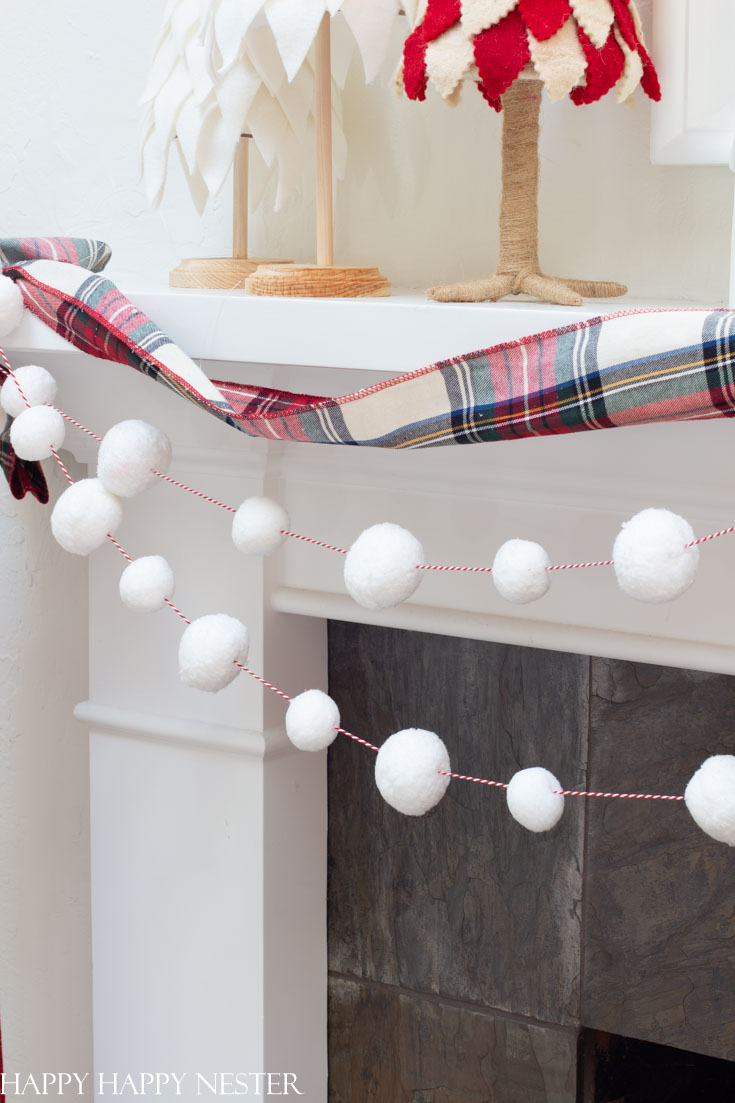
I know that this is an easy garland, but it really is super cute and looks fabulous on my mantel and entertainment center. I hope you have a couple of minutes to create this holiday decor this year.
Thanks for stopping by today!
Cheers,
- My New Favorite Products from Amazon - January 7, 2026
- Last-Minute Stocking Stuffers - December 24, 2025
- My Favorite Gift Wrap Inspiration - December 20, 2025




Leave a Reply