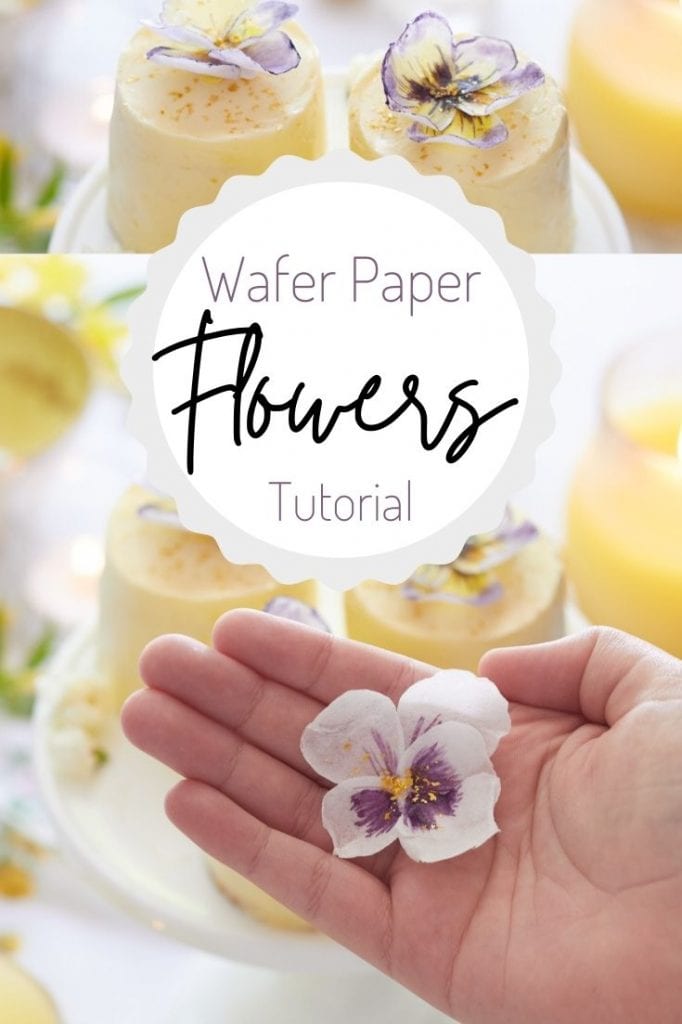
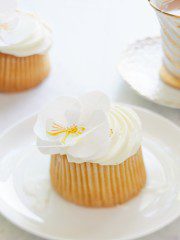
Decorate your desserts with these beautiful Wafer Paper Flowers. All the materials are edible, including potato paper, food coloring, and edible glue. Learn how to make these easy paper flowers in this step-by-step tutorial.
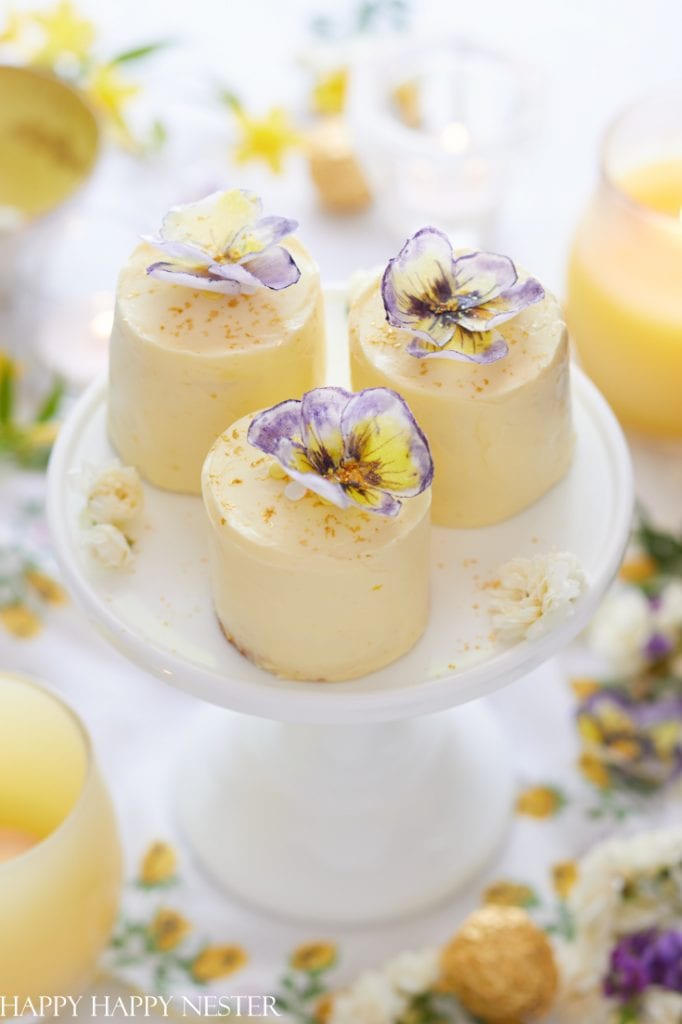
This is a pretty alternative to sugar flowers, and they are super simple to make. I love how cute these dainty little flowers look on cakes.
Baking cakes is my passion when it comes to desserts.
Since I’m not that experienced with making sugar flowers, it’s nice that I found this wafer paper alternative. The possibilities are endless with wafer paper.
I stumbled upon these flowers when I found this talented baker, Astashkina. Judging by her website and her fabulous cakes, she is definitely an expert on making these gorgeous flowers. Here is the blog post that you’ll want to grab her petal template from.
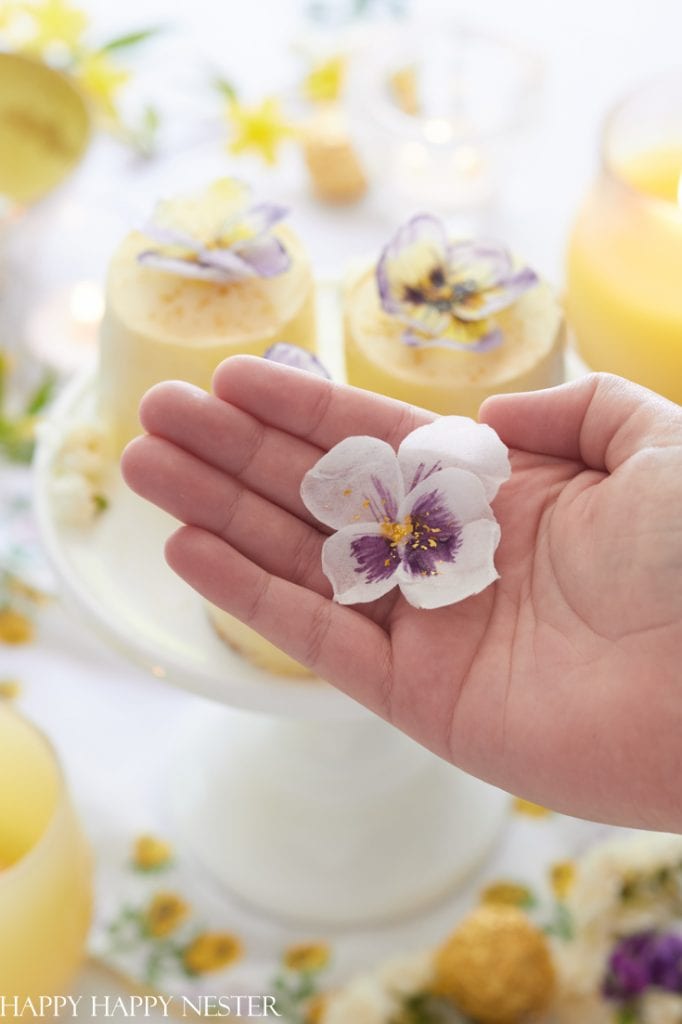
Once I saw they cool flowers, I immediately order my supplies to make them.
You see, I envisioned placing them on some cute mini-cakes that I’ll share next week.
Wafer Paper Flowers Tutorial
I’m new to wafer paper crafts, so let’s talk a little about it.
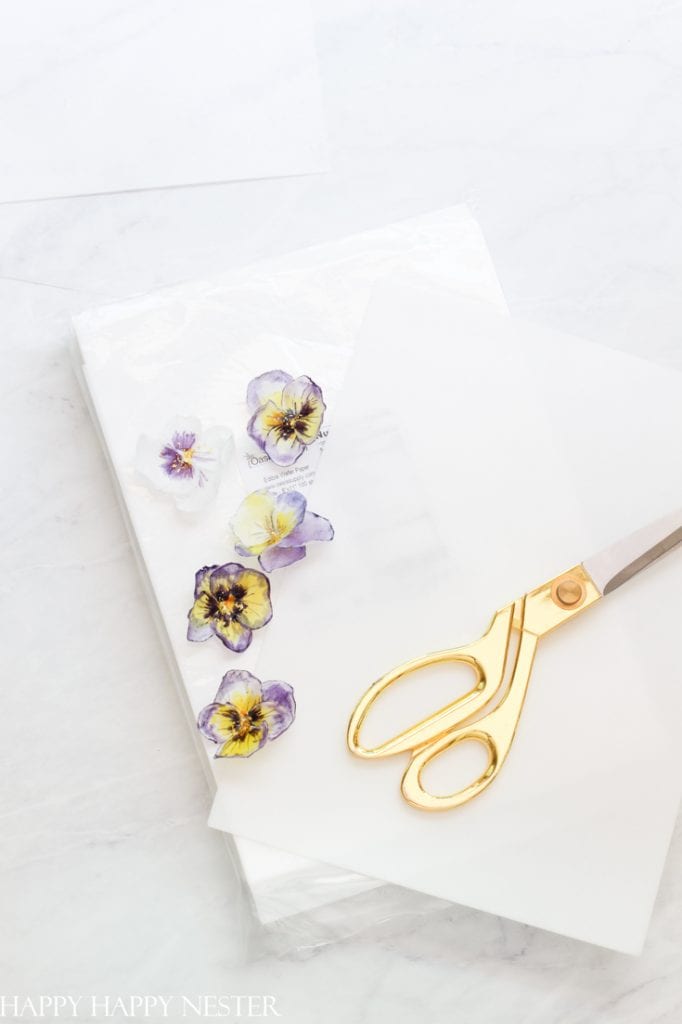
What is Wafer Paper?
It’s a starch-based product made out of either potato or rice. The paper that I bought contains potato and comes from Finland. Here is the list of ingredients: potato starch, water, and olive oil.
What does it Taste Like?
Well, it does have a subtle taste but not like anything I have tasted. I hear they keep the flavor minimal, so it doesn’t interfere with the cake flavor.
Can You Print on Wafer Paper?
Yes! But print only on a special edible printer.
How Do You Attach it to a Cake?
Since a cake’s frosting contains moisture, that would melt the paper. So, creating a barrier is critical. Astashkina recommends using some white candy melts on the part that comes in contact with the cake. I brushed it on the backside of the flower, and it worked perfectly. I guess the high-fat content doesn’t affect the wafer paper as water does.
Flower DIY
Supplies:
Edible Glue ( I have not used this yet, so I can’t say if it works)
Scissors
Directions:
Step 1 – Download Petal Template
Sign up for the template. Once you receive it, print it out.
Step 2 – Cut Petals
I cut a few at a time by layering the paper.
Step 3 – Mix Glycerin with Water
Make half a batch of glycerin and water in a small bowl (you can find the recipe on your petal template download document).
Place a couple of drops of food coloring in small separate bowls.
Then add parts of the water/glycerin to your various small bowls of colors.


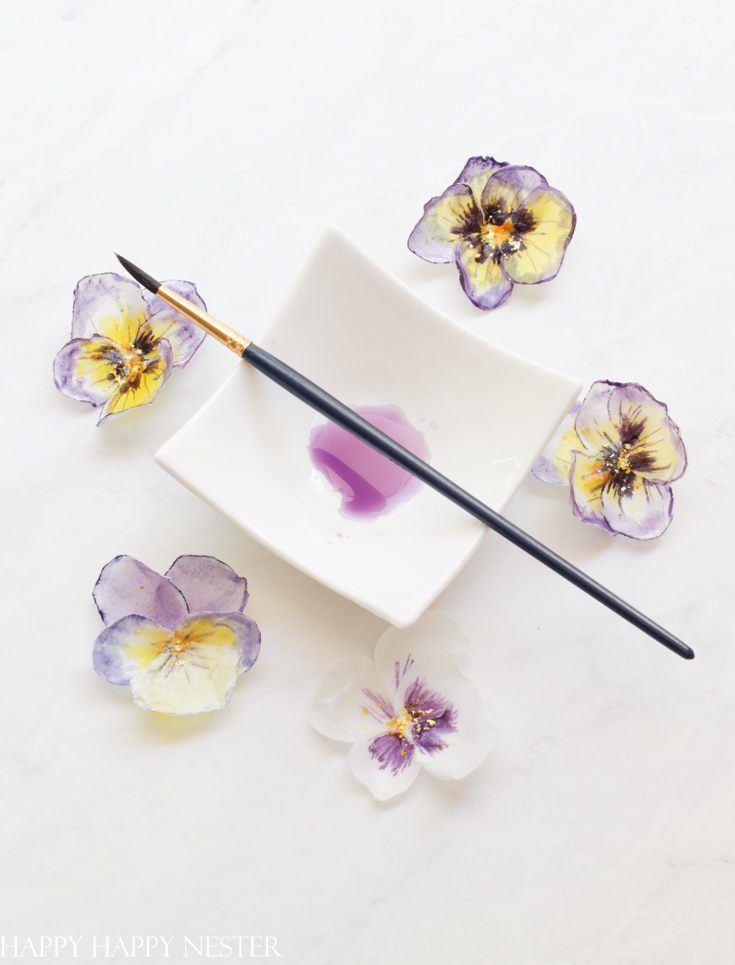
Step 4 – Paint the Petals
You don’t want much water on your paintbrush since the liquid will dissolve the paper. So, make sure to load your paint on it and brush a bit on a clean paper towel.
I placed my most prominent colors on my petals first. Then once my first layer of paint was dry, I added the next layer. My final layer of paint was the details.
And while I was painting the petals, I looked at some real photos of pansies as my guide.
Step 5 – Shape Petals
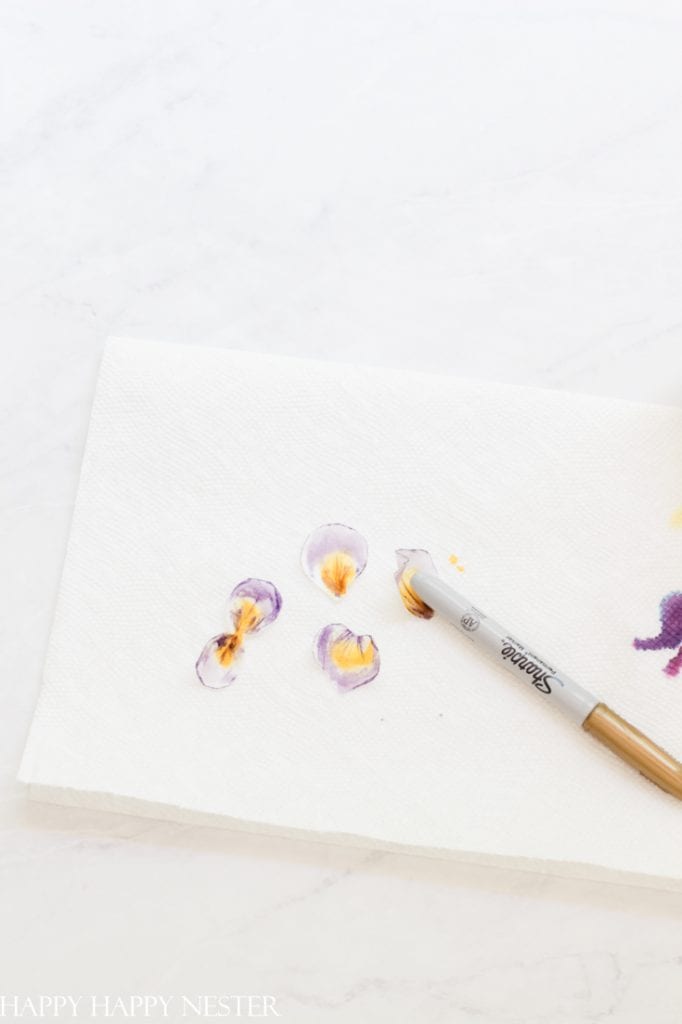
When the petals with semi-moist, I used the end of a sharpie marker to create some roundness to the petals. I also used my fingers to make some ruffly edges.
Step 6 – Glue Petals
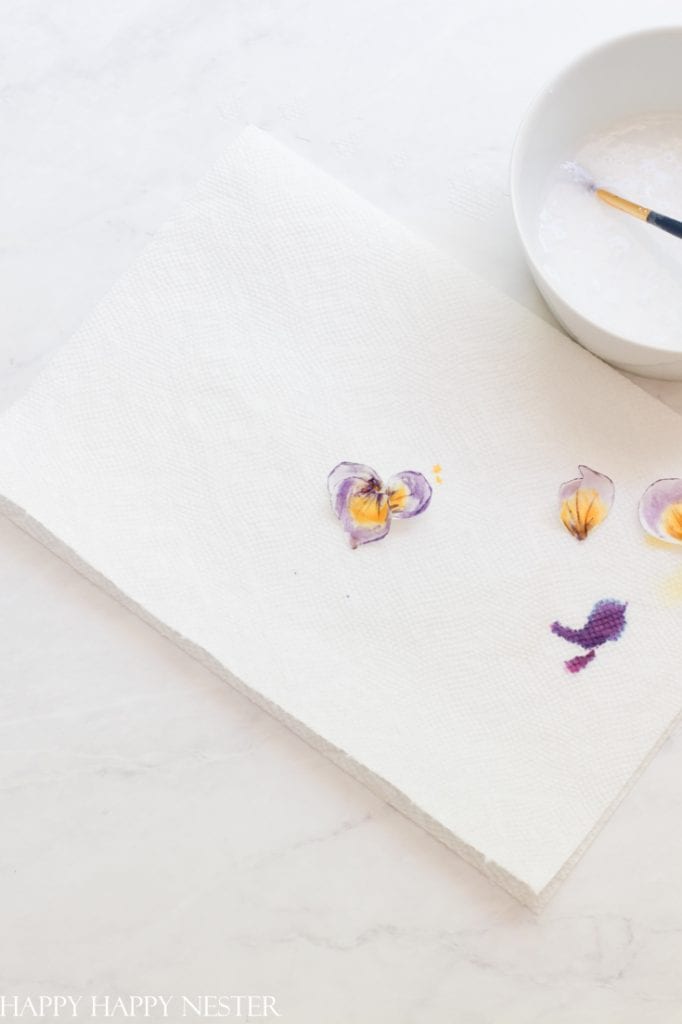
I used the recipe from Astashkina for the glue. The recipe comes with downloadable pansy petals. As an alternative, you might want to try edible glue. The link is above in the supplies list.
I glued the one petal that looks like a spade to the double petal. Then I glued the two other petals to the top of the double petal. You can view her tutorial on her blog.
Step 7 – Add Edible Gold
This is optional. Add some edible glue to the paintbrush and place it in the middle of the flower. Sprinkle edible gold on the glue.
Step 8 – Melt White Candy Melts
You can read how to melt the candy melts on my Easter Chocolate Bark recipe. By the way, you only need to melt a handful if you made just a couple of flowers.
Step 9 – Brush the Chocolate on the Flower
Brush melted chocolate on the backside of the flower. This candy layer creates a barrier between the flower and cake frosting. If the frosting comes in contact with the wafer paper flower, the moisture may dissolve the wafer paper.
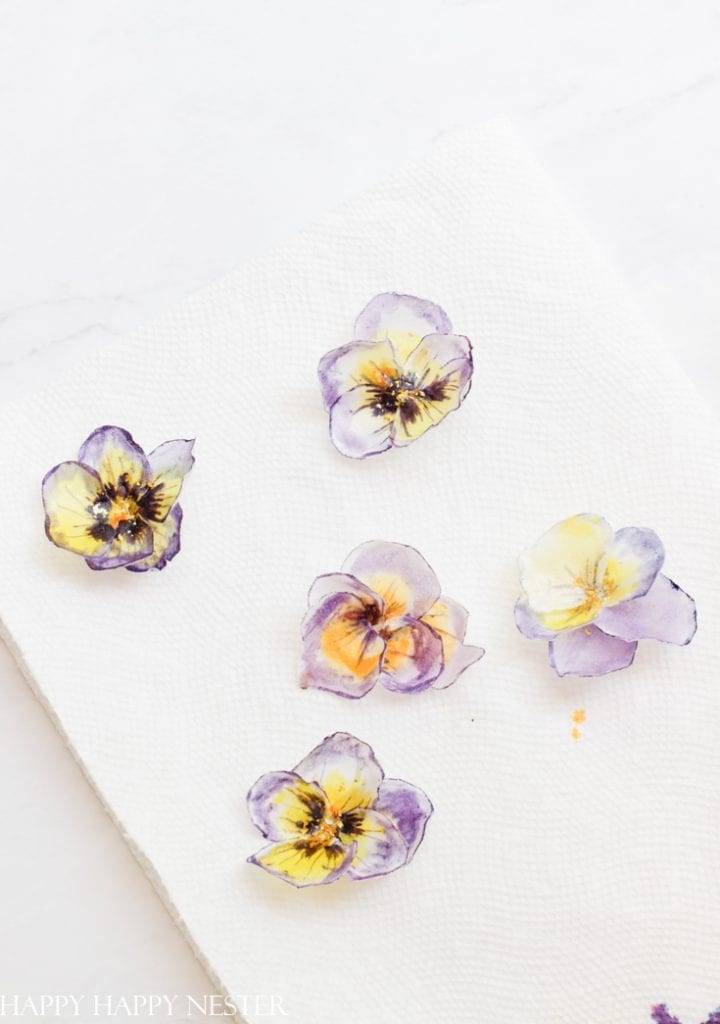
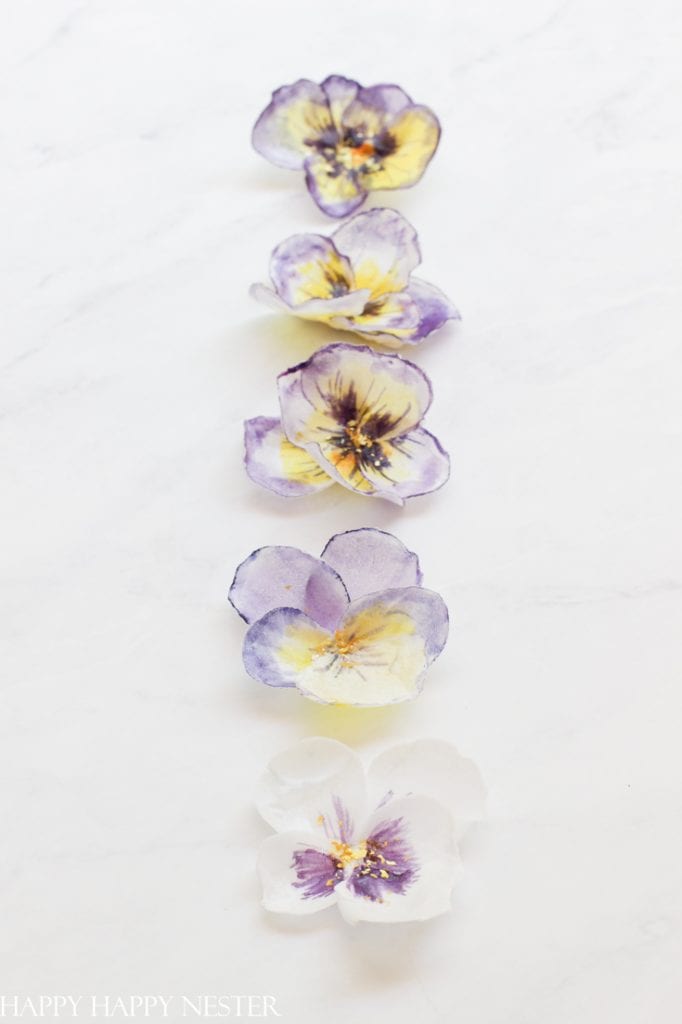
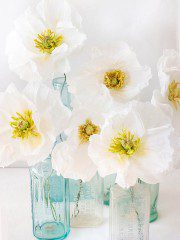
I loved making these pretty little flowers. I can’t wait to make other flowers! Don’t you think an Icelandic Poppy would look amazing? Holy smokes, the possibilities are endless.
And I’m excited I have a supply of 100 sheets of wafer paper! Now, that equates to a lot of wafer paper flowers in my book!
If you like making paper flowers, here are more posts!
By the way, here are my talented friend’s flower projects!
Botanical Flower Printables and DIY Beaded Picture Hangers

Celebrate Spring by printing off these free vintage spring flower posters and make DIY beaded picture hangers for less than $5.
DIY Floral Monogram Tumbler with Cricut
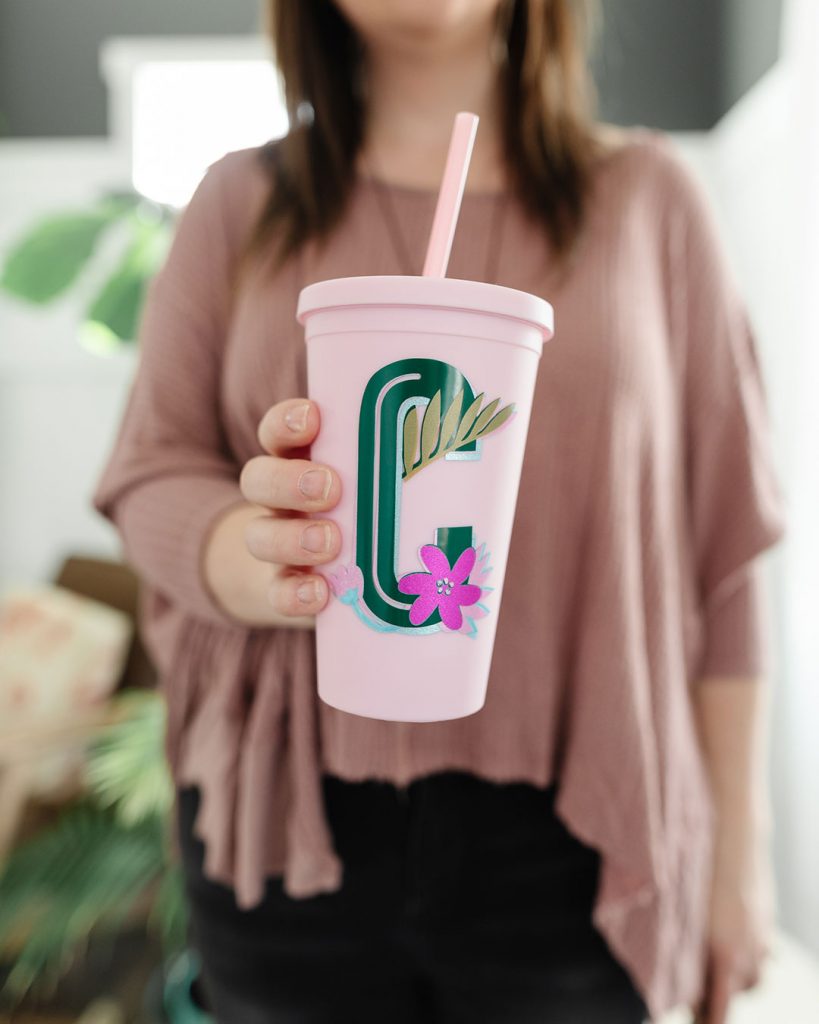
It’s almost iced coffee season! Let’s make a pretty DIY floral monogram tumbler with Cricut that’s perfect for your Spring and Summer drinks. This tropical-themed tumbler features a layered vinyl design, and you can customize the colours to suit your style.
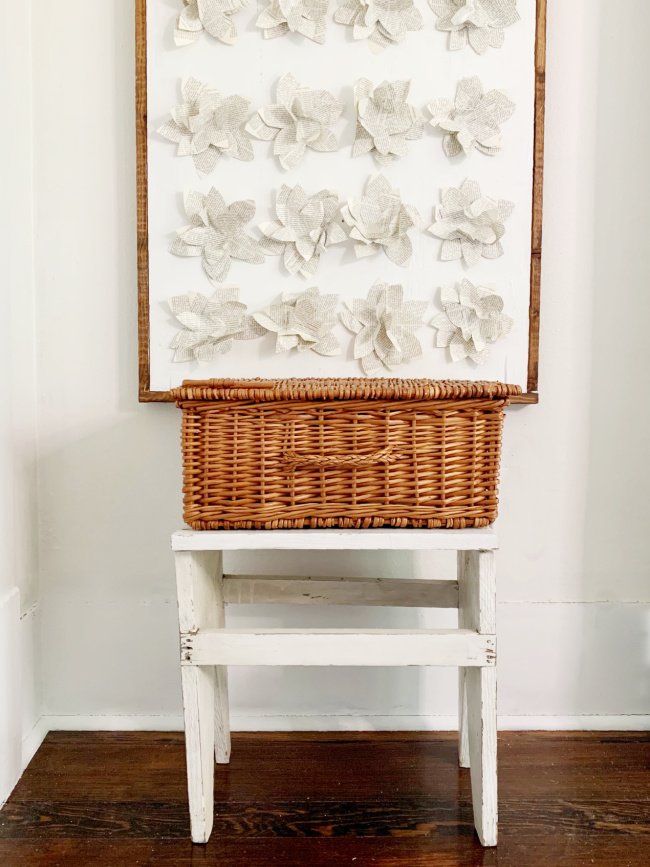
Have a big blank wall and can’t figure out what to do with it? You can make this simple, easy DIY artwork in under an hour for (almost) FREE.
How to Make a Flower Craft Pillow
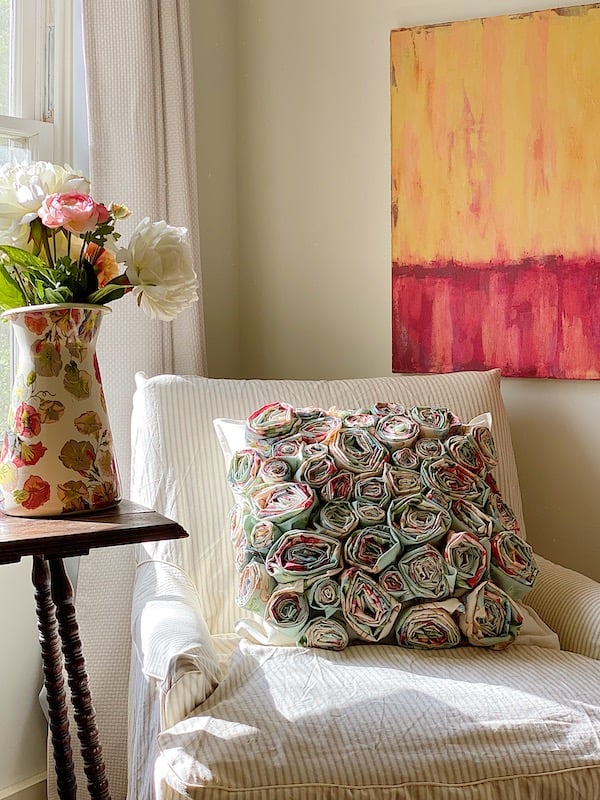
Decorate your home with this amazing flower craft pillow. It’s an easy craft that requires no sewing!
Enjoy making a few wafer paper flowers and I’ll be back tomorrow!
Toodles and Happy Friday!


- Chocolate Covered Quinoa Recipe - February 5, 2026
- Valentine’s Day Gifts from Amazon - February 4, 2026
- My Favorite Cleaning Items from Amazon - January 28, 2026
Sharon
You are so darn creative! These turned out adorable. I can’t get over how pretty and realistic they look. I definitely need to give these a try!