How to Make Crepe Paper Flowers has been on my to-do list for the last couple of years! With all my flower cherry blossoms posts, you would think crepe paper flowers would have snuck into my studio. But, alas, here is my first post!
*This post contains affiliate links
This makes crepe paper flowers post a long post since I want to include a detailed tutorial, but please don’t get intimidated. I show every step that you’ll want to take to make these beautiful flowers. These flowers are realistic and are pretty in a vase or a wedding bouquet. My ultimate goal is to create a few flowers over here so that you’ll have a wide variety of flowers made if you want a bouquet.
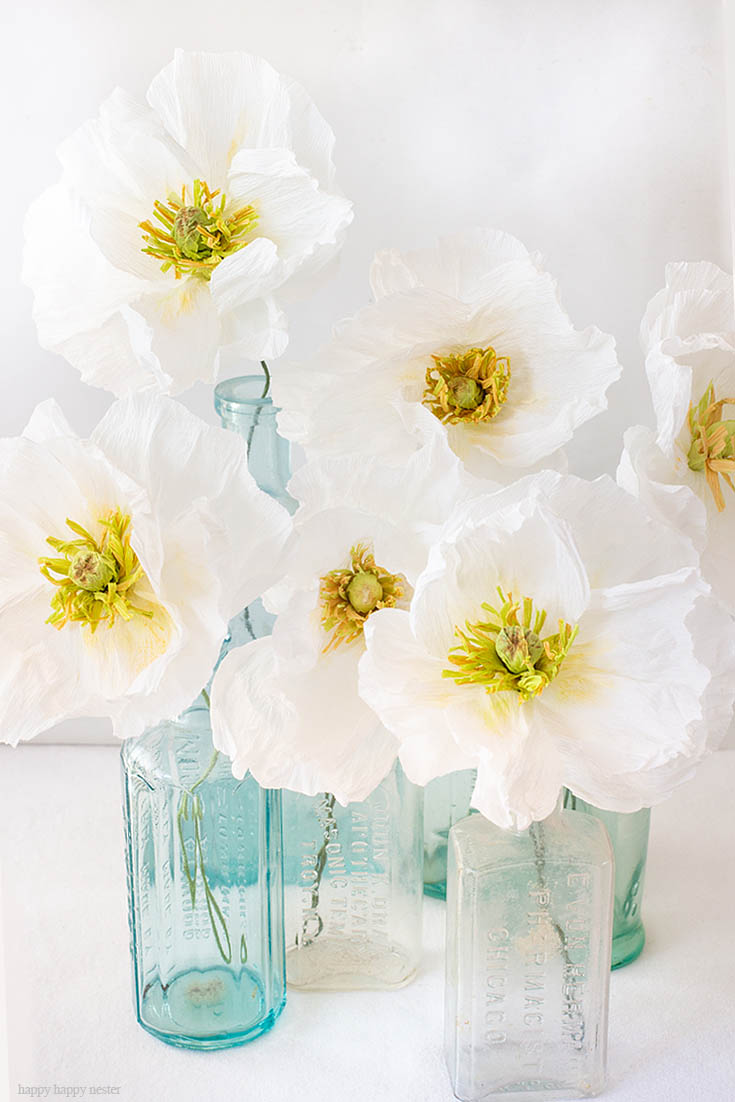
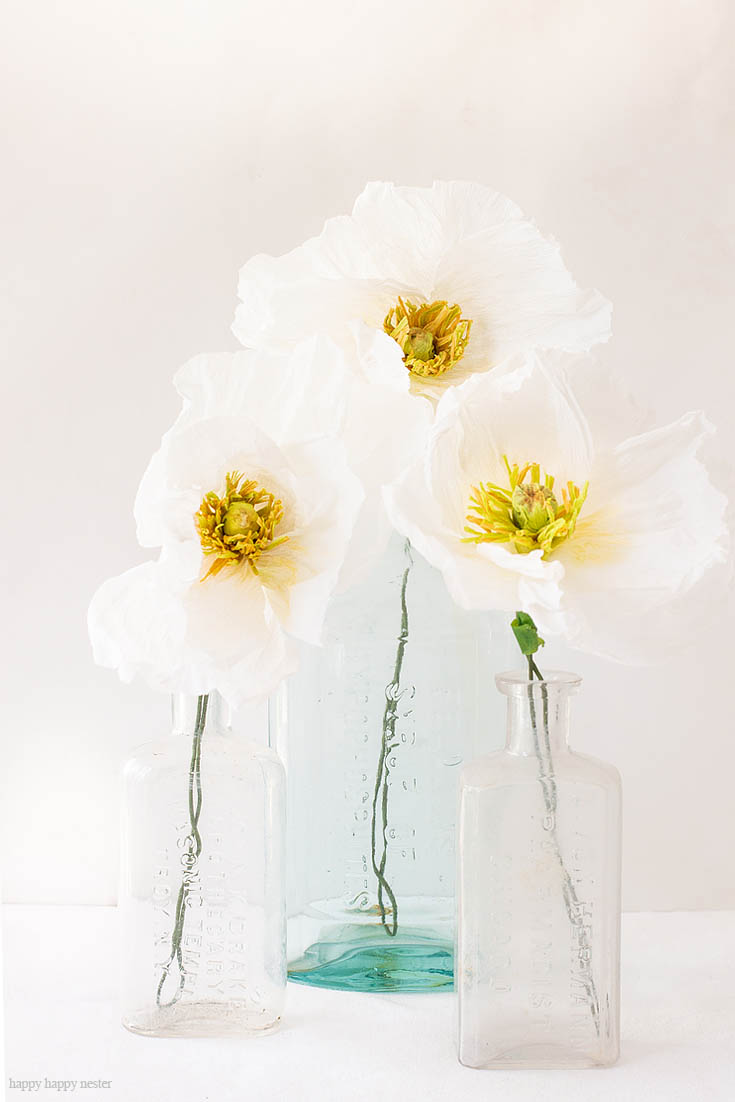
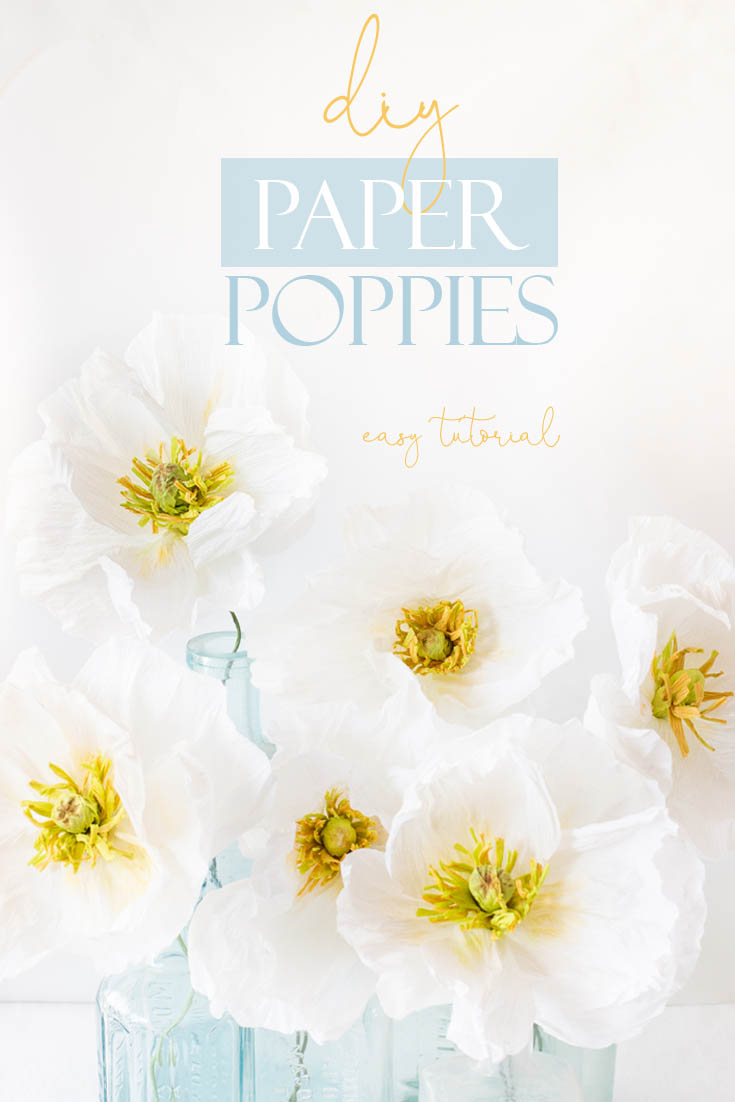
Making paper flowers is an investment of time, but the upside is that they last forever. I hope this easy step-by-step tutorial inspires you to make these lovely Icelandic Poppies! The crepe paper is a perfect match for the real flower!
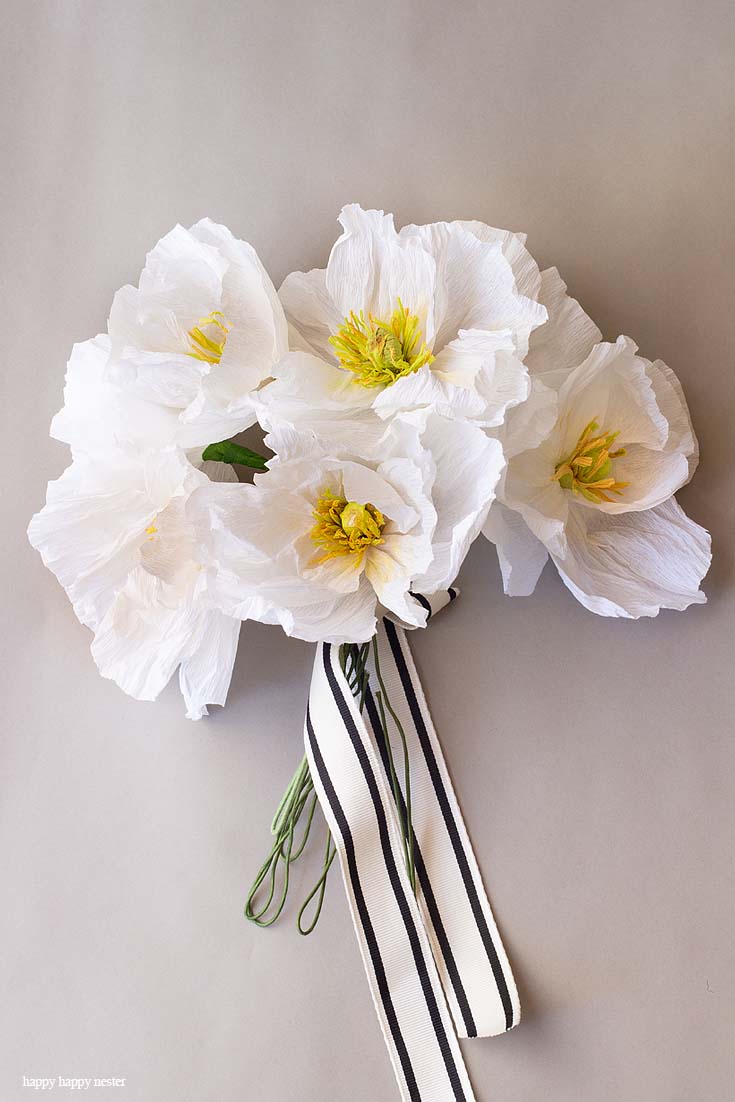
Make them into a beautiful flower bouquet!

*The following post contains affiliate links
Ok, now are you ready to find out how to make crepe paper flowers? I must admit that I have had this box of Lia Griffith crepe paper sitting around my studio for about a year, and I’m finally getting around to using it. I mostly use tissue paper since it has a nice soft petal texture, but the extra fine crepe paper works nicely on these Icelandic poppies. I feel like they have a delicate and flower-like realness.
Also, Lia Griffith has a wide variety of paper flowers you can make as well.
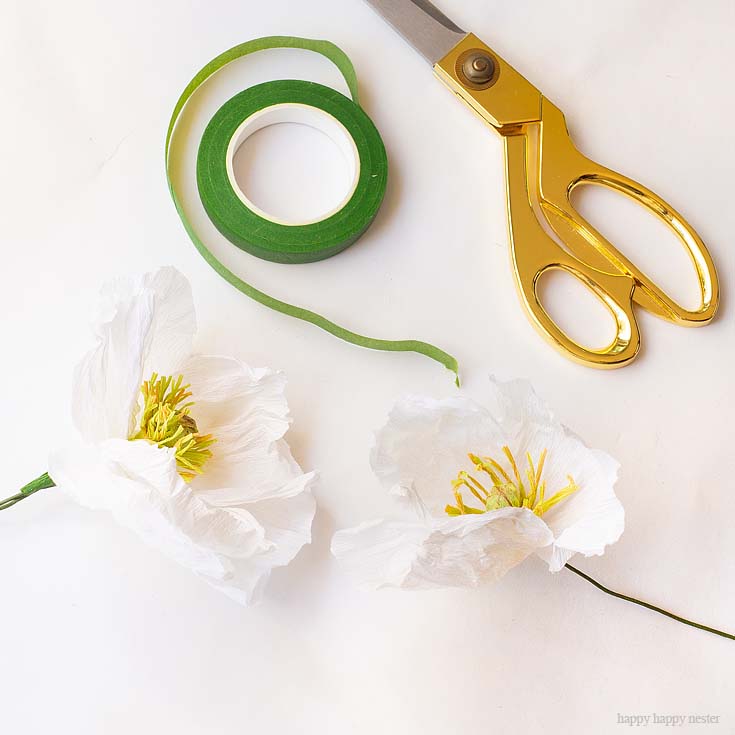
How to Make Crepe Paper Flowers
Crepe Paper Flower Supplies
Petal Templates – Inner and Outer Petals (To download the petal templates, fill out the DOWNLOAD form below)
Extra fine yellow-orange crepe paper
Extra fine green tea crepe paper
Wire cutters
DOWNLOAD Petal Templates here:
Instructions on How to Make Crepe Paper Flowers

1. Print and cut out your two petals – inner and outer petals.
Use these as your templates.
2. Cut out three of each of the inner petals and outer petals.
Take your white crepe paper and cut out three inner and also outer petals.
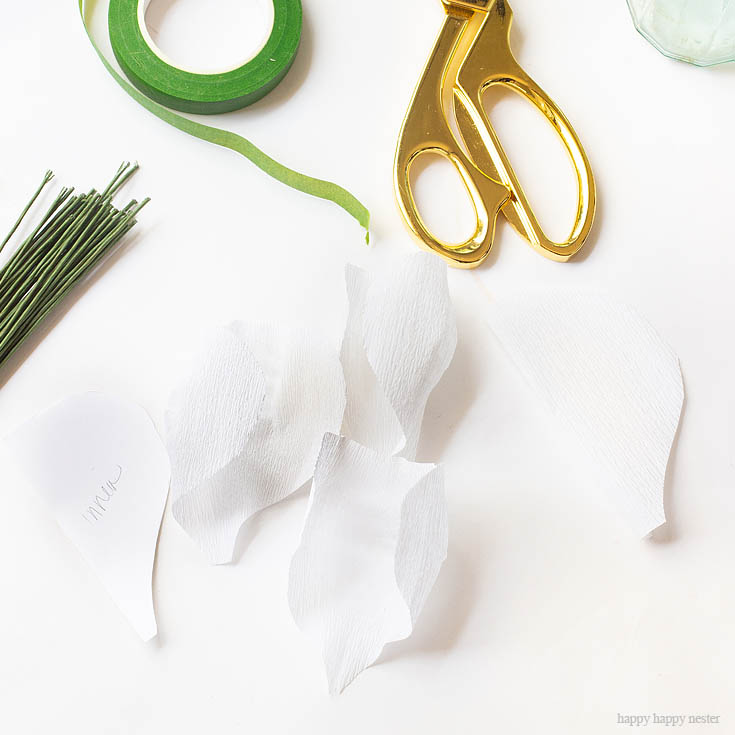
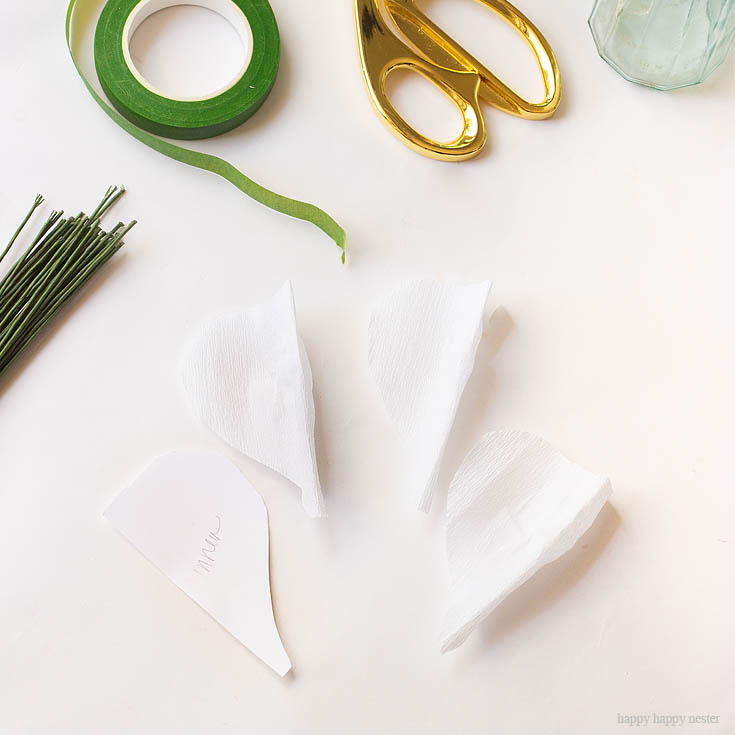
3. Take each petal and stretch from the middle to the outer.
The petal will look cupped like the photo above.
4. Next, fold each petal in half.
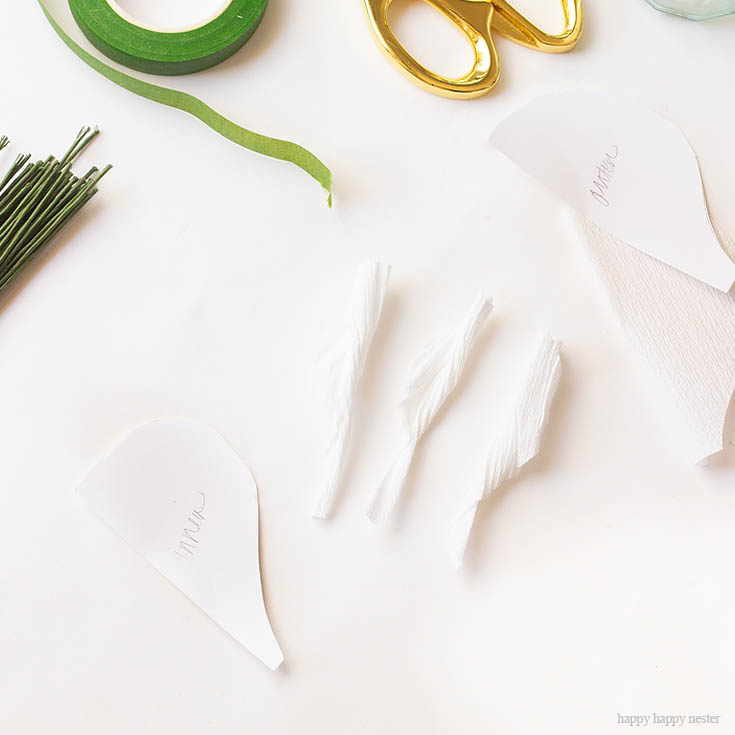
5. Then start twisting the petal.
First, twist it one way and then the other.

6. Unwind each petal and crumple it up into a ball.
Then unravel them.
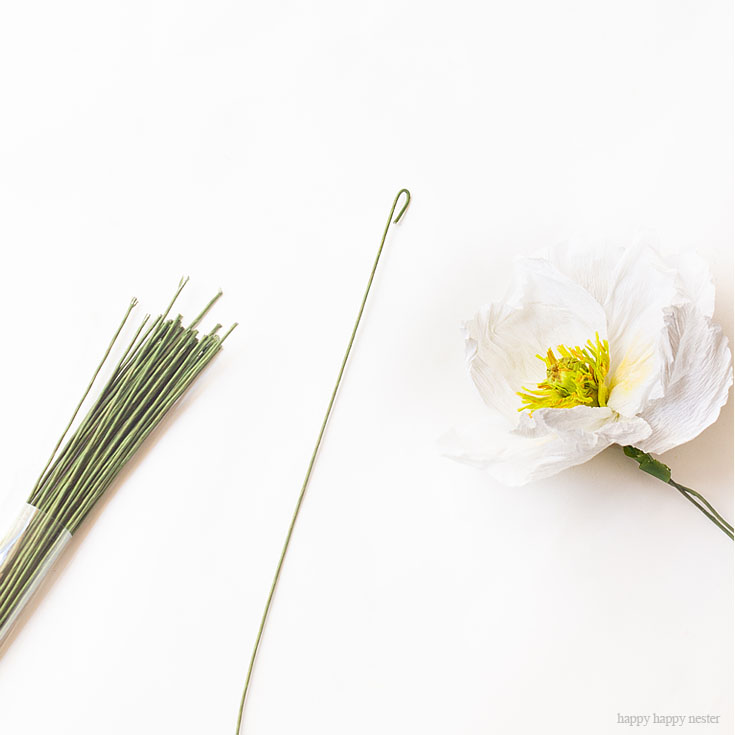
7. Take your wire and make a small loop at the top.
8. Next, take some extra crepe paper and make a ball around the loop.
Are you still having fun? Don’t you love this tutorial on how to make crepe paper flowers?
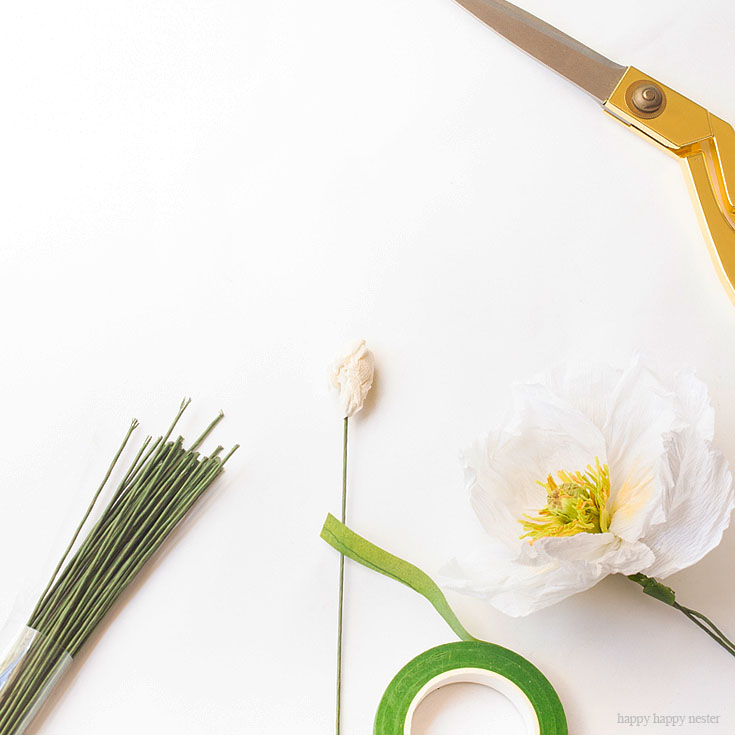
9. Wrap some floral tape around the pod.
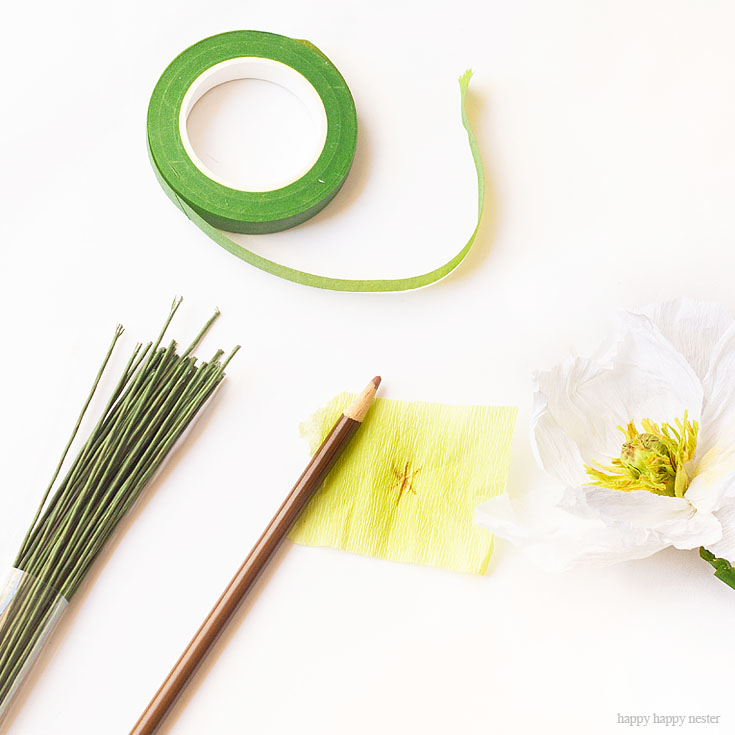
10. Cut a square piece of green crepe paper.
Then make a cross with a brown colored pencil. Then place two more lines going through the middle like pictured in the above photo.
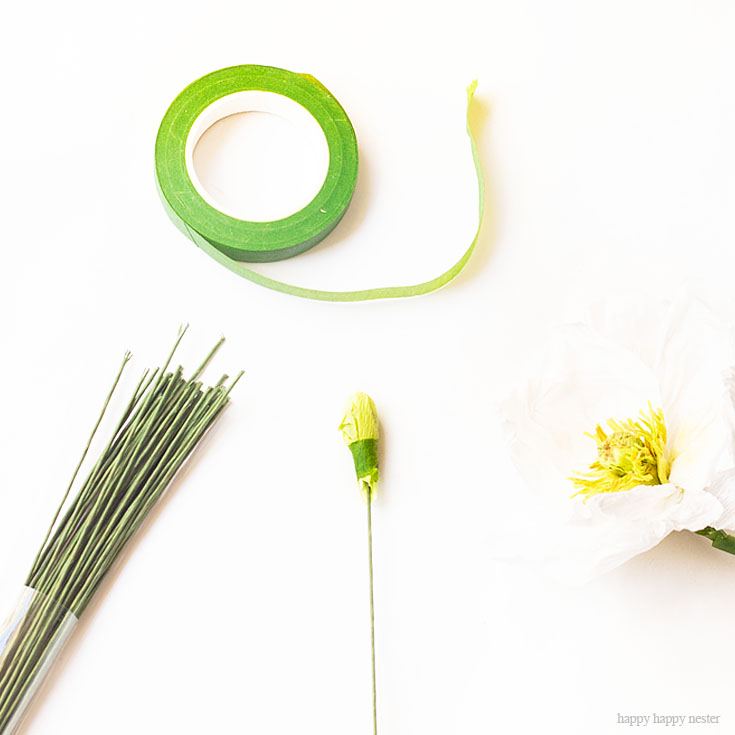
11. Next, take a square piece of green crepe paper, place it over the pod, and glue it.
The brown design should show up on the top of the pod.
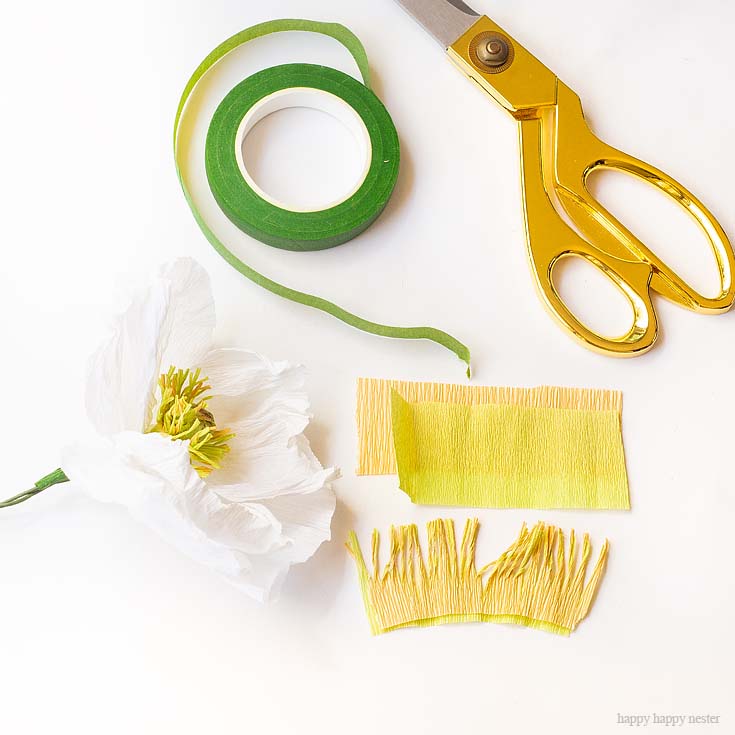
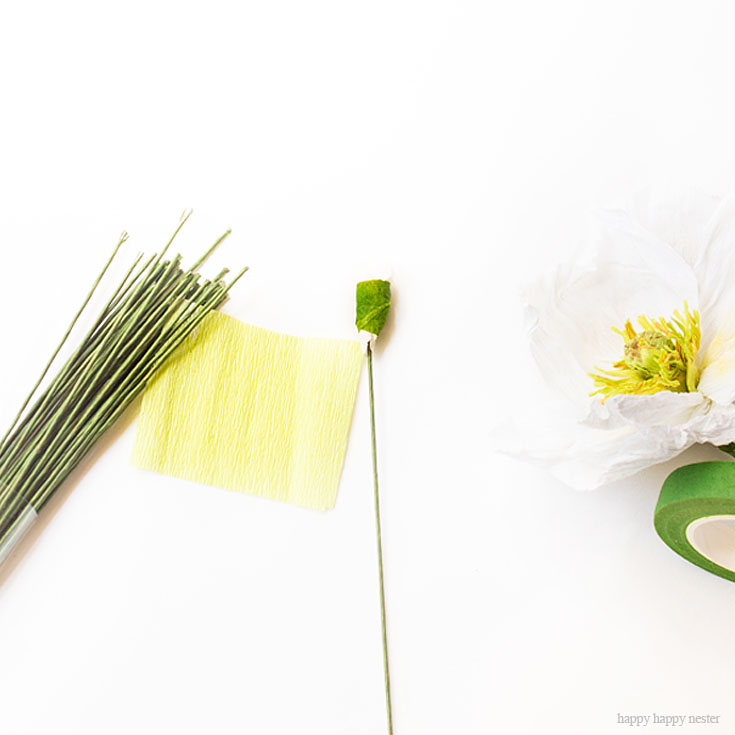
12. Make the center of the flower fringe.
Take your green and yellow rectangle papers (3″ x 1 1/2″) and place the yellow a tiny bit above the green one. Now glue them together. Once the glue is dry, cut slits down, as shown in the photo. Twist each piece of fringe.
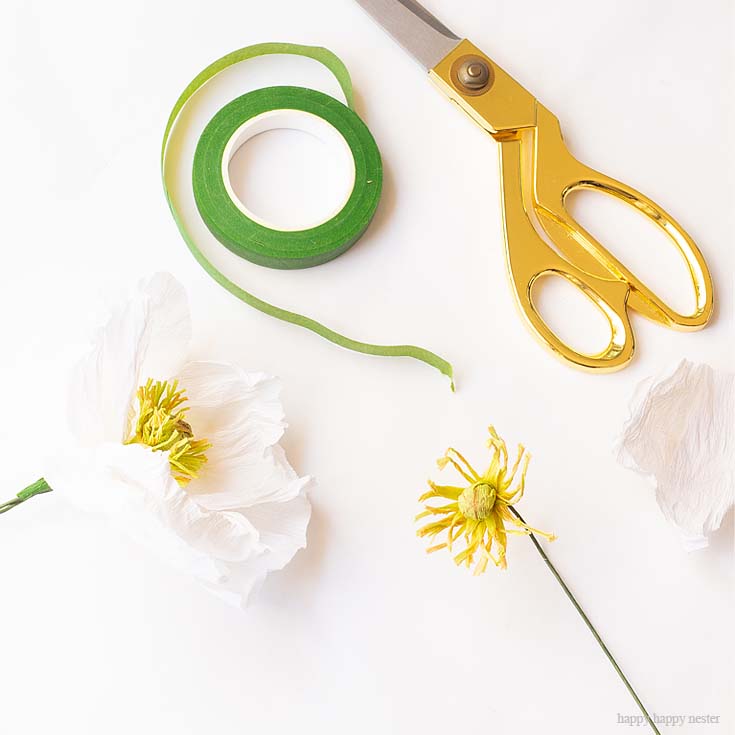
13. Wrap the fringe around the pod and glue it to its base.
Trim the fringe if it’s too long. I tried to curl the tips a tiny bit.
14. Glue the three inner petals to the center pod.
Make sure to overlap each petal by about 1/2 inch. Then take the outer three petals and create the outer row. Where the inner petals meet, place your out petal right in between them, staggering them and filling in the gap. Glue all the petals to the base.
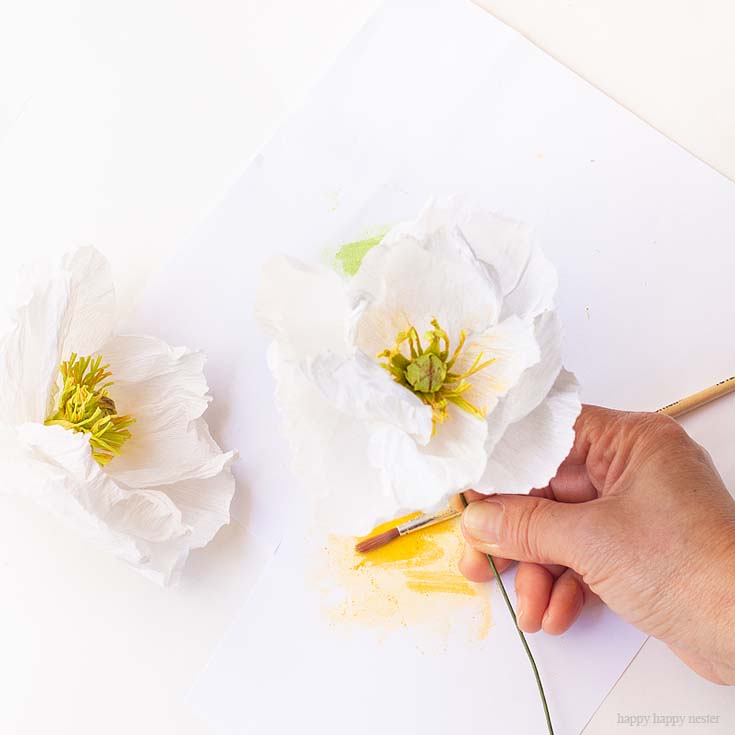
15. Create pollen in the middle of your flower.
To make the pollen in the center and on the petals, mark up a piece of paper with yellow and green pastels. Take your watercolor brush and pick up the pastel dust and place your brush in the middle of the flower. It is also nice to touch to add a tiny bit to the outer petals.
16. Once the glue is dry, add floral tape to the flower’s bottom to keep it together.
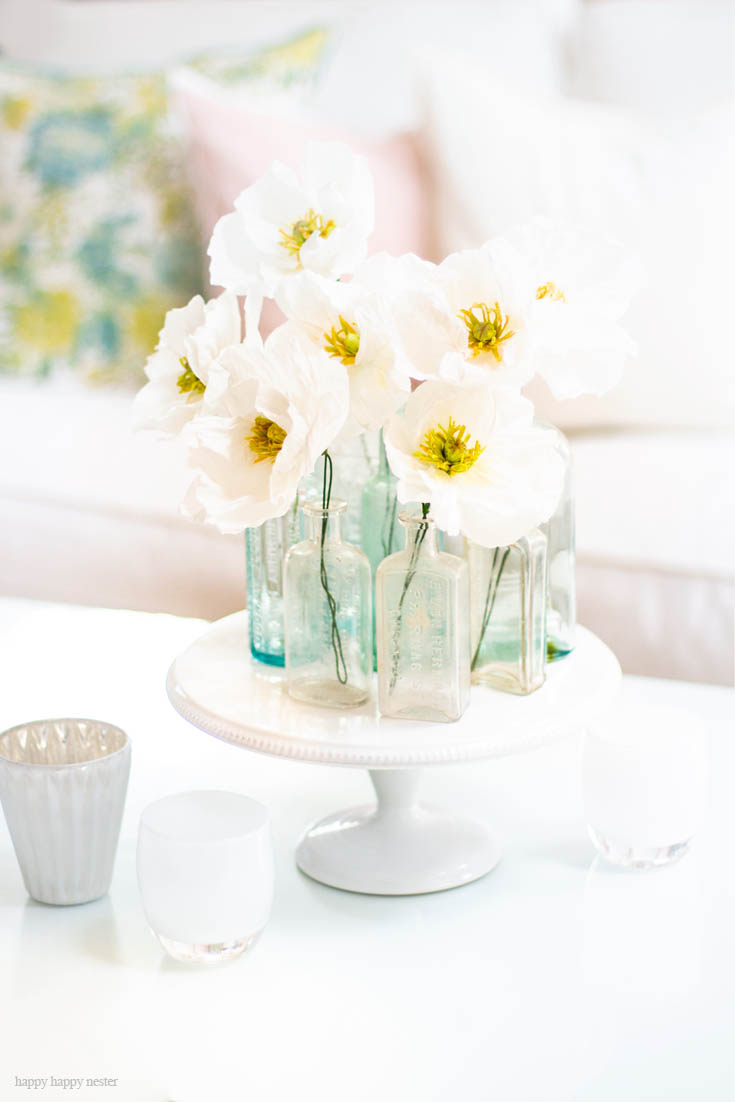
Tada, now that wasn’t too hard, right? Ok, you can now decorate your home with your beautiful Icelandic Poppies! I love how realistic they look, and best of all, I love how they don’t wilt and die! I have bought real flowers, and they can be quite expensive and fragile. I feel that they look like they are made of paper!
But, if you don’t have the time to make them, here is a great post that features a beautiful collection of gorgeous paper flowers you can purchase.
Thanks so much for joining our little tour. I hope you enjoyed this fun tutorial on how to make paper flowers. I sincerely hope you can make these fun crepe paper flowers.
Here is a list of my paper flowers over here on the blog:
- DIY Paper Flowers Tutorial
- DIY Paper Flowers – 10 Different Ways
- Paper Flower Tutorial – Magnolia Flowers
- How to Make a Paper Flower Wreath
Happy Crafting my friends!


- Lazy Saturday Morning Breakfast Ideas - July 18, 2026
- Lemon Blueberry Crumble (With Creamy Mascarpone) - July 16, 2026
- Red and White Christmas Tree - July 9, 2026


")

Lene Schødt
I have printed the jpg with the petals in 100% and the are QUITE big – how “tall is the big petal – for comparison?
happyhappynester
Hi Lene,
I just checked my paper flower, and the petals are 3 inches wide. When you make the petals, you’ll roll them and scrunch them together so that the size will get smaller. I hope this helps.