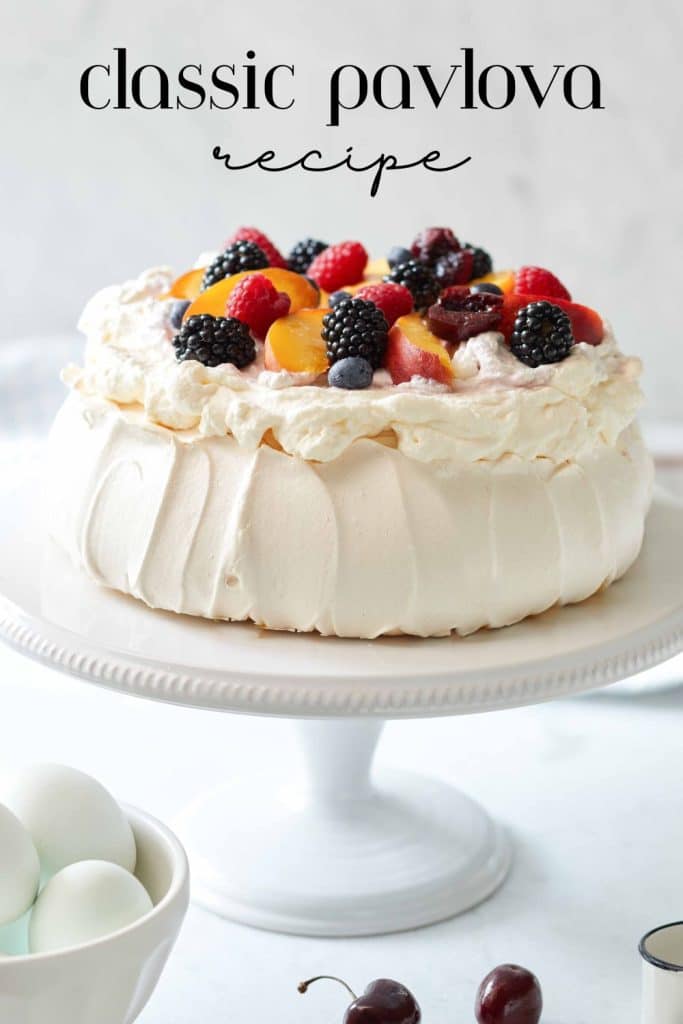
The Classic Pavlova Recipe originates from Australia. It’s a sweetened crisp meringue base made from whipped egg whites traditionally topped with fresh whipped cream and a medley of your preferred fruits. Ideal for summertime gatherings, this light, and airy dessert are simply perfect for entertaining. Prepare the meringue in advance and assemble it just before serving.
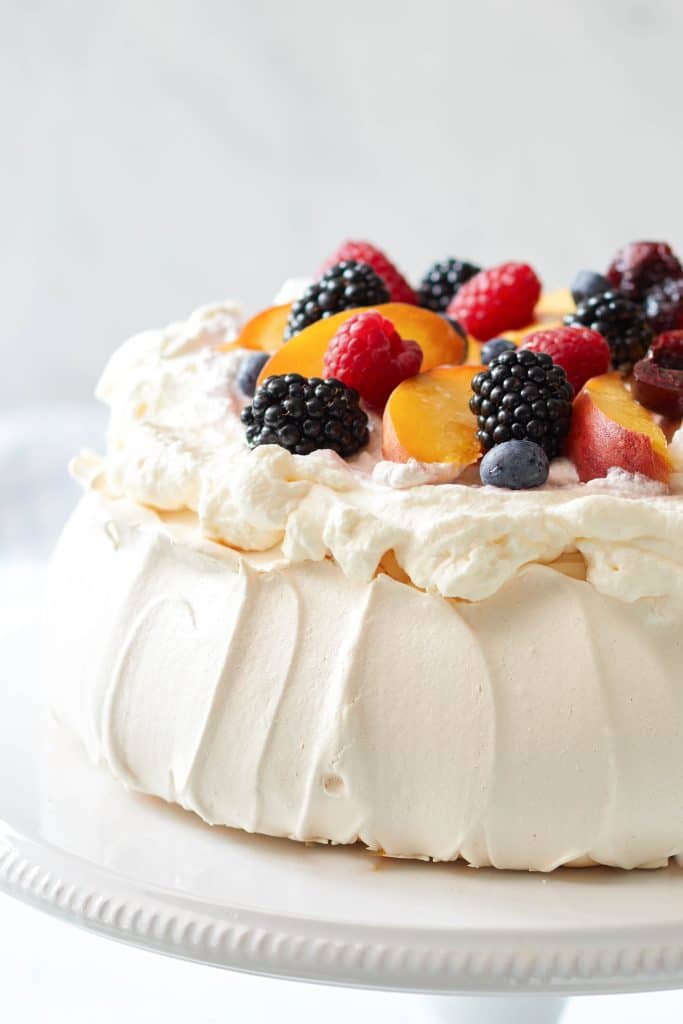
What I love about this dessert is that it has an elegant presentation and a scrumptious taste. It’s so cool that with minimal effort, you have an impressive dessert that wows your guests!
To my surprise, he shared his mom’s New Zealand Pavlova recipe, but I later discovered there’s also an Australian version.
Regardless, this light and delightful dessert has become my absolute favorite.
After years of making it, I’ve finally perfected the pavlova recipe, and I’m excited to share my tips and tricks with you in this thorough post!
Enjoy!
What is Pavlova
Pavlova is a popular dessert that originated in Australia or New Zealand (its exact origin is debated between the two countries).
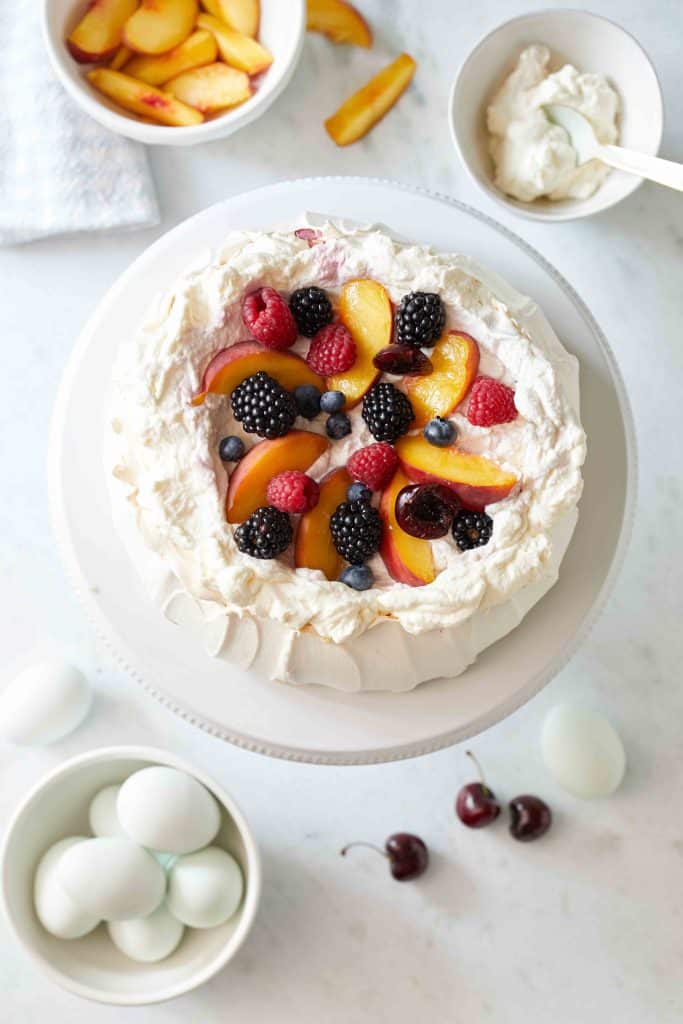
It consists of a sweet, crisp meringue shell with a soft, marshmallow-like center, topped with whipped cream and fresh fruits.
How did it get named Pavlova
The origin of pavlova is a topic of debate and has been a point of contention between Australia and New Zealand for many years.
Both countries claim to have created the dessert in honor of the famous Russian ballerina Anna Pavlova during her tours in the 1920s. The exact details of its invention remain unclear, but what’s certain is that pavlova has become an iconic and beloved dessert in both Australia and New Zealand, enjoyed by people all around the world.
Some Issues You May Encounter with Pavlova
Don’t panic if this is your first time attempting the classic pavlova recipe; it can be a bit finicky, and a few issues might arise during the process. Let’s explore these potential challenges and learn how to prevent them, ensuring a successful pavlova-making experience.
Weeping Sugar:
When sugar is not fully dissolved in the egg whites, it can create a sugary syrup that seeps out during baking and cooling. The presence of this syrupy liquid causes the meringue to “weep” or release moisture, leading to a sticky or wet surface on the finished meringue.
How to avoid this weeping! To avoid weeping, it’s important to ensure the sugar is completely dissolved in the egg whites while making the meringue. This can be achieved by adding the sugar gradually and beating it until it fully dissolves, creating a stable and smooth meringue that is less likely to weep during and after baking.
When adding sugar, gradually add a tablespoon at a time and whip for about 30 seconds in between installments.
Also, make sure to test the sugar in the meringue by placing it in between your fingers and feeling for sugar granules. It should be smooth and not gritty.
Cracking Meringue Shell:
Sudden Temperature Changes: I found that if the meringue abruptly goes from a hot oven to a cold environment like your kitchen the shell will crack.
- Don’t open the oven while baking since this will cause the pavlova to fall and crack.
- To avoid any cracking, my solution is to cool down the pavlova slowly. So, after baking the pavlova, turn off the oven and leave it there for many hours. It’s best to leave it overnight if you can.
Overbeating Egg Whites: Overbeating the egg whites can cause the meringue to become too stiff, leading to cracks during baking.
But in the end, if you have a few cracks, don’t worry. The top will be covered in whip cream and fruit, so it will cover up any imperfections. The taste is what we love when it comes right down to it.
Do I need to use Caster Sugar?
Yes, using caster sugar (superfine sugar) when making meringue is preferred for several reasons:
- Faster Dissolving: Caster sugar has finer granules compared to regular granulated sugar. The smaller size of the sugar crystals allows them to dissolve more quickly and easily in the egg whites, resulting in a smoother and more stable meringue.
- Texture: The quick dissolution of caster sugar ensures a smooth texture in the meringue, avoiding any grittiness that might be present if using regular granulated sugar.
- Better Incorporation: Caster sugar dissolves faster, so it is more effectively incorporated into the egg whites during whipping. This even distribution of sugar contributes to a more consistent and stable meringue, less prone to collapsing or weeping.
- Aesthetic Appeal: Caster sugar helps create a beautiful glossy finish on the meringue due to its quick dissolving nature. The meringue will look more visually appealing when baked with caster sugar.
While it is possible to use regular granulated sugar in meringue recipes, caster sugar is often recommended for achieving the best texture, stability, and appearance results. If you don’t have caster sugar on hand, you can make your own by pulsing granulated sugar in a food processor for a few seconds until it becomes finer in texture.
How to Make the Best Classic Pavlova Recipe
Now that you read through all the notes on making the classic pavlova recipe, you should be ready to begin this baking task. In some ways, it’s not too challenging if you follow my instructions. I’ve worked out the issues for you.
Ingredients You’ll Need:
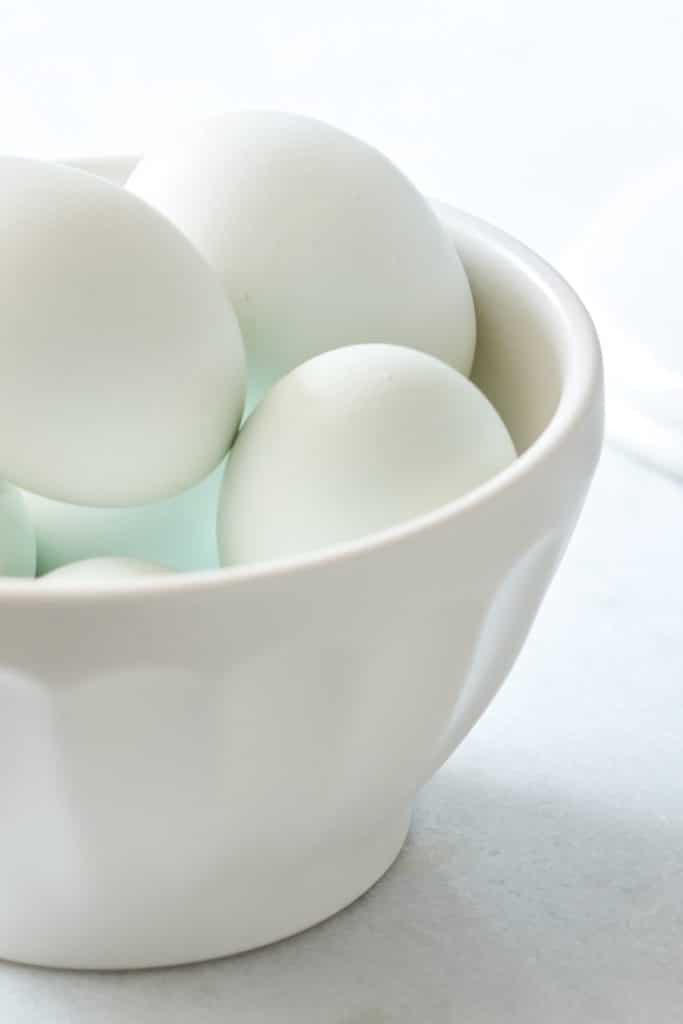
- Egg Whites: Form the base of the meringue, providing volume and structure when whipped, creating a light and airy texture.
- Cream of Tartar: Helps stabilize the egg whites during whipping, forming a more resilient and voluminous meringue.
- Caster Sugar: Provides sweetness and stability to the meringue, helping it form stiff peaks and a smooth texture.
- Cornstarch: Acts as a stabilizer, giving the meringue structure and helping to achieve a crisp exterior and soft interior.
- Whip Cream
- Fresh Fruits
Step-By-Step Instructions on Making Pavlova
Step 1 – Preheat Oven
Preheat oven to 275 degrees. Line a flat cookie sheet with parchment paper.
Step 2 – Prep Sugar
Stir sugar and cornstarch together in a bowl.
Step 3 – Beat Egg Whites
Separate egg whites and place them in a mixing bowl.
Beat with the wire attachment at medium speed (#4 on a KitchenAid Mixer). When foamy add the cream of tartar to the egg whites. Beat for 4 minutes at this speed.
Step 4 – Add Sugar
Increase the mixer speed to 6. Now begin to add around one tablespoon of the sugar mixture at a time to the egg. In between each installment of sugar, make sure to whip the egg whites for at least 30 seconds.
This process of adding sugar may take about 8 minutes, so take your time. After about 9-10 minutes, check the graininess of the meringue. Place a little in between your fingers and feel for grains of sugar. If you feel anything, the meringue isn’t ready and continue to mix.
Once you feel a smooth meringue in between your fingers then it’s ready to sculpt!
Step 5 – Shape the Meringue
If you like, make an 8-inch circle on your parchment paper. I used a bowl for my circle pattern, and I used a pen to create the outline.
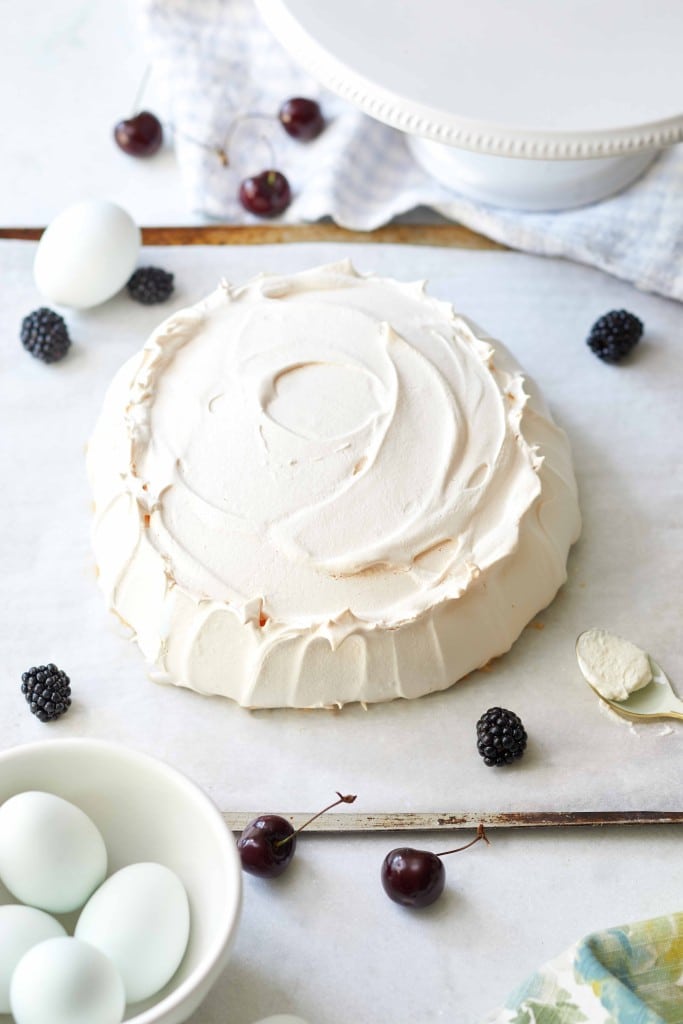
Place the meringue in the circle and build up the shape. Once you have the meringue shaped and even, then create the ridges on the outside.
I used my fat butter knife, but you can use the back of a big soup spoon. Start at the base and go upwards. You can make a pattern that goes straight up or angled to the sides a bit.
Step 6 – Bake
Place the pavlova in the middle of your oven. I removed the top baking shelf so that I had plenty of room for the tall pavlova.
Once the pavlova is done baking, turn off the heat and leave in the oven for hours. Cooling it in the oven will prevent a drastic change in temperature, and you’ll end up with minimal cracks in the meringue.
Step 7 – Add Toppings
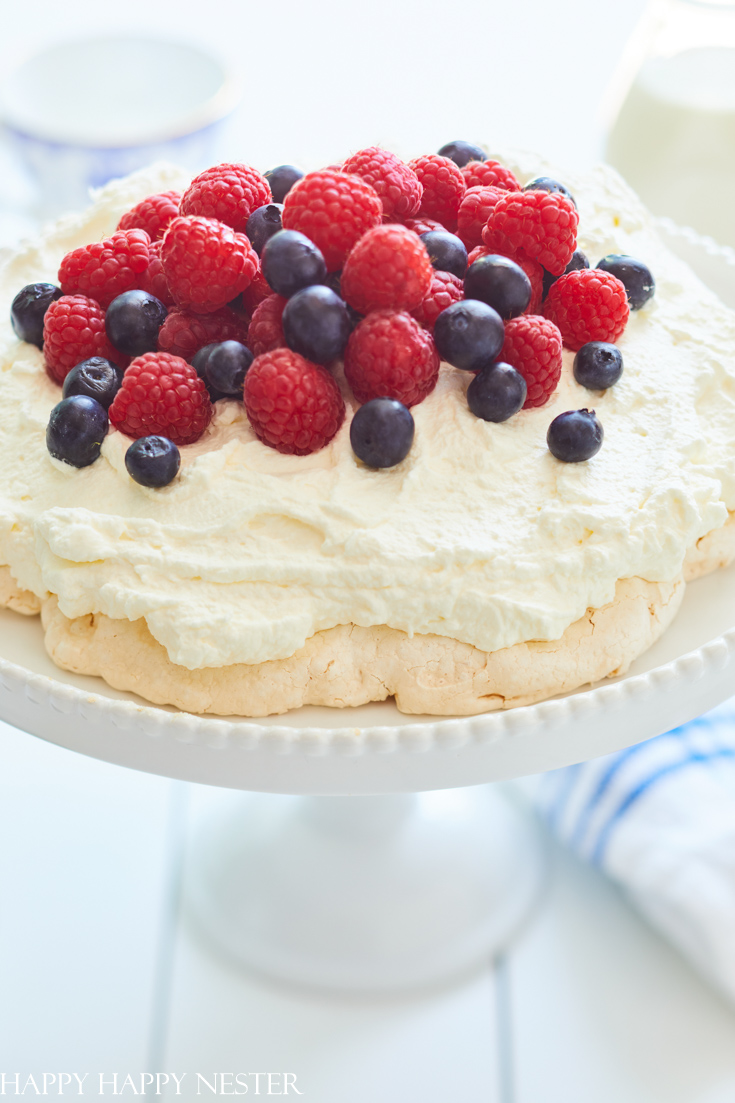
Whip the heavy cream and add a tiny bit of sugar while whipping. Top the pavlova with whip cream and fresh fruit. You can drizzle the top with fruit syrups if you like.
Classic Pavlova Recipe
Ingredients
Meringue
- 1 cup Baker's Sugar Caster sugar is a super fine sugar
- ½ tsp cream of tartar
- 1 tbsp cornstarch
- 4 egg whites
Meringue Topping
- 6 ounces heavy cream
- 1 tbsp sugar
- fresh fruit
Instructions
- Preheat oven to 275 degrees. Line a flat cookie sheet with parchment paper.
Make Meringue
- Stir sugar and cornstarch together in a bowl.
- Separate egg whites and place them in a mixing bowl.Beat with the wire attachment at medium speed (#4 on a KitchenAid Mixer). When foamy, add the cream of tartar to the egg whites. Beat for 4 minutes at this speed.
- Increase the mixer speed to 6. Now add around one tablespoon of the sugar mixture at a time to the egg. In between each installment of sugar, whip the egg whites for at least 30 seconds.Adding sugar may take about 8 minutes, so take your time. After about 9-10 minutes, check the graininess of the meringue. Place a little in between your fingers and feel for grains of sugar. If you feel anything, the meringue isn’t ready and continue to mix.Once you feel a smooth meringue between your fingers, it's ready to sculpt.
Shape Pavlova
- If you like, make an 8-inch circle on your parchment paper. I used a bowl for my circle pattern, and I used a pen to create the outline.
- Place the meringue in the circle and build up the shape. Once you have the meringue shaped and even, then create the ridges on the outside.I used my fat butter knife, but you can use the back of a big soup spoon. Start at the base and go upwards. You can make a pattern that goes straight up or angled to the sides a bit.
Bake
- Place the pavlova in the middle of your oven. I removed the top baking shelf so that I had plenty of room for the tall pavlova.Once the pavlova is done baking, turn off the heat and leave in the oven for hours. Cooling it in the oven will prevent a drastic change in temperature, and you’ll end up with minimal cracks in the meringue.
Top Meringue
- Whip some heavy cream and add a tiny bit of sugar while whipping. Top the pavlova with whip cream and fresh fruit. You can drizzle the top with fruit syrups if you like.
Nutrition

Check out more of my fun dessert recipes:
You can tell if a pavlova is undercooked by gently tapping the meringue shell. If it feels soft or sticky, it might be undercooked. Additionally, an undercooked pavlova may appear pale in color and lack the desired crispness on the outside.
It is not recommended to eat undercooked pavlova as it may contain raw egg whites, which can pose a risk of foodborne illnesses. The meringue in pavlova should be baked until it is crisp on the outside and fully set throughout to ensure that the egg whites are cooked thoroughly and safe to consume.
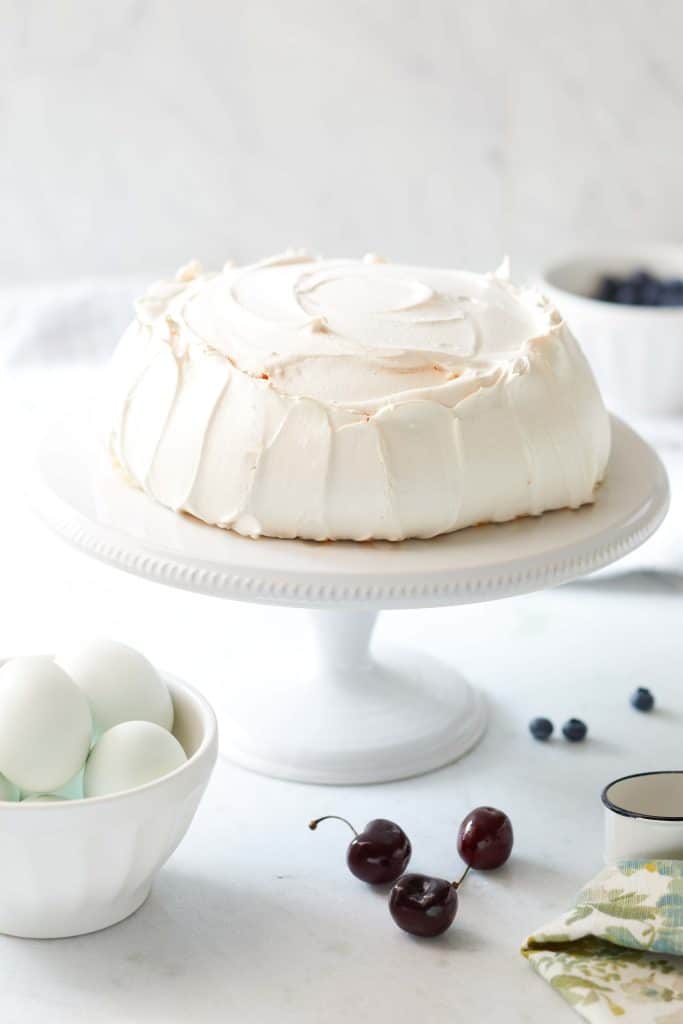
Yes, the meringue in a pavlova is typically soft and marshmallow-like in the middle. The center of the pavlova should have a slightly gooey and tender texture, while the outside is crisp and firm. This combination of textures is what makes pavlova such a delightful and unique dessert.
When a pavlova is fully cooked, it should feel crisp and dry on the outside, and the center should be soft and marshmallow-like. The meringue shell should have a light and delicate texture with a slightly crunchy exterior when tapped. The center of the pavlova should be tender and slightly gooey.
Also, when you lift it off the baking sheet, it should not stick. If it sticks, return it to the oven and bake for a little bit longer.
Yes, you can crisp up a soft meringue. If the meringue in your pavlova turned out softer than desired, you can try the following steps to make it crisp:
Return to the oven: Place the soft meringue back in the oven, and bake it at a low temperature (around 200°F or 95°C) for an additional 10-15 minutes. Keep an eye on it to prevent over-browning.
Extended baking time: You can also try extending the baking time during the initial baking process. This will allow the meringue to dry out further, resulting in a crisper texture.
Use residual heat: After baking, turn off the oven and let the pavlova cool gradually inside the oven with the door slightly ajar. The residual heat will continue to dry out the meringue, improving its crispness.
Yes, meringue can be made ahead of time. You can prepare the meringue mixture and store it in an airtight container at room temperature for a few hours before baking.
Alternatively, you can also refrigerate the meringue mixture for up to a day before using it.
However, it is best to bake the meringue just before serving to ensure it retains its crispness and airy texture.
Can Pavlova be made on a humid day?
Making pavlova on a humid day can be more challenging due to the extra moisture in the air. The humidity can affect the stability of the meringue, potentially leading to a softer and less crisp pavlova. However, it is still possible to make pavlova on a humid day with a few adjustments:
- Choose a dry location: If possible, make the pavlova in an air-conditioned or well-ventilated area to reduce humidity levels during the preparation.
- Avoid overbeating: Be cautious not to overbeat the egg whites, as excessive beating can cause the meringue to become too soft and unstable, making it more prone to collapse during baking.
- Add an acid: Consider adding a small amount of lemon juice or white vinegar to the egg whites while beating. The acid can help stabilize the meringue and improve its resilience in high humidity.
- Bake immediately: Once the meringue is ready, bake it promptly to minimize time in a humid environment.
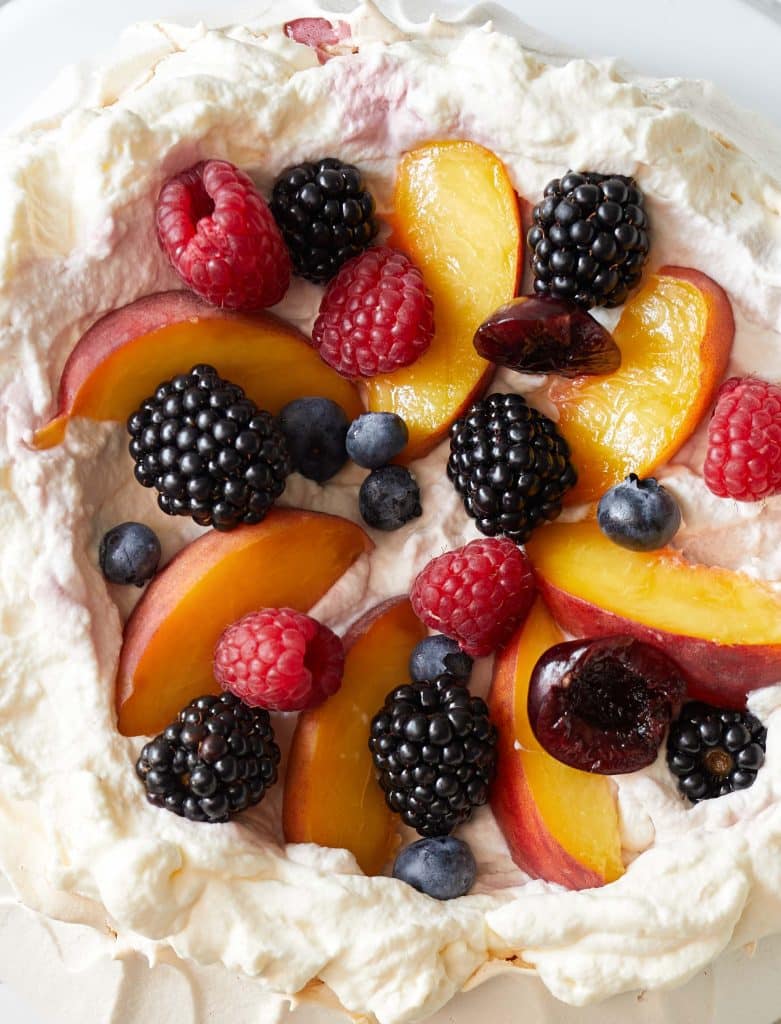
Here are some pavlova topping ideas:
- Fresh mixed berries (strawberries, blueberries, raspberries, blackberries)
- Sliced kiwi fruit and passion fruit seeds
- Mango chunks and toasted coconut flakes
- Lemon or lime zest with a drizzle of lemon curd
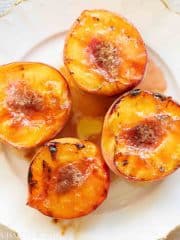
- Roasted peach or nectarine slices
- Chopped pineapple and grated white chocolate
- Pomegranate arils and a sprinkle of chopped pistachios
- Mixed tropical fruits (papaya, guava, and dragon fruit)
- Fresh figs and a drizzle of honey
- Caramelized banana slices and a sprinkle of cinnamon
Well, I hope you survived this epic post! But I wanted to share all things I’ve learned over the years about making the classic pavlova recipe.
I want you to succeed at making this wonderful dessert!
Happy Baking!

Photo Credits: MyPhotography.com

- Machine Washable Rugs - January 21, 2026
- Pink Crafts for Adults - January 17, 2026
- Dinner Ideas - January 10, 2026


Leave a Reply