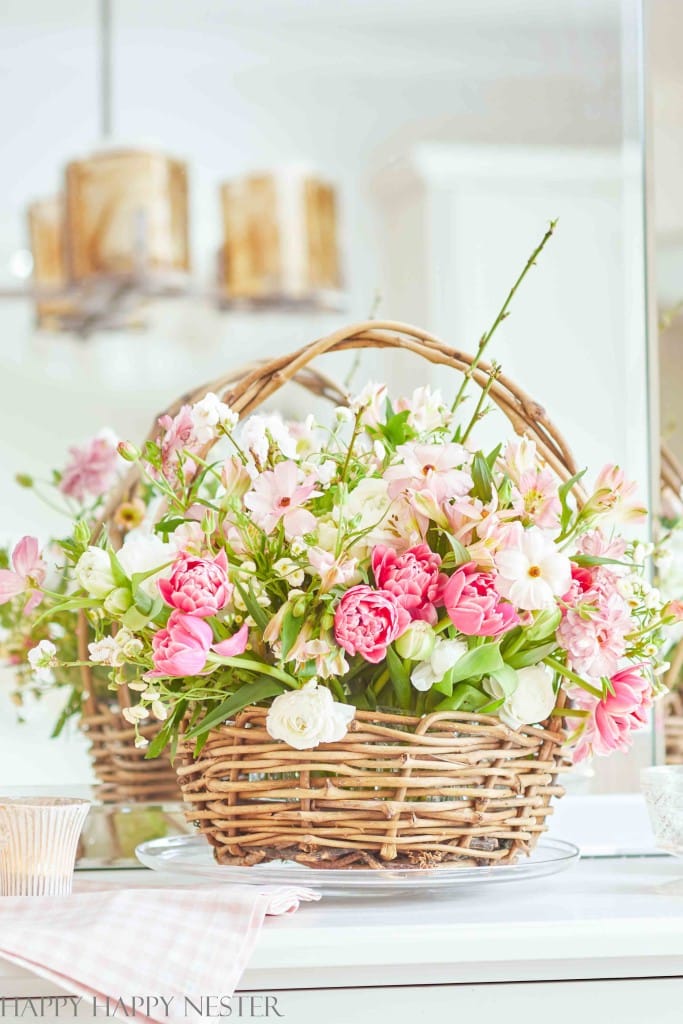
There’s something about a Basket Flower Arrangement that feels cozy and inviting. There’s just something about the combination of natural materials that gives it such a warm and homey feel. You can use all sorts of flowers and greenery, like wildflowers, herbs, and even twigs or branches, to add some texture and interest. I think it’s especially great for outdoor events or rustic-themed weddings. And since baskets come in all different shapes and sizes, you can customize the look to fit your specific needs.
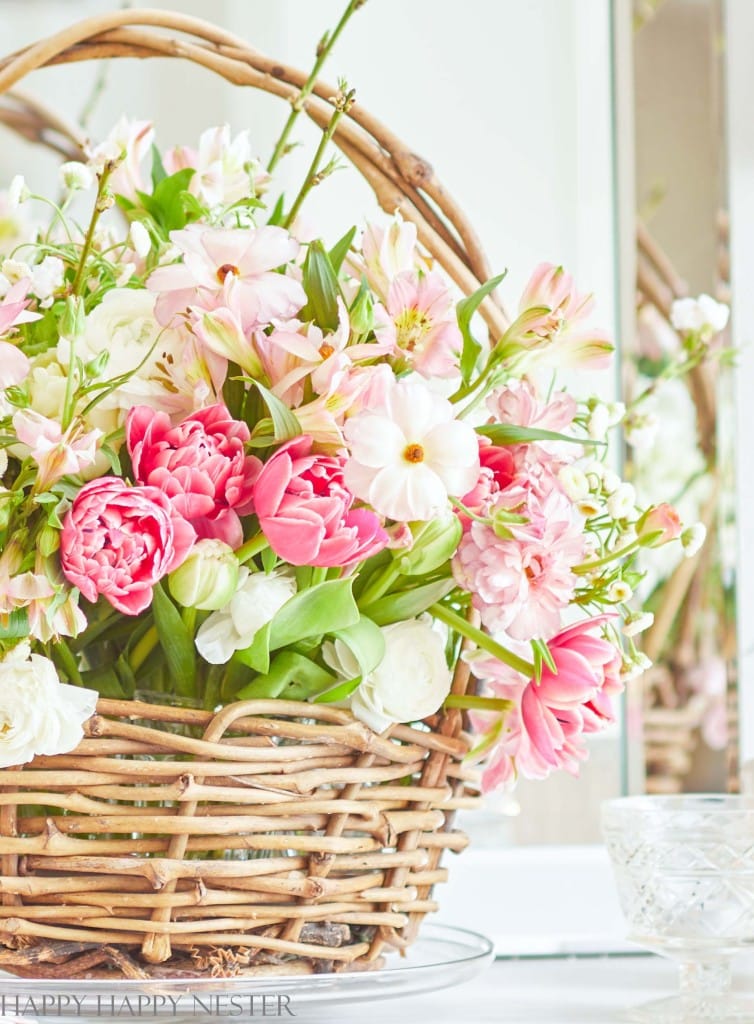
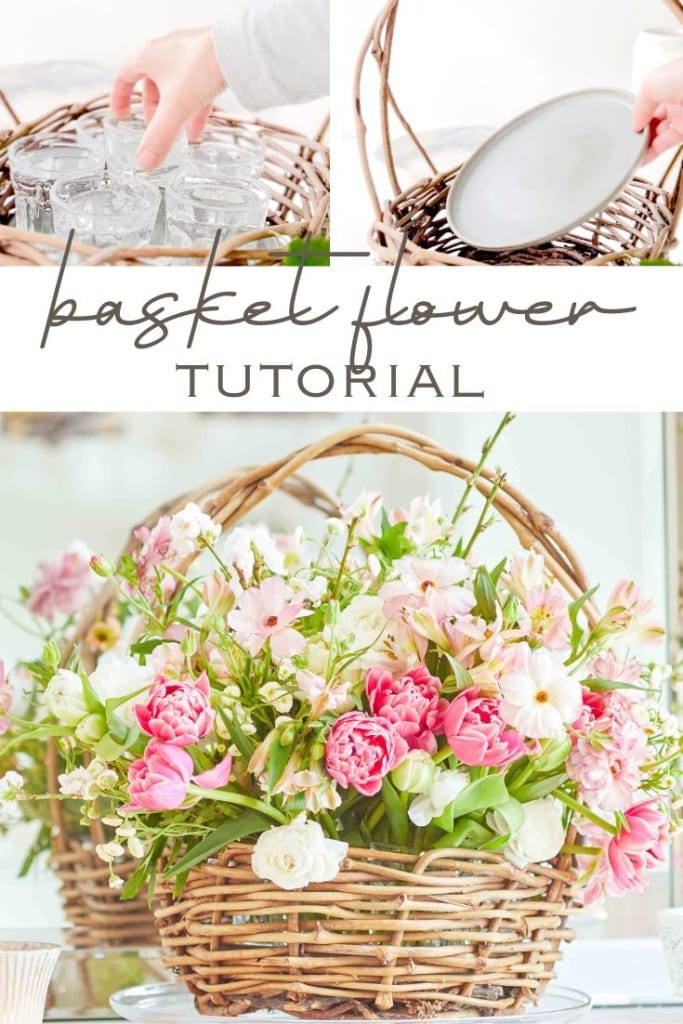
Using glasses of water to transform a basket into a flower arrangement vessel is a handy technique!
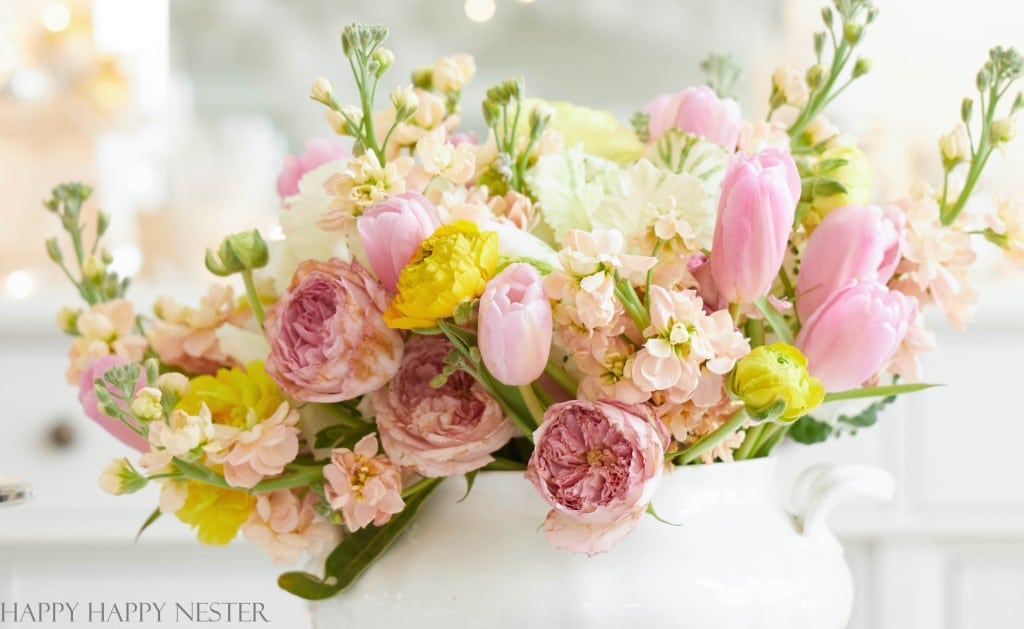
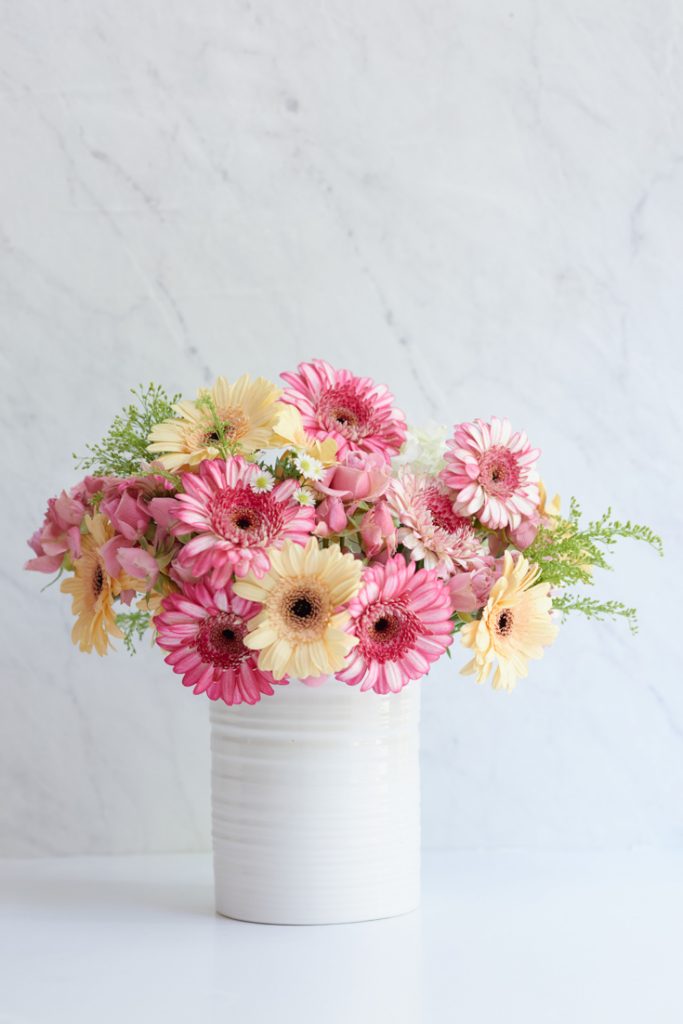
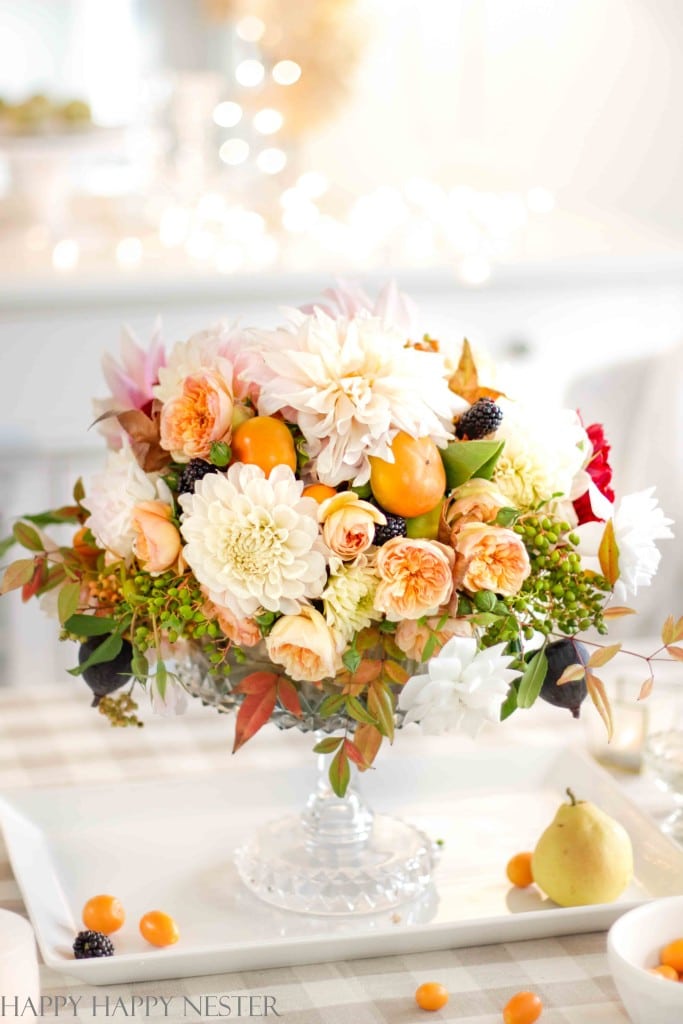
I adore anything to do with flowers and have quite a few flower arrangements over here.
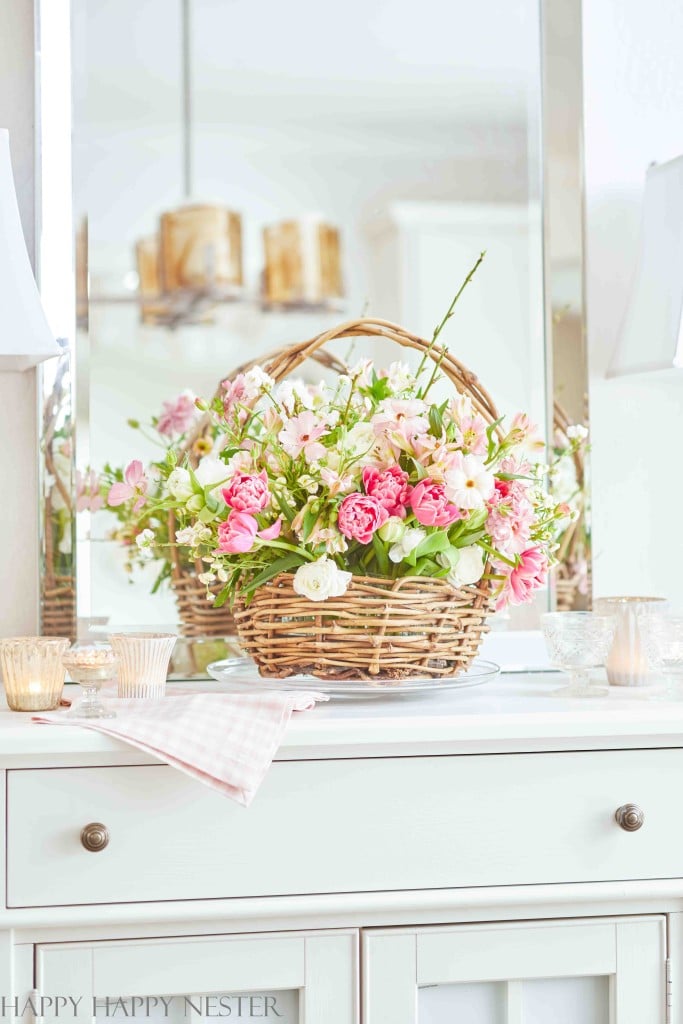
Why You’ll Love This Basket Container
It’s especially useful if you don’t have a waterproof liner that fits your basket or if you prefer the look of the glasses inside. All you have to do is fill up some small glasses with water and arrange your flowers and greenery before placing them into the basket. This way, your flowers will stay fresh and hydrated without damaging the basket. And the glasses can be easily removed and washed, so it’s a pretty low-maintenance way to create a beautiful arrangement.
How to Make Basket Flower Arrangement
You can transform any basket into a flower vase. No need for the messy flower foam blocks. You can begin decorating your basket with a bouquet of flowers with just a few simple steps.
Supplies You’ll Need:
- A Basket
- Plate
- Small Drinking Glasses
- Flowers (I bought my flowers at Whole Foods and Safeway)
- Variated Pink and White Tulips
- White Hydrangeas
- White Ranunculus
- Pink Butterfly Ranunculus
- Pink Alstroemerias
- Sunny Balls (a Type of Chamomile)
- Flower Branches (or Twigs)
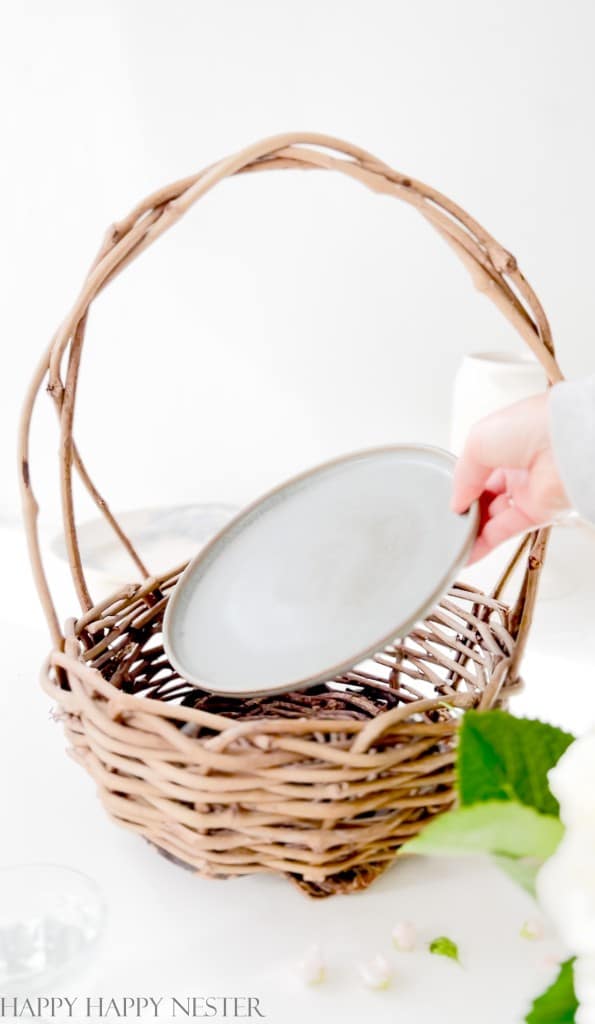
Step 1 – Add Plate
Find a plate that fits on the bottom of your basket. The plate adds stability and a tray for any water that might leak out.
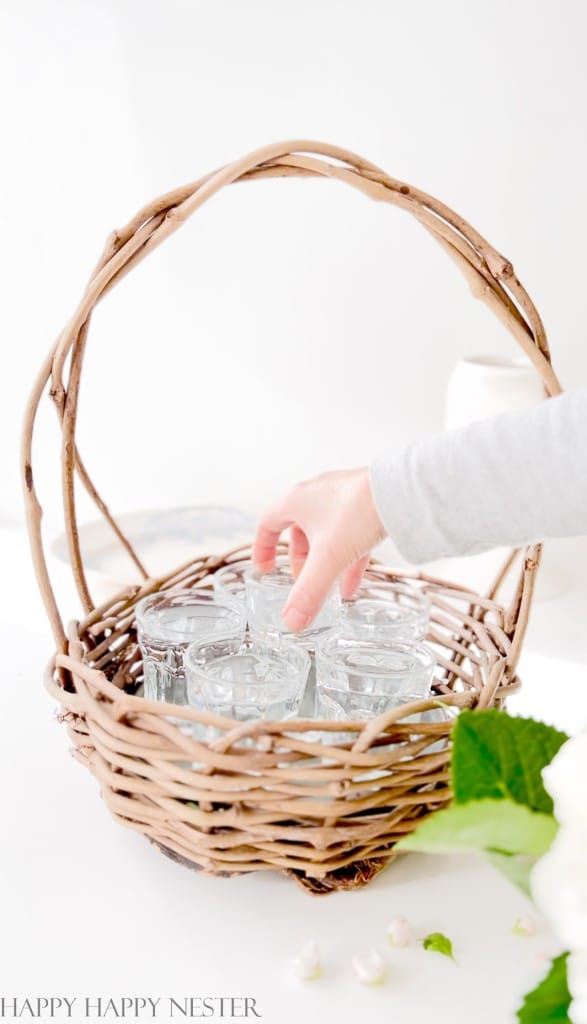
Step 2 – Place Glasses in the Basket
Find small drinking glasses that will fit on the plate. Fill with water and place them on the plate.
You can also place a plastic lettuce container in your basket instead. The issue with the big container is that your flowers will move around. So to deal with this issue, place a grid of tape over the top and leave square spaces between the tape for the flower stems.
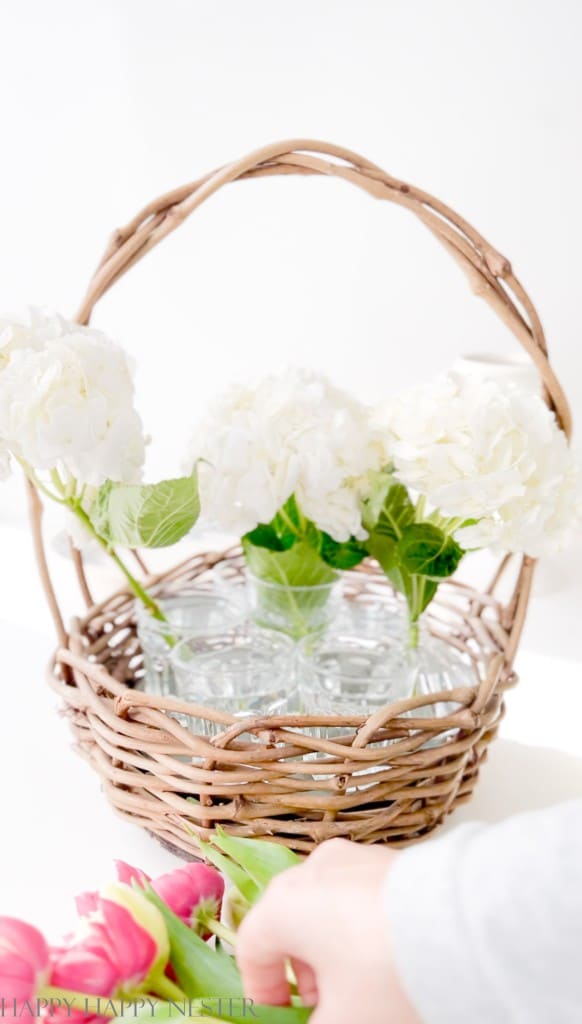
Step 3 – Add Hydrangeas
Since the hydrangeas take up a lot of space, I always add them first. I like to place flowers around them and try and reduce how much space they take up. Don’t be afraid to overlap other flowers around the hydrangea blossoms.
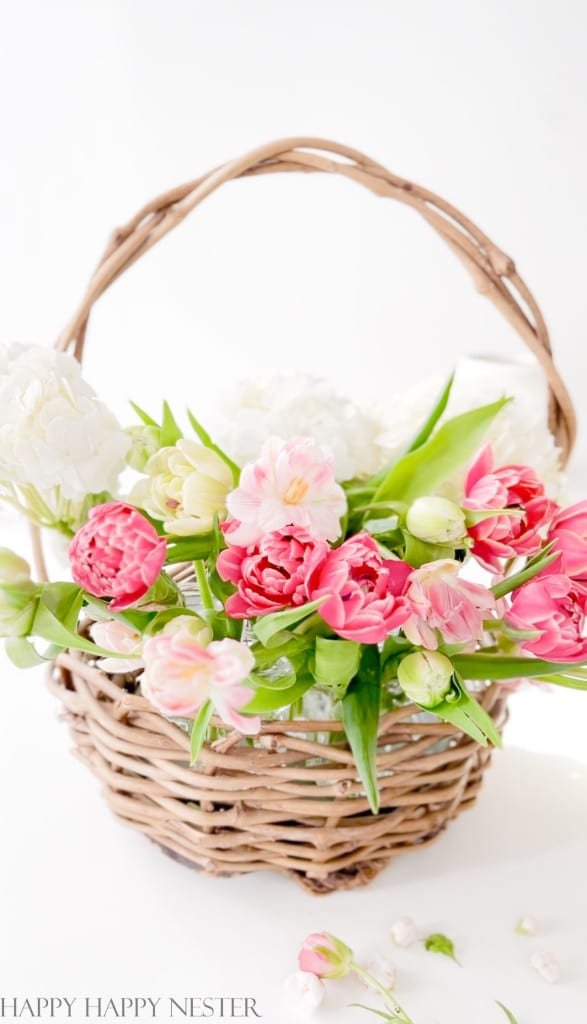
Step 4 – Add Tulips
I placed most of the white ranunculus and pink and white tulips in the front and center of the basket. These flowers are my main focus, so I put them front and center and dispersed the colors.
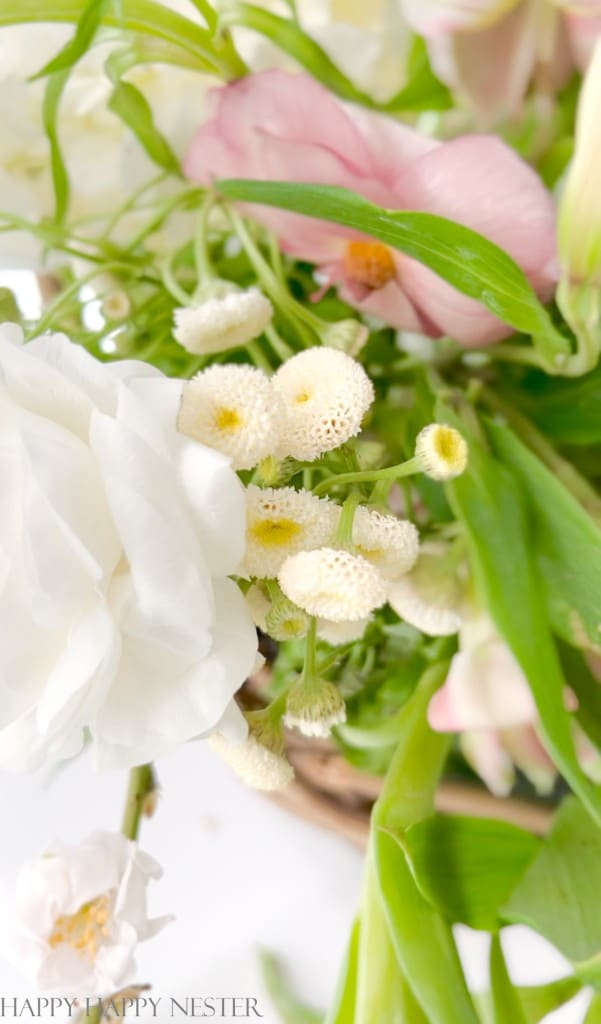
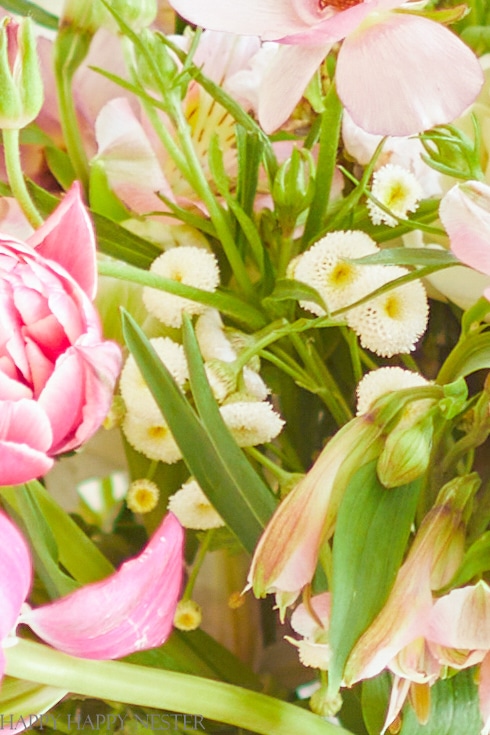
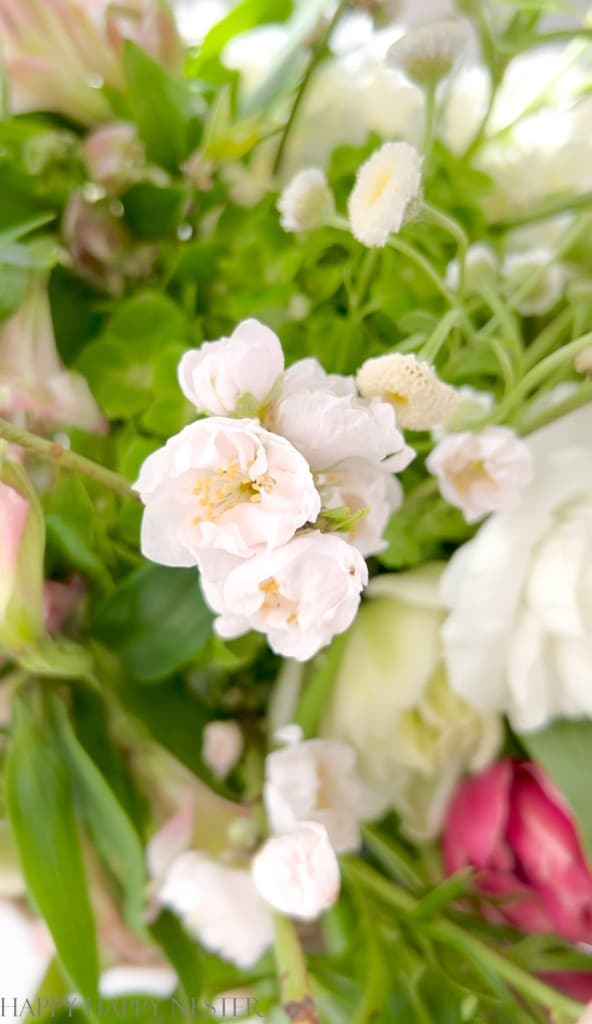
Step 5 – Add Fillers
I just added some pink alstroemerias and sunny balls to my flower bouquet. They’re a bit spindly, so I used them as fillers in the arrangement. They’re smaller than the tulips, so they don’t steal the show, but they add a nice touch of color and texture to the overall look.
Step 6 – Add Blossoming Branches
I just added some blossoming branches to my flower arrangement – I placed them at the top, sides, and middle. They add movement and interest to the overall look, giving it a rustic garden feel I love.

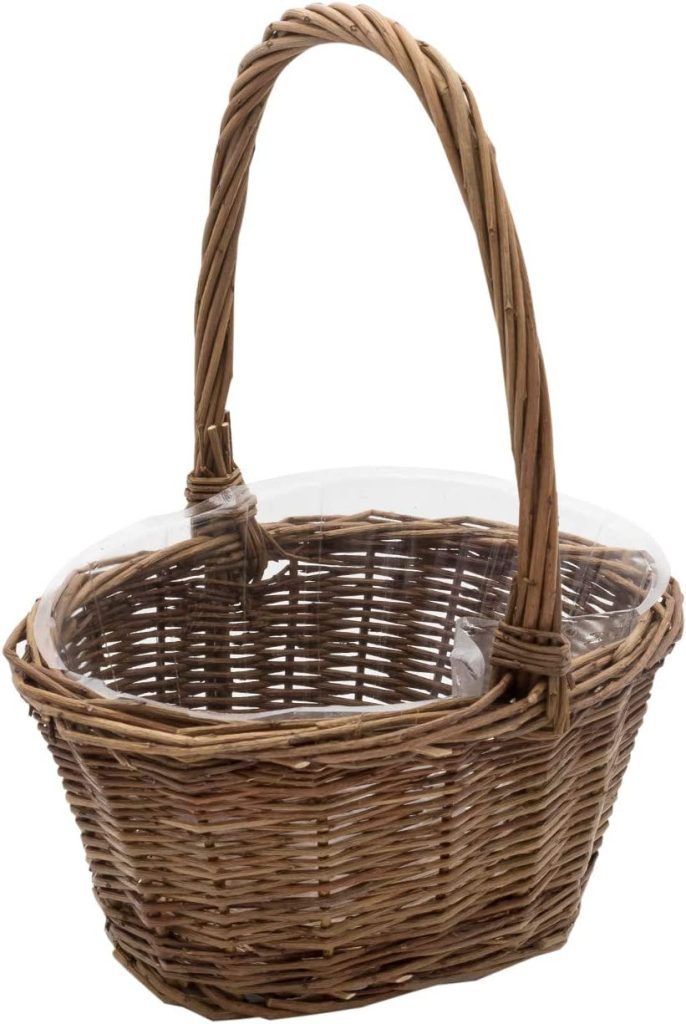
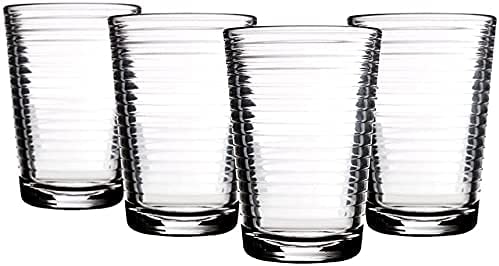
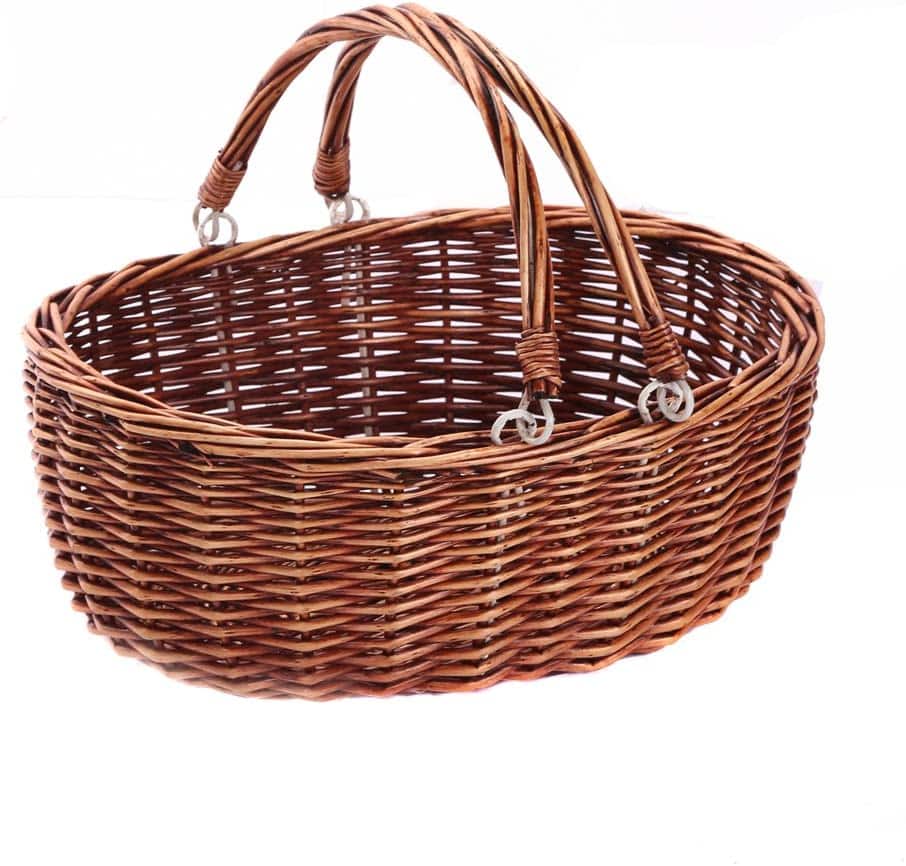
I know you could probably line a basket with plastic, but that might be time-consuming. But the little drinking glasses keep all the flowers standing upright and in place, and they work out fine. And hopefully, all of you have small glasses that you can use for this pretty project. Or you can use a plastic container as well to hold the water.
Whatever method you choose for housing the water, a basket flower arrangement is the cutest thing ever for springtime.
Until next time have a wonderful day.
Cheers,


- Heart Shaped Brownies Recipe - February 13, 2026
- Framed Artwork from Amazon - February 12, 2026
- Chocolate Covered Quinoa Recipe - February 5, 2026
Linda
A person could purchase at thrift store glasses or sm cañnong jars..beautiful thanks for sharing.
Janine Waite
Linda,
You’re totally right! I love thrift shopping!