Cookie Bouquet!
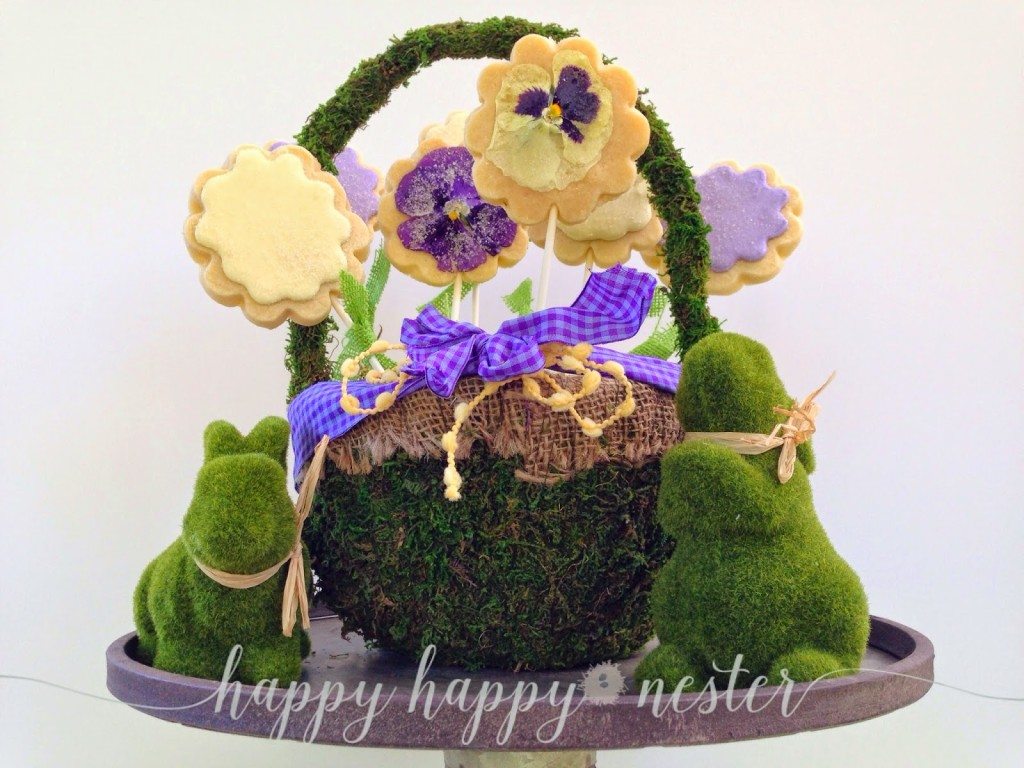
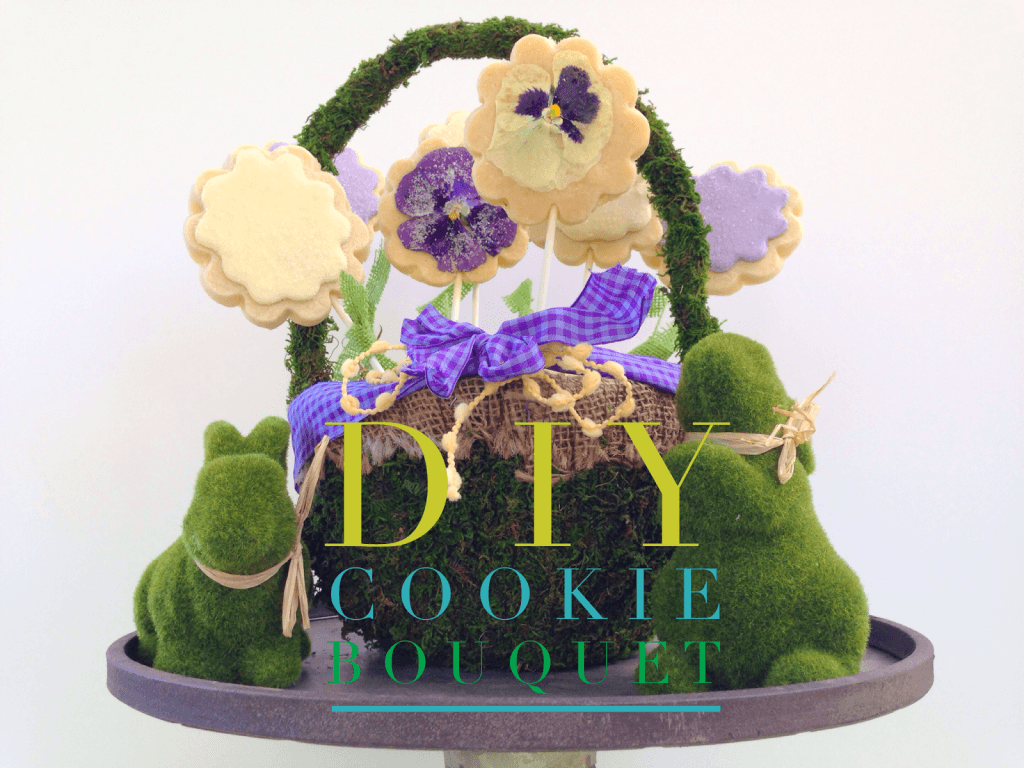
Cookie bouquets in a spring basket make a cute and yummy gift. I love to bake, but I decided to consult the authority in the industry, Marian of Sweetopia. I knew that she would have the best sugar cookie recipe. She said the key to preventing the cookie from spreading is to eliminate the baking powder from the ingredients. As predicted, the recipe was perfect and not only is the cookie pretty, but it is also delicious. My husband is a shortbread cookie snob and this recipe passed his test with flying colors. I made Marian’s Royal Icing recipe and the results were amazing. I replaced the icing sugar with powdered sugar and it still came out great. Marian’s helpful 10-second knife rule works and is the best test to get the right icing consistency. Her theory is that if you take a butter knife and cut one inch down into the icing, the mark should smooth over in about 10 seconds. She has a helpful video (here is the link: Video) that is worth watching. If it takes less than 10 seconds, then the icing is too runny and you should add more sifted sugar. If it is too thick, you just keep adding little amounts of warm water. My icing came out too thick and so, I added water until it got to the right consistency. It spread on the cookie quite nicely and also harden perfectly.
~ A funny note about the Nester ~
When I was a child, my mother could tell when we had our hands in our family cookie jar. She could totally hear when we were opening up that glass container! Now as a mom, I do watch my kid’s cookie consumption but not quite with the ears that my mom had. My children can empty a whole container of cookies in one day.
Here’s what you’ll need for this project:
A basket
Lollipop sticks
Floral foam
Moss
Edible flowers
Sweetopia’s Recipe*
Sweetopia’s Royal Icing Recipe*
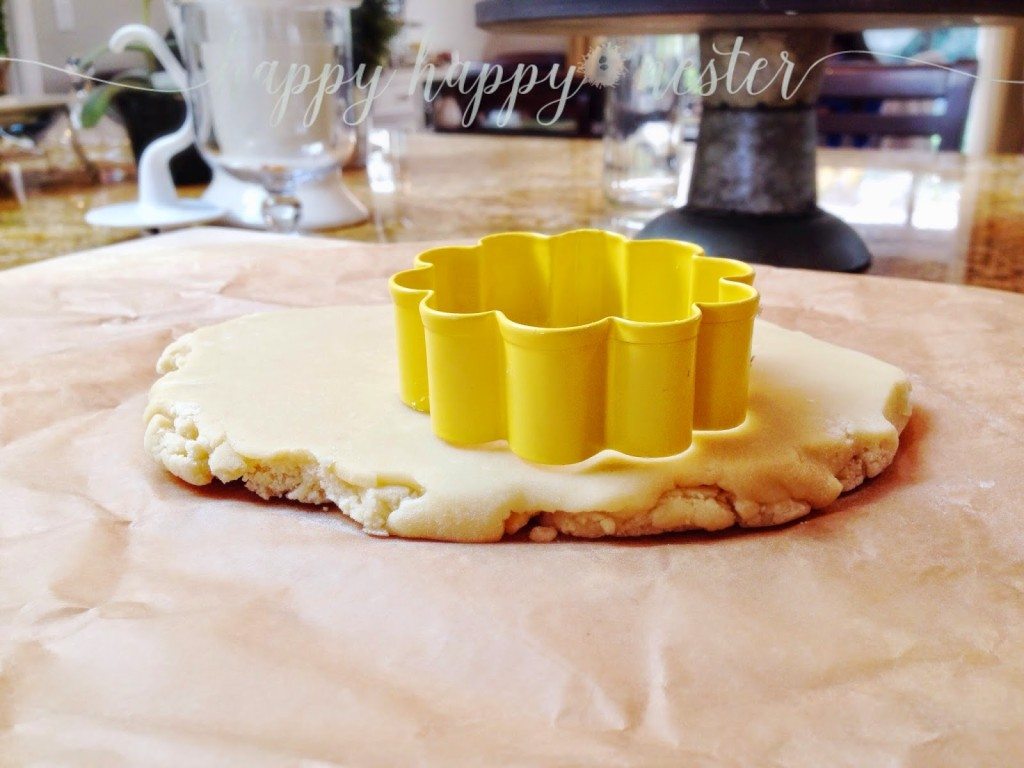
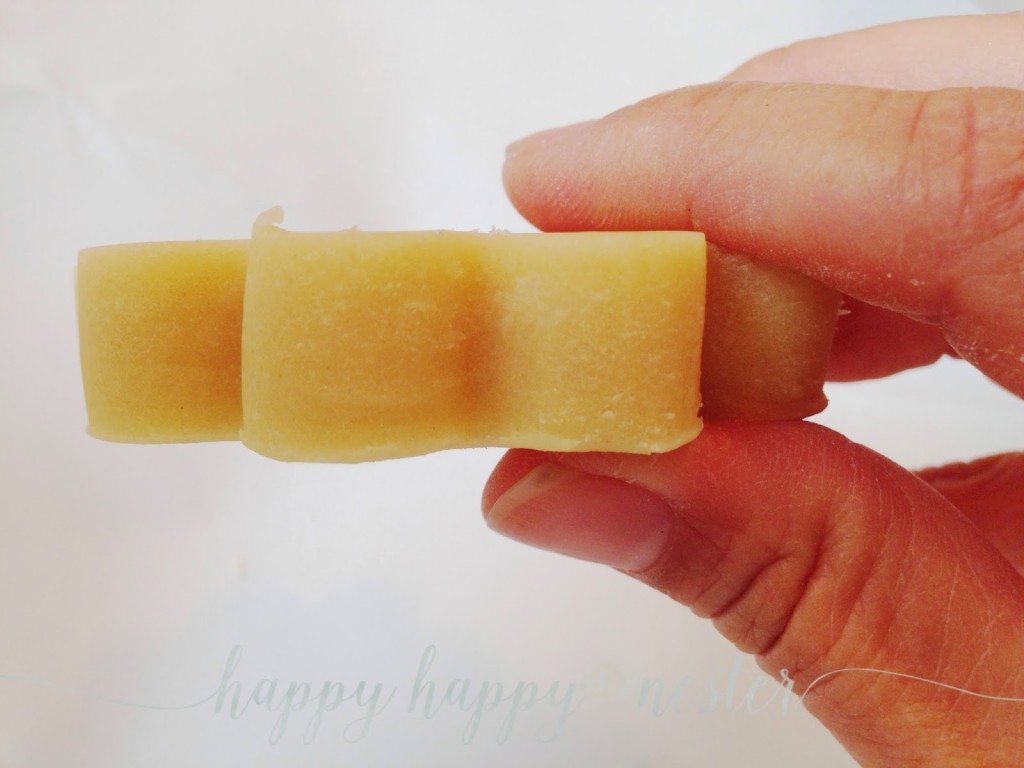
Here is the link to the recipes: Recipe Yes, this is how thick you want your cookie dough.
The dough cuts nicely and makes pretty defined edges.
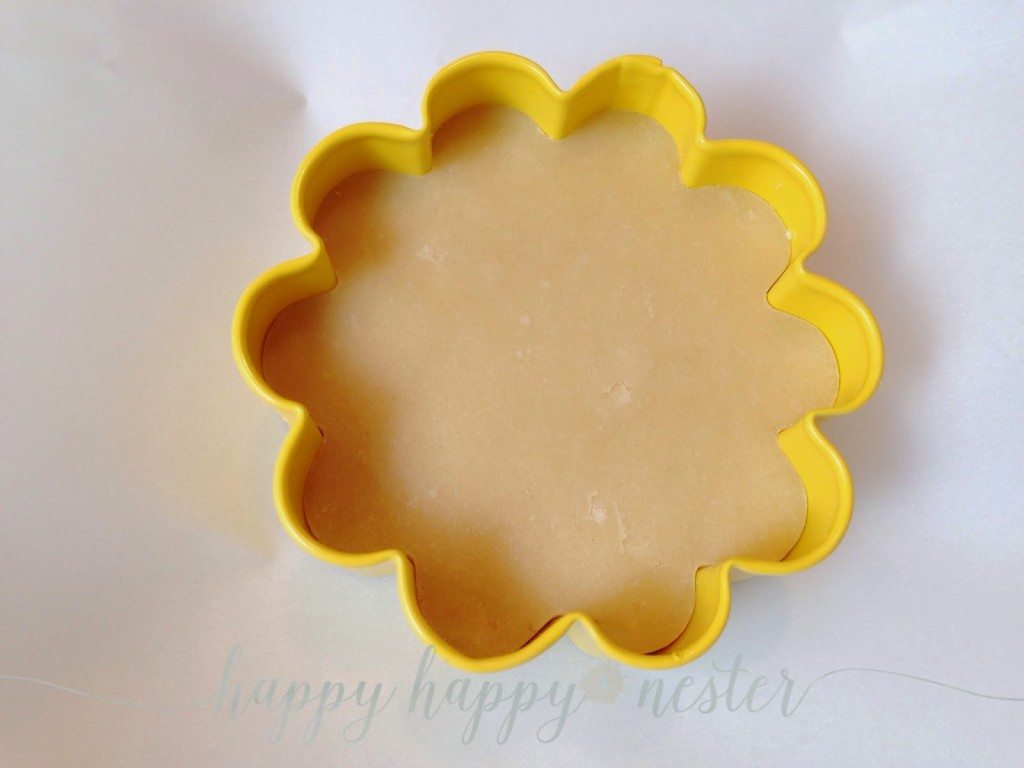
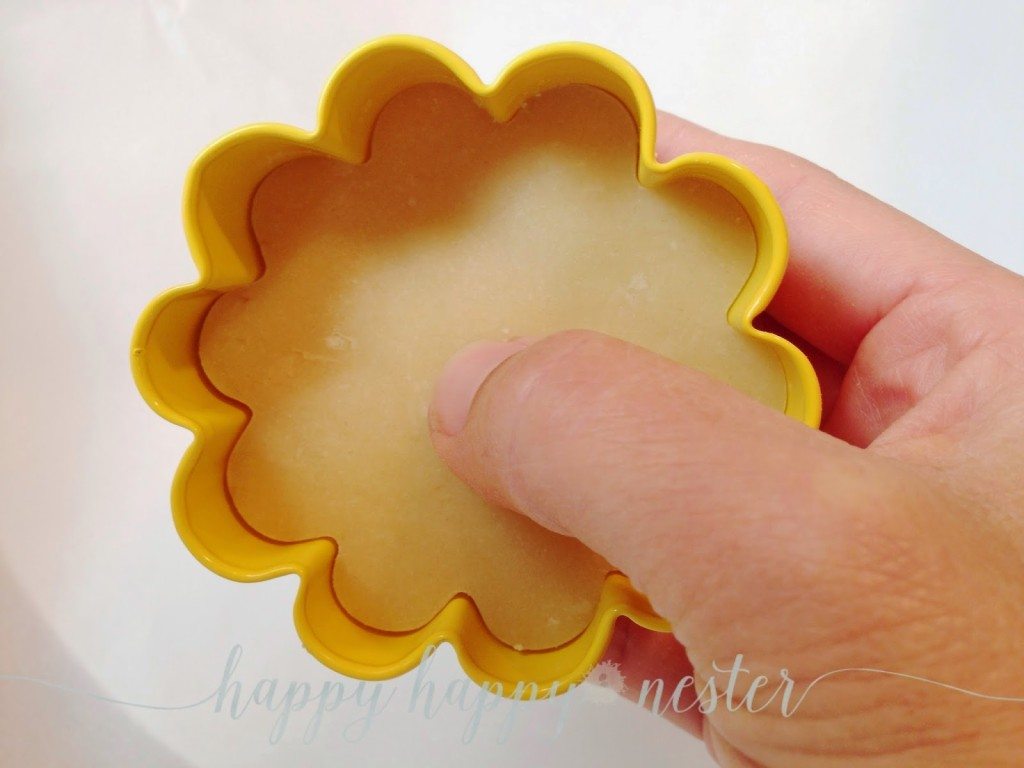
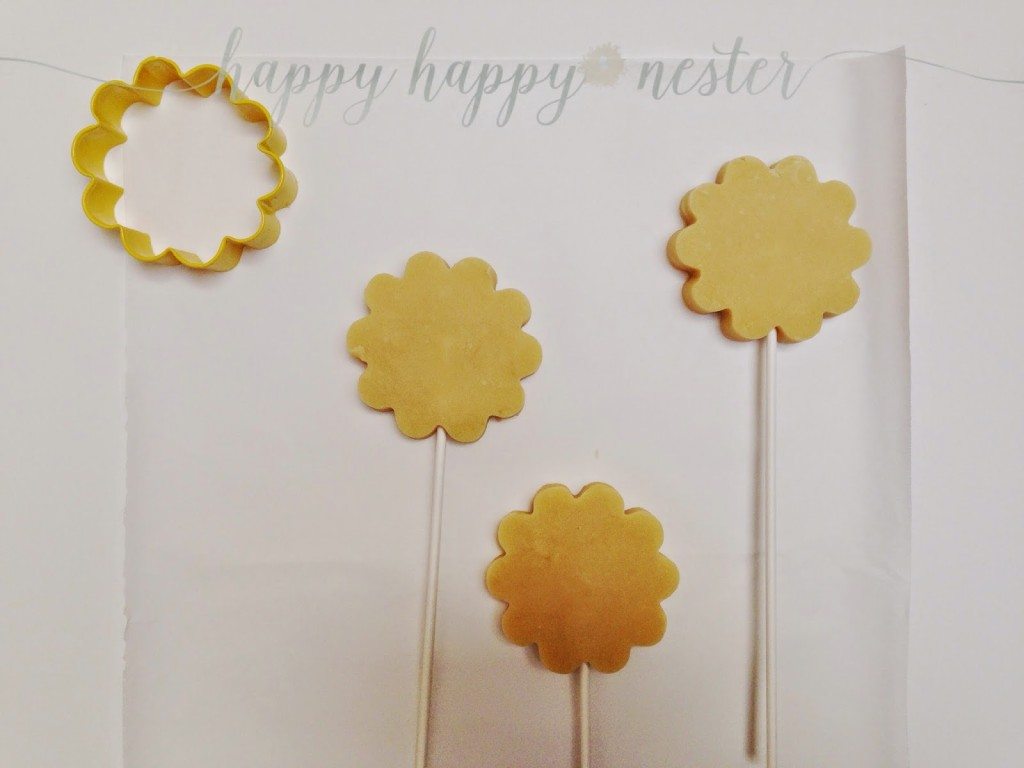
My dough got stuck in the cookie cutter, so I had to gently push the dough out with my fingers. Just make sure to push the dough gently, since you don’t want to leave your finger impressions in the cookie.
Yes, this gives you an idea of how thick you should make the cookies.
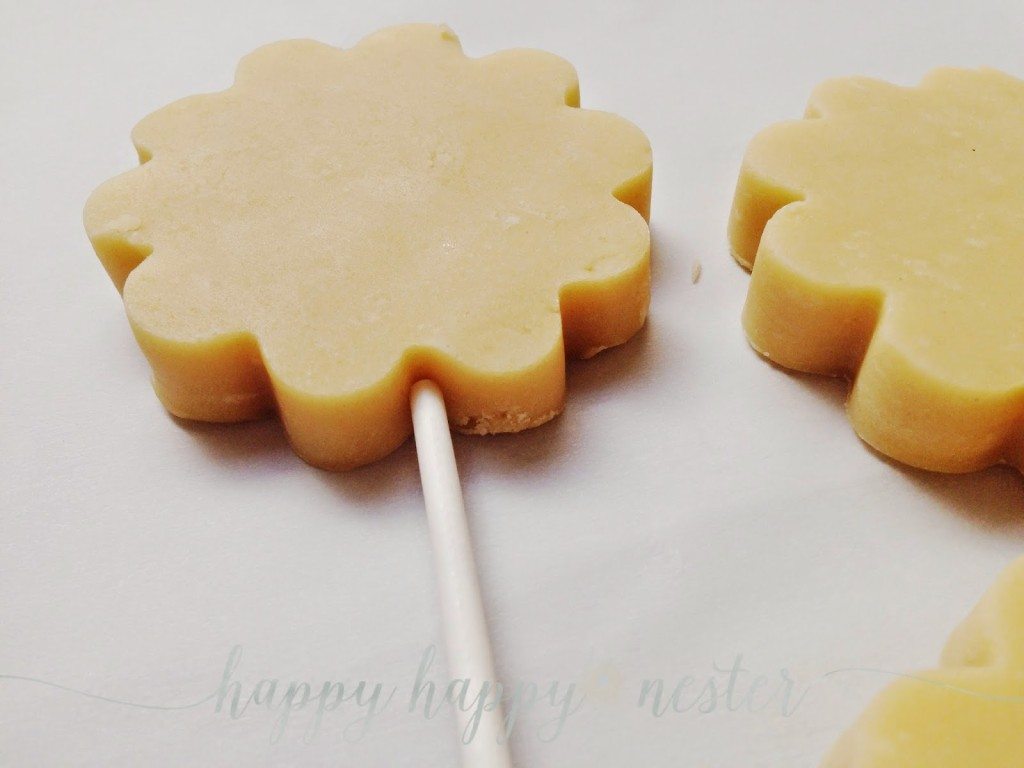
The crafter stick goes in nicely, be careful not to puncture the top or bottom of the cookie. Just place it straight into the dough.
Royal Icing
Here is the link to the Royal Icing Recipe: Royal Icing Recipe And here is the helpful video: Video
Here is the Meringue Powder that I used for powdered egg whites.
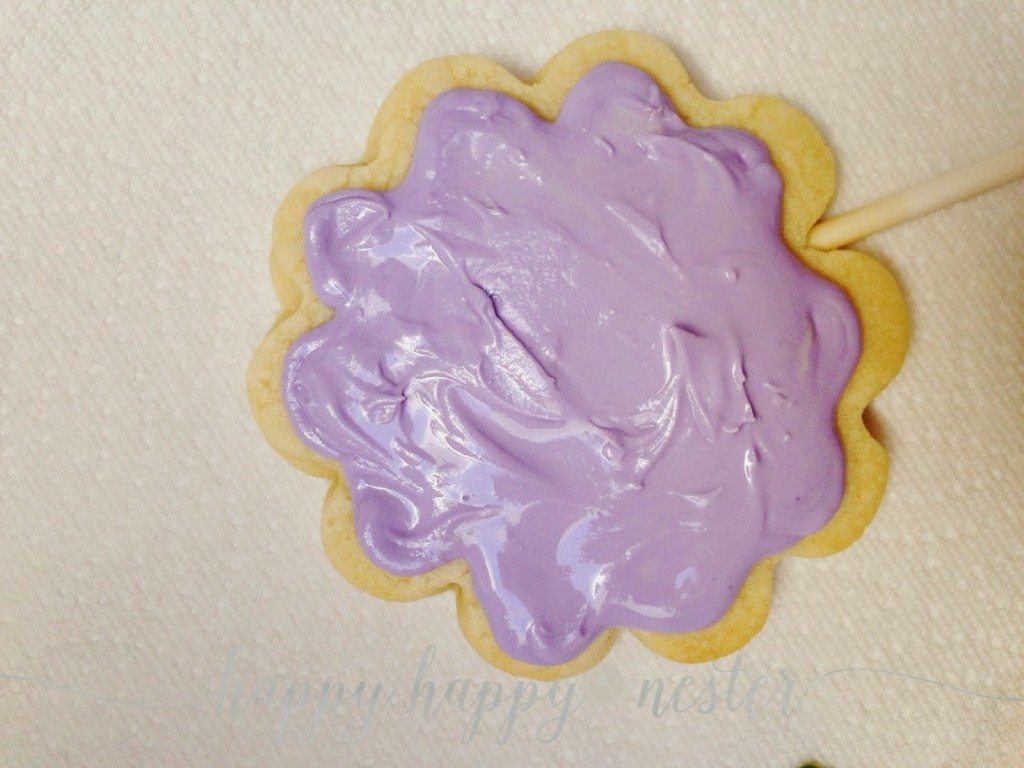
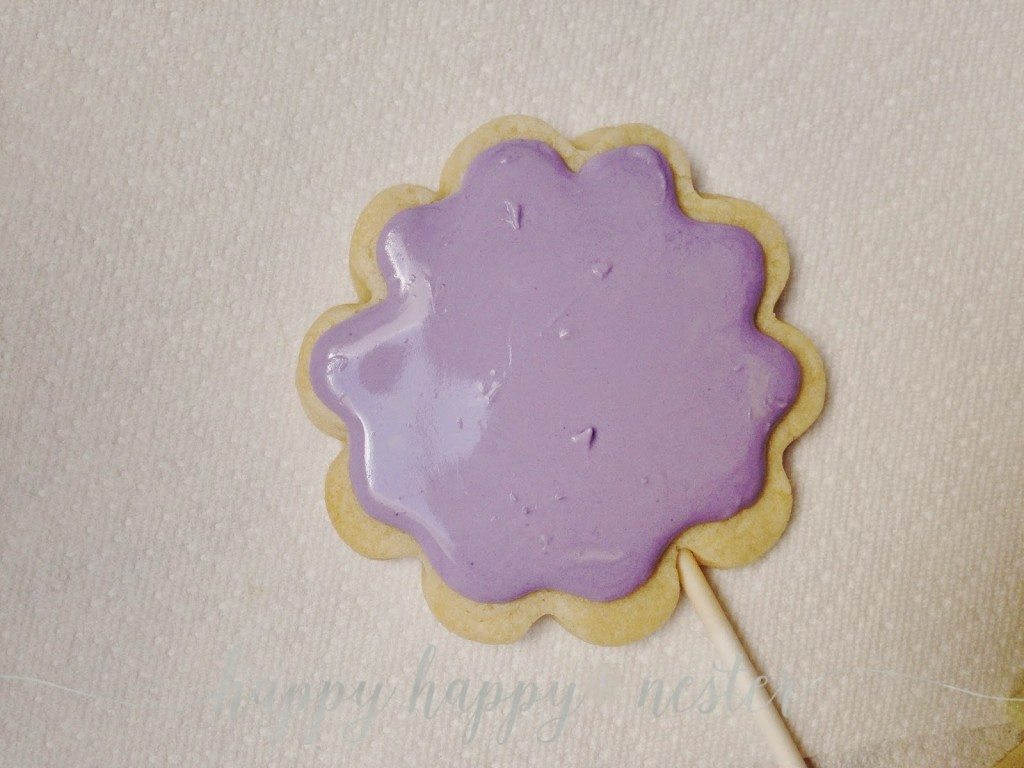
On Sweetopia’s website, you’ll learn how to outline the cookie and then fill in the middle with icing. As you can see in the above photo, the icing isn’t too smooth. So, Marian said to shake the cookie a bit to get it to smooth out.
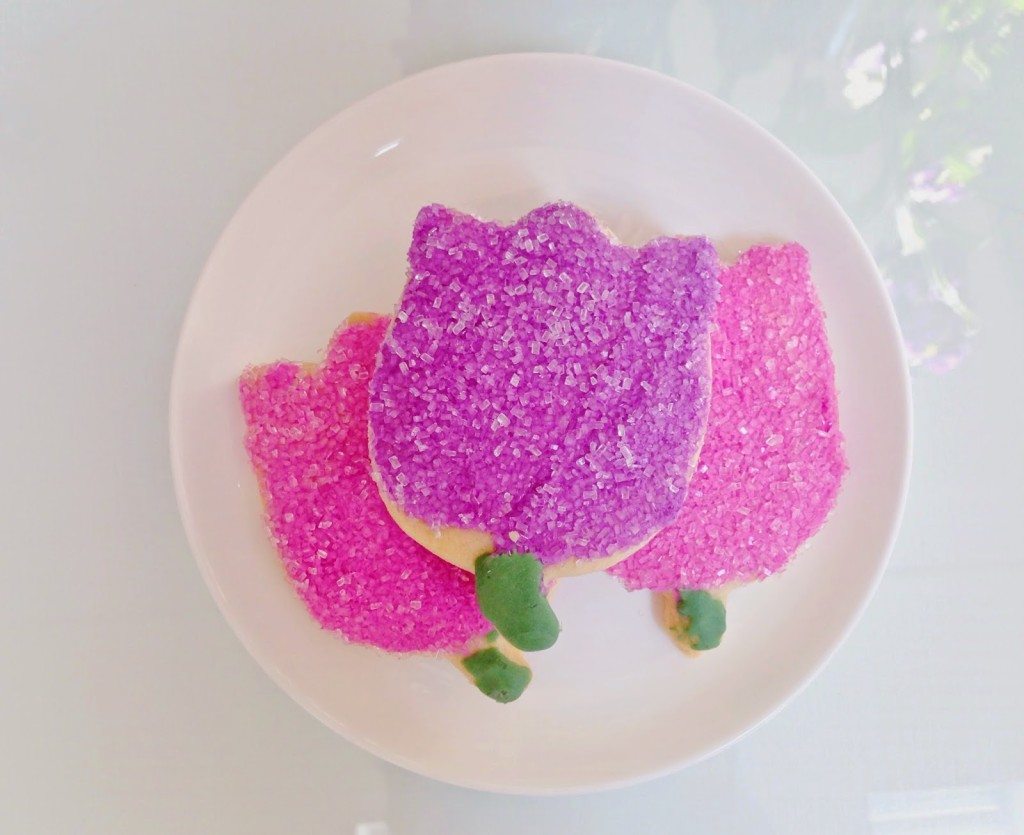
Here is an alternative method to the cookie on a stick!
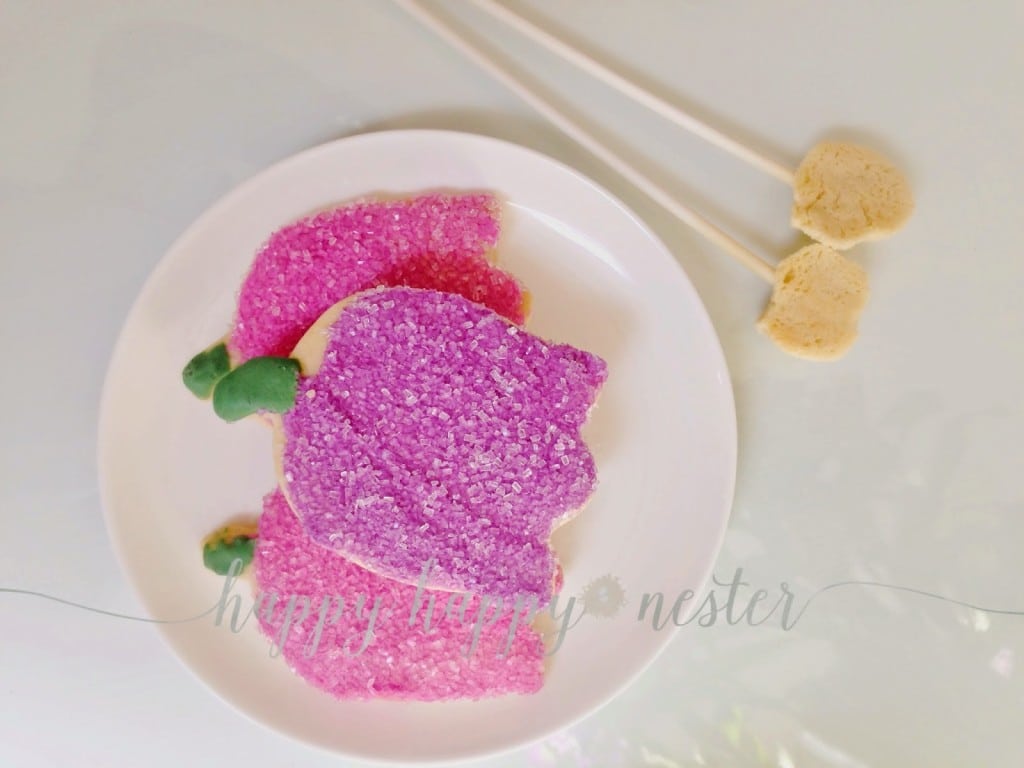
*If you want to take a short cut on this project you can buy the cute ready-made store bought cookies. The only thing you’ll have to bake is a tiny bit of sugar cookie that you bake onto a stick.
Here is the piece of cookie on a stick with the store bought cookies. They are now ready to attach to each other!
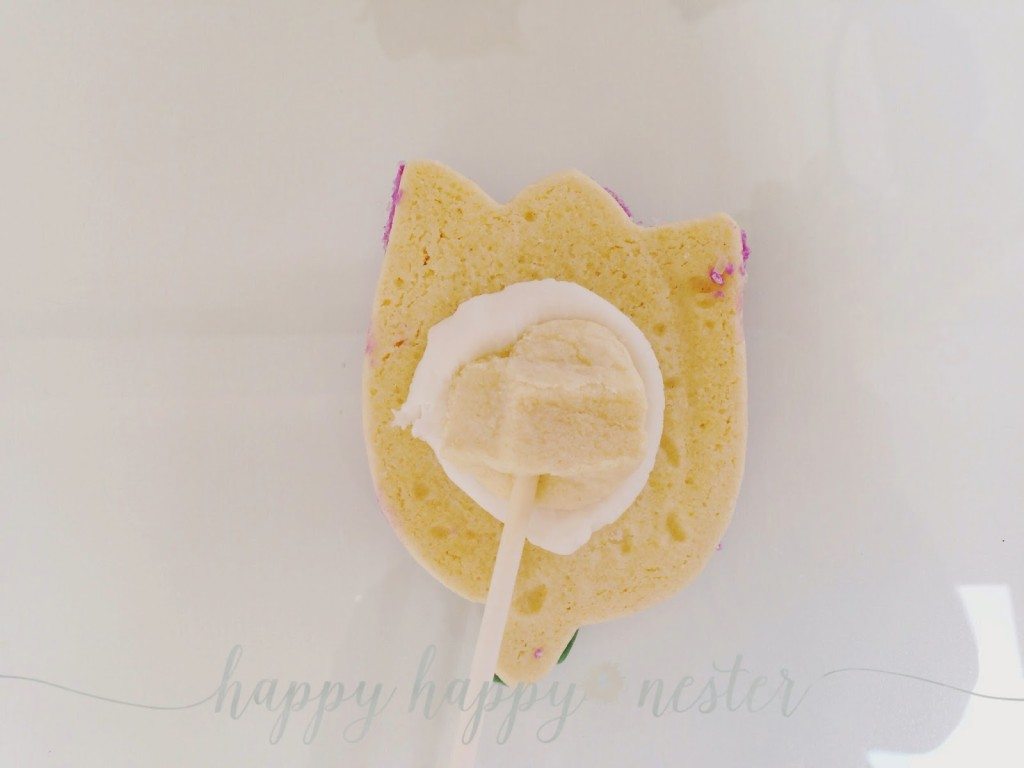
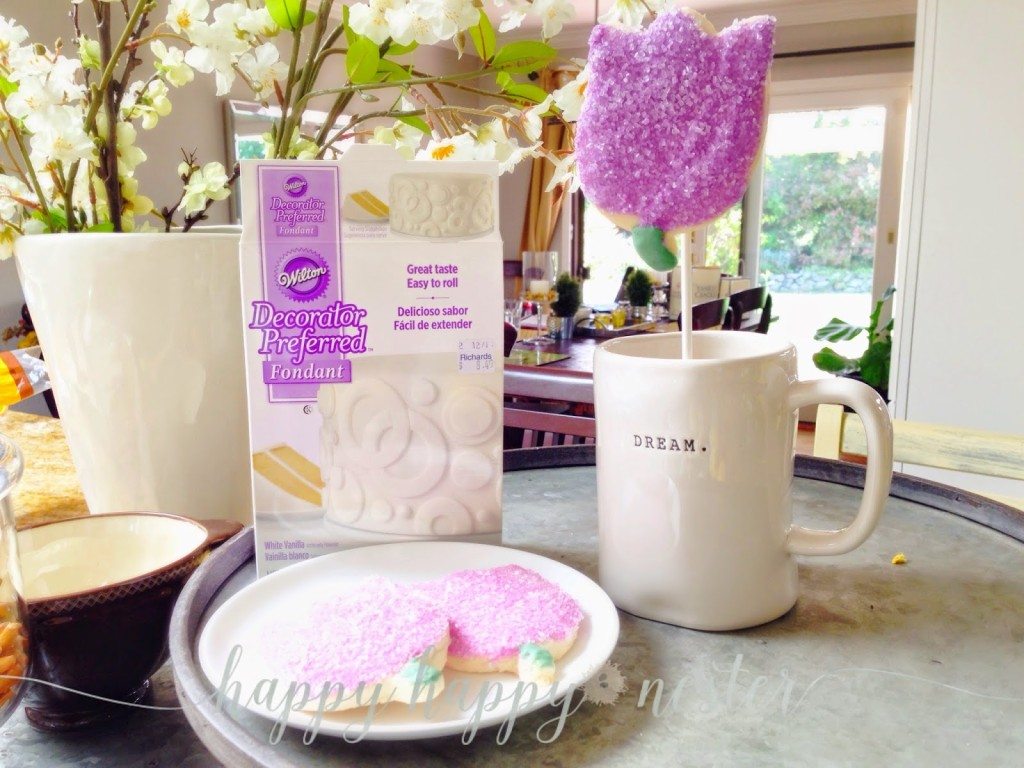
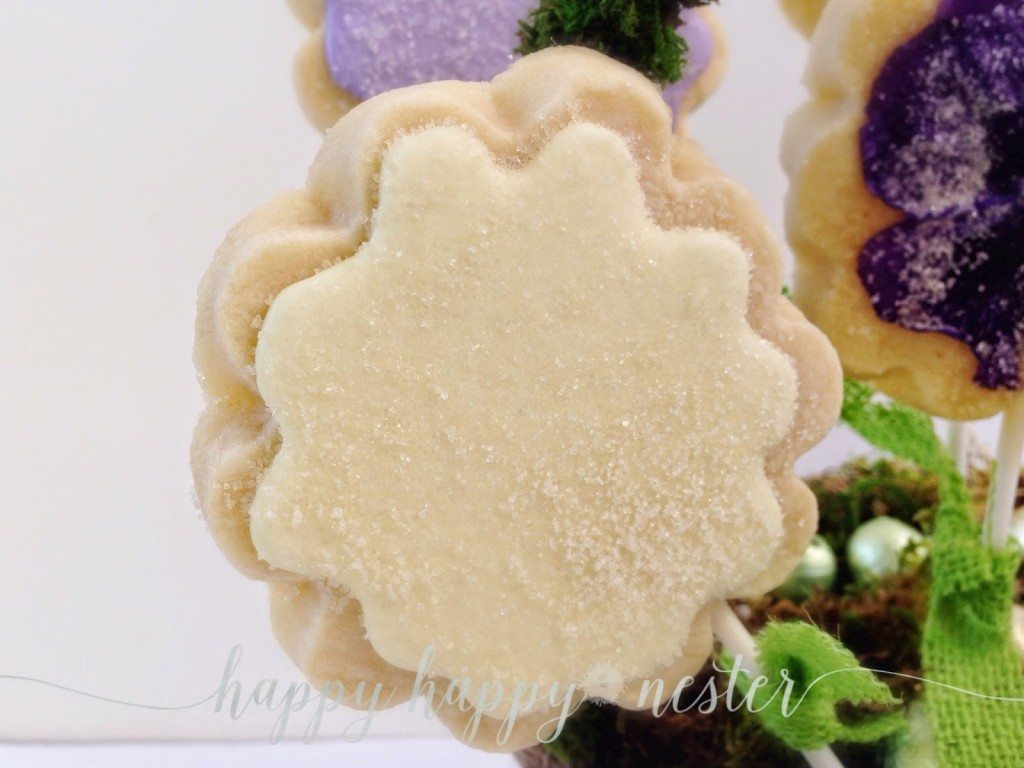
Once you have these cookie sticks, you can attach ready-made baking fondant on the back side of the cookie and attach the cookie stick to them. They hold quite nicely.
Pansy Cookies
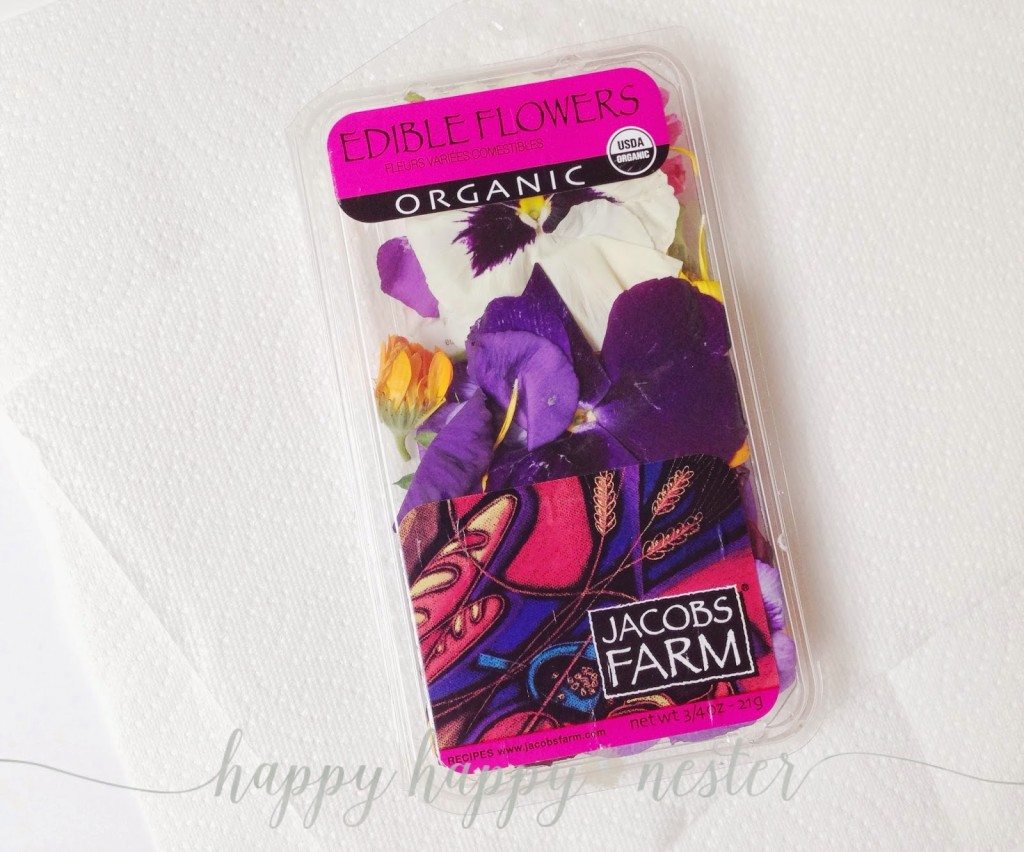
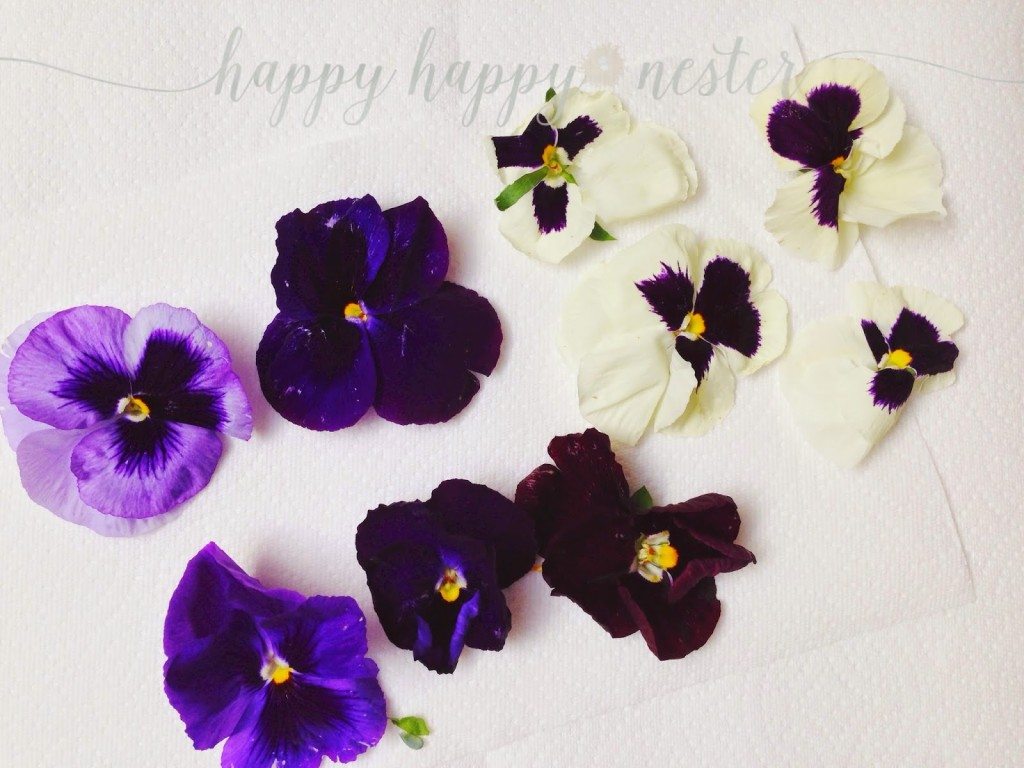
Now for the pansy flower cookies. You’ll want to buy or grow edible flowers that are organic. I found my package at our local grocery store! I was so surprised that they carried them. But if your local grocery store doesn’t carry them, here is the link to the online store that does: edibleflowers
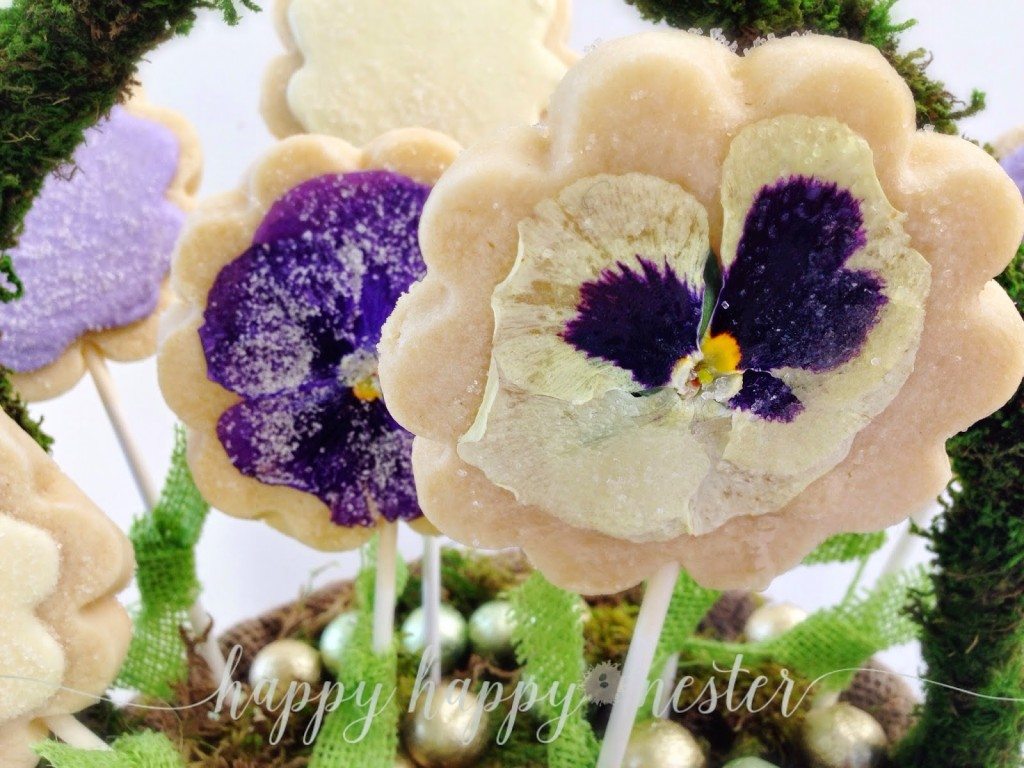
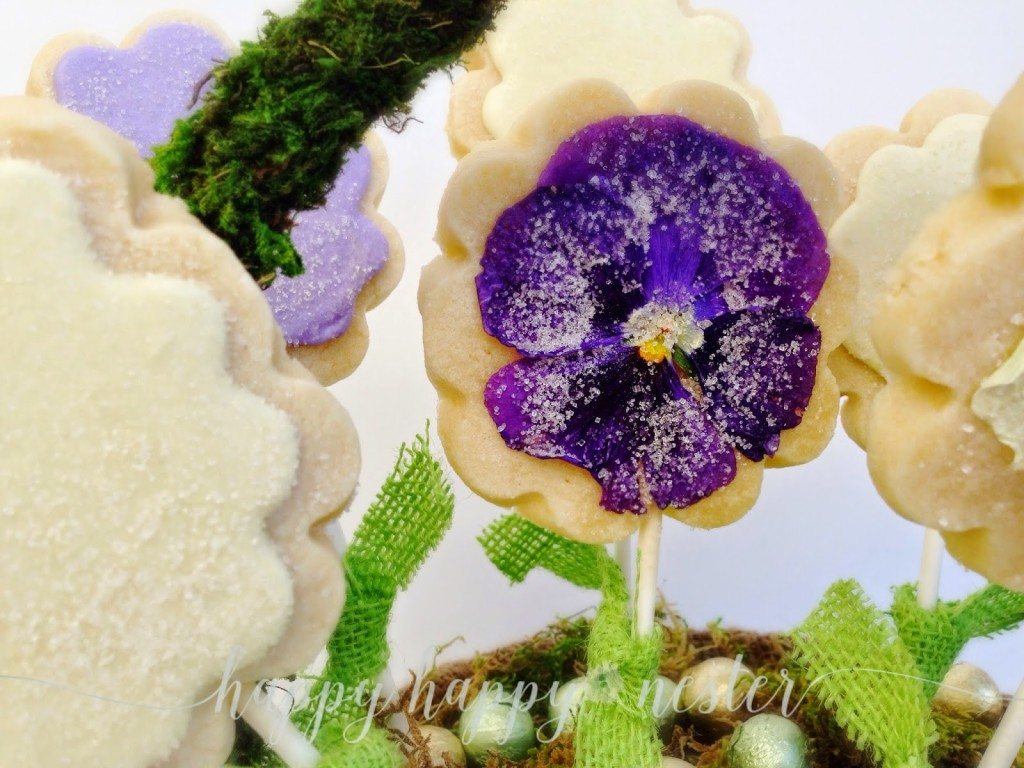
Next, mix 1 tablespoons of dried egg whites (meringue powder) and 2 tablespoons water. Then, dry the pansies on a paper towel. Make sure not to leave them out too long, they quickly start to shrivel up and dry out in the open air. It only took them a few minutes for this to happen! Next, spread the egg mixture onto a cooled cookie. Add a pansy onto of the egg white mixture and press them so that they adhere to the cookie. Then brush the top of the pansy with the egg mixture and cover thoroughly. Sprinkle sugar on top of the flower and cookie. Place them on a parchment-lined cookie sheet and bake at 325 degrees for 2 minutes. Now be sure to watch the cookies closely, since the flowers can dry out. Place them on a drying rack and let cool. When the cookies come out of the oven they tend to be a little soft, but once they have cooled on the drying rack they hardened right back up. So don’t panic…
Assemble the Basket
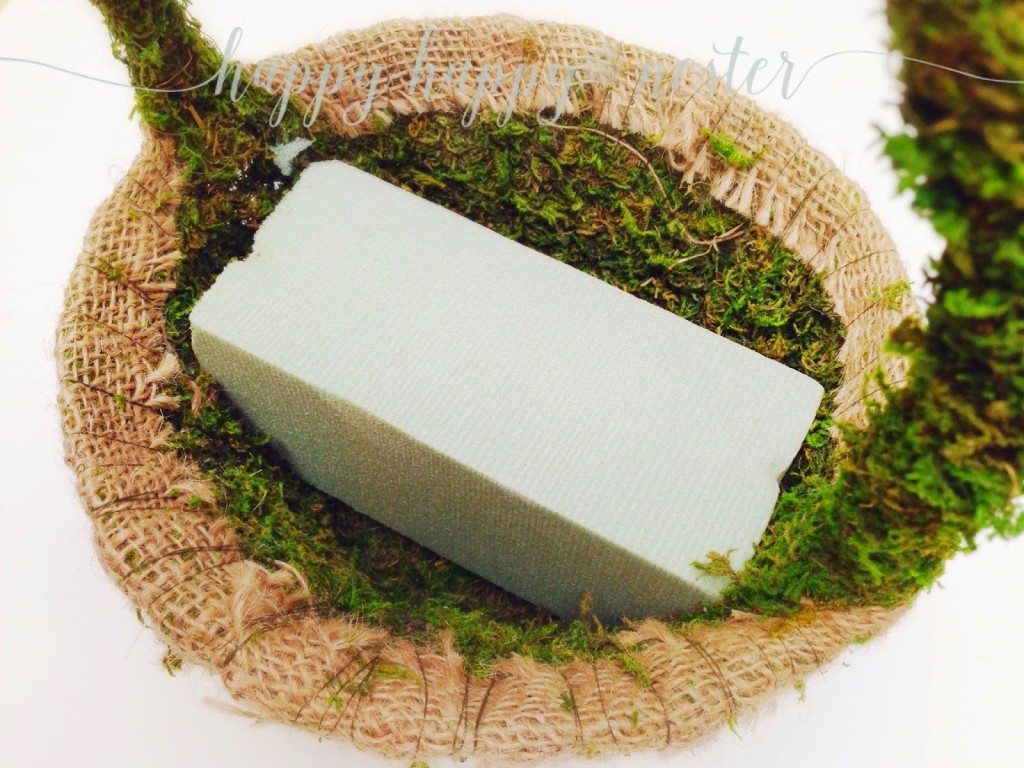
Place floral foam on the bottom of a basket. Make sure that it fits tightly, so the foam doesn’t move around in the basket. You will place the cookie sticks into the foam. I found it held the sticks in place quite nicely. Once you place the cookies into the foam, you’re
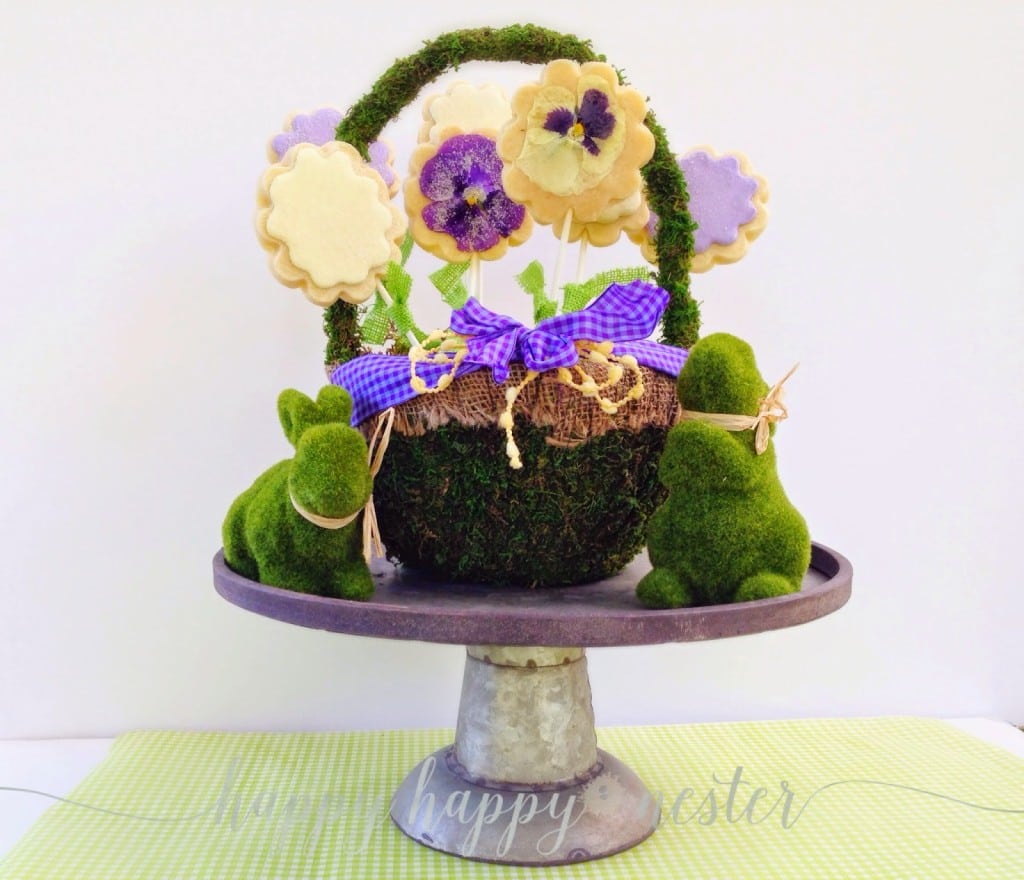
ready to decorate and enjoy! Add moss or Easter grass to cover up the foam. You can add cute bows, chocolate eggs, and bunnies if you like.
ready to decorate and enjoy! Add moss or Easter grass to cover up the foam. You can add cute bows, chocolate eggs, and bunnies if you like.
I hope you enjoyed this project as much as I enjoyed making and sharing it with you. It may look like a difficult project, but if you make the cookies ahead of time and then decorate them with icing and flowers on another day you’ll find it isn’t too big of a project. I spaced this project out over two days and this made somewhat easier. I was also thinking this could be a cute table decoration for a baby or wedding shower! Of even if you used some pretty pastel colors, it could be nice for wedding tables! Add a few candies, bows, and sparkly decor and you have a beautiful bouquet. I hope you are inspired to give this little bouquet a try! It sure seems like every family has a favorite cookie… My husband loves shortbread, and I do love them too. Do you have a favorite sugar cookie recipe?
Cheers,
Latest posts by Janine Waite (see all)
- Spring Doormats from Walmart - February 18, 2026
- Heart Shaped Brownies Recipe - February 13, 2026
- Framed Artwork from Amazon - February 12, 2026




Loi Thai, Tone on Tone
Janine – Oh, wow!!! Those are toooooo pretty to eat! But if you insist, then I'll have one. Okay, maybe two or three 🙂 Cheers, L