Do you know what’s been on my to-do list forever? Decorating Candles with paper napkins! I’ve been eyeing those gorgeous designs I keep seeing on social media. So, I finally decided to try and create my faux tapered waxed candles!
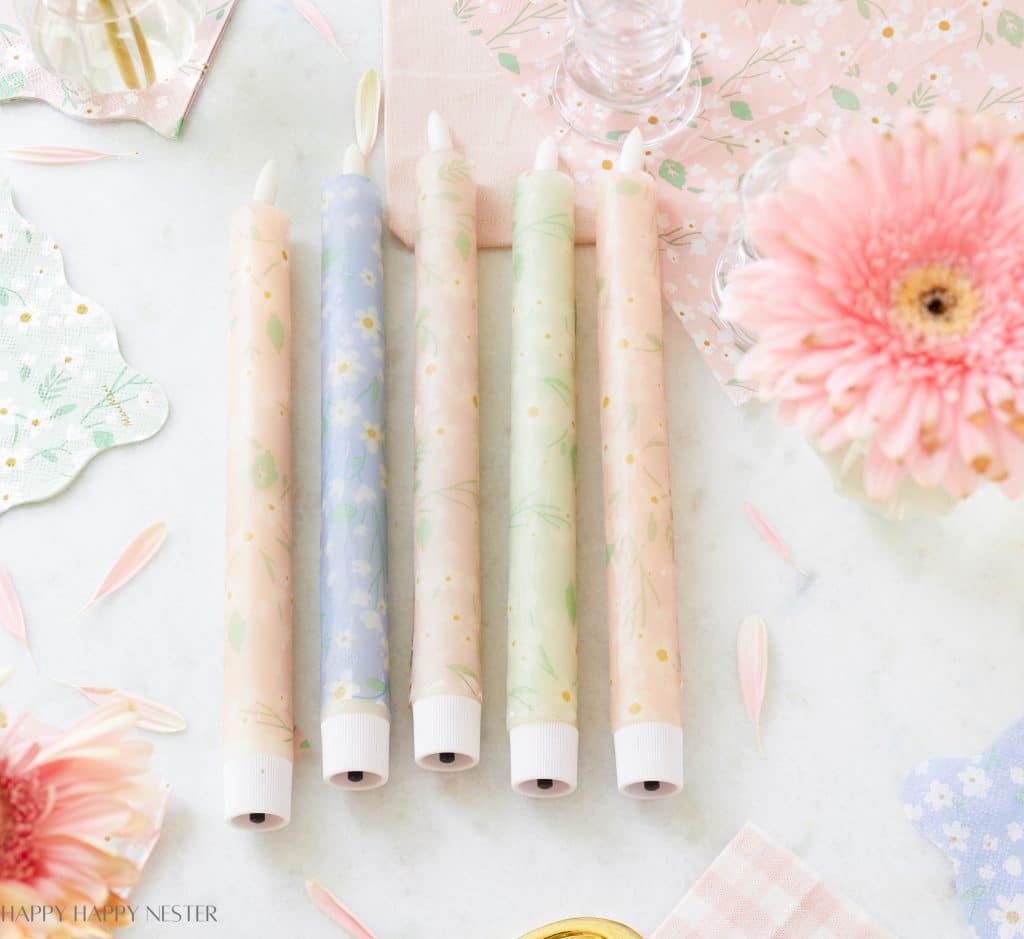
These candle decor DIYs are absolutely adorable. The paper adds such a delicate touch, perfect for brightening up any spring or summer decor! Once you start this easy candle craft, it’ll be hard to stop at just one!
I love decorating candles, and I’ve made a few projects on the blog. Below are the links.
- How to Make Your Own Personalized Candle
- Oui Yogurt Jar Crafts
- Cement Pumpkins DIY (with Candleholders)
My Decorating Candles Back Story!
During my downtime, I love scrolling through Instagram to see what others are up to creatively. Recently, I stumbled upon this project popping up all over my feed. While most crafters focus on covering big pillar candles, I thought I’d switch things up and give tapers a shot instead.
Alright, the candle is wrapped snugly in a printed napkin. As the candle wax and paper meld together, they form a solid bond. But here’s the burning question that kept me up at night: what happens when you light the candle? Does it go up in flames along with the napkin?
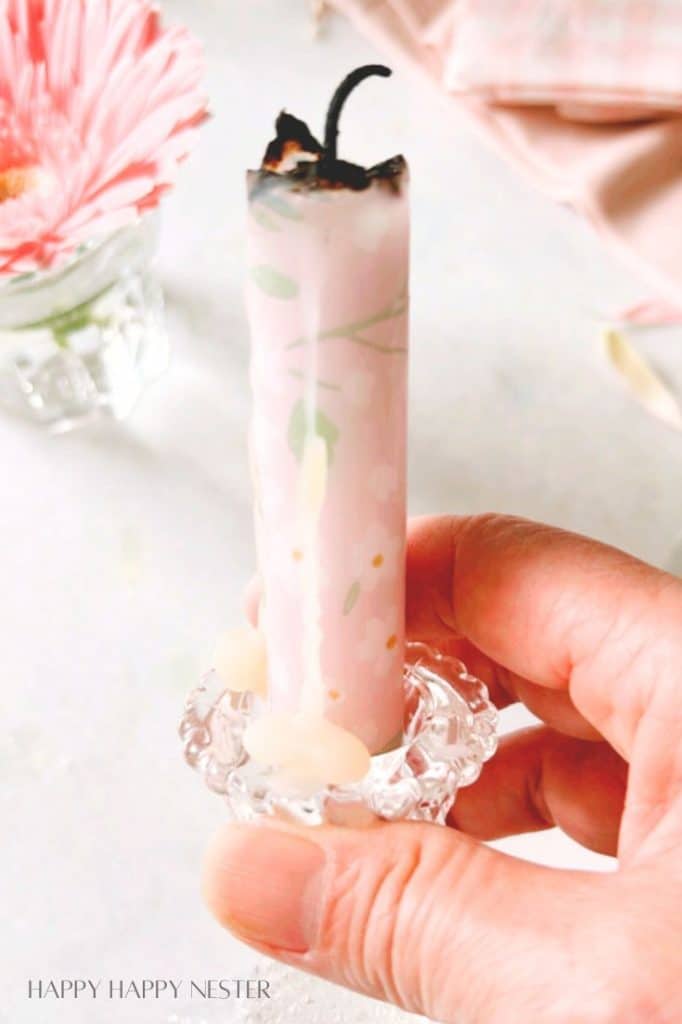
So, I took my freshly covered taper candle and decided to test this idea. Unfortunately, I have to share some disappointing news—the results were far from ideal. The paper ended up catching fire! I was engrossed in my studio work when I glanced over at my candle burning in the kitchen, only to find it engulfed in flames!
After yet another paper flower mishap, following a failed attempt at a pounded flower pillow, I reconsidered this whole craft project. I was so close to throwing in the towel!
But then it dawned on me to try using faux wax candles instead. Lo and behold, it worked like a charm, and here’s the finished project!
This past week and a half has been a whirlwind of crafting adventures, and I’m thrilled to have had the opportunity to participate in this spring craft blog hop with my friends.
You can see their project below!
Let’s Create These Napkin Candles
Supplies You’ll Need
- Flameless Taper Candles
- Napkins
- Heat Gun
- Scissors
- Parchment Paper
Candle Directions
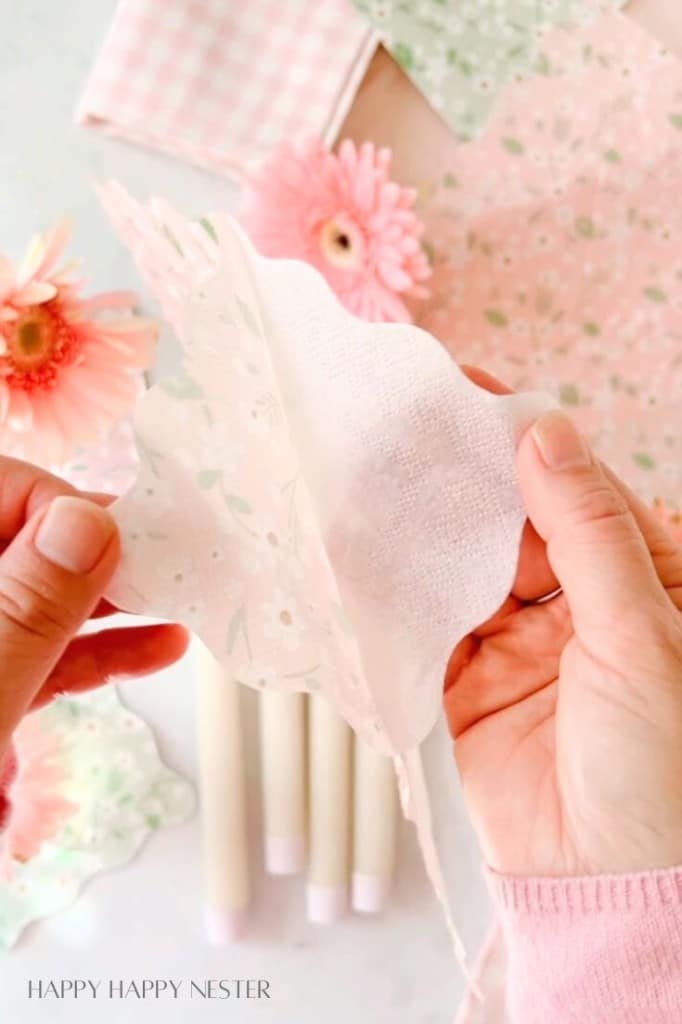
Step 1 – Separate the Napkin Layers
Every paper napkin is composed of several layers. So, carefully peel apart each layer and select the printed one for your project.
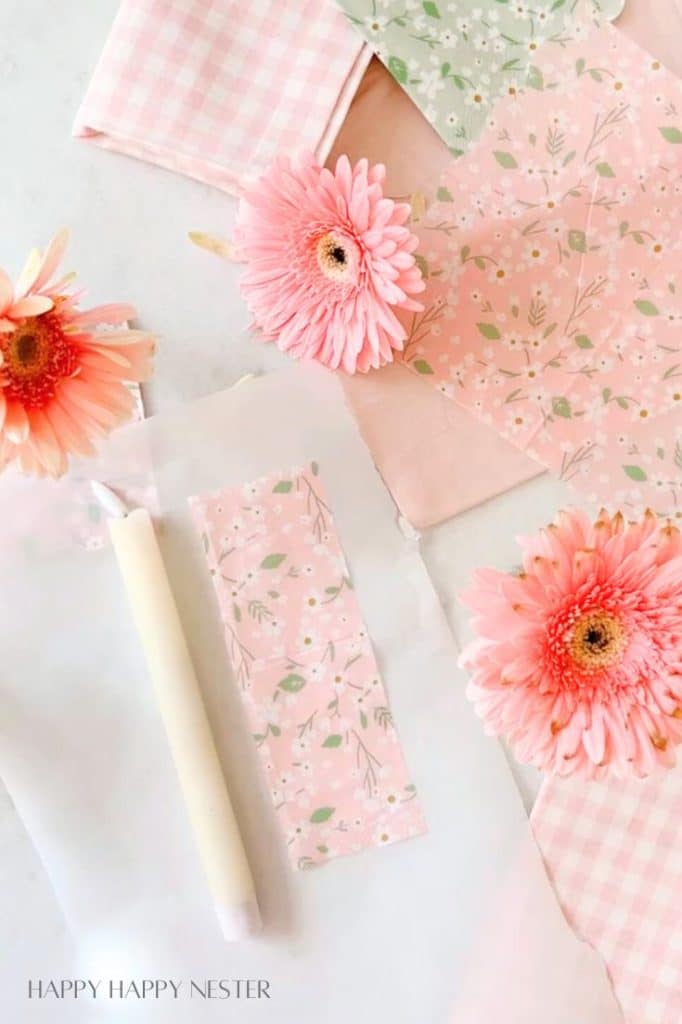
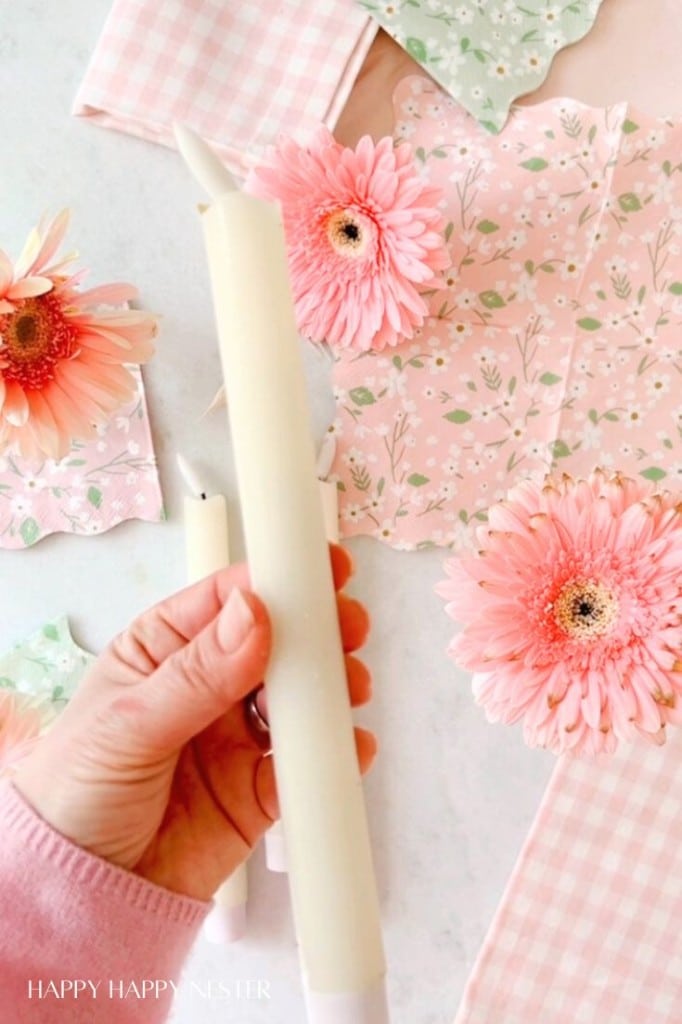
Step 2 – Cut Napkin to Size
Measure out the candle by placing the candle on the napkin and marking the top and bottom of the candle. If your napkin has a few ridges, don’t worry. They do melt and disappear.
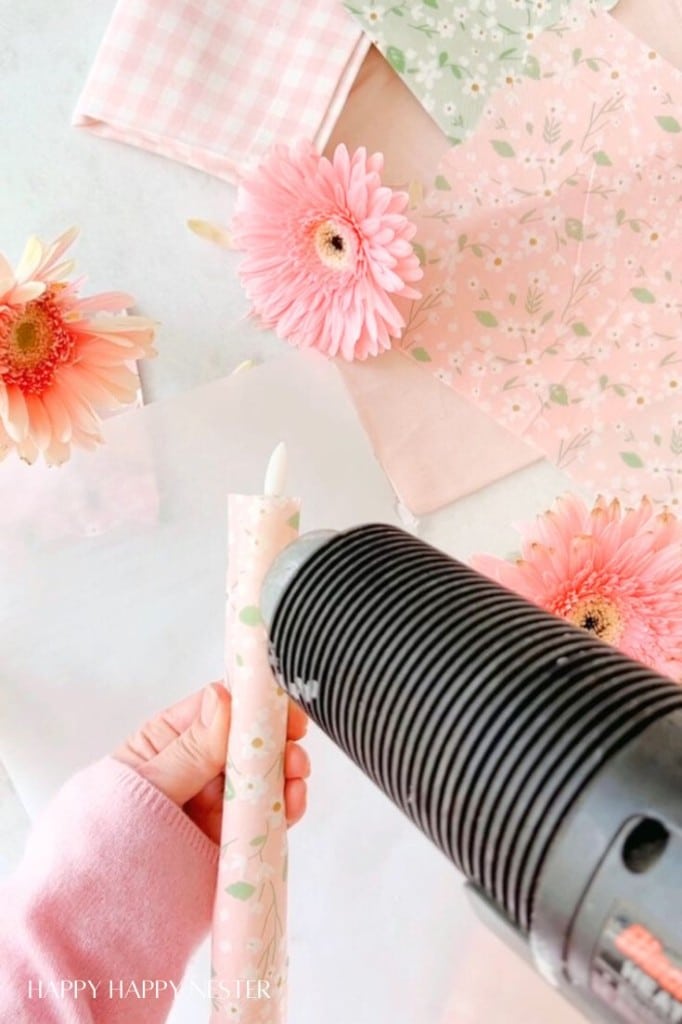
Step 3 – Heat Napkin to Candle
Once you have the paper cut to size, wrap it around your candle. Hold the paper taunt so you don’t get too many wrinkles when melting the wax. I melt the candle from the middle and move horizontally toward the edge and back of the candle. Then I move to the next level and do the same. If you get wrinkles, not to worry. While the wax is warm, smooth it out with your fingers. Be careful if the wax is too hot to touch.
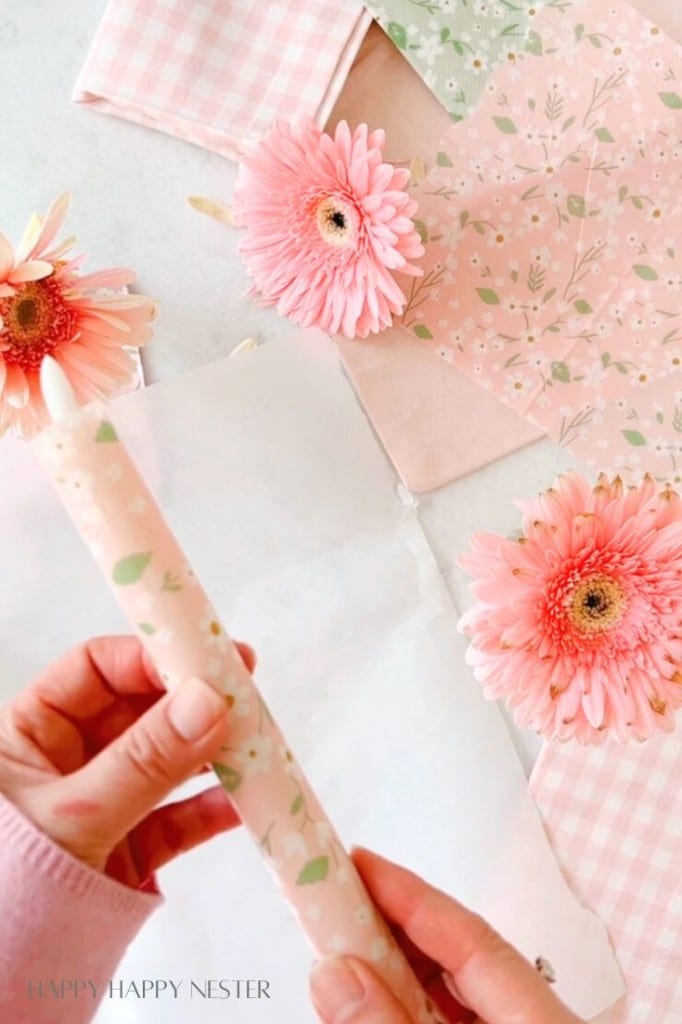
Step 4 – Trim Edge
If you have extra paper, you can melt it into a candle or trim it with a razor blade or scissors.
Make these candles and place them in some pretty glass candle holders. This is the perfect spring craft and decor.
A Few Tips
- If you create this with real candles, opt for the larger pillar ones. This ensures that the flame is sufficiently distant from the paper. However, I strongly recommend against using a real candle unless it burns down in a tunnel-like manner. This way, there’s minimal risk of the flame contacting the paper.
- If you decide not to burn your real candle purely for decorative purposes, feel free to decorate it with a napkin!
- When selecting a flameless candle, ensure that its exterior is made of real wax! This project specifically requires wax to work effectively.
- I tried using a blow dryer, and though it did warm up the candle wax a bit, I’d highly recommend using a craft heat gun or a regular heat gun instead. Just be careful not to apply the heat too close to the candle to prevent burning the paper!


I’m delighted by your visit and your interest in my candle decorating craft project. I’m especially glad that I didn’t lead you toward a craft that could potentially be dangerous. This one is safe and beautiful, and I’m thrilled to finally share a project after all the effort it took to get here!
Cheers,
Photo Credits: MyPhotography.com
BLOGGER’S BEST SPRING CRAFT
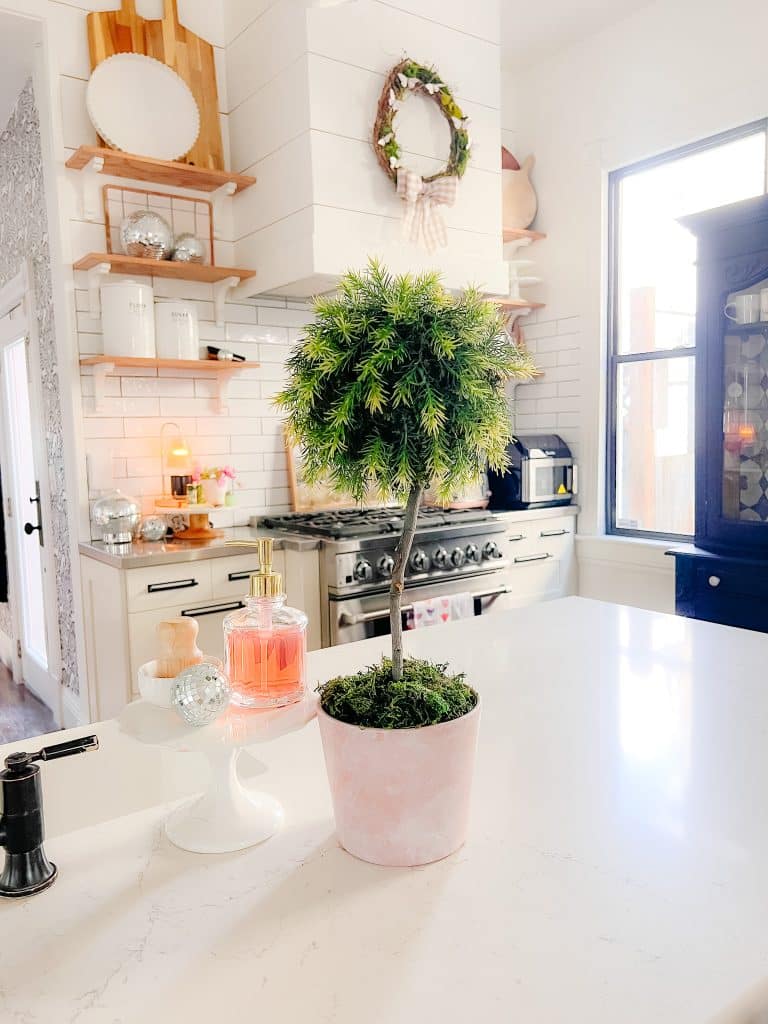
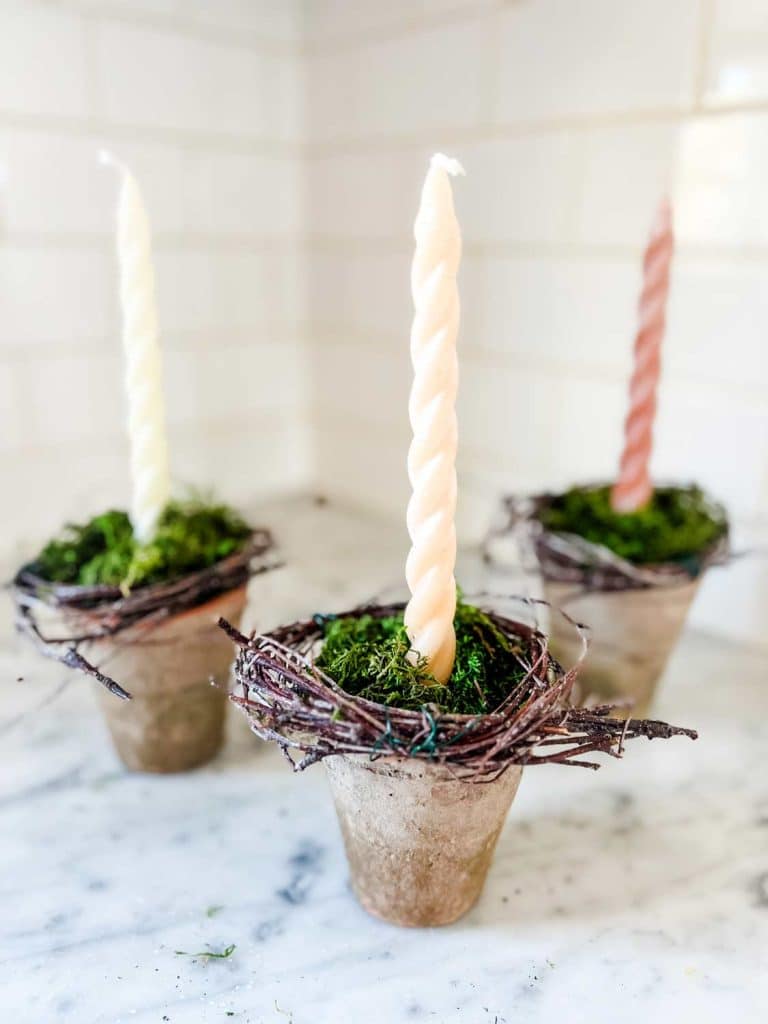
DIY Spring Topiary and Aged Pot | Tatertots and Jello
A topiary is the perfect addition to your spring decor. Put it on your kitchen counter, on your rmantel or as a centerpiece on your dining room table. I also share how to make a aged pot to plant it in!
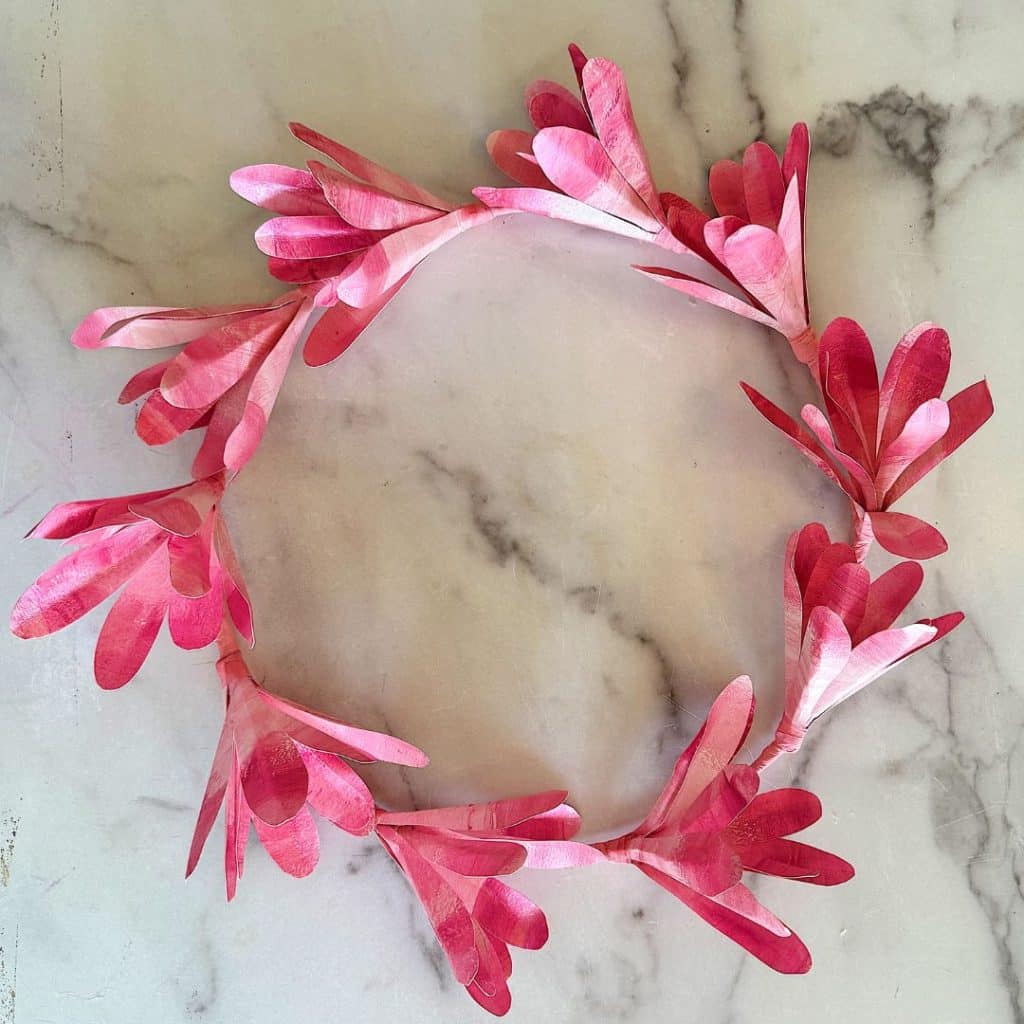
Pink Magnolia Tree Spring Wreath DIY | My 100 Year Old Home
I made this Pink Magnolia Tree Spring wreath as a budget-friendly alternative to the metal wreath from Terrain that inspired me. I made it out of paper instead of metal and cut all of the petals myself, so there is no reason why you can’t try to make this wreath, too!
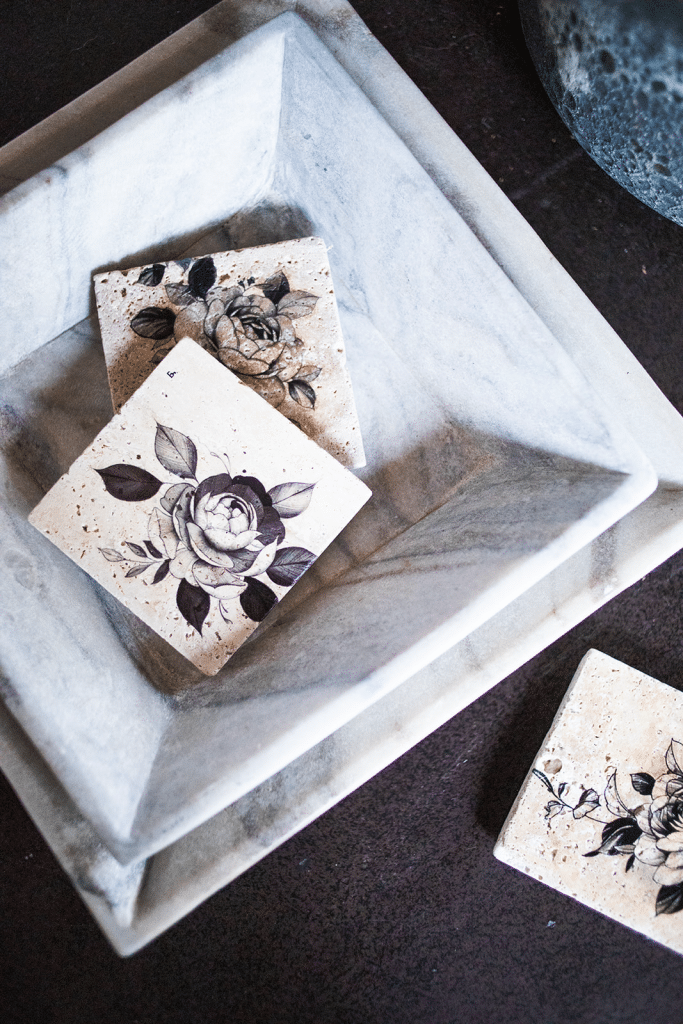
DIY Coasters Made From Temporary Tattoos | My Sweet Savannah
Temporary tattoos come in so many different styles. Choose the one that is right for you and add them to travertine tiles from the home improvement store to make chic coasters for you and your guests!
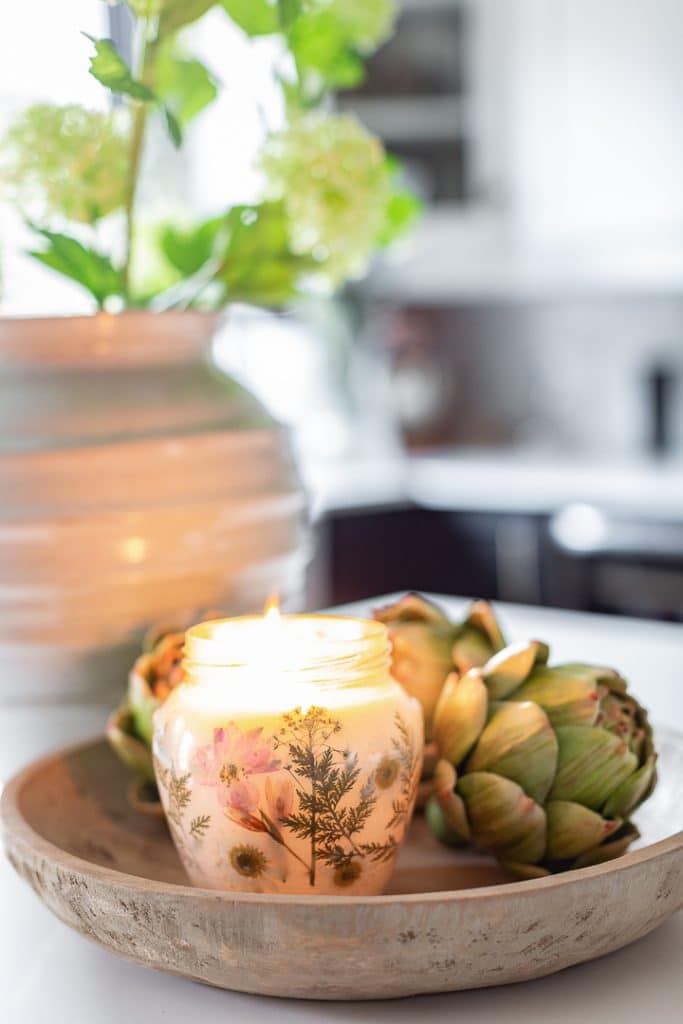
DIY Dried Flower Candle | Craftberry Bush
These Pressed flower candles are so pretty and easy to make. Perfect way to welcome spring.
15-Minute Spring Centerpiece | Most Lovely Things
Looking for an easy spring centerpiece idea? I have just the thing!

- Overnight Oats Recipe with Yogurt - April 10, 2026
- Springtime Throw Pillows - April 8, 2026
- Cherry Blossom Cookie Recipe - April 3, 2026


annie diamond
Janine! Your candles are so pretty! And the possibilities are endless!
Melaine Thompson
This is such a great idea! I cannot wait to try it!