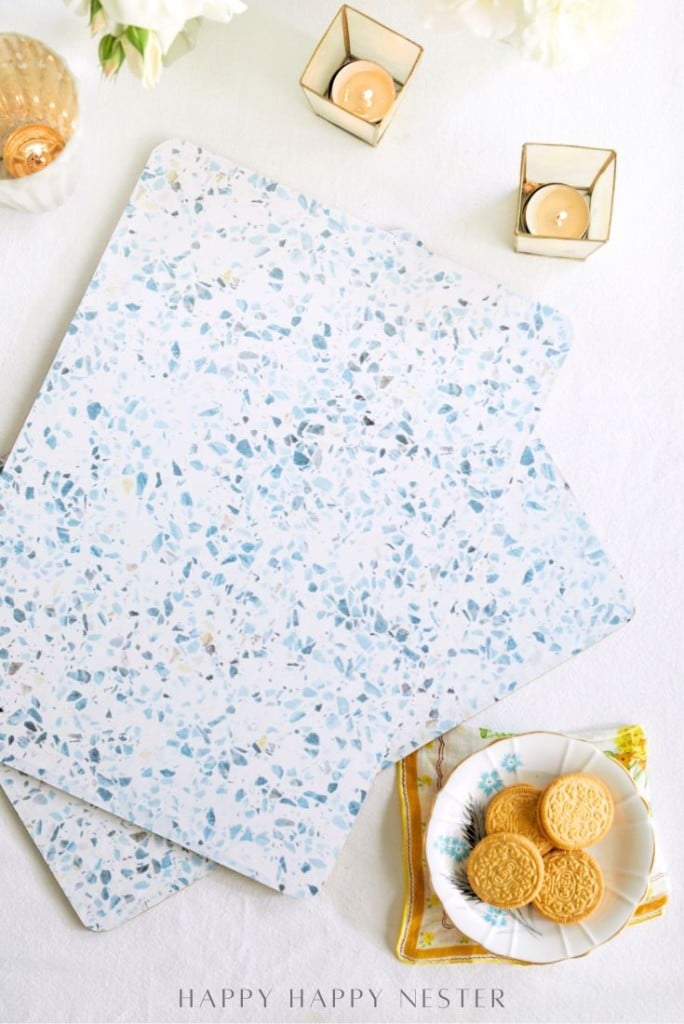
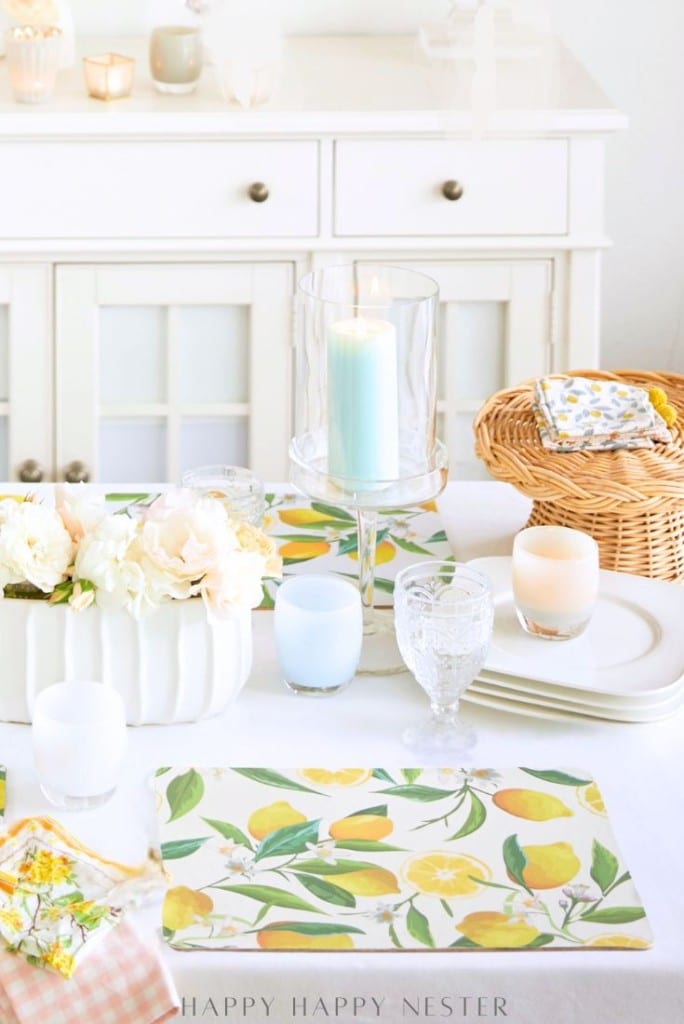
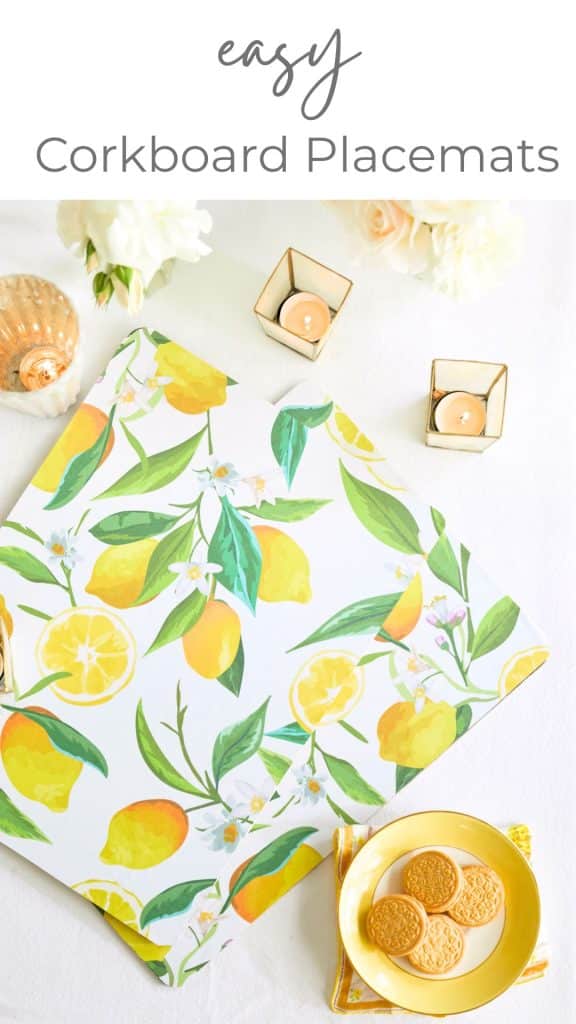
Easy Corkboard Placemats are a quick and stylish DIY project you’ll love! These charming placemats take less than ten minutes to make and are both waterproof and wipeable, making cleanup a breeze. Best of all, you only need five simple supplies: a corkboard, temporary wallpaper, glue, scissors, and a razor blade.
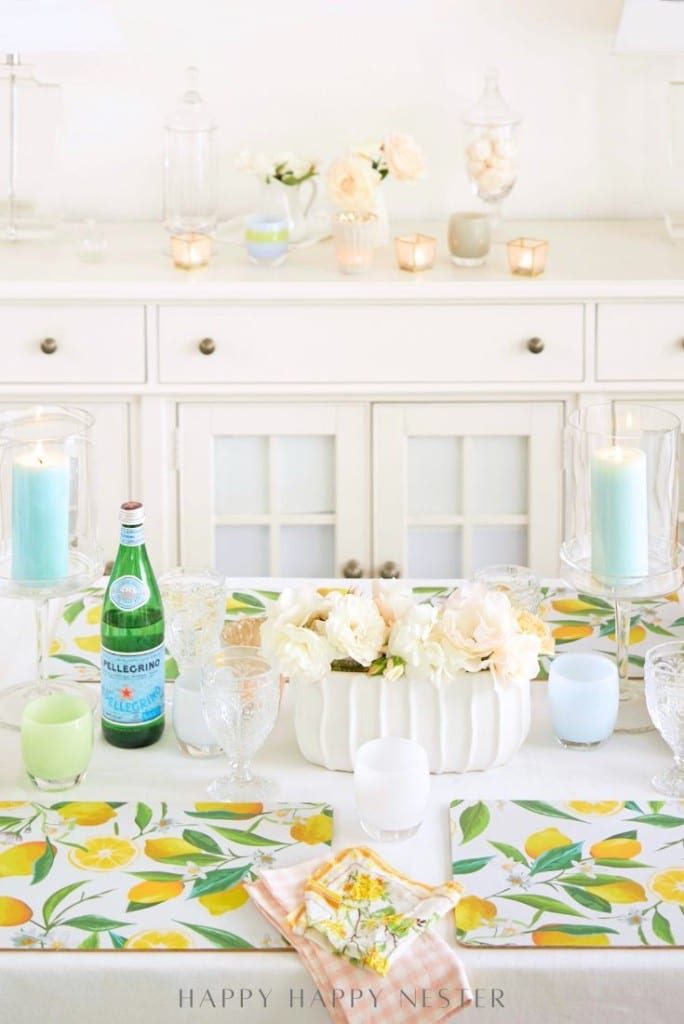
Over the years, I’ve shared a few of these blog post DIY’s. Here are a few you might enjoy pursuing!
More Craft DIYS
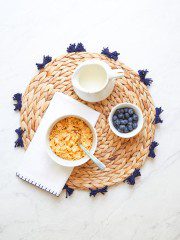
Boho DIY Placemats with Tassels
These Boho DIY Placemats with tassels are easy to make! I love that they nicely match my Serena & Lily Catalonia bohemian-style placemats.
This easy DIY placemat project is super fun to create and brings a great touch of personality to your dining table. One of the best things about laminated corkboard placemats is their low maintenance. You can easily wipe them down with a damp cloth to clean up spills or crumbs; they should hold up well over time.
This collection of runners comes in floral, striped, solid-colored, cotton, linen, outdoor, and more!
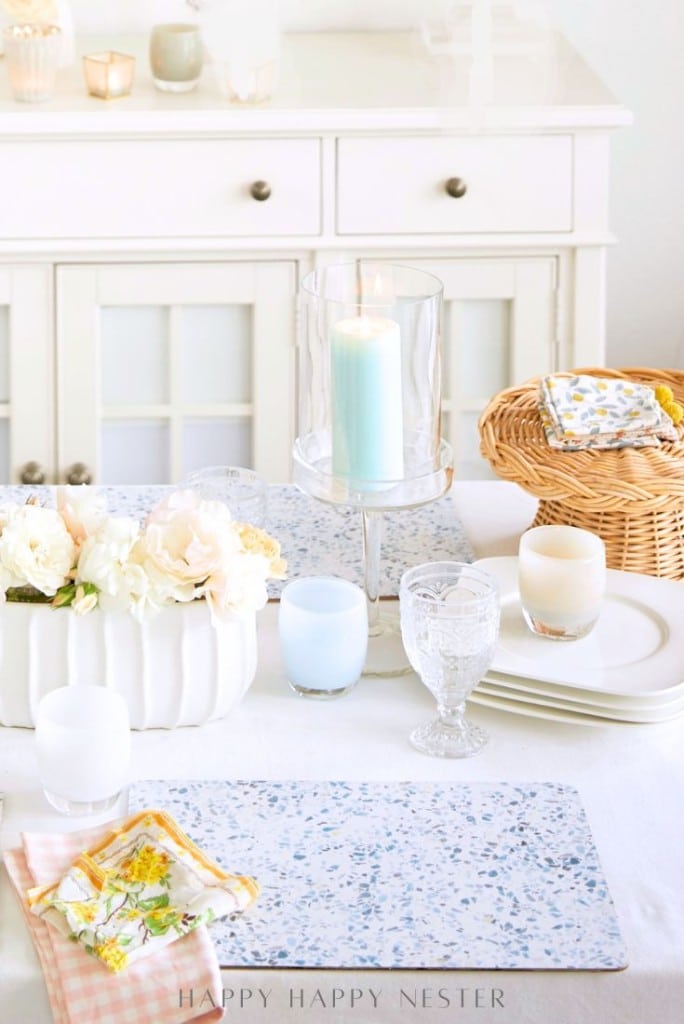
I’ll admit it — I’m pretty particular about our dining table. I always have a tablecloth down, which means placemats are a must. And since my husband is a lovable (but messy) eater, I like to keep wipeable, easy-to-clean placemats on hand. The less laundry, the better!
So recently, I came up with a new design that skips the hassle of laminating pretty papers at the local print shop. It saved me time and money — and I love how it turned out!
Let’s take a look at this tutorial!
Create Stylish and Easy Corkboard Placemats in Minutes
It’s so simple to make stylish and easy corkboard placemats—grab some old placemats, fresh wallpaper, and a little glue, and you’ll have a whole new look in minutes!
Why You’ll Love These DIY No-Sew Placemats
Quick and Easy to Make
These no-sew DIY placemats are perfect if you’re looking for a fast and fun, easy placemat craft. You only need a few simple supplies and about ten minutes to give old corkboard new life. There are no sewing or complicated steps—just cut, glue, and you’re done!
Waterproof and Easy to Clean
These cork placemats aren’t just cute—they’re super practical, too. Thanks to the temporary wallpaper and optional contact paper, your placemats with cork backing are now waterproof and wipeable. With just a quick swipe, they’re clean and ready for your next meal.
Budget-Friendly and Customizable
Making cork placemats at home is a smart and stylish way to save money. You can easily create custom looks with wallpaper to match the seasons or holidays—think bright summer colors or Christmas themes. It’s affordable, fun, and easy to update anytime!
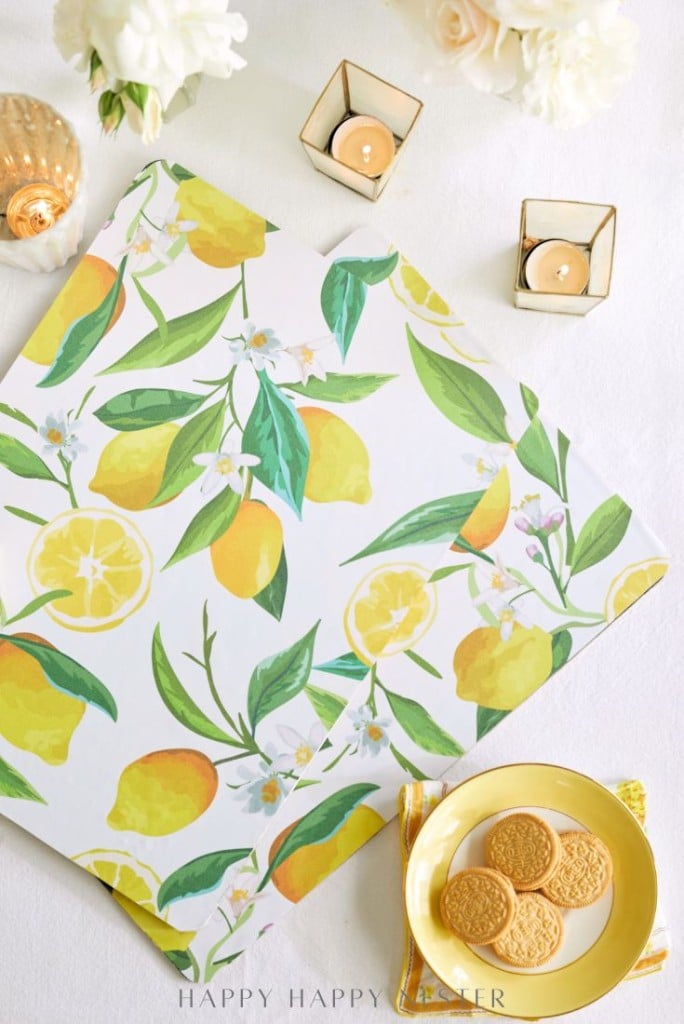
What Are Corkboard Placemats?
All About Corkboard Placemats
Corkboard placemats are exactly what they sound like — placemats with a cork backing that make them durable, heat-resistant, and easy to use on a daily basis. The cork layer protects your table from heat and scratches and gives the placemats a sturdy feel that stays in place during meals. You’ll often see versions like pimpernel placemats or seasonal cork placemats, Christmas designs, but making your means you can personalize them to match your decor.
Why Make DIY Corkboard Placemats?
Benefits of Using Cork Backing Placemats
There’s a lot to love about placemats with cork backing. They’re naturally heat-resistant, which helps protect your table, and they don’t slide around easily like fabric placemats. Plus, when covered with temporary wallpaper and sealed with contact paper, they become easy-to-clean placemats—perfect for wiping down after meals without worrying about stains or needing to wash them constantly.
Why Cork Placemat Projects Are Perfect for Beginners
This is it if you’re searching for a fun and simple DIY. These DIY placemats require just a few basic supplies and very little time. There’s no sewing, no complicated steps — just cut, glue, and trim. This makes them an ideal weekend craft or a great project with kids or friends. In no time, you’ll have custom placemats that are both pretty and practical.
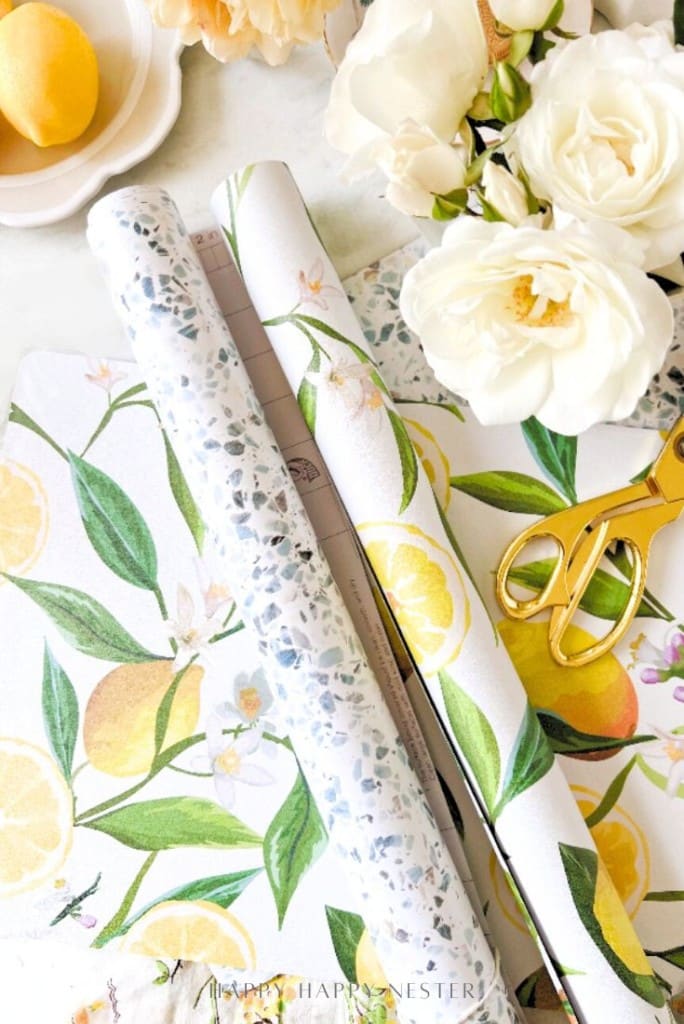
Supplies You’ll Need for This DIY Placemat
Basic Materials
Corkboard Placemats or Old Pimpernel Placemats
Temporary Wallpaper or Contact Paper
Glue (for extra hold)
Scissors and Razor Blade (for clean cuts)
Optional Supplies
Clear Contact Paper (for extra waterproofing if you prefer)
How to Make No-Sew Placemats
Step 1 – Prepare Your Corkboard Placemats
Clean and dry placemat surface.
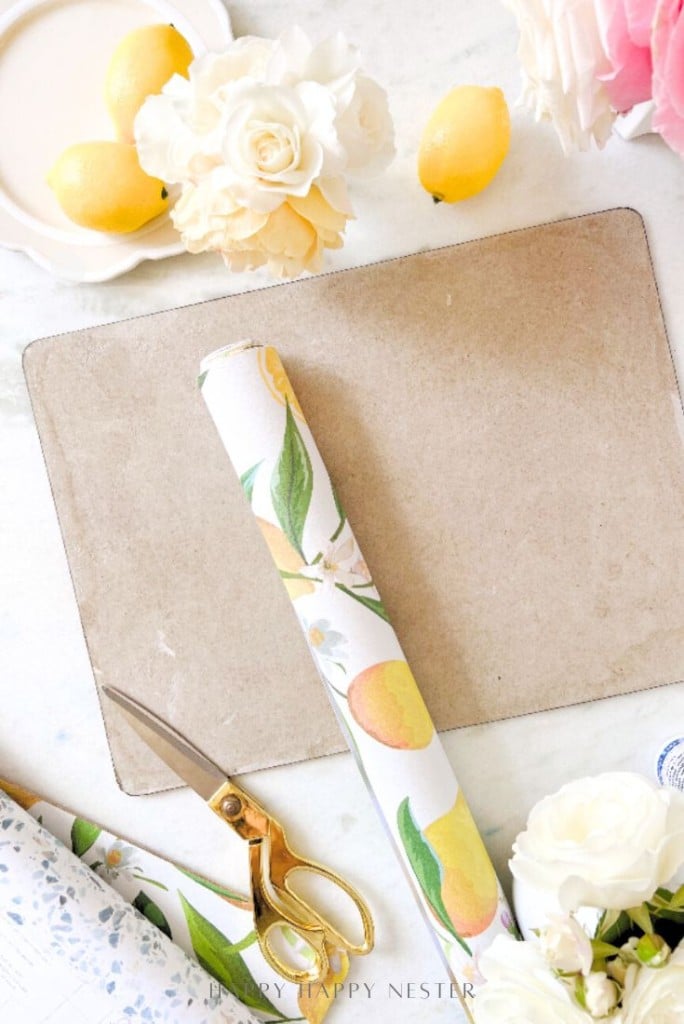
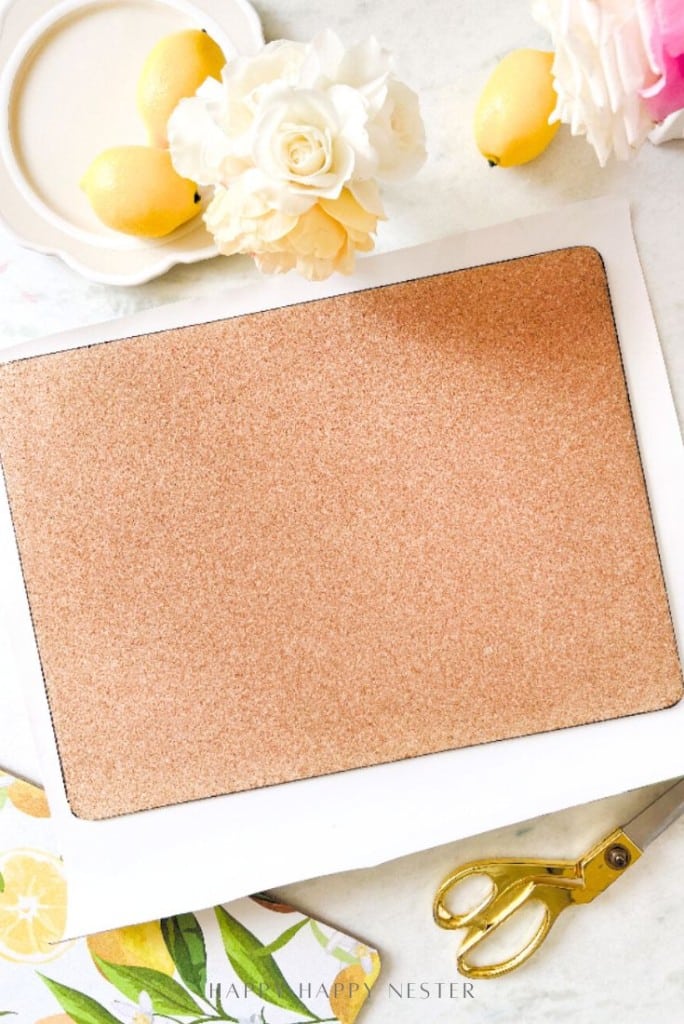
Step 2 – Cut the Temporary Wallpaper
Measure and trim to fit. I cut my wallpaper beyond the size of the placemat and then trimmed it after it was secured on. At first, I tried trimming it to fit, but then I attempted to line up the paper with the mat—and let’s just say, that didn’t go well at all!
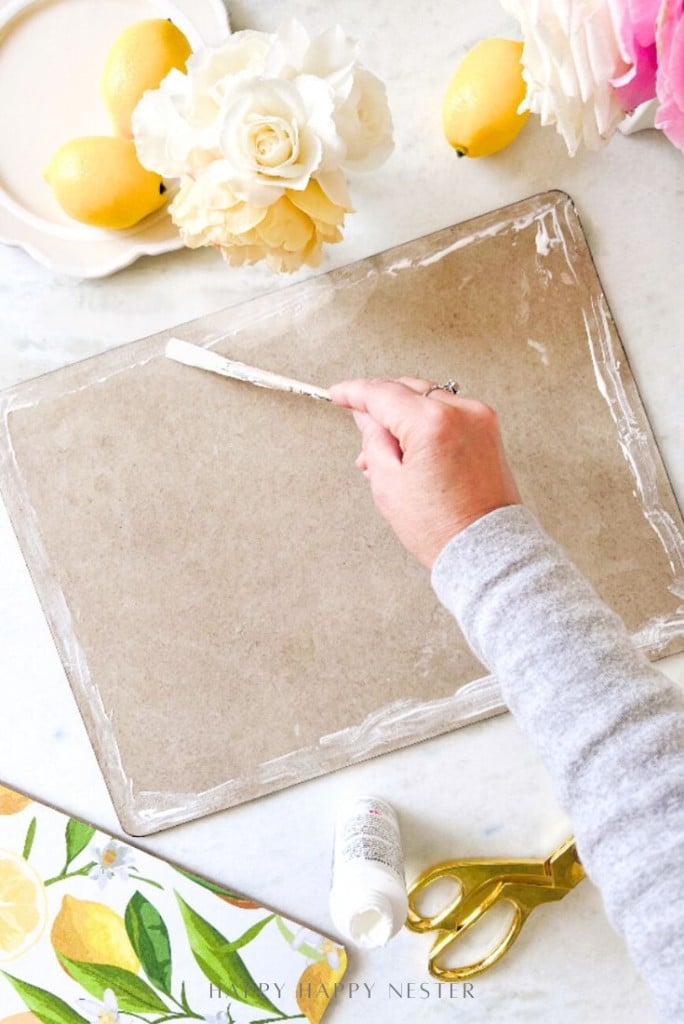
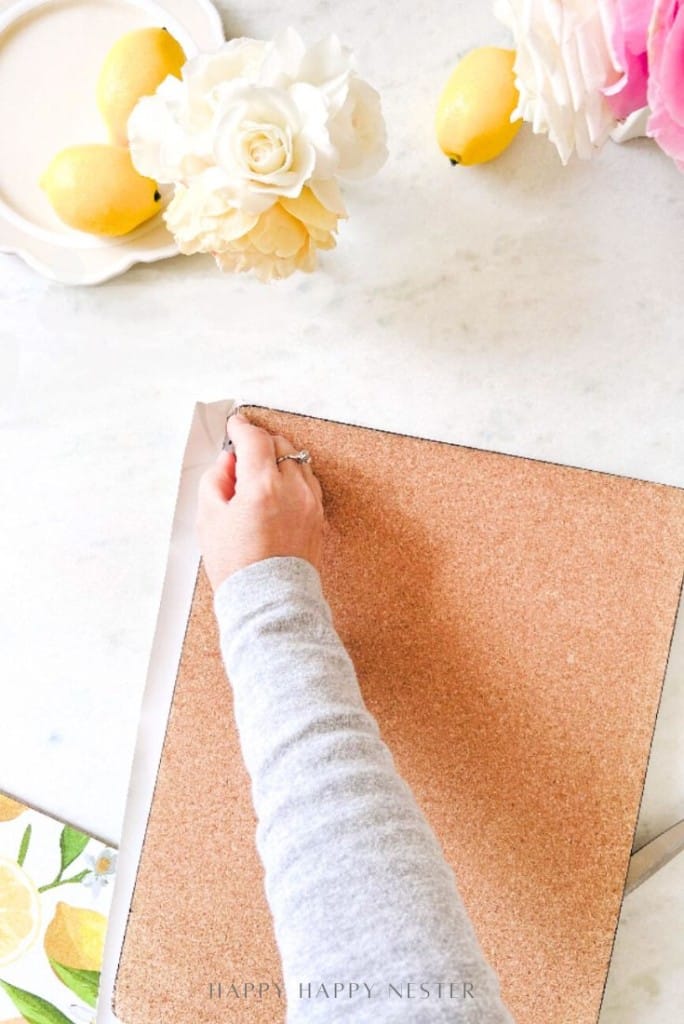
Step 3 – Attach the Wallpaper
Apply glue for a secure hold; this is optional. Peel one edge of the backing off the wallpaper and place it down on the corkboard. Slowly unroll the backing and press the paper onto the board as you go. This helps keep it smooth and prevents it from sticking to itself.
Smooth and press down with your fingers.
Step 4 – Trim the Edges
Use a razor blade for clean, precise edges. Turn over your placemat and place it on a kitchen cutting board. Run your razor blade along the board’s edge and trim the excess paper.
Step 5 – Optional: Seal with Clear Contact Paper
To add durability and make them easy-to-clean placemats, place clear contact paper on top of your wallpaper and trim along the edges as mentioned in step 4.

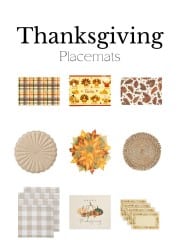
Tap on Images to Shop!
Frequently Asked Questions
Yes! Once you cover them with temporary wallpaper and optional clear contact paper, these easy-to-clean placemats become waterproof and wipeable. Just use a damp cloth to clean up spills or messes—no laundering is needed.
Pimpernel corkboard placemats are those pretty, sturdy placemats you often see with decorative prints and a smooth surface. They have a cork backing that helps protect your table and keep the placemat in place. They’re known for being super durable, easy to wipe clean, and perfect for everyday meals or special occasions.
Absolutely, I used ones that I bought in a thrift store! Old Pimpernel placemats with cork backing work perfectly for this project. Make sure the surface is clean and smooth before applying your wallpaper or contact paper.
Cork backing placemats are naturally durable and heat-resistant. When sealed with wallpaper and contact paper, they hold up well to daily use, protect your table, and stay in place without sliding.
Contact paper is optional, but it adds an extra layer of durability and makes the placemats even easier to wipe clean. If you’re using these for daily meals, sealing them is a good idea.
I had such a blast with this project! I just love when a DIY turns out to be functional, fun, and pretty — it’s the best of all worlds. These easy corkboard placemats check every box and make everyday meals feel a little more special.
I hope you get a chance to make your own! If you do, please drop a comment — I seriously love hearing what you create. And don’t forget to pin or share this with friends who might want to try it too. Crafting is always more fun when we share ideas!
Cheers,

Photo Credits: MyPhotography.com

- Heart Shaped Brownies Recipe - February 13, 2026
- Framed Artwork from Amazon - February 12, 2026
- Chocolate Covered Quinoa Recipe - February 5, 2026


Josee
Lovely!!!!!!!!!!! Thank you