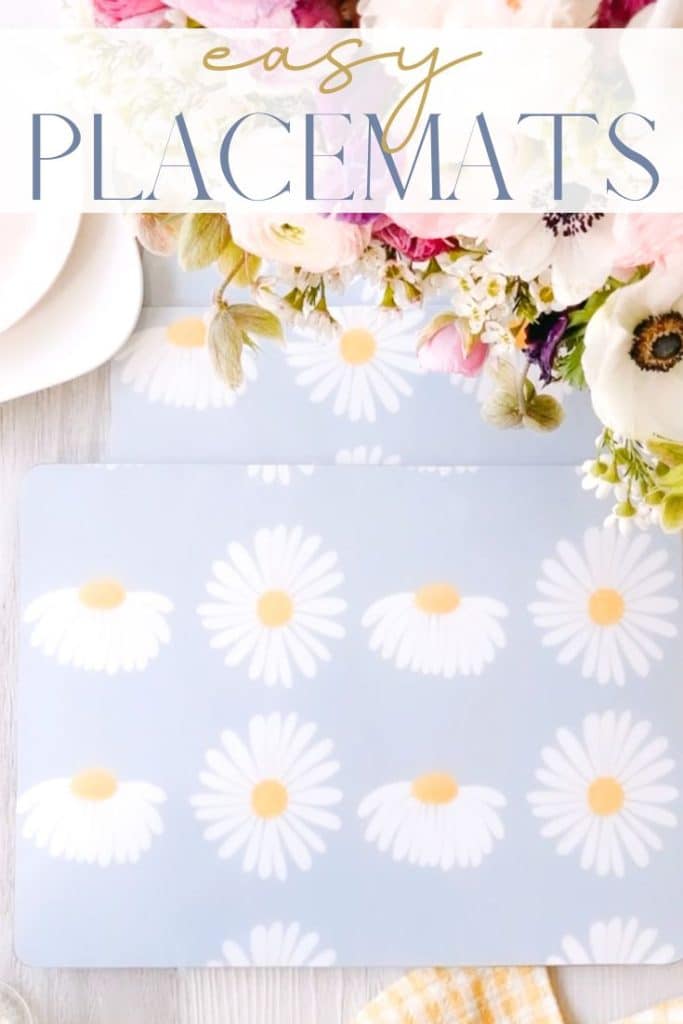
This Easy DIY Placemats project is super fun to create and brings a great touch of personality to your dining table. One of the best things about laminated corkboard placemats is their low maintenance. You can easily wipe them down with a damp cloth to clean up spills or crumbs; they should hold up well over time. They’re eco-friendly and simple to clean, but they also have a fantastic, natural look that adds warmth and texture to any dining setting.
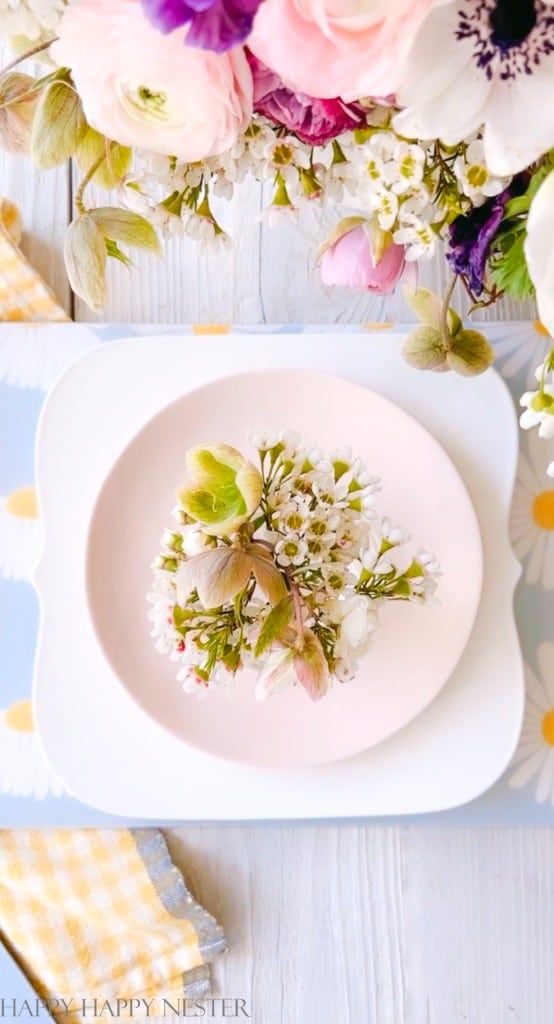
You might have some old, boring corkboard placemats collecting dust in the back of your kitchen cabinets. But don’t throw them out just yet! You can quickly transform them into a fun, updated version with a bit of DIY.
I have a passion for designing home decor that perfectly matches my style, but I frequently face difficulty finding exactly what I’m looking for in stores. As a result, I typically end up crafting all of my decor on my own.
One of the significant benefits of creating your decor is that it’s incredibly cost-effective, and you can tailor every aspect to your specific preferences. Plus, because you’re crafting the item yourself, you can guarantee that it will be a unique addition to your home that no one else will possess.
Here are a few items you may enjoy making for your home!
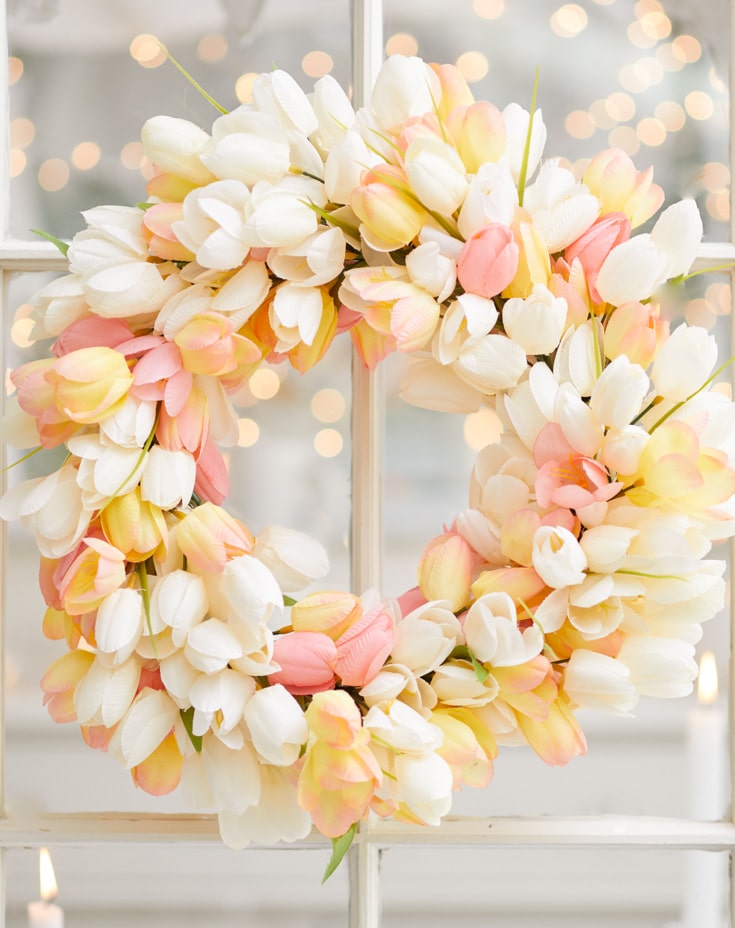
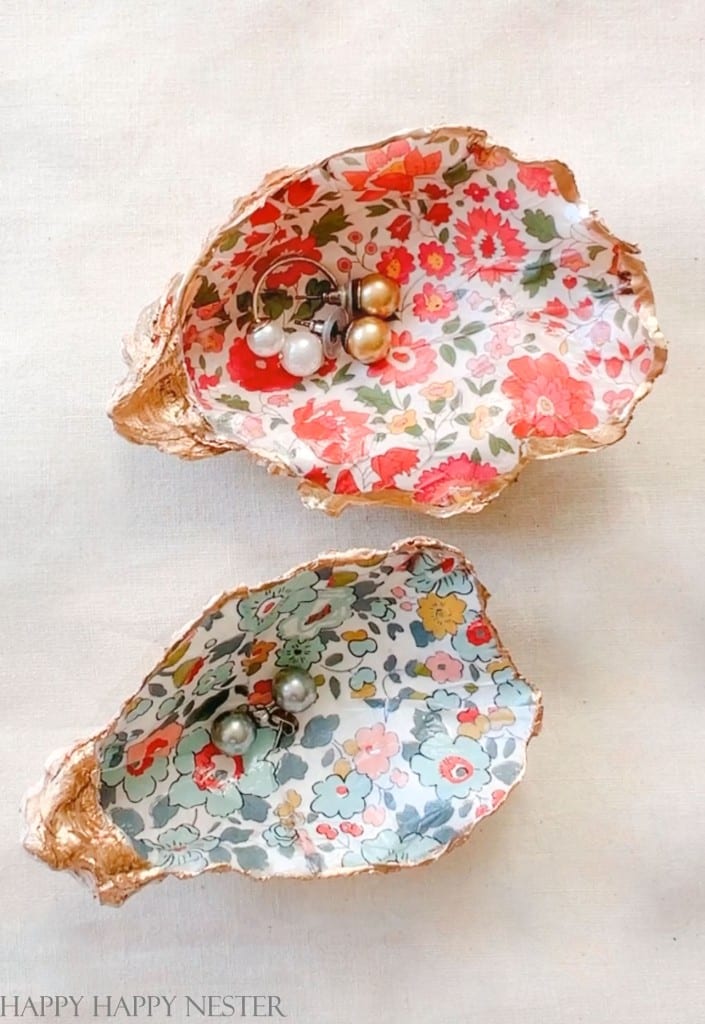
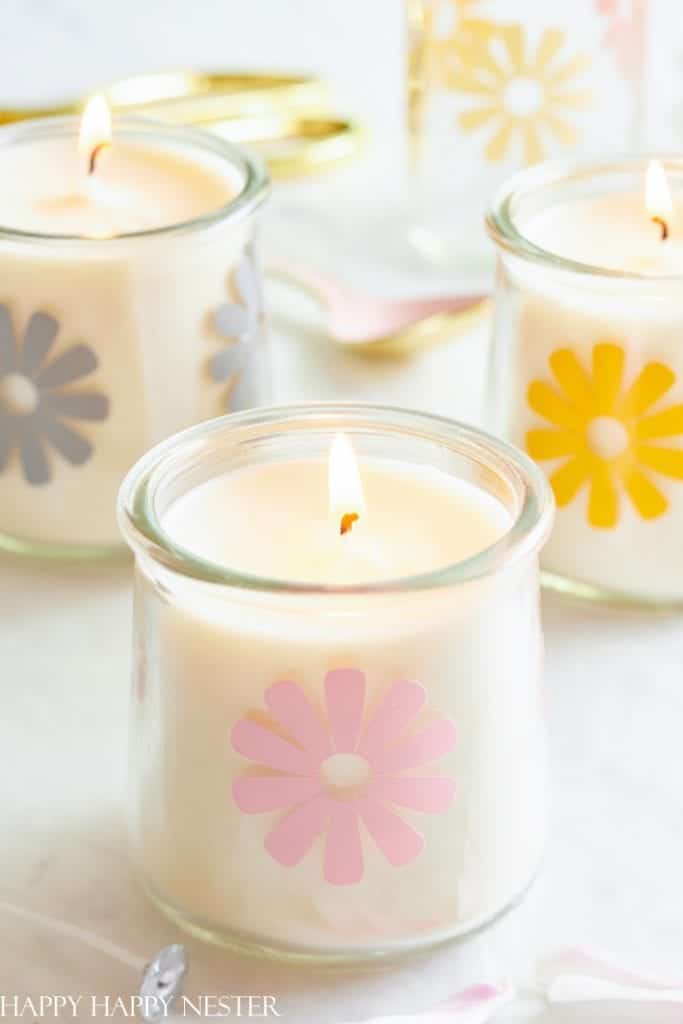
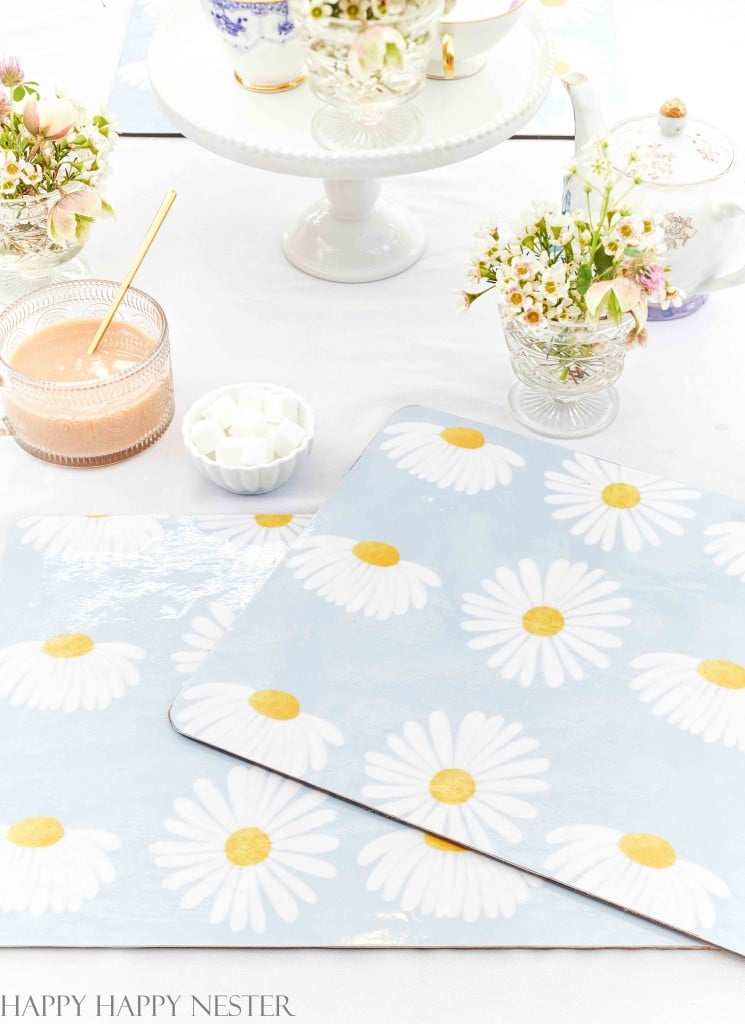
This easy DIY placemat post is part of a blog hop of spring home decor DIYs. So scroll to the bottom to see what my friends created!
Ok, let’s hop into my fun, easy DIY placemats tutorial.
A Few Tips About Making Placemats
- Lamination – I got mine done at Kinkos. They have a self-service option, but my corkboard placemats (17″x13″) were too big. I had them laminated by the worker.
- Glue – You might have Modge Podge sitting around your house, but please don’t use it for this project. Crafter’s Pick Glue is the only glue to use! I tried Modge Podge, and it failed miserably. The laminated placemat came right off the corkboard.
- When cutting your paper and lamination, I don’t have a cutting mat, so I use my big wooden cutting board. It works great for my craft projects.
- If your corkboards have a design that’s dark and your paper is light, you might want to paint over the design.
- If you’re thinking of using scrapbooking paper, it’s too small for this project. You’ll have to use wrapping paper.
How Much Does it Cost to Laminate?
At Kinkos, my 17″x13″ laminated paper costs $5.29 each. So I had four done for $21. If you don’t want to attach it to a corkboard placemat, that will work as well.
How to Make a Laminated Placemat
Supplies You’ll Need:
- Corkboard Placemats
- Wrapping Paper (I tried to find the exact paper, but it is only available via a wholesale license.)
- Crafters Glue
- Brush
- Scissors or Razor Blade
- Heavy Book
Directions:
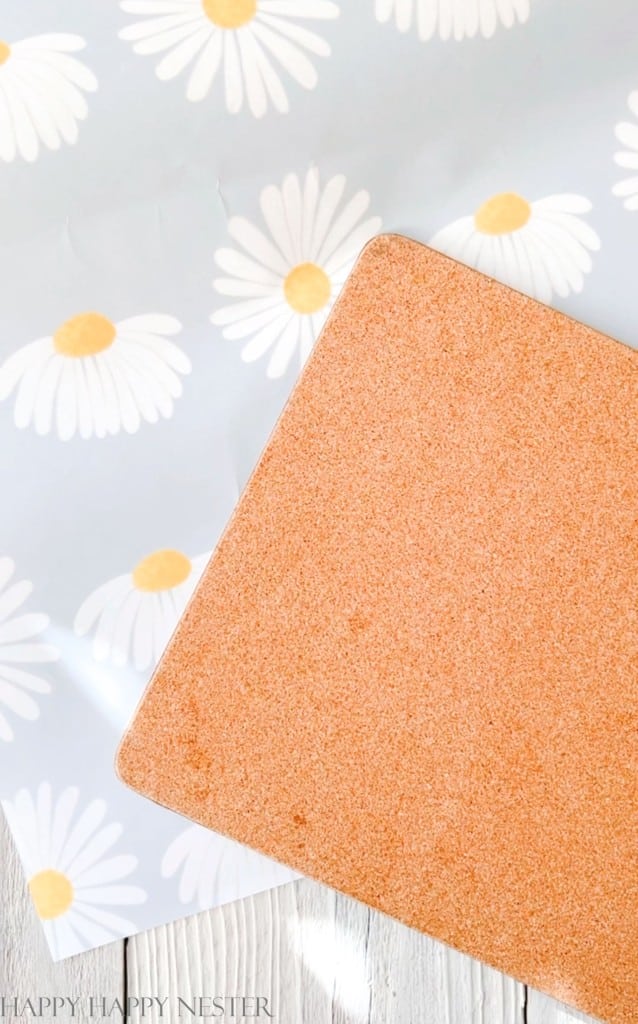
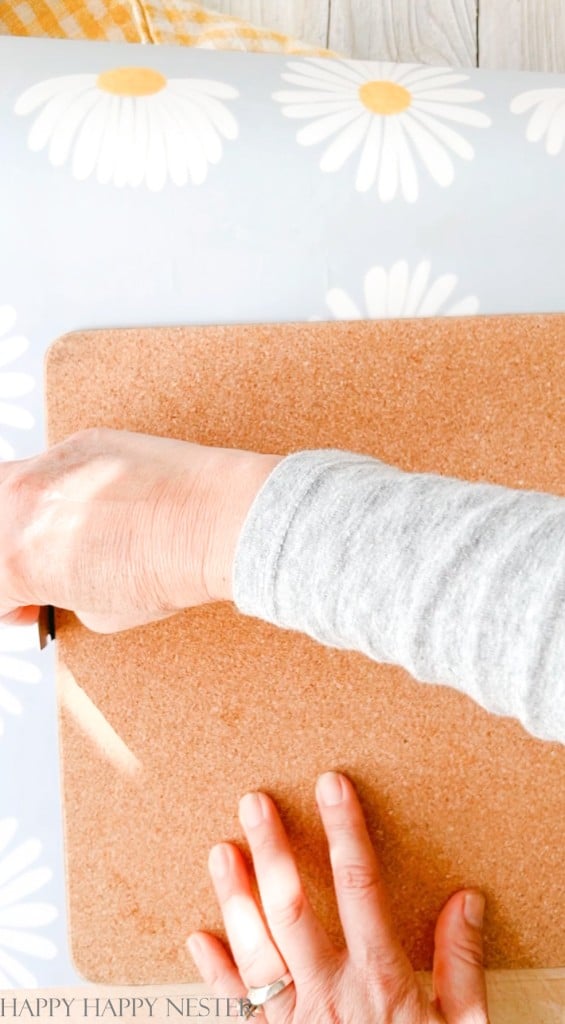
Step 1 – Cut Paper
Take your corkboard and place it on your paper. Outline the corkboard with a razor blade or an X-acto knife. I placed mine on top of the cutting board so I wouldn’t scratch my table.
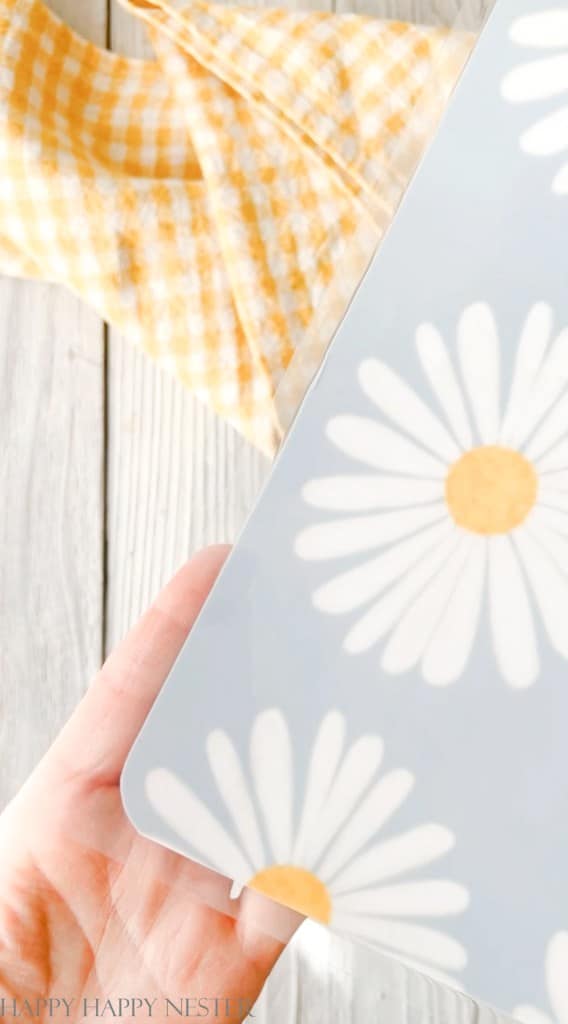
Step 2 – Laminate Paper
Take your trimmed paper to your local Kinkos. They will laminate your paper for $5 each. I used the shiny lamination, but they do offer a matte choice if you prefer that look.
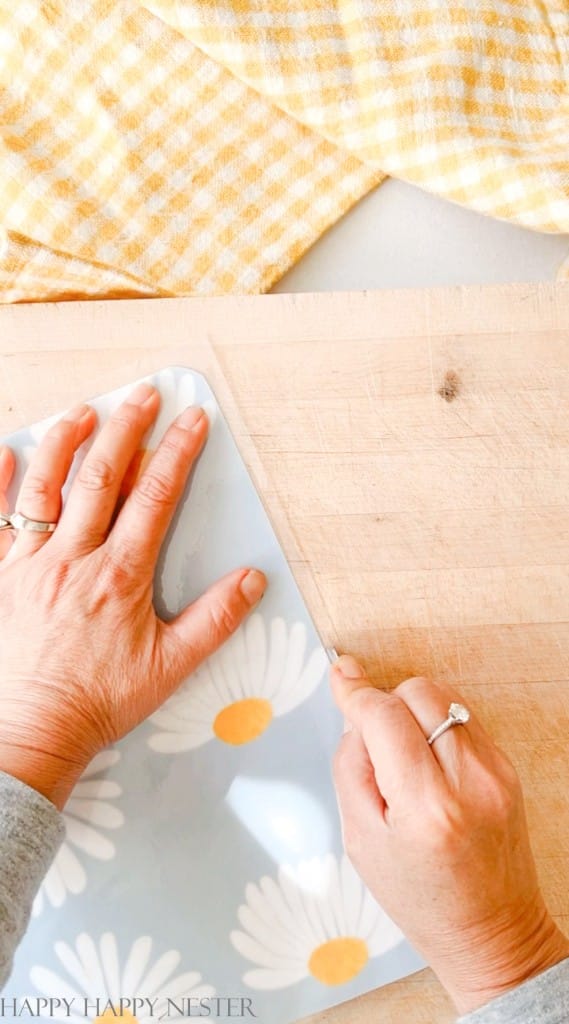
Step 3 – Cut Laminated Paper
Cut the laminated paper along the edge of the paper, leaving about a 1/4-inch border. Be careful not to cut into the paper since you want it to be sealed with lamination. Plus, you don’t want to risk getting the paper wet when washing the placemats later.
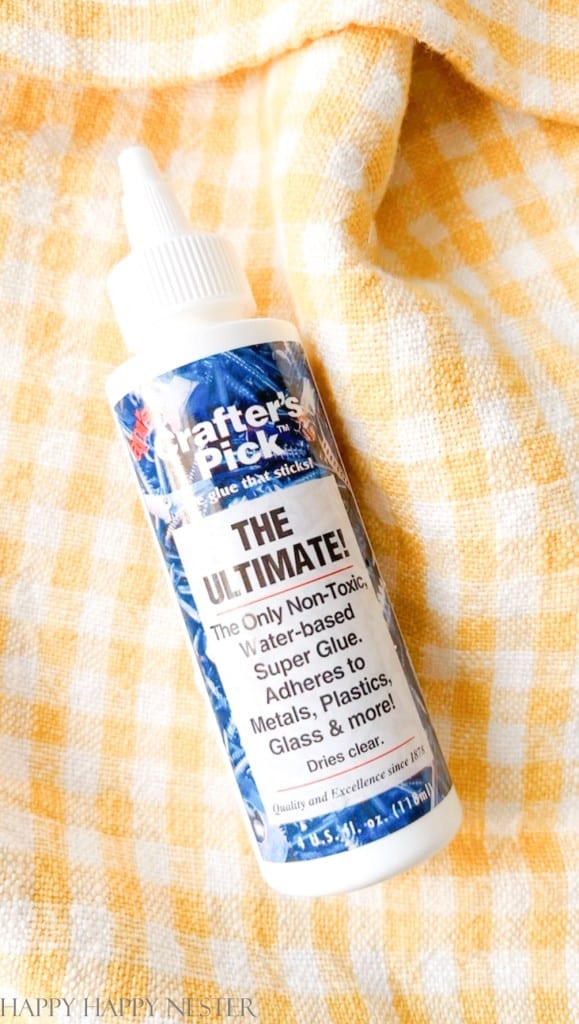
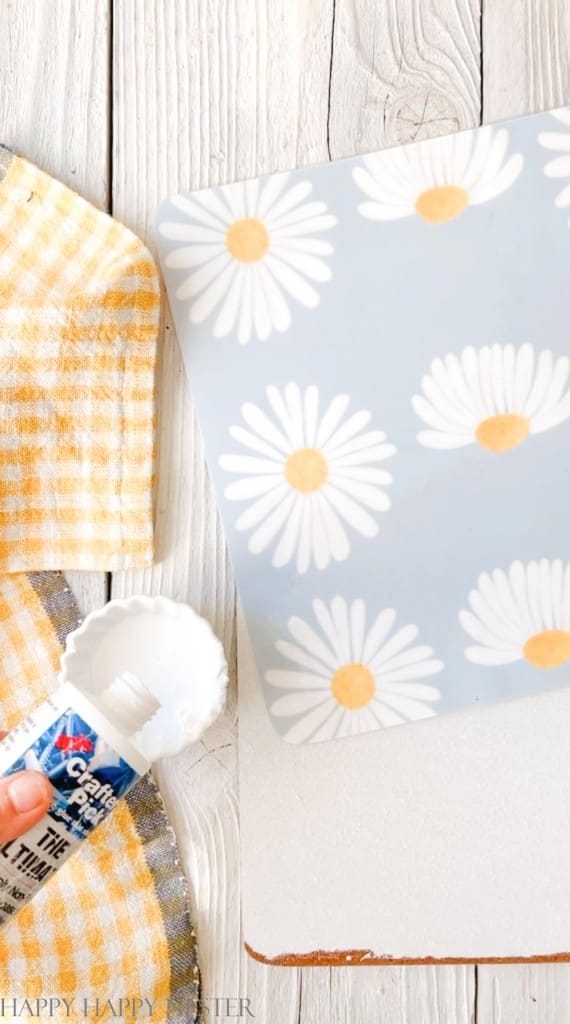
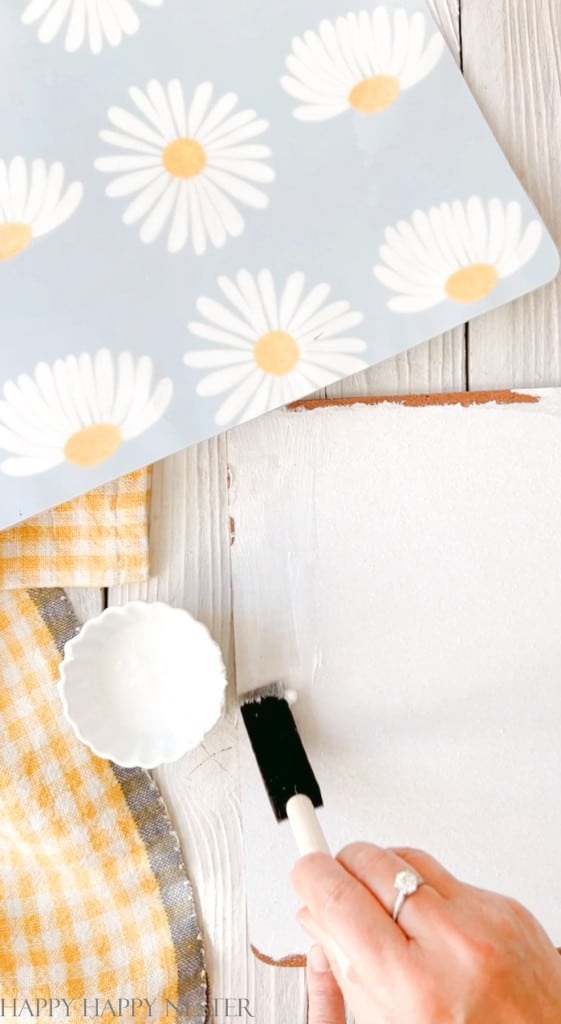
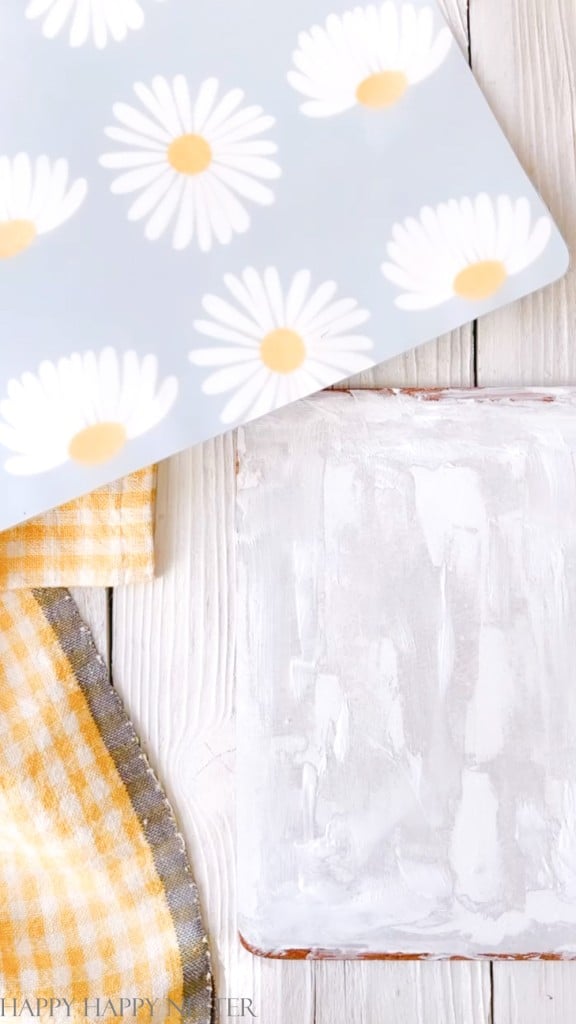
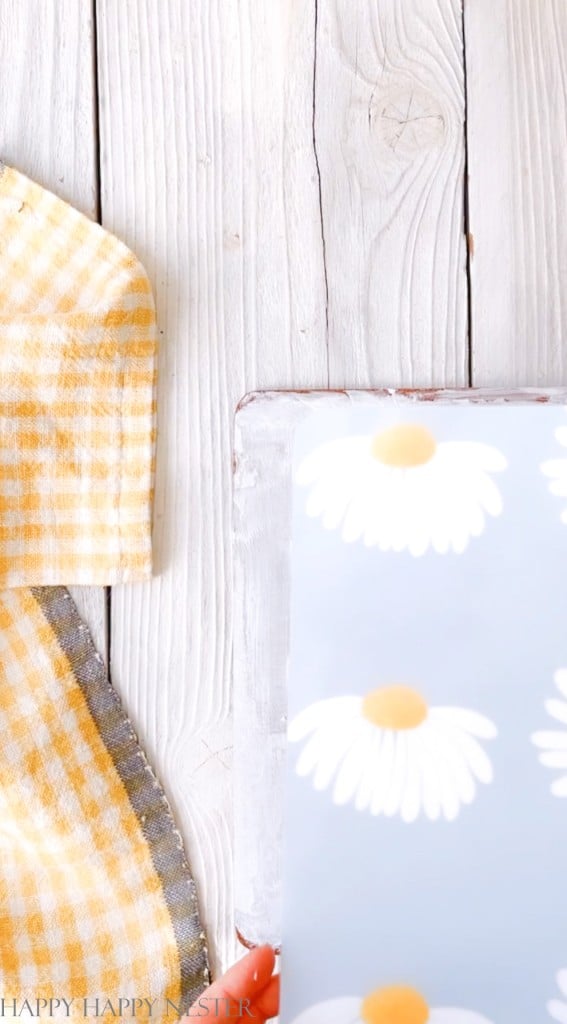
Step 4 – Glue Laminated Paper on Corkboard
Use your Crafters Glue and either squeeze it out into a bowl or right onto the top of your corkboard placemat. The glue is thick and difficult to spread, so I would use a stiff brush or spatula. Make sure to cover the whole board since you don’t want any air pockets or loose edges.
Step 5 – Press with Heavy Object and Allow to Dry
Once you glue the laminated paper onto the board, wipe off any excess glue and place a heavy object on top. After an hour, remove the book, and the placemat is ready to use.
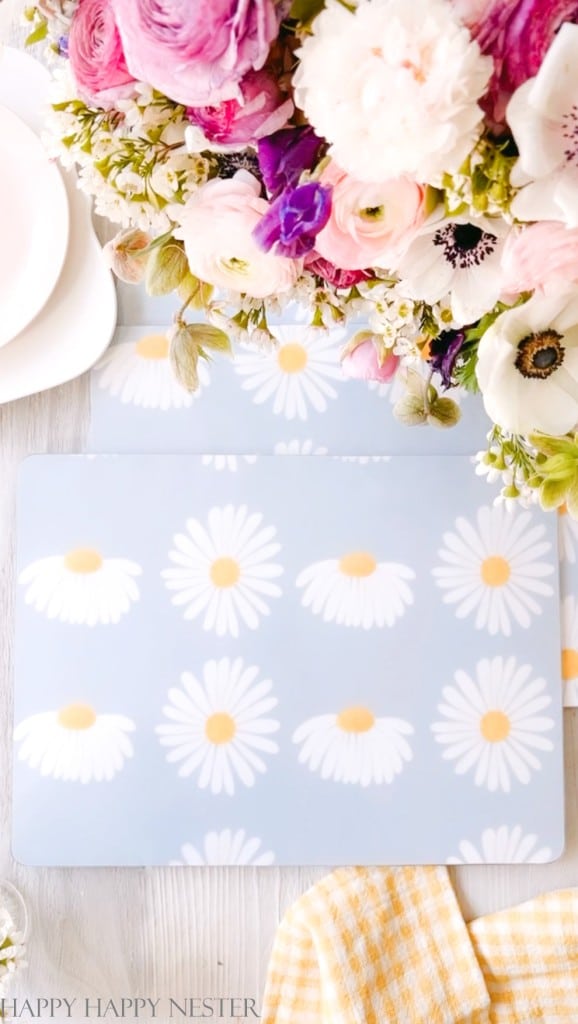
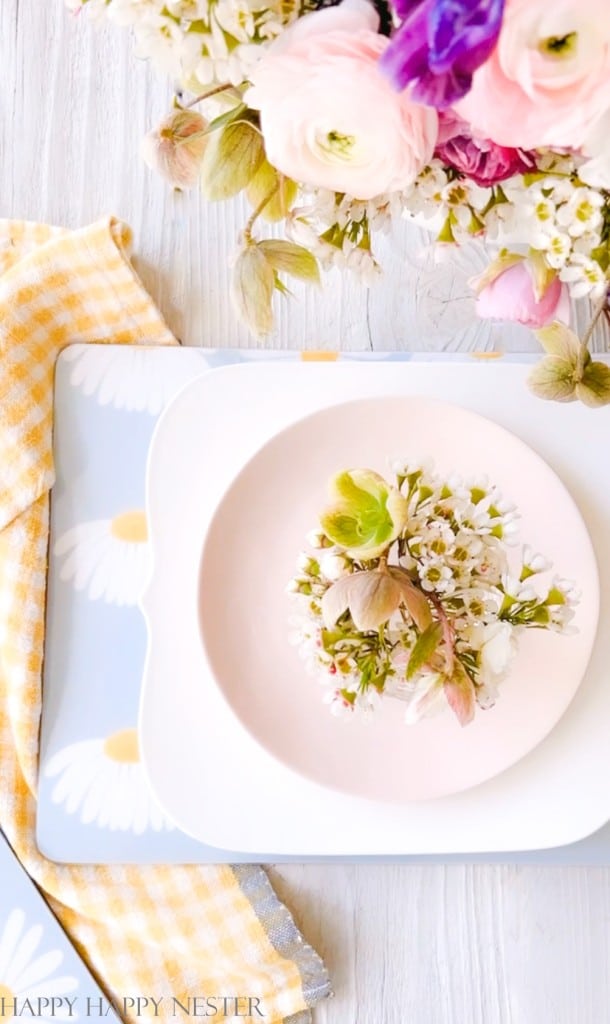
Reasons Why I Love Placemats!
- First, they are practical items that can help protect your table from scratches, spills, and stains. This is especially useful if you have young children who may be prone to making messes while eating.
- Second, placemats can add a decorative touch to your dining area. With so many different designs and styles available, you can easily find placemats that match your home décor or add a pop of color to your table.
- Third, placemats can help to create a more formal or festive atmosphere for special occasions. For example, you could use placemats with a holiday theme for Thanksgiving or Christmas dinners or opt for elegant placemats with a metallic finish for a fancy dinner party.
- Fourth, placemats are easy to clean and maintain. Most placemats can be wiped down with a damp cloth or sponge, making them a quick and easy option for busy households.
Overall, placemats are a versatile and practical addition to any home. They not only help to protect your table and add a decorative touch, but they also make cleaning up after meals a breeze.
Also, I love the fresh daisy-printed paper that gives a pop to my spring table. Plus, I’m all about upcycling, so it feels great to give my old corkboards a new life as well.
Thanks for stopping by my easy DIY placemats!
Happy Crafting!


Blogger’s Best Spring Decorating Ideas
- The Best Artificial Flowers for Spring | My Sweet Savannah
- 10 Ways to Update Your House for Spring | Twelve on Main
- Easy Spring Decorating! | Zevy Joy
- Simple Spring Decor To Make You Smile | Classic Casual Home
- Easy DIY Placemats | Happy Happy Nester
- Colorful Throw Pillows for Spring Decorating | My 100 Year Old Home
- Spring Ivy Topiary DIY | Craftberry Bush
- How to Easily Decorate a Mantel for Spring | Robyns French Nest
- Creative Ways to Decorate With Tree Branches | Most Lovely Things
- Spring Decorating Ideas for the Kitchen | Eleanor Rose Home
- DIY Clay Succulent Scallop Pots | Tatertots and Jello
- Easy Floral Spring Door Basket DIY | Inspiration for Moms

- My Favorite Cakes - July 5, 2025
- Outdoor Tables and Chairs - July 2, 2025
- My Favorite Floral Desserts - June 28, 2025


Melaine Thompson
I love your cute spring placemats, they are just so happy!
Annie Diamond
These are the cutest Janine! You are so creative!
Robyn
I love how a little creativity can turn trash into treasure. What a great DIY!
jennifer hadfield
Such a sweet idea! I love how they turned out, janine! Pinned to my spring board to share 🙂
xoxo
Heidi
Janine you have the best craft ideas! I would never have thought to do this, and now I want to create my own placemats! Your posts are always so inspiring, thank you!