Woven homemade colorful potholders are a great DIY project for anyone looking to add a touch of personal style to their kitchen. In this tutorial, I’ll show you how to finish a potholder loom and start and make a cute pot holder with fun colors. The updated new colors are so much fun, and all you’ll need is a small square loom from Harrisville designs. The potholder loom kit contains a metal potholder loom, cotton loops, a metal hook, and a crochet hook.
This is a fantastic craft; I promise you’ll enjoy these tremendous hot pads.
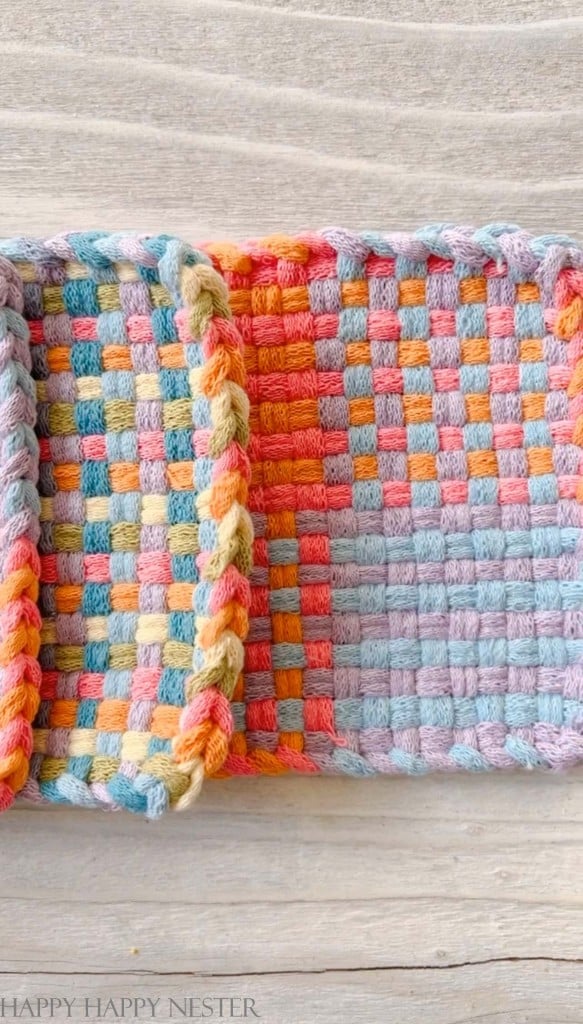
I love these cute potholders since they’re thick, bendable, and excellent at protecting you from burns. Not only are they pretty and fun, but they are also practical and functional potholders. I always use them when baking and cooking.
I remember making these as a kiddo, and I’m so surprised they are still around. I can’t remember how they looked back then. Were the colors bright and bold? Well, today, I especially love the wide variety of new colors. They now come in vibrant colors and pastel colors. And the pretty pastel colors inspire me to play with some color combinations.
And with all the many available colors, I find these pads are your opportunity for creative expression!
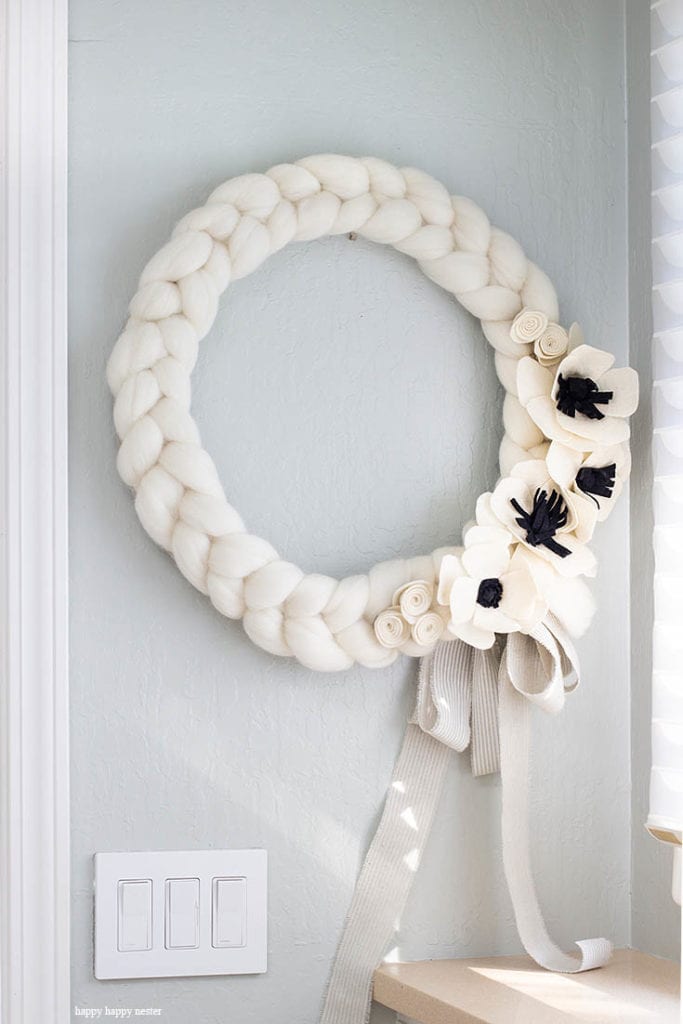


But before we start, let’s look at a few of my craft projects.
- How to Hand Knit a Pillow
- Make a Chunky Knit Wreath in Under 30 Minutes
- Quick and Easy Arm Knitted Wreath
Now let’s start the tutorial on how to finish a potholder and how to make one.
Here are the supplies you’ll need for your potholder weaving project.
- Harrisville Loom Kit – 7-inch loom (This loom is a metal one rather than a plastic loom. And it contains enough loops to make two potholders)
- Potholder Pattern (you can design your own or use one in the booklet that comes with the kit)
- A Bag of Cotton Loops ( But if you want to make potholders with pastel colors, this is what I used)
- Weaving Tool – Comes with the kit
- Crochet Hook – Comes with the kit
- Paper Clips
Directions on how to make your potholder
Step 1 – Choose Your Design
Before you begin, choose your design. If you choose the standard classic designs, you can change out the 2 or 3-color pattern with your favorite colors. Harrisville has them online and in the booklet with your loom kit.
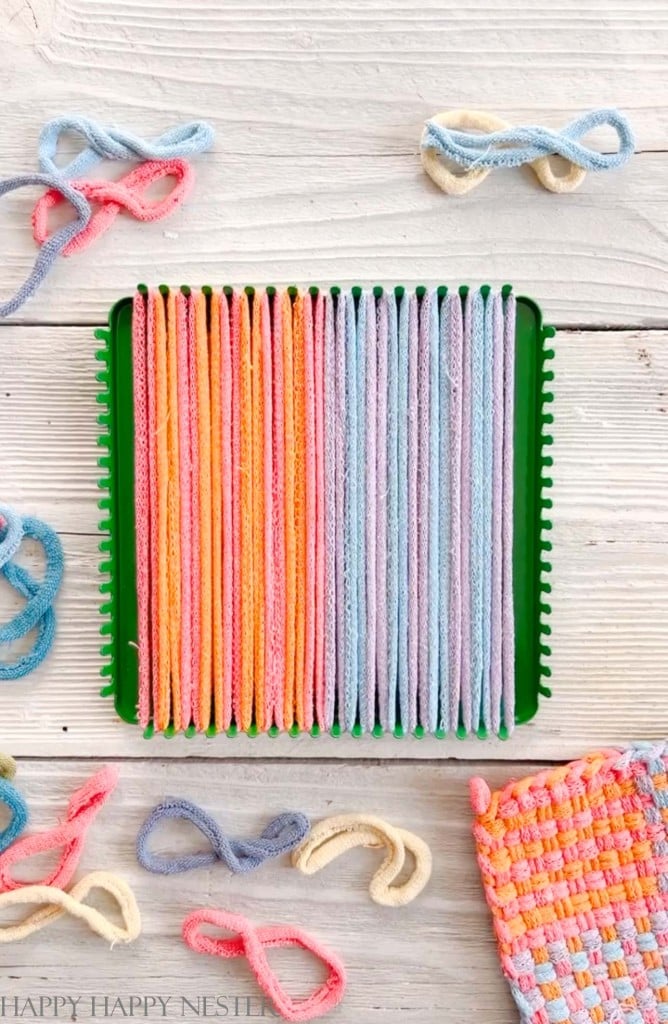
Step 2 – Warp the Loom
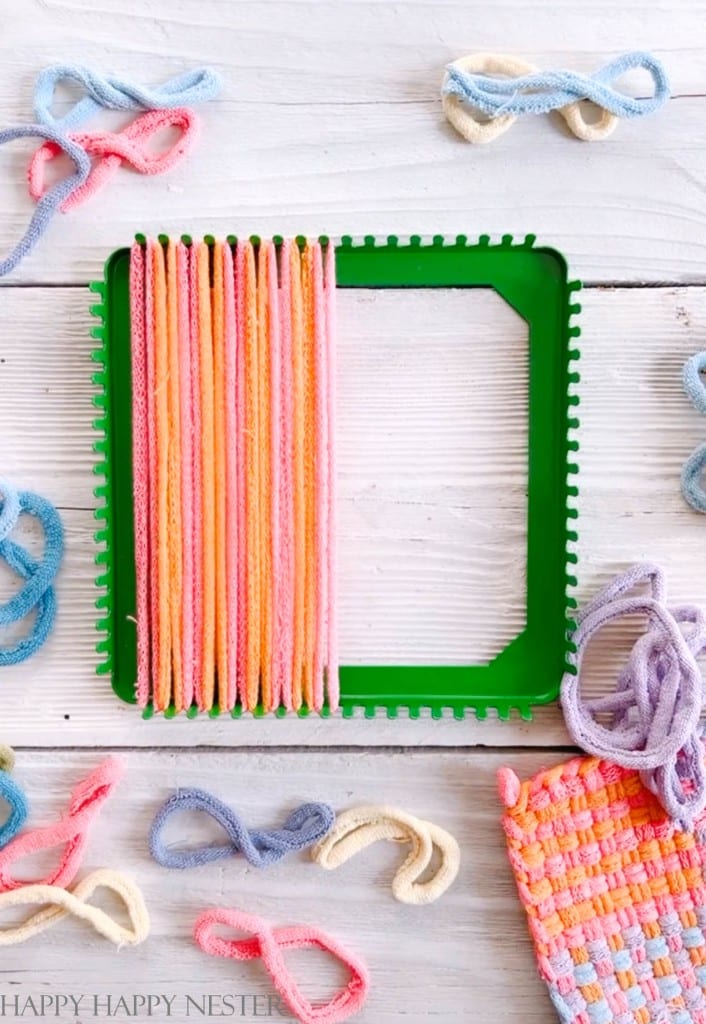
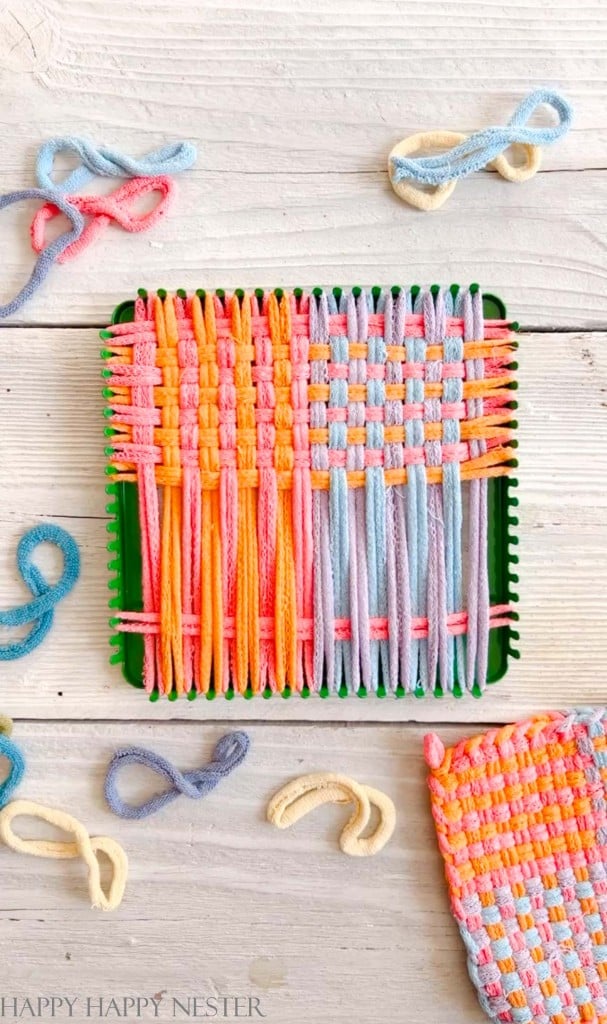
Warp the loom, which means tying the end of the loop to one peg and wrapping it around the corresponding peg on the opposite side, ensuring that the yarn is taut. You’ll attach the loop to the first peg and then stretch it down to the bottom peg. Then moving to either the right or left, place the second loop on the next row of pegs. Once the loops are attached, you’re ready to weave the other loops through these established loops. Repeat this process until you have the desired number of warp threads.
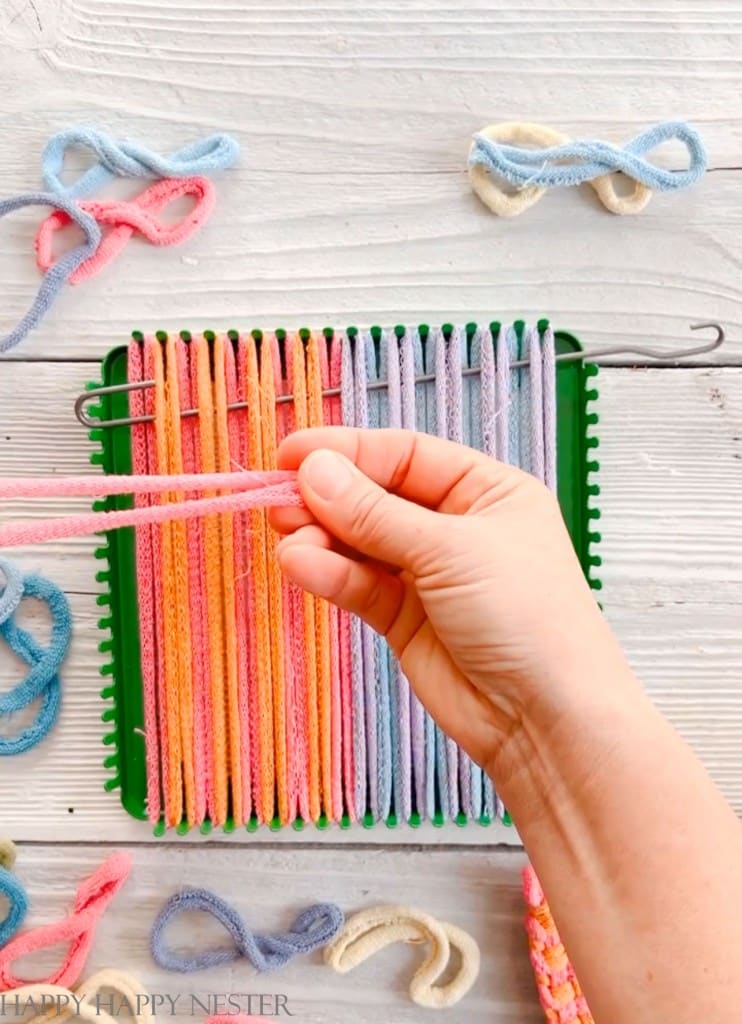
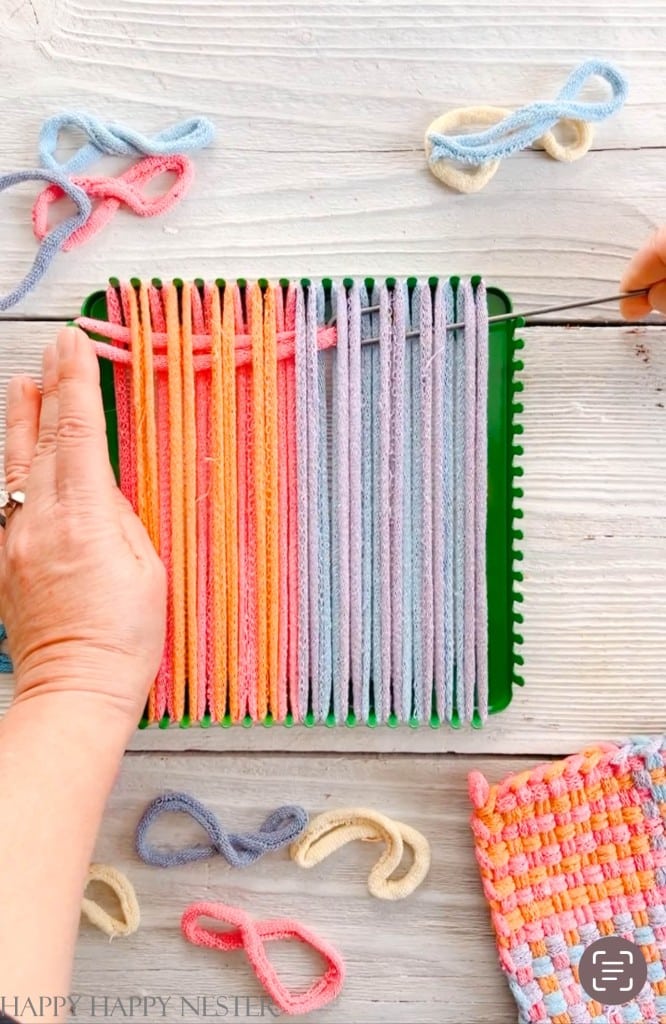
Step 3 – Weave the Pot Holder
Metal Weaving Tool: You can use the metal weave tool with a hook on each end. One hook is small, and the other is big. The instructions from Harrisville say to weave the metal tool with the small hook in front, and once you have threaded the device through the loops, attach your cotton loop to the big hook. And finally, pull it all through the potholder and attach both ends to the corresponding pegs.
Your next loop or row will be woven in the opposite fashion to the last loop. So, instead of going over a loop, this row goes under and continues in the opposite manner. Each row will be alternating from the previous row.
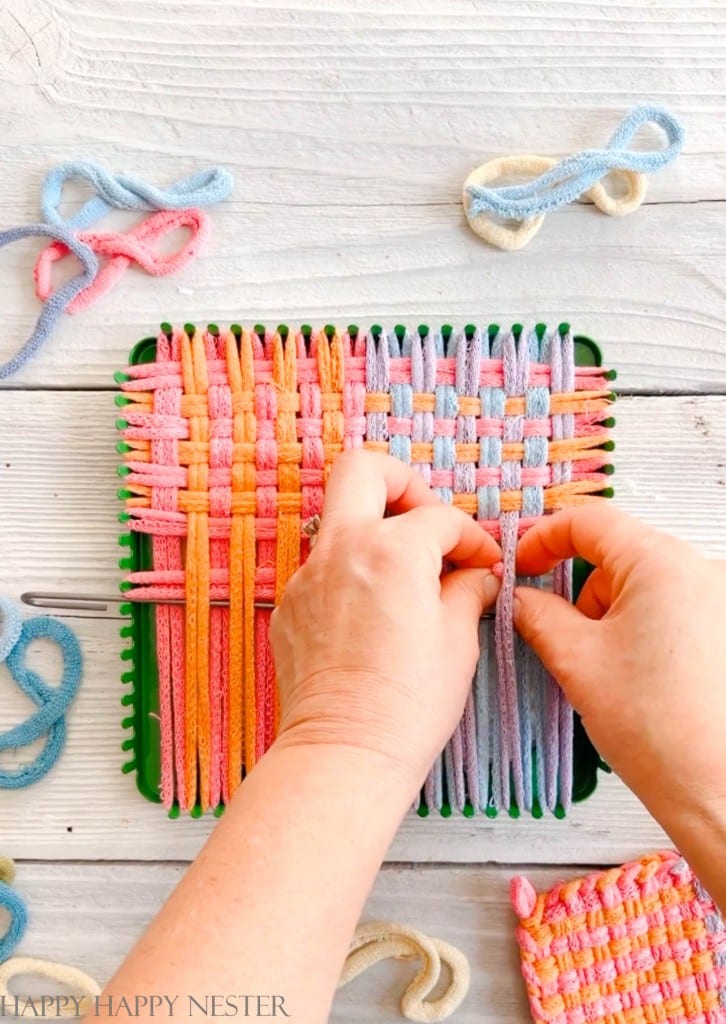
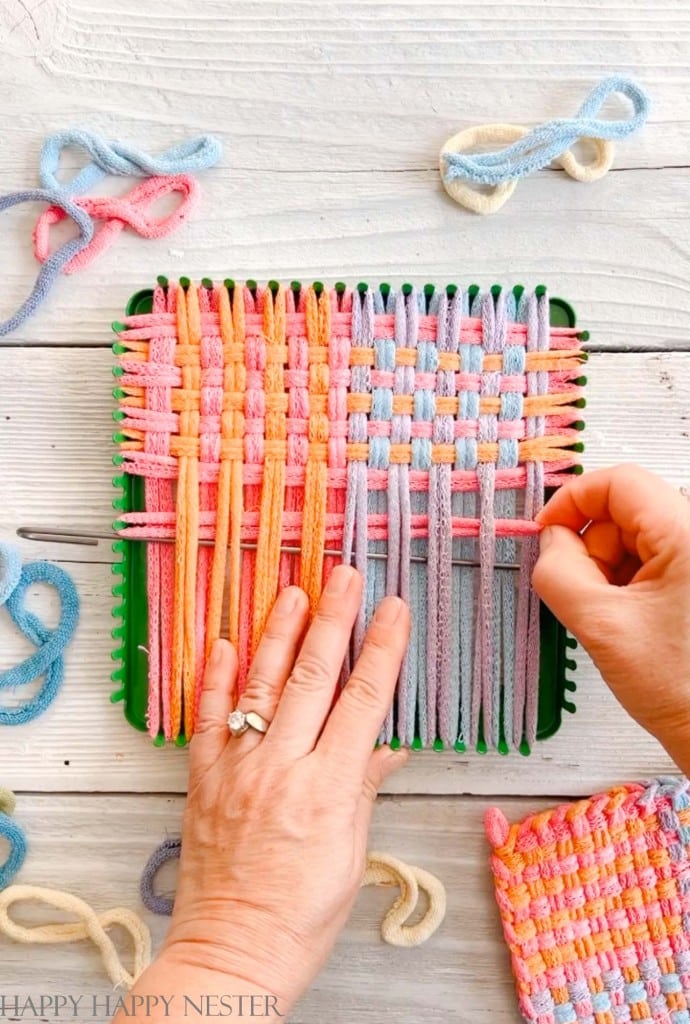
Finger Weaving: If you use your fingers, start weaving the pot holder by inserting the yarn under the first loop, then over the second, under the third, and so on. Secure one end on the loom peg while you weave the loop through. Once you reach the other side of the loom, attach the end of the loop to the corresponding peg.
Your next loop or row will be woven in the opposite fashion to the last loop. So, instead of going over a loop, this row goes under and continues in the opposite manner. Each row will be alternating from the previous row.
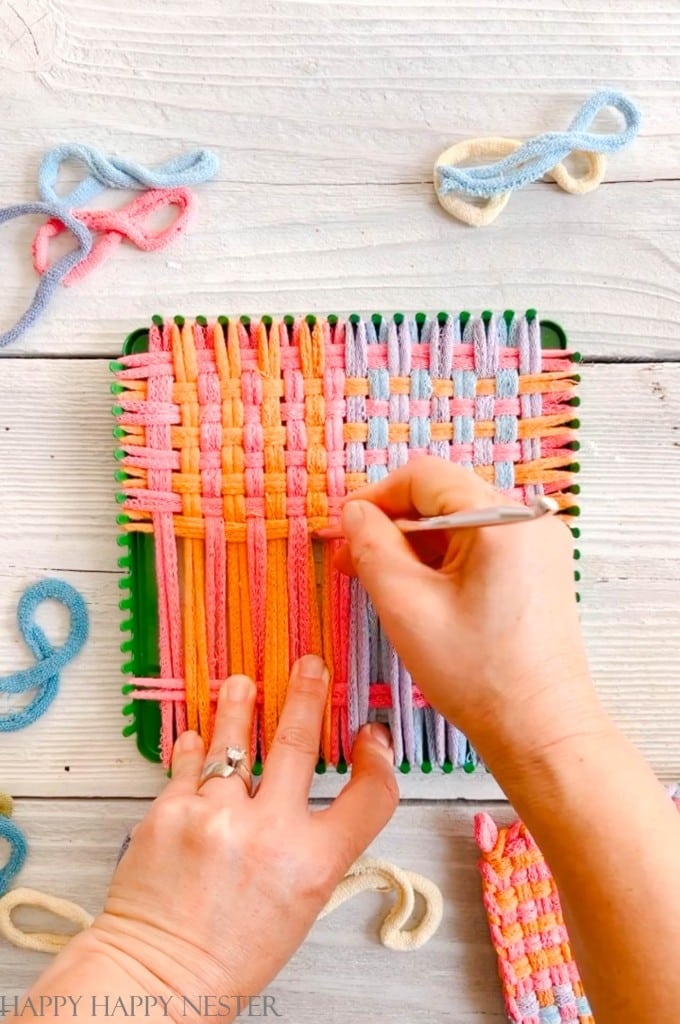
Also, push it up after you add a loop, so the loop is in a straight horizontal line on the loom. You can do this with your fingers or use your crochet hook to move the loop into place.
Step 4 – Repeat the Weaving Process:
Repeat the weaving process until you attach all the loops to the loom. To switch colors, use a new loop of a different color.
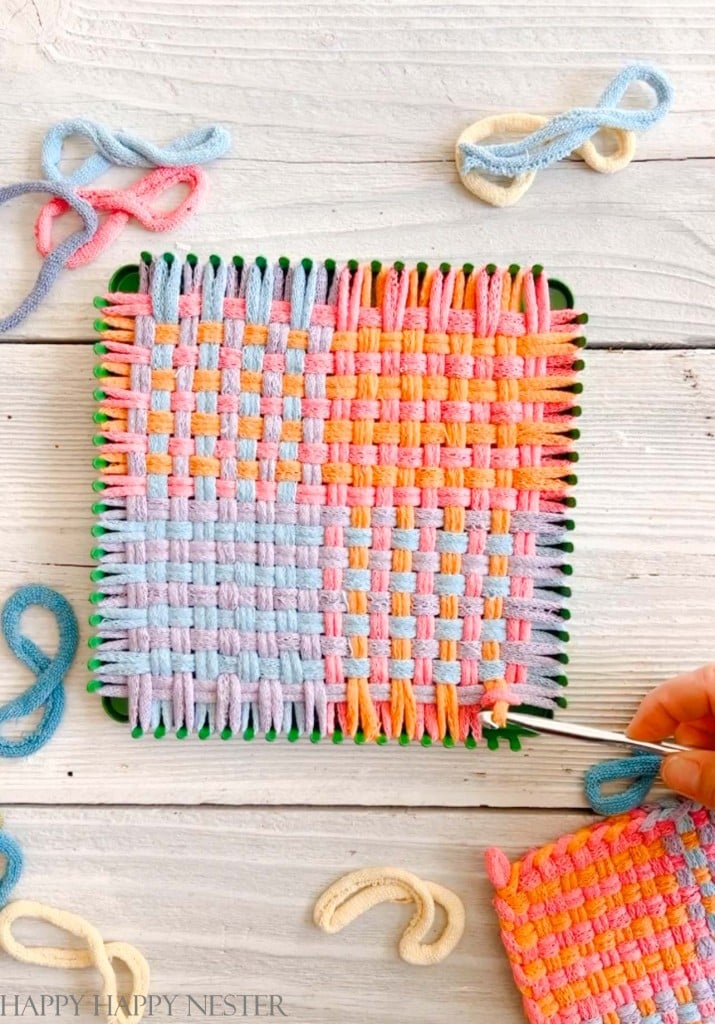
Step 5 – How to Finish The Potholder Off the Loom
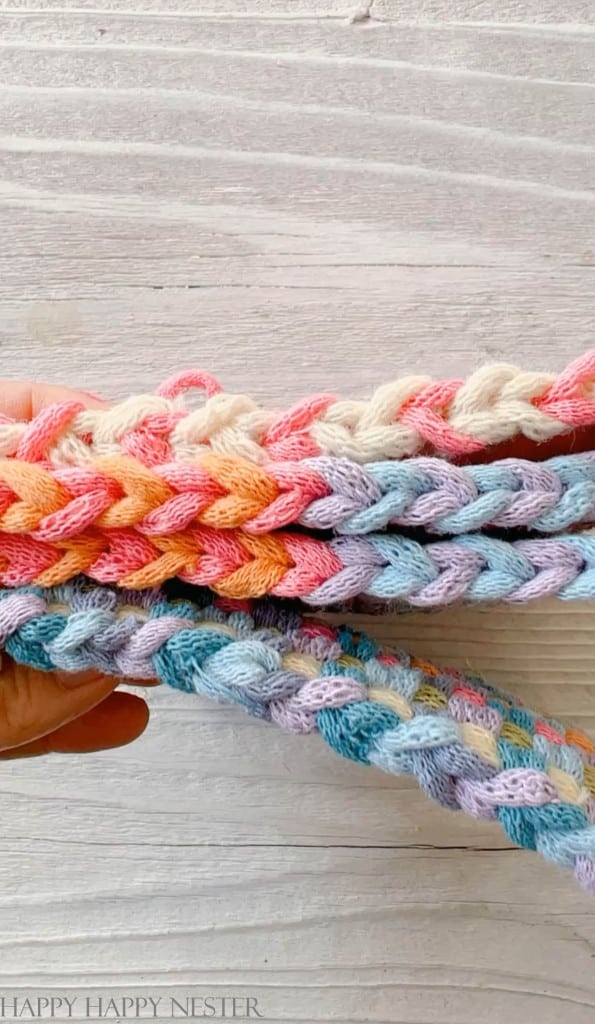
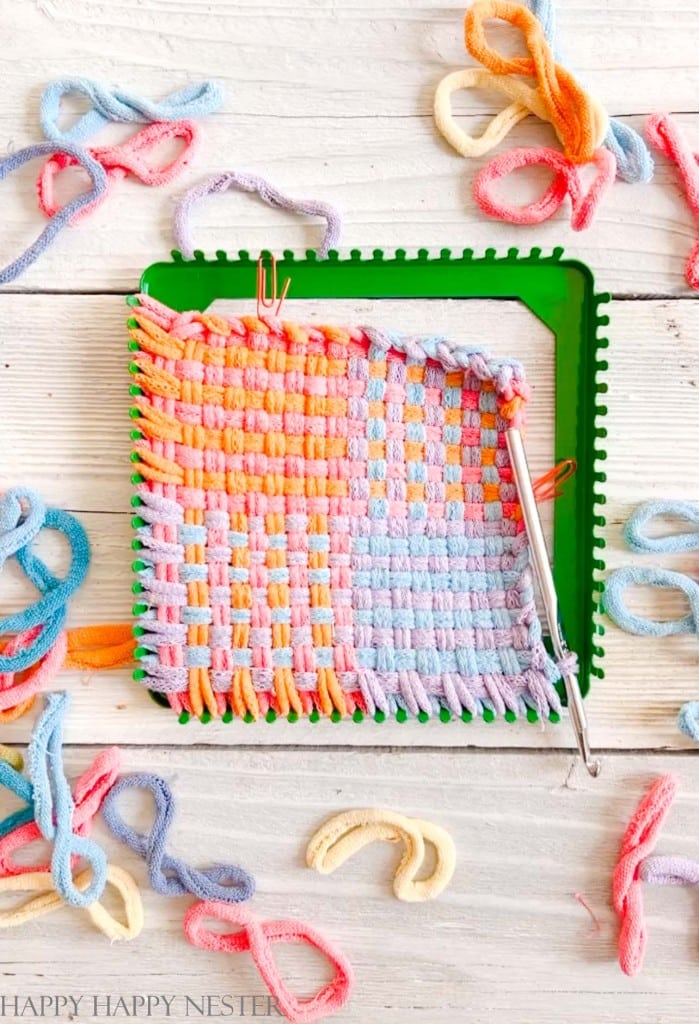
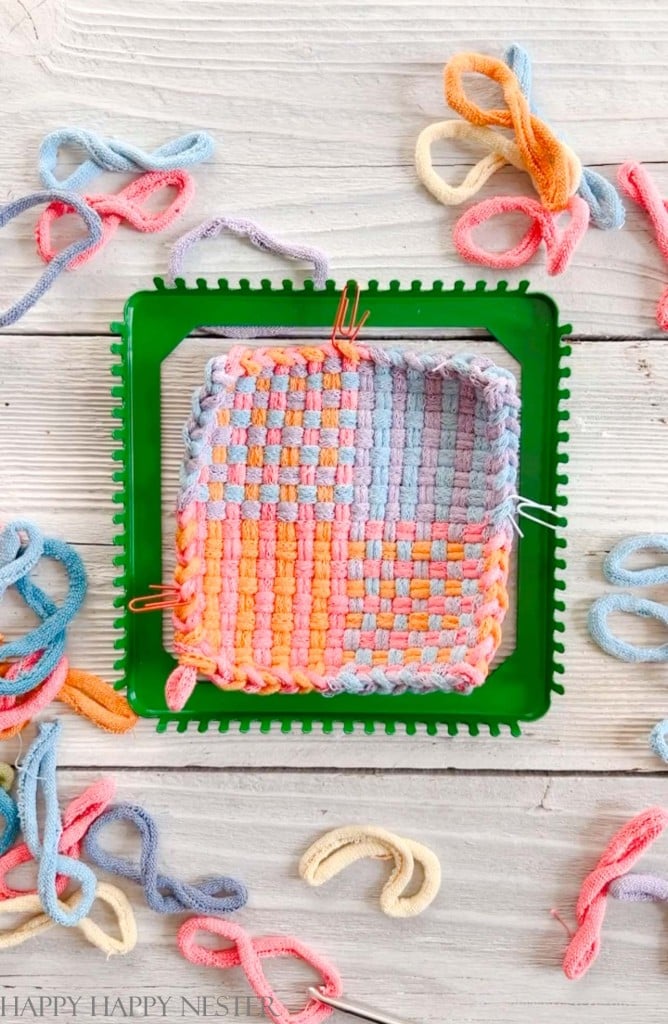
Once you have filled the loom, you should start on a corner of the loom. Take your crochet hook (using your dominant hand) and pull off the corner loop by going under the loop and through the middle. Add the next loop by going under the loop and through the middle. At this point, you should have two loops on your crochet hook. I found that the loops were pretty tight, so I used my hands to lift the top loop over the bottom loop. Now you’ll pull the top loop over the bottom loop, and it will go off the hook. Repeat this until you have crocheted your way across each side.
When you finish crocheting your first side, place a paper clip through a loop edge. Attach the other side of the paper clip to the empty peg. I found this tip super helpful. The tension as you work around the loom gets strong, and this tension tries to pull the remaining loops off the loom. Placing the paper clips on the crocheted edge removes this tension and prevents the loops from pulling off.
When you reach the last loop, secure it tightly, and this is the loop from which you’ll hang your potholder.
Frequently Asked Questions:
Is There a Shortcut?
When threading a loop, thread an extra loop through. Place one on the loom pegs and the other at the bottom of your weave and attach it to the bottom pegs. Then go ahead the thread the next loop and pull it tightly to the others. Take your extra loop on the bottom and pull it up. You can make additional loops and place them all at the bottom, and when you need that weave of loops, pull it up to the main potholder.
Which Loom Should I Use?
Depending on how big you want your potholder will determine which size you’ll want to buy. I have both the large loom and the small loom. I feel that more of the smaller loops are available in different colors.
But I love the larger potholders I made a few years back.
Should I Buy a Metal or Plastic Frame Loom?
I love the Harrisville Design is a sturdy metal frame (with a solid plastic coating) for making this homemade potholder. The tension that builds while you make it requires a sturdy metal loom. I love that these wonderful old fashioned inventions are still around and crafters are making such pretty potholders.
What Else Can I Make With These Potholders?
My daughter loves these and is begging me to make one. She wants to make a potholder, but maybe I’ll attach all my creations and make some table runners or rugs! This spring, order some pretty colored loops and make your first potholder.
Can I Weave With My Hands Instead of the Weaving Tool?
Yes! I found the metal tool too big and difficult to use. I love weaving the loop with my hands. And since the back of the loom is open, you can push the loop back and forth. I only found the last couple of loops were tough to weave since there was more tension on the loom. But overall, hand weaving was easier.
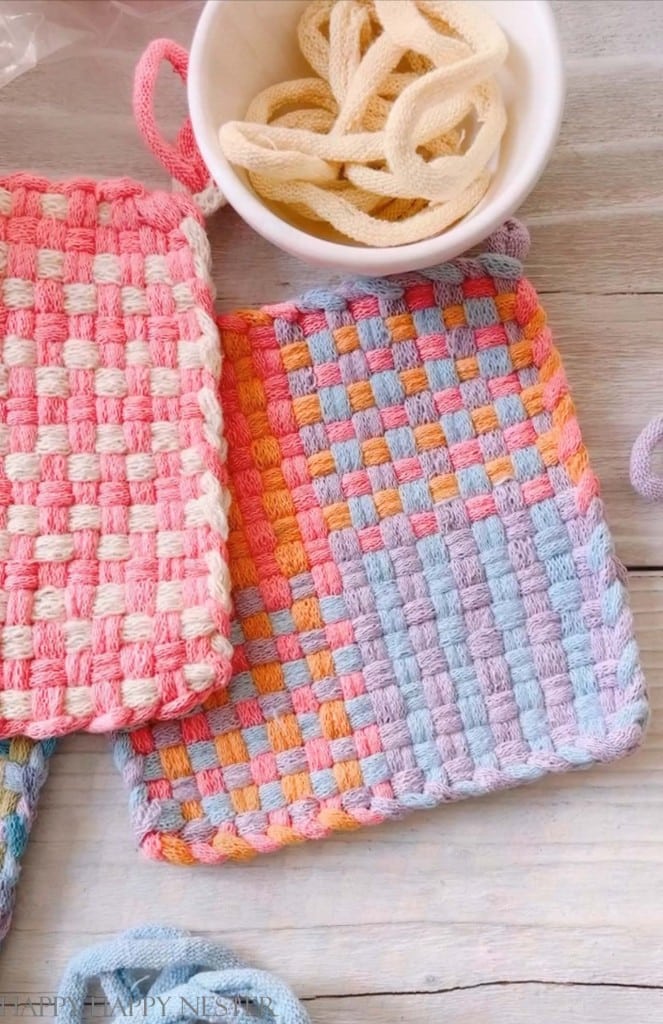
I hope you enjoyed this post on how to finish a potholder. I know the first time I made one, I wondered how I would get it off the loom. And now that I paperclip the potholder down to relieve the tension, I find it much easier to crochet it. This step always was difficult to achieve.
Also, using my fingers to weave the loops was a significant insight since the weaving tool can be a bit cumbersome and difficult to maneuver.
Now with these few tricks, I find this craft a relaxing activity that results in a cute kitchen potholder. Plus, I hear making things with your own hands is good for our brains.
So, enjoy this fun activity, and happy crafting to you all!


- Spring Doormats from Walmart - February 18, 2026
- Heart Shaped Brownies Recipe - February 13, 2026
- Framed Artwork from Amazon - February 12, 2026




Elizabeth@pineconesandacorns
I haven’t made a pot holder in years! I am going to try your tutorial. Happy Valentine’s Day!
Janine Waite
Elizabeth,
Once you make one, you’ll love them so much that you’ll make more! 🙂