Learn How to Make a Paper Pinwheel on today’s post. This cute holiday craft project is simple to make and is the perfect addition to a holiday tablescape, wreath, or flower pot.
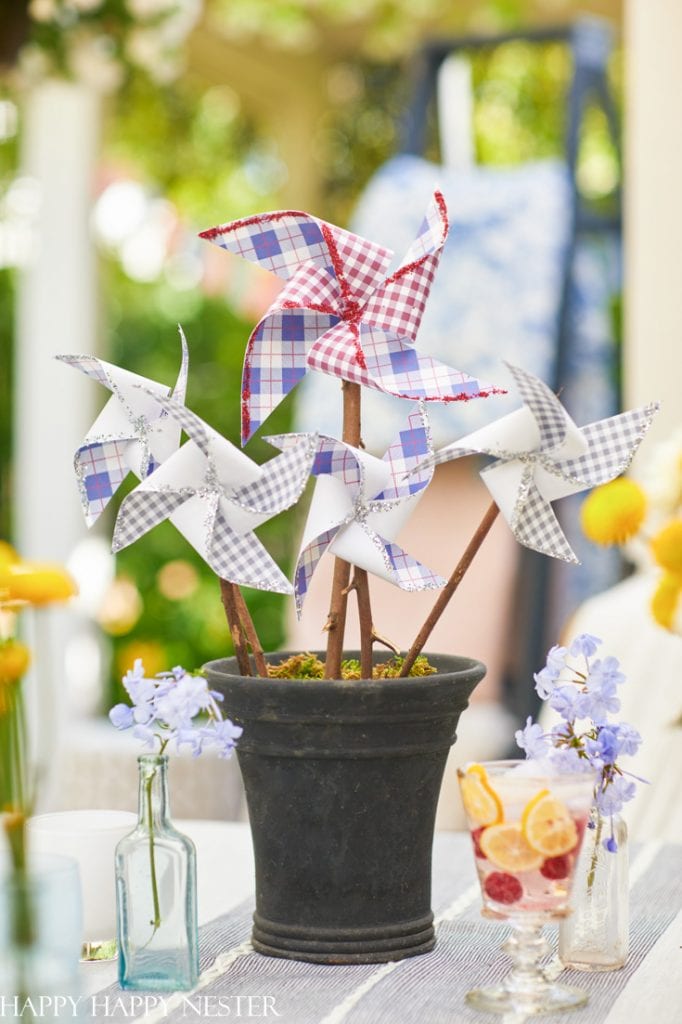
These adorable paper pinwheels are perfect when placed in a cute gardening pot or vase. There are so many options for decorating with these cute 4th of July decorations. I did think about adding them to a grapevine wreath, but that might be a project in the future. So stay tuned.
There is something so fun about pinwheels. My childhood memory always kicks in and of course it makes me smile. My brother reminded me of the ones that had a clear tube holding the pinwheel. And the inside the straw contained little colorful candies.
Well, instead of straw with candies, I picked some rustic branches from my garden. The sticks combined nicely with the design and they also are super cheap and easy to find.

The 4th of July is pretty low-key around our home. But I do like to make a few things around the house. In the past, I have decorated our front porch for the 4th of July, and I decorated it with a paper stars garland. But today, let’s make a paper pinwheel.
But in the meantime check out my friends patriotic crafts for the the 4th.
Creative Patriotic Decor DIY Ideas
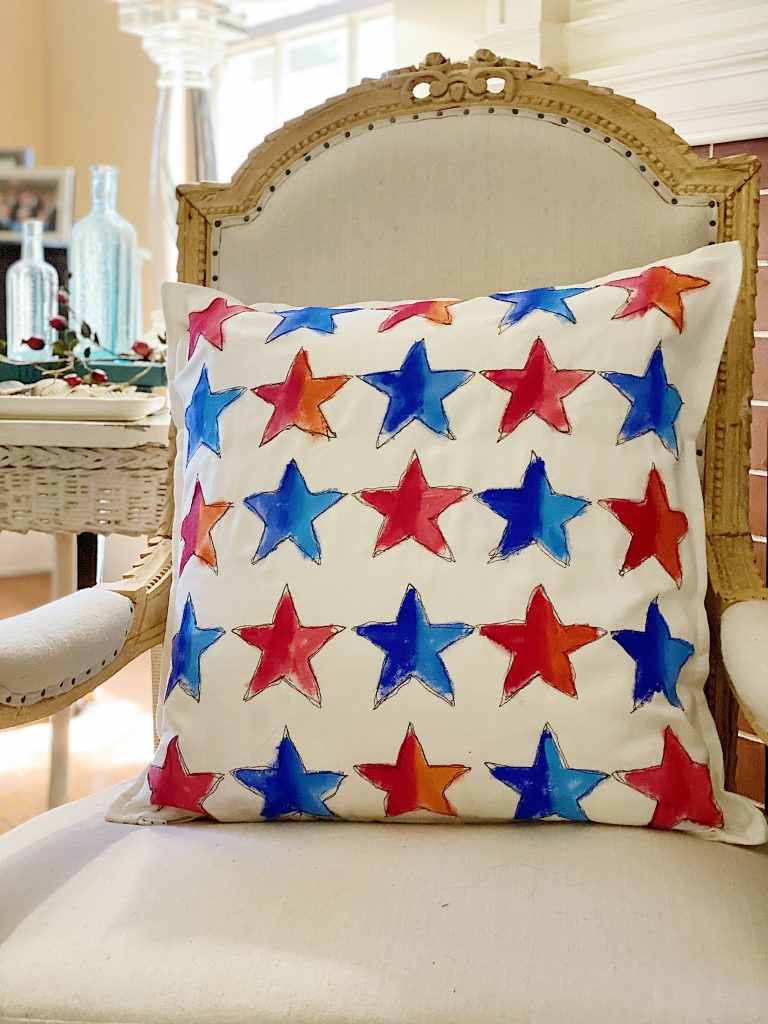
My 100 Year Old Home | The Best Homemade 4th of July Patriotic Decorations
This free stitch embroidery project is so fun and easy to make. I used a star shaped cookie cutter to outline the stars. then I painted them and stitched around the outside for more detail.
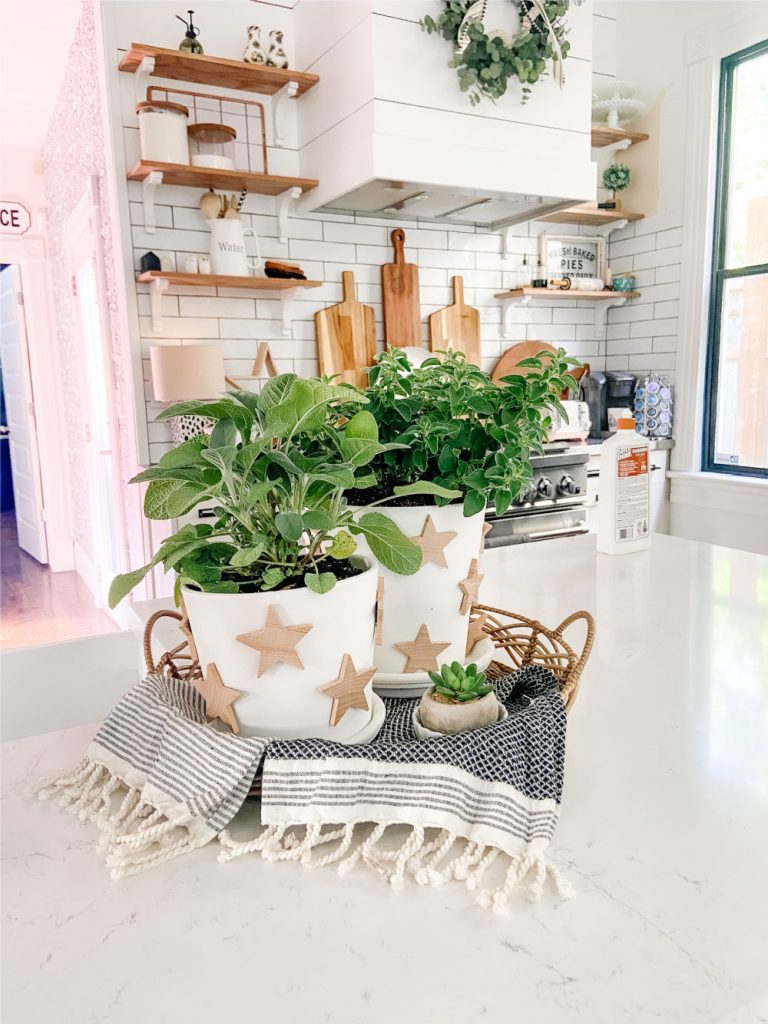
Tatertots and Jello | Terra Cotta Star Herb Planters
Paint inexpensive terra cotta plants and add natural wood stars to add understated patriotic flair to your home this summer!

The DIY Mommy | Make a Canada Day S’mores Caddy
This Canada Day S’mores caddy makes a great gift for a host, and it’s also a fantastic addition to your own festive outdoor celebration! Personalize an inexpensive metal caddy with a patriotic design, fill it with marshmallows and all the goodies you love with your s’mores, and enjoy with friends and family.
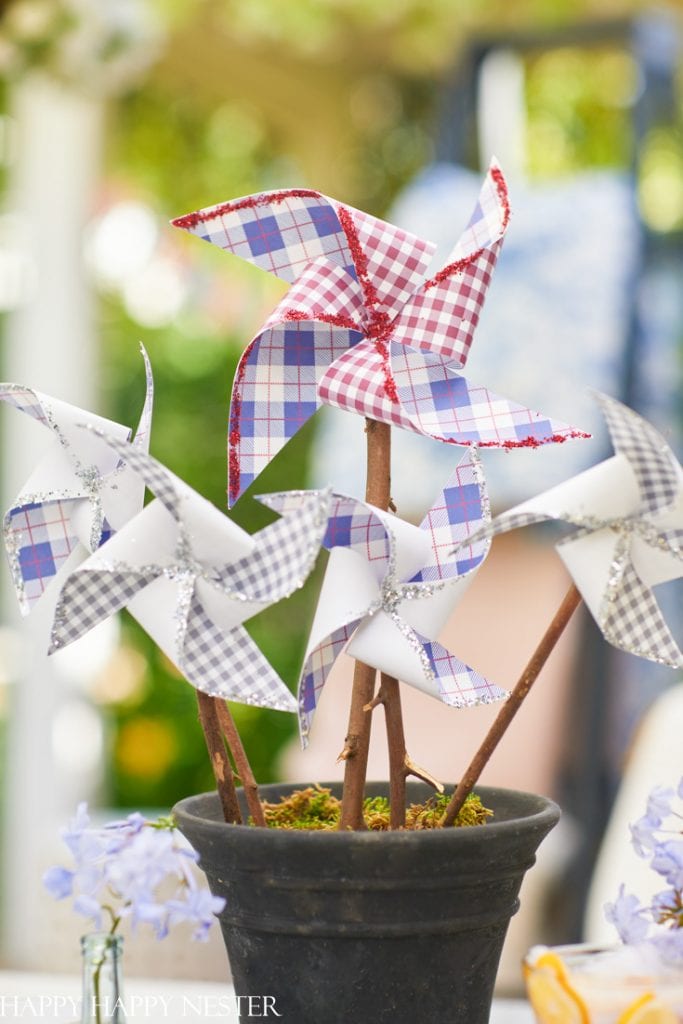
How to Make a Paper Pinwheel
*The following post contains affiliates links
Supplies:
White Cardstock paper/scrapbooking paper
Scissors
Small Branches
Hammer
Instructions:


Step 1 – Cut Paper
There are two ways to make the paper.
Scrapbooking paper or Digital paper.
If you use digital paper, buy and print out your Download a digital paper. If you want two patterns on your paper pinwheel, use spray adhesive and glue the backsides of your papers together.
Once you have your paper, cut a 5”x 5” square.


Step 2 – Cut Four Diagonals
Determine the middle of the paper square and mark the center with a pencil mark.
Take a ruler and place one end on a corner and the other end on the middle point. Then make a line and cut but make sure to eave about a 1/4 inch around the middle.
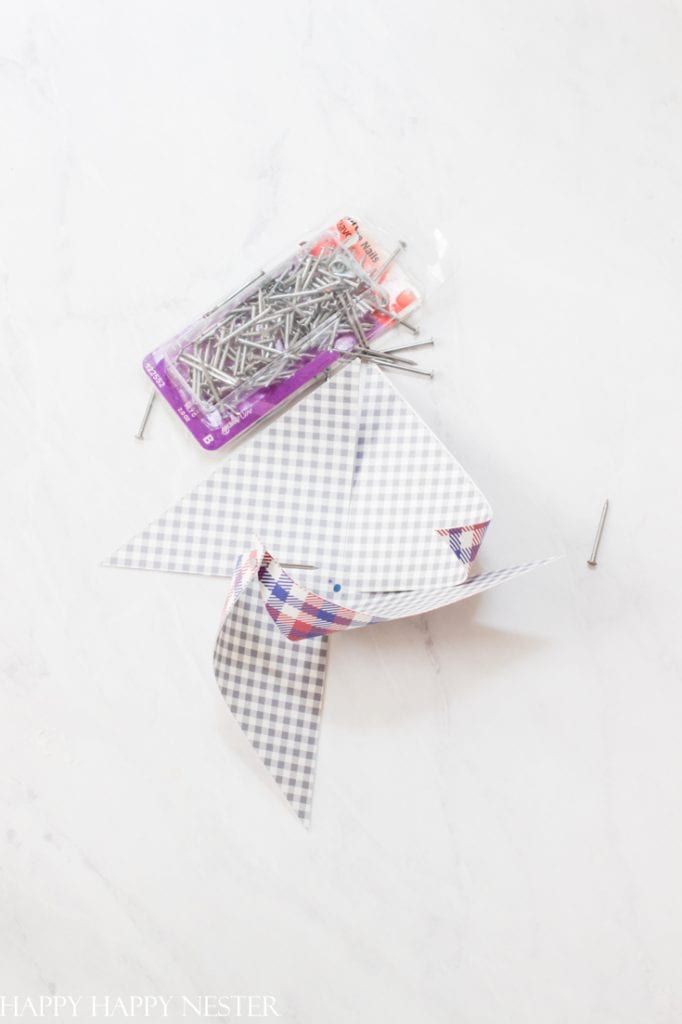
Step 3 – Pin Corners to the Center
With the sharp tip of the nail, make a hole in the corner edge of your paper. Go around to each edge and poke a hole in each corner. When you have all the corners attached to the nail, place a hole in the center of the paper.
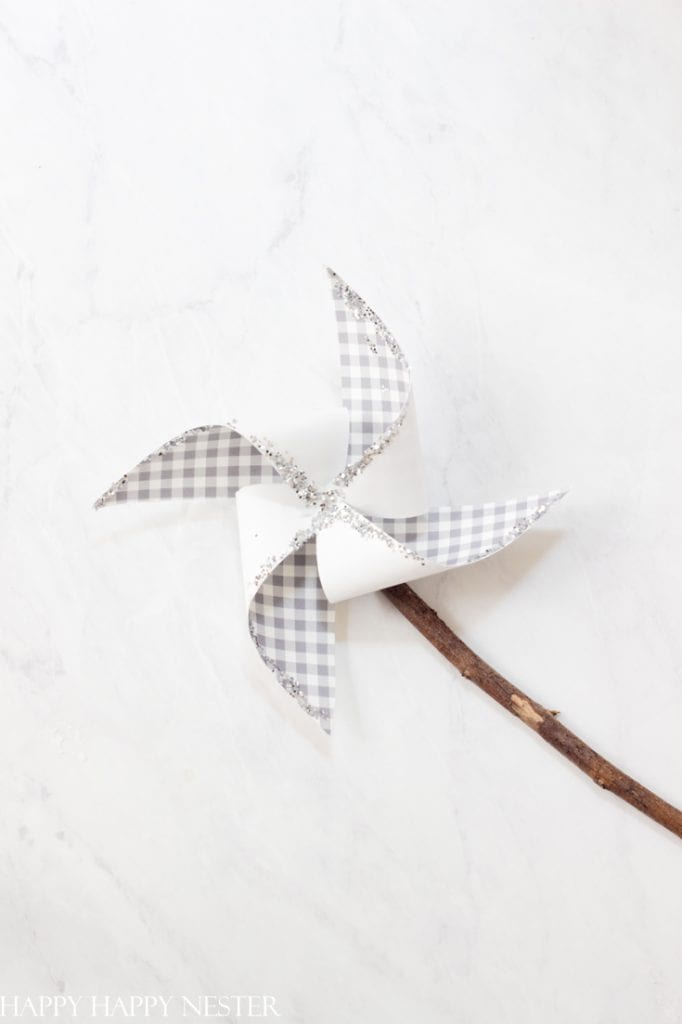
Step 4 – Attach Glitter – Optional
I just ran a bead of glue from the middle to along the outside and then added glitter.
Step 5 – Attach Nail to the Branch
Push the nail to the top of the branch. Then holding the hail in place, tap it light and hammer the nail into the wood. If you want the paper pinwheel actually to work, you’ll want to place a small wooden bead between and back of the pinwheel and the stick.
Thanks so much for a visit! I hope you enjoy our little blog hop craft. I appreciate all the creativity of these women, and I’m so honored to be collaborating with them every month. Don’t miss out on future posts by subscribing to my blog.
These paper pinwheels are so cute, and you’ll love having a bouquet of them for this 4th of July.
Cheers,

- Spring Doormats from Walmart - February 18, 2026
- Heart Shaped Brownies Recipe - February 13, 2026
- Framed Artwork from Amazon - February 12, 2026



Leave a Reply