Learn how to make a gorgeous Paper Rosette Wreath with floral paper plates. I show how to make these paper flowers in this simple tutorial.
This wreath is a relatively inexpensive wreath to create, and it just requires a little bit of time. But, the time commitment is well worth the effort since this handmade paper wreath is stunning.
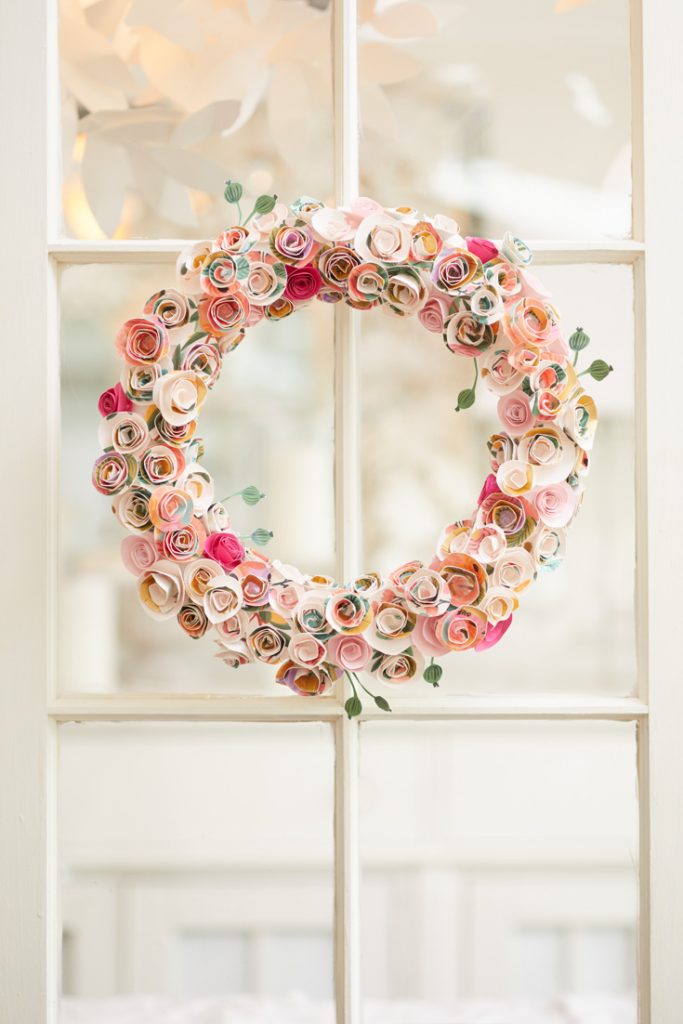
If you make any wreath this year, might I suggest you make this beautiful paper rosette wreath?
This bright and colorful wreath is just what your winter home needs right now. Let’s add a bit of cheerfulness to our lives and homes.
Wreaths add such a warm to a home and I think that’s why I love them so much.
All the wreaths in our home are handmade. You see, I like that I can tailor my wreaths to the colors and style in our home. Plus most home decor stores have pretty generic wreaths and when I shop for a unique wreath I come up empty-handed.
I think that convenience is what drives me to make my home decor. Well, also, I love to be crafty!
If you like to be crafty too, then you’ll love all my projects.
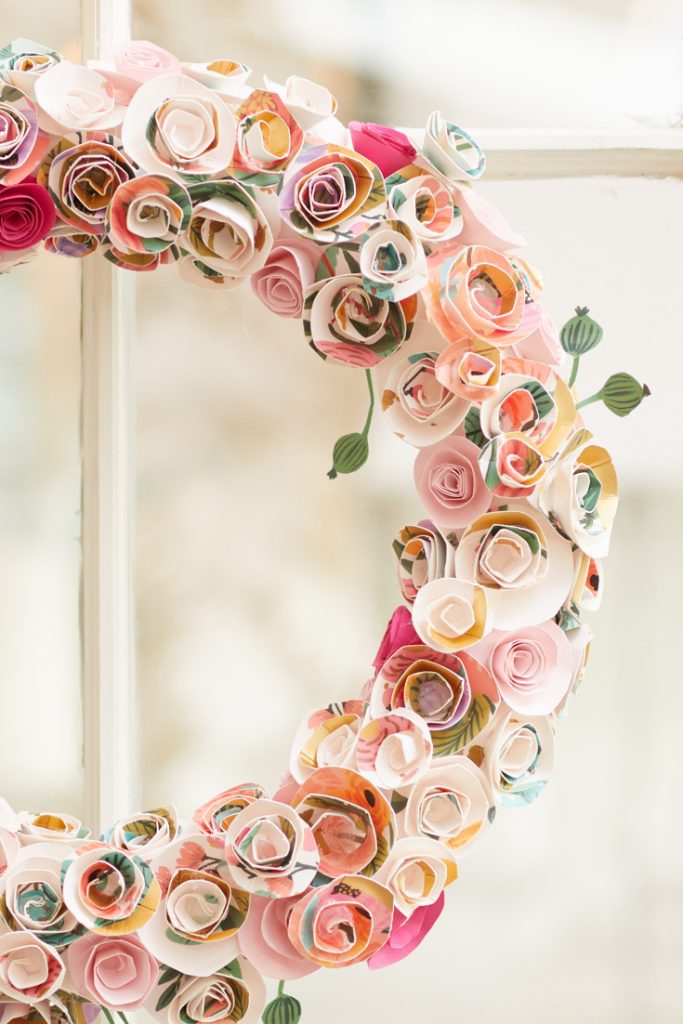
Paper Rosette Wreath Tutorial
*The following post contains affiliate links
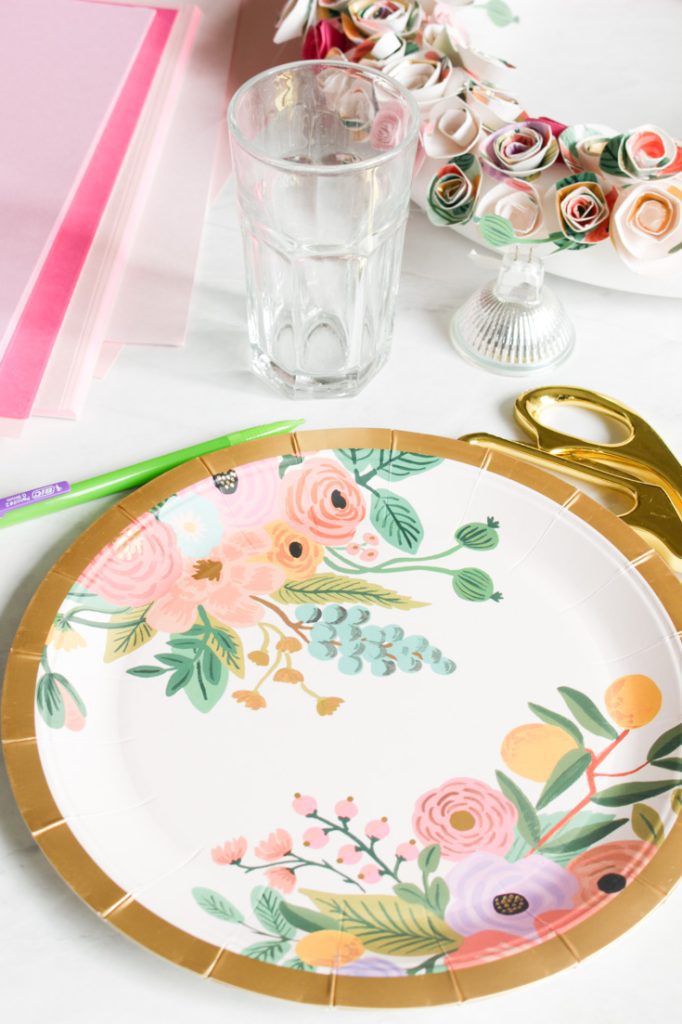
Supplies You’ll Need:
scissors
hot glue gun
ribbon or fishing line
Directions:
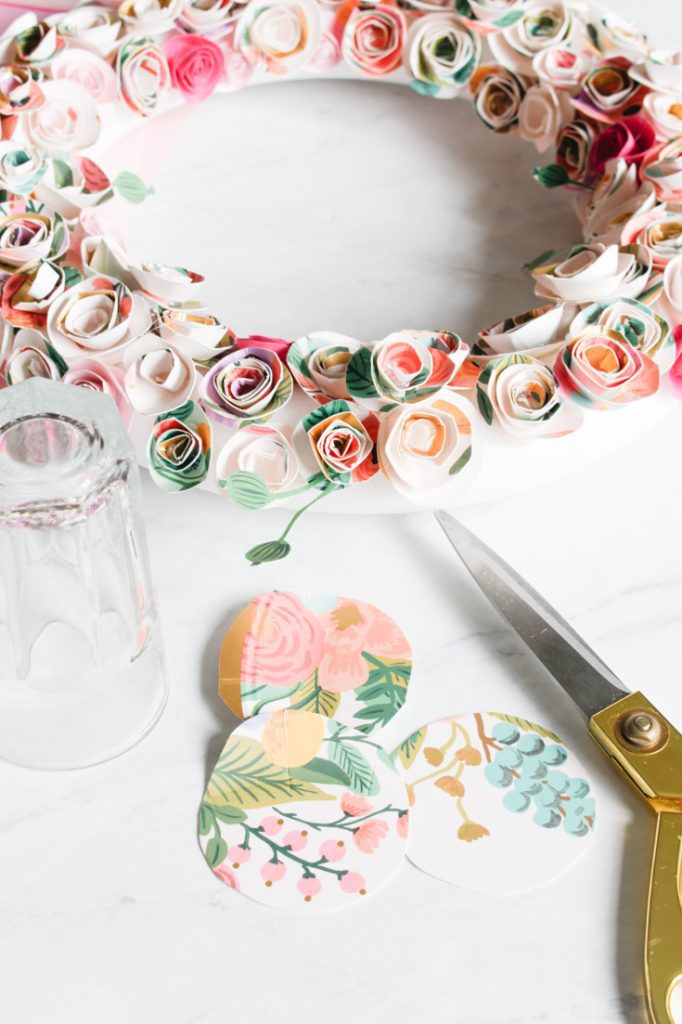
Step 1 – Cut Paper Circles
I used a drinking glass for my flower template and a halogen light bulb for the small flower template. Use whatever you have around that matches the sizes below.
Here is a breakdown of how many rosettes I created.
70 (2 1/2″) circles (Paper plates, I used all 10 plates in the package)
20 -30 (1 3/4″) circles (Paper plates)
20 (1 3/4″) circles (light pink and hot pink cardstock paper)
Step 2 – Shape Rosettes
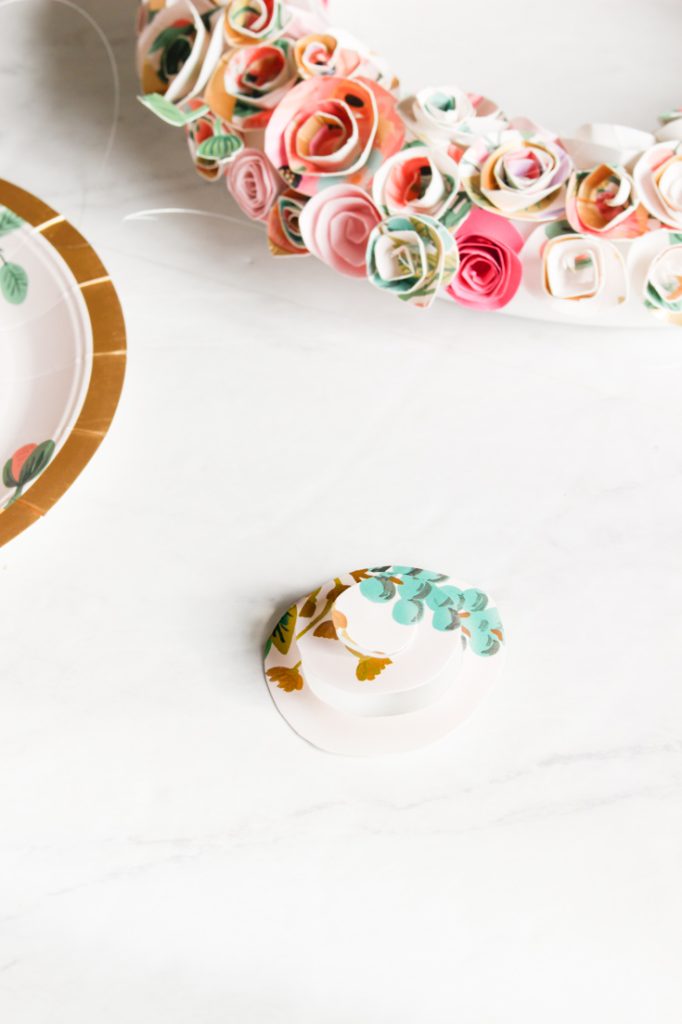
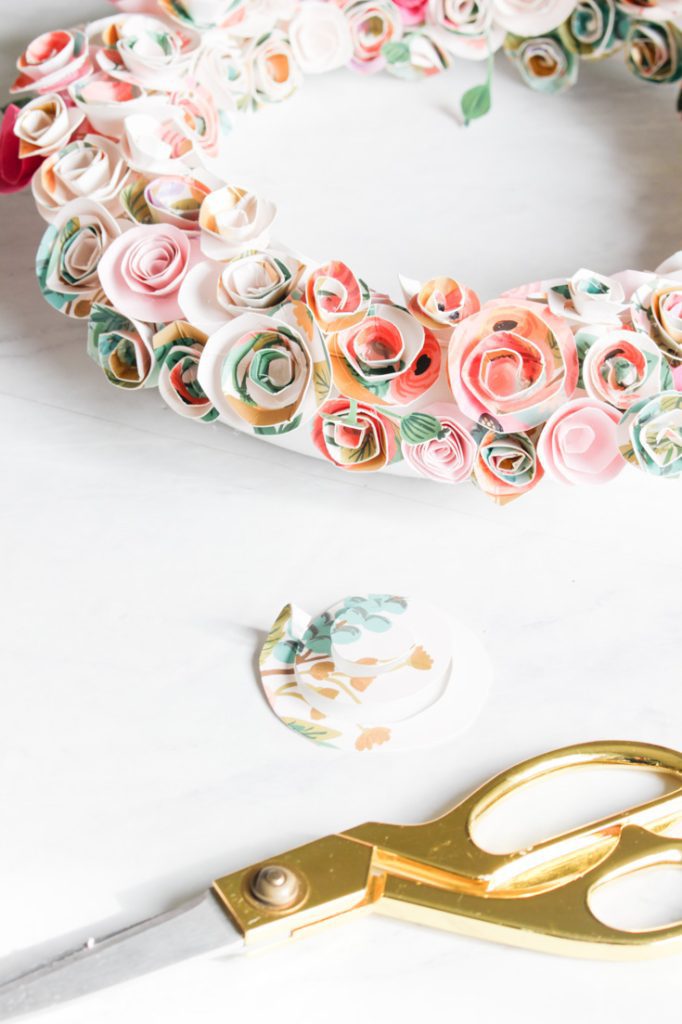
Take your paper circle and begin cutting into the circle and create a spiral pattern. You’ll end in the middle of the circle with a smaller circle.
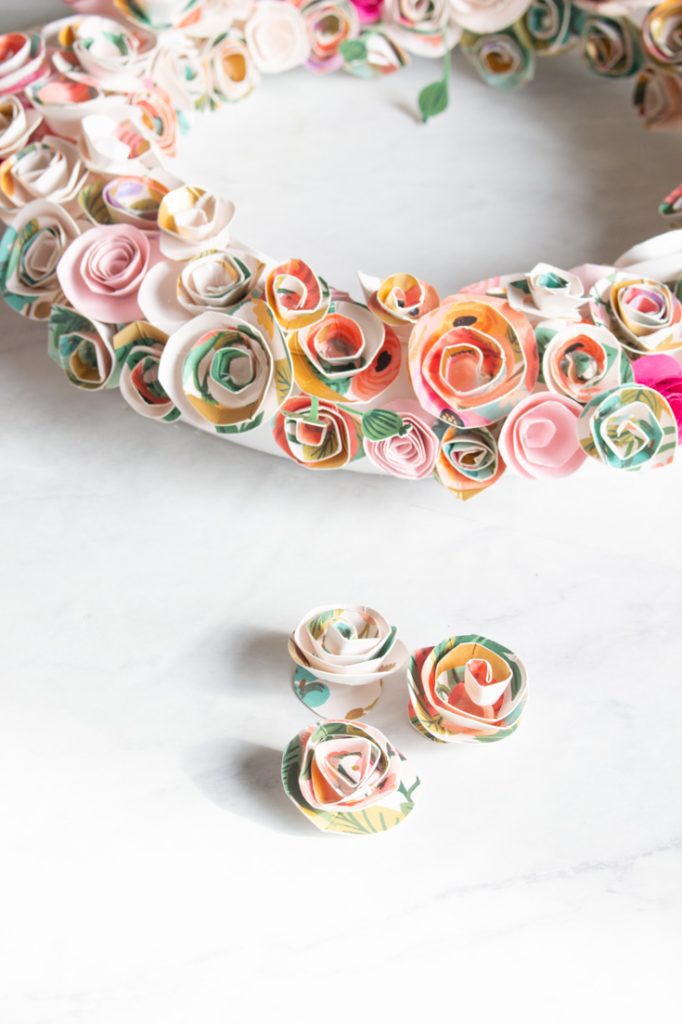
Next, with the pattern side up, begin rolling your paper. You’ll start on the outside of the circle where you first cut into the circle. Keep rolling until you get to the middle of the circle.
Place a dab of hot glue on the inner circle and plop your rolled-up flower on top of the glue. Hold the rose in place until the glue is dried and the flower is in place.
Step 3 – Cut Out Stems
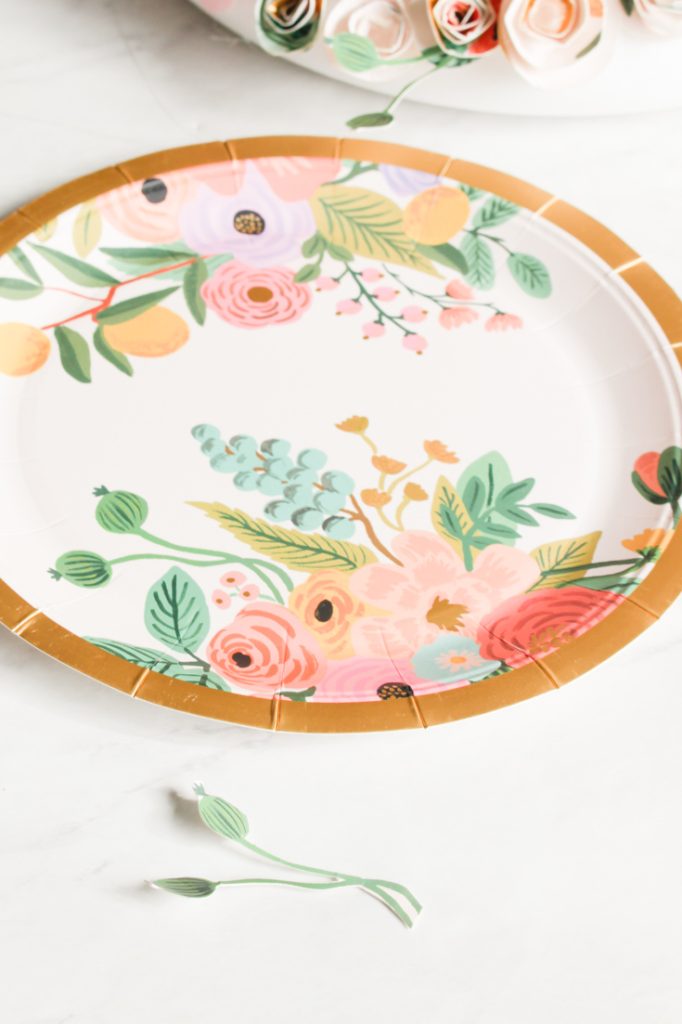
The Rifle paper plates have a poppy pod on them. I cut them out and added them to my wreath after all the rosettes were attached. The greenery adds another dimension to the flowers.
Step 4 – Attach Rosettes to Wreath
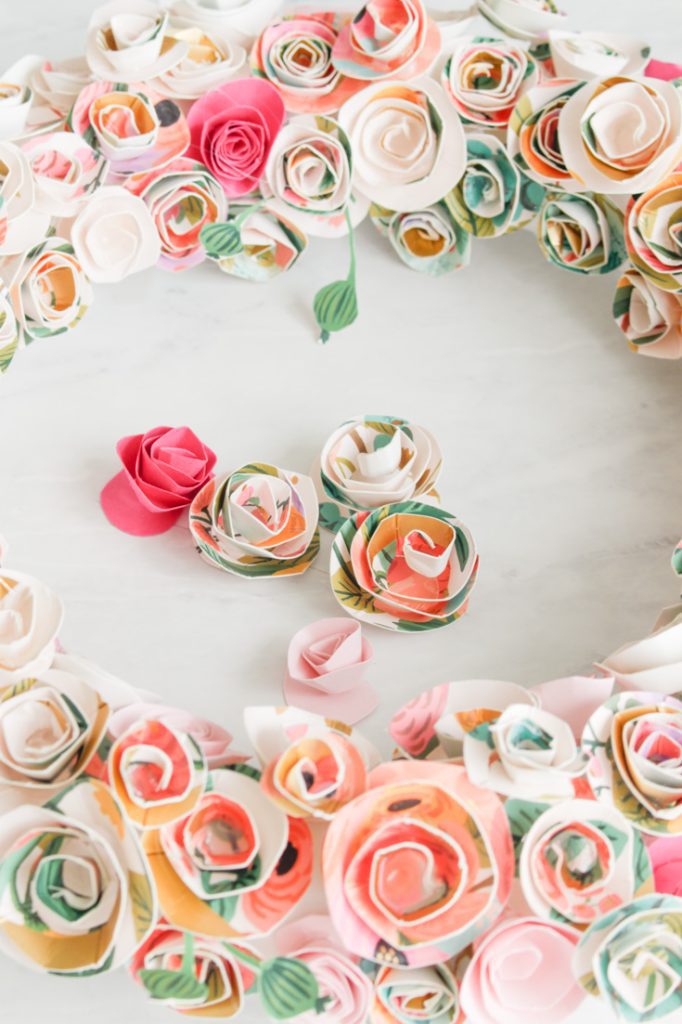
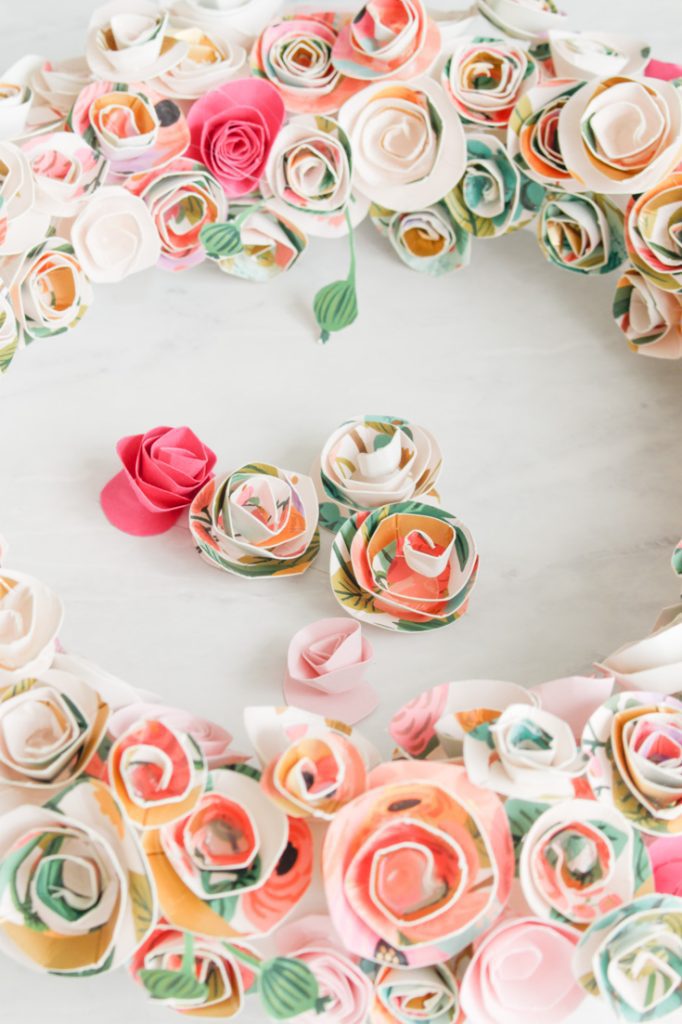
I placed the big rosettes in a line on the top part of the foam wreath. This line was a bit staggered with roses and then I filled in the spaces will all the rest of the rosettes.
Scatter and glue on the solid pink rosettes around the wreath. The bright pink rosettes add a nice compliment to the rosettes. I placed the smaller rosettes on top of the big rosettes to fill up spaces and to add some dimension.
After you’ve attached all the rosettes, add the poppy pods around the wreath.
Step 5 – Attach a Ribbon or Fishing Line
Attach a ribbon or fishing line to the wreath and use this to hang your wreath from your door or wall.
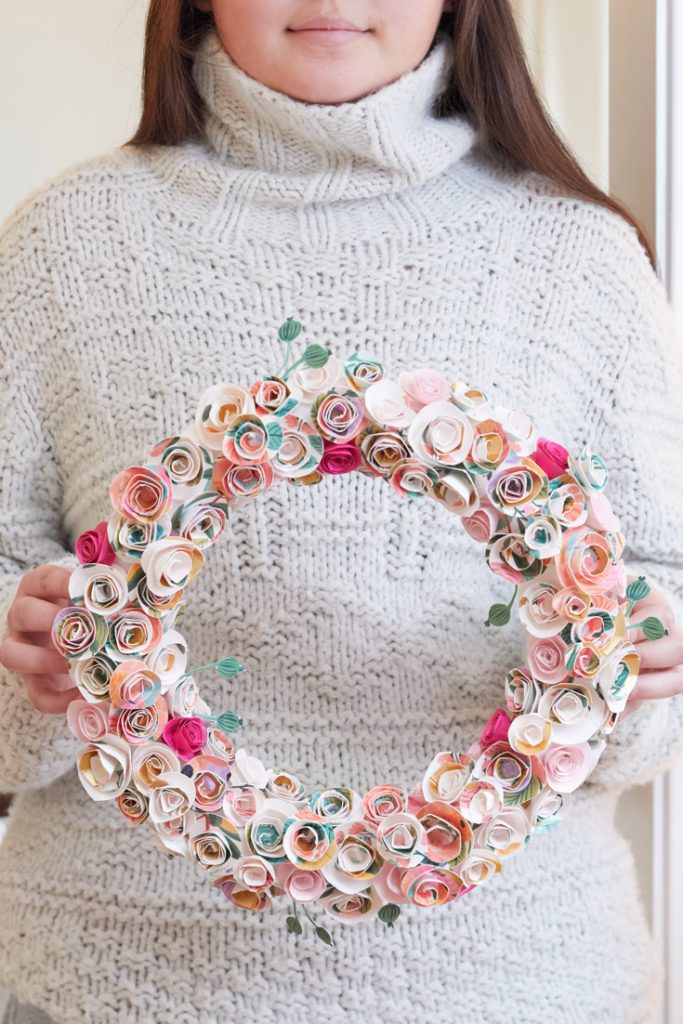
I had so much fun making this wreath. The funny part about this project is that I had no idea how it was going to turn out. I had another project that flopped and I quickly turned around and started this wreath on just a whim of an idea.
But, once I had most of the wreath made, I could tell it was beautiful and that the project was going to work out. I love the creative process and the fun results!
So get crafty this weekend and make something beautiful for your home.
Cheers,


- My Favorite Cleaning Items from Amazon - January 28, 2026
- Machine Washable Rugs - January 21, 2026
- Pink Crafts for Adults - January 17, 2026
Debbie
Love this paper plate wreath. Now the search is on to find some flower plates. Thanks for the idea!
happyhappynester
Debbie,
You’re so welcome! The Rifle Paper plates are gorgeous if you like the look. I used all 10 of the plates for the rosettes. I’m glad you like this wreath!
Janine
Janice
How many paper plates are required?
happyhappynester
Hi Janice,
I used all 10 of the paper plates in the set!
Elizabeth
Beautiful wreath! How many paper plate did you use? I would love to try to make. Thank you for sharing.
happyhappynester
Hi Elizabeth,
I ended up using all 10 of the plates that came in the package. I hope this helps. I’ll add that to the blog post.
I hope you make the wreath!
Janine
Carole Chew
Love this wreath! What size wreath form did you use?
happyhappynester
Hello Carole Chew, I used a 12″ wreath. I hope you enjoy crafting this wreath 🙂
Carole Chew
What size wreath form did you use?
happyhappynester
Hi Carole,
I have the wreath form I used if you click on the styrofoam wreath link. It is a 12″ wreath. I hope you have a chance to make one!
Carole Chew
Thank you! I did check the link and saw the 12″ forms but just wanted to be sure! I absolutely love this wreath and plan to make one with the same paper plates!
Kim
I just love this wreath! So very creative AND so pretty!
Janine Waite
Thank you, Kim! It’s one of my favorite wreaths.
Colette
This is the PRETTIEST way to recycle paper plates!
I have a boatload of paper plates left over from birthday parties.
Now I’m going to put them too good use!
xx
Janine Waite
Oh my goodness, thanks so much, Colette! You’re so kind to visit me!
Rhonda
Love the paper rosette wreath! Do you think I could use scrapbooking paper instead of purchasing paper plates? I have so much scrapbook paper. Thanks.
Janine Waite
Hi Rhonda,
Yes, you can totally use scrapbooking paper to make these rosettes! There are a few digital scrapbooking papers on Etsy if you can’t find some in the stores. Good luck with your wreath project!