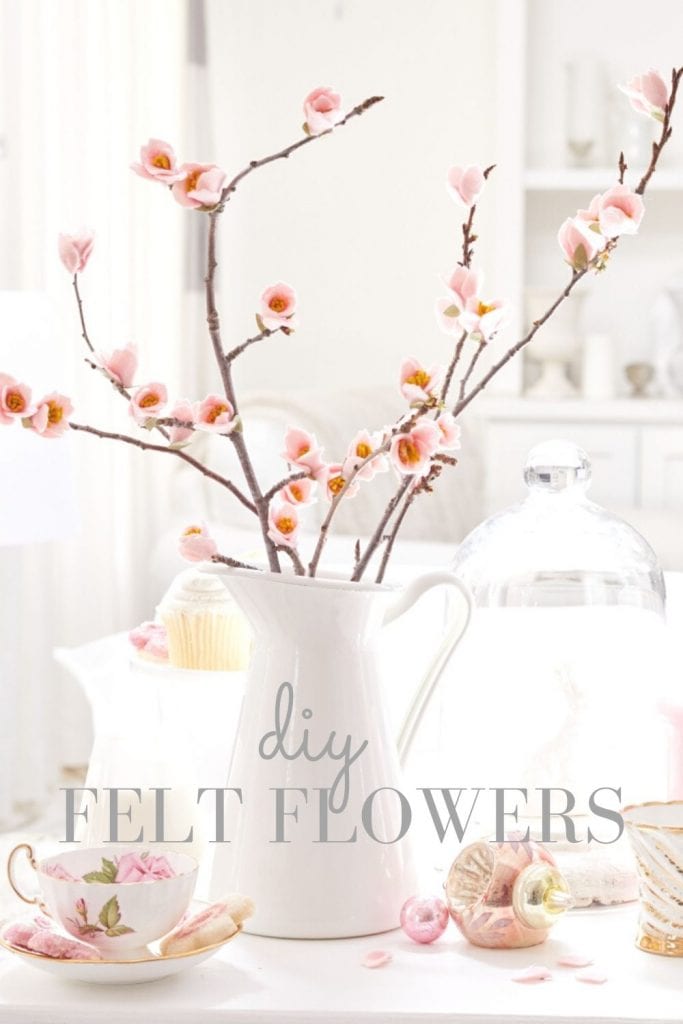
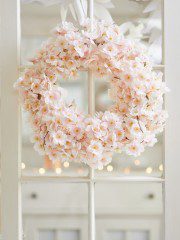
Learn How to Make Felt Flowers this spring. Nothing screams spring more than cherry blossoms. This easy felt flowers DIY is simple and requires felt, scissors, glue, and a real tree branch.
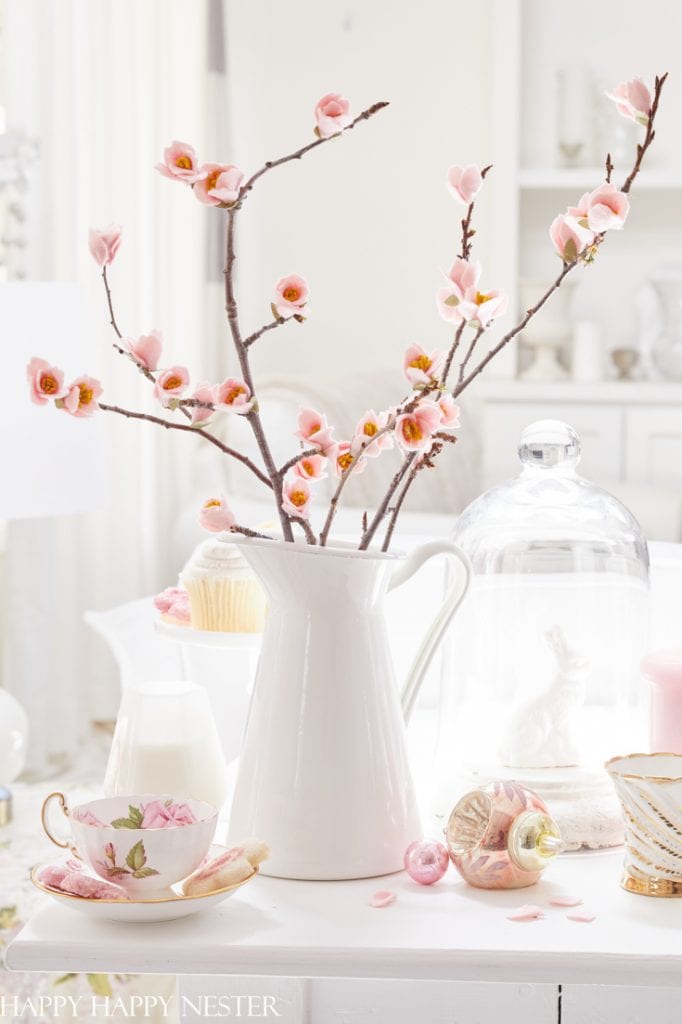
In the spring, I’m obsessed with cherry blossoms. Well, I love all the spring flowers.
Flowers are my passion and that love carries over to my crafts and home. Over the years, I have published a few flower posts:
Since I can’t have fresh flowers every day, the next best thing is paper or felt flowers.
I must mention that today’s post is part of a blog hop. You can see my friend’s amazing fabric projects below.
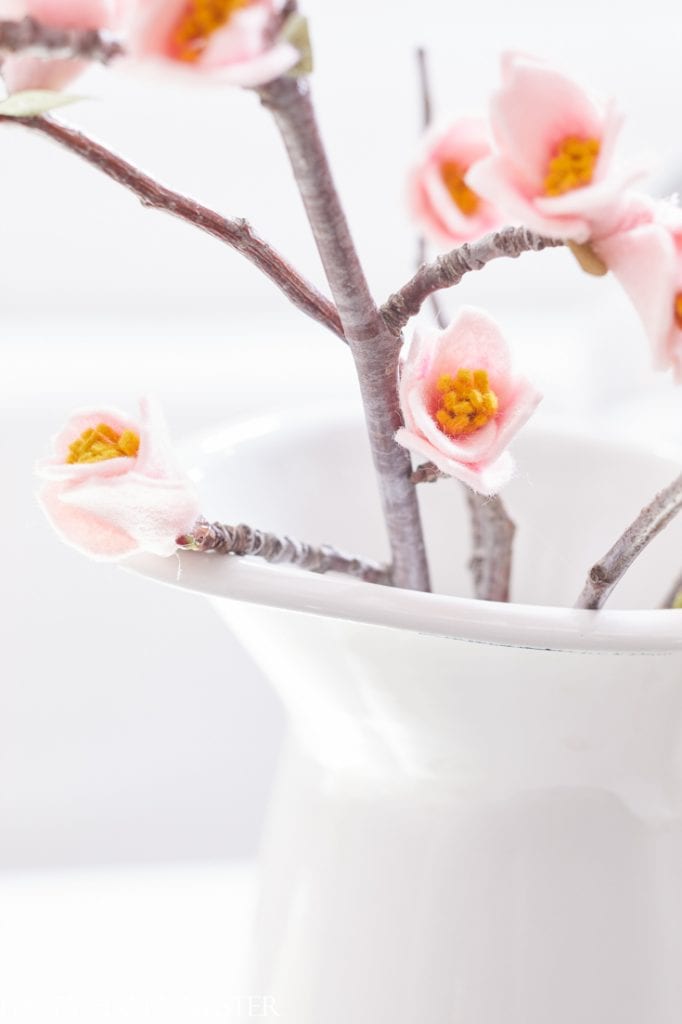
I was lucky enough to have help from my daughter for this project. She cut out all the flower petals. If a teen can make these flowers, then this craft is doable.
You’ll notice the petals are a bit small and irregular, but the organic shapes totally work out fine when the flowers are assembled.
How to Make Felt Flowers Tutorial
*The following post contains affiliate links
Supplies for Flowers
Felt (Light Pink and Mellow Yellow – 5″ x 36″ is plenty of felt)
Branches
Scissors
Glue Gun
Ruler
Instructions
Step 1 – Cut out Squares
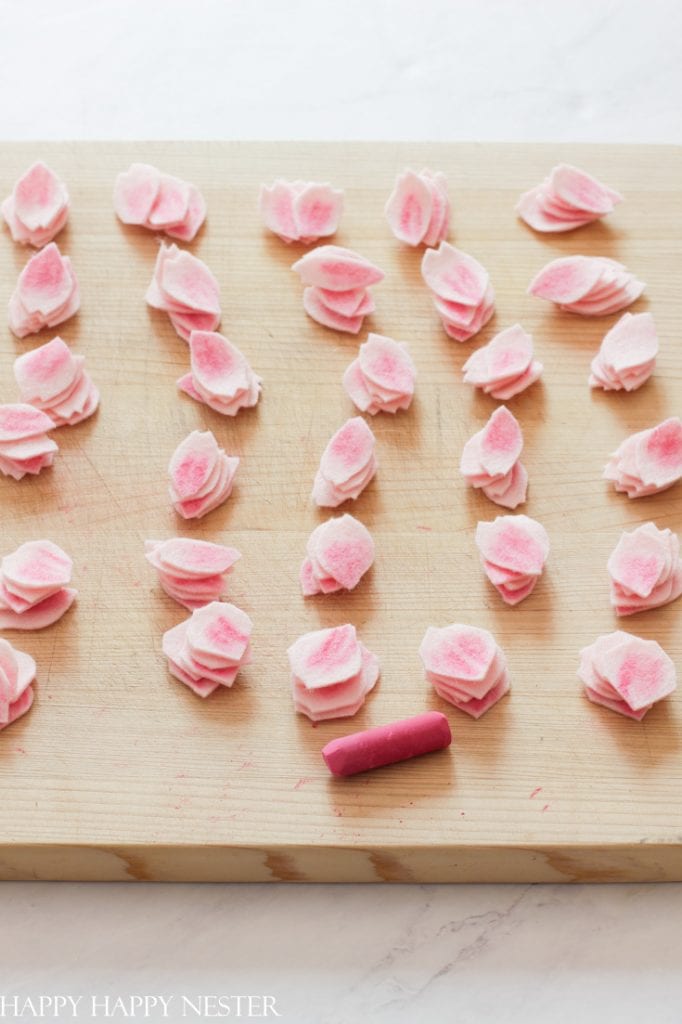
I made 30 cherry blossoms. Each flower has five petals. So I cut out a total of 150 petals.
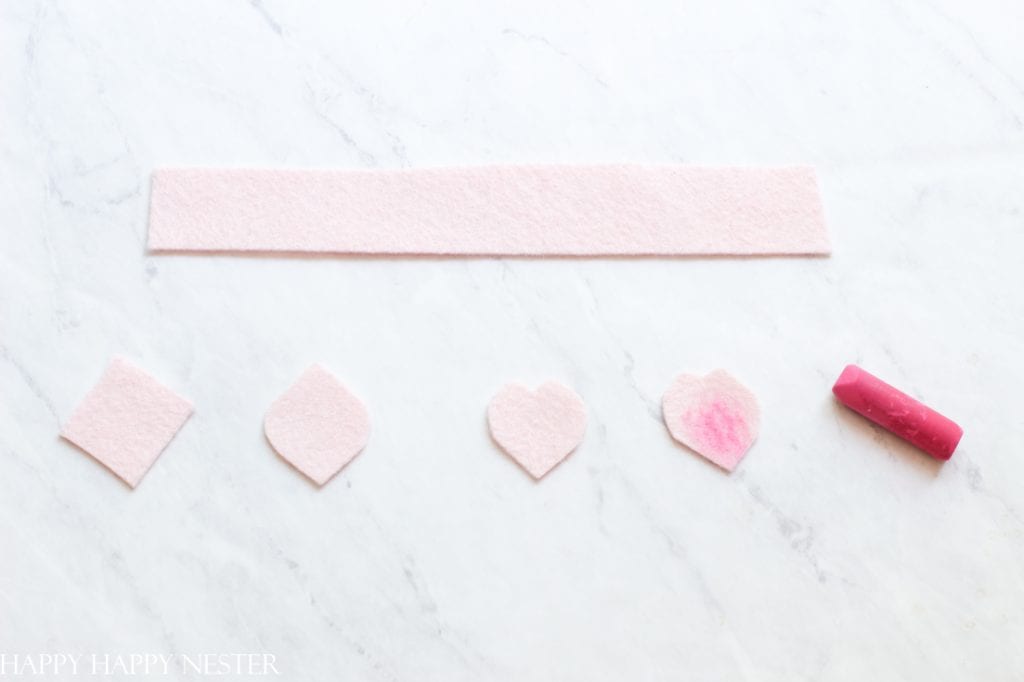
Cut out 1″ x 1″ squares.
To save time, I cut out strips of felt 1″ tall. Then I took my strips and doubled them up, and cut 1″ squares.
Step 2 – Cut the Petals
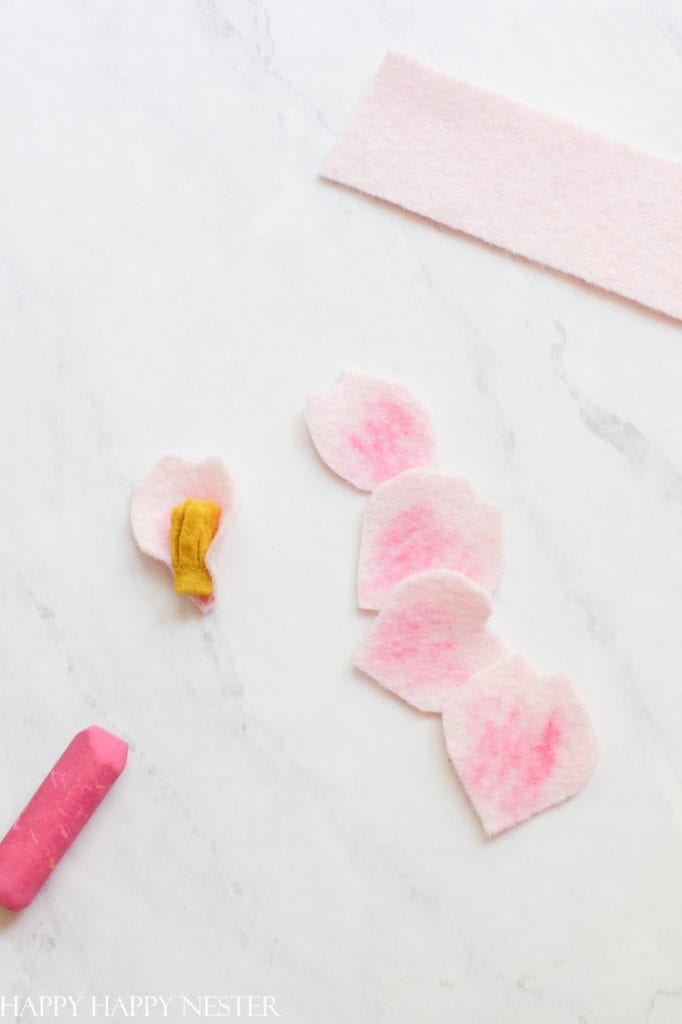
Start with your felt square and trim off opposite corners.
Then with your scissors cut out the top of petal with a little “V”.
Once you have your petal cut, place some pink pastel on the petal as shown in the above photo.
Step 3 – Make the Flower Stamens
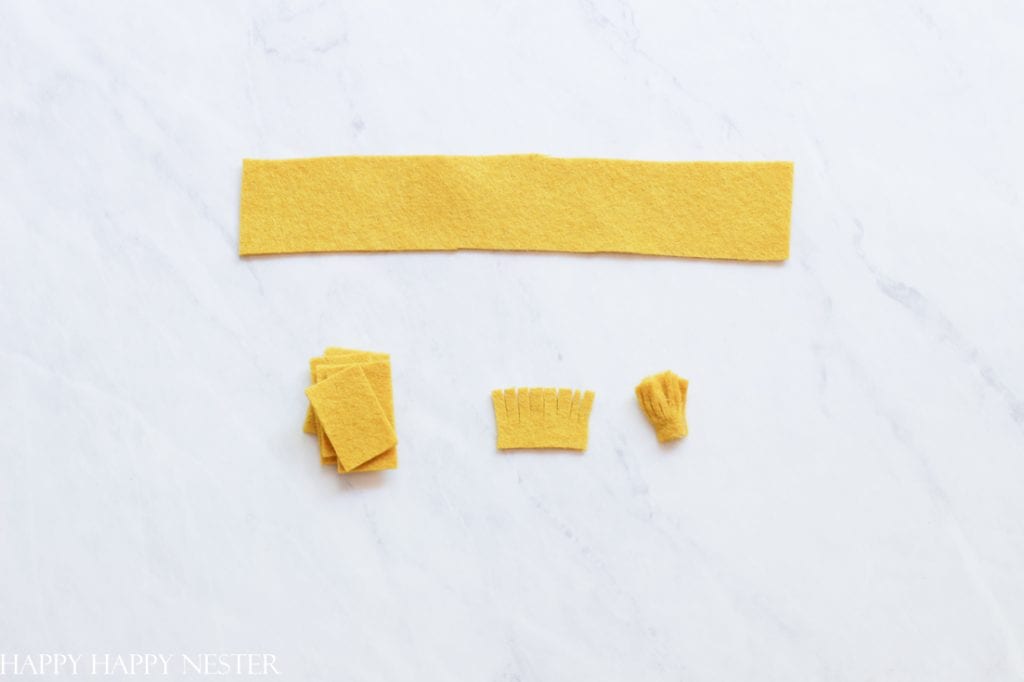
You’ll need 30 of these mustard colored stamens.
Cut a strip that is 1/2 ” x 3/4″.
Then make a fringe by cutting small strips halfway down the short end as pictured above.
Next glue the edge that is intact and roll the felt to create a stamen.
Step 4 – Glue it all together
Place two petals on opposite sides of the stamen and glue them to it. Note that the top of the petal has the notch cut out.
Then take your other three petals and glue them making sure to overlap the two petals.
You can trim small leaves off your leaf ribbon and place them on the bottom sides of your blossoms. I used two leaves to each flower and I placed them on half the flowers. I only add them to a few since I was lazy.
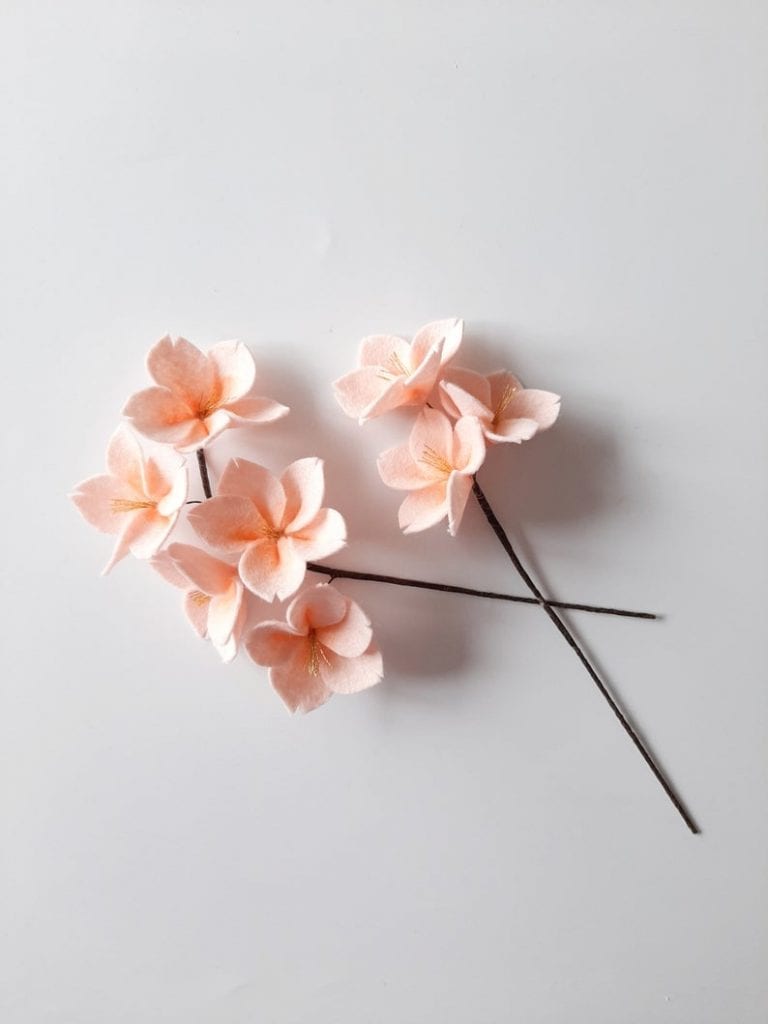
If you don’t have the time to make these pretty flowers, then here is the next best thing. These Etsy felt flowers are so beautiful.
If you decide to do this project, you’ll be happy to know that my motto is always to break up my crafts over a couple of days. So, make the petals and stamens in one day. Then the next day, assembles it, and the investment of time will not feel as long.
I hope you can make this lovely bouquet. And thanks for the visit to my post, how to make felt flowers.
Happy Crafting,

Check Out My Friend’s Beautiful Crafts!
My 100 Year Old Home | DIY Craft Easy Vegetable Printing
Twelve on Main | Easy DIY Embroidered Tea Towels
Happy Happy Nester | How to Make Felt Flowers
Tattertots and Jello | Pillow Cover with DIY Macrame Fringe Trim

Most Lovely Things | DIY Canvas Wrap Vase
The DIY Mommy | No Sew Ruffled Tea Towel from Scrap Fabric
Zevy Joy | How To Sew An Apron From A Kitchen Towel
My Sweet Savannah | DIY Shibori Flag
Satori Design for Living | DIY Tea Towel Flatware Holder

- Spring Doormats from Walmart - February 18, 2026
- Heart Shaped Brownies Recipe - February 13, 2026
- Framed Artwork from Amazon - February 12, 2026
Leave a Reply