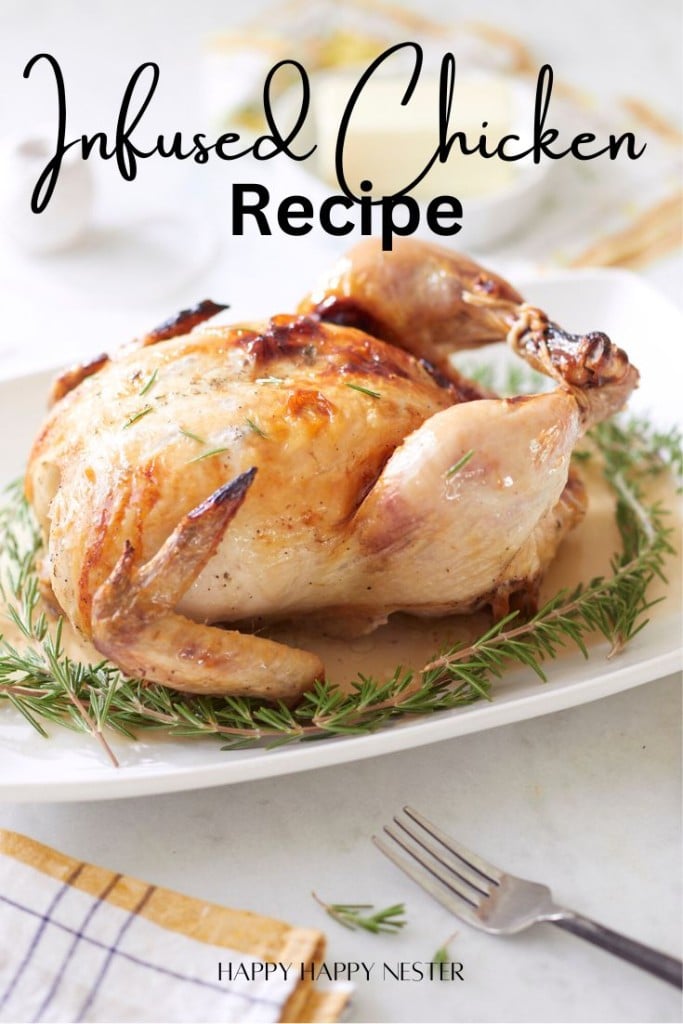
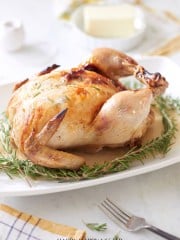
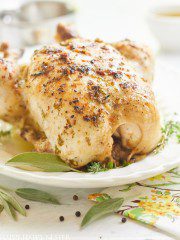
If you’re a fan of chicken but often find yourself disappointed by dry, flavorless breast meat, then this Infused Chicken Recipe is about to change the game. Tender, juicy, and packed with butter and spices, this recipe transforms ordinary chicken into an extraordinary dish.
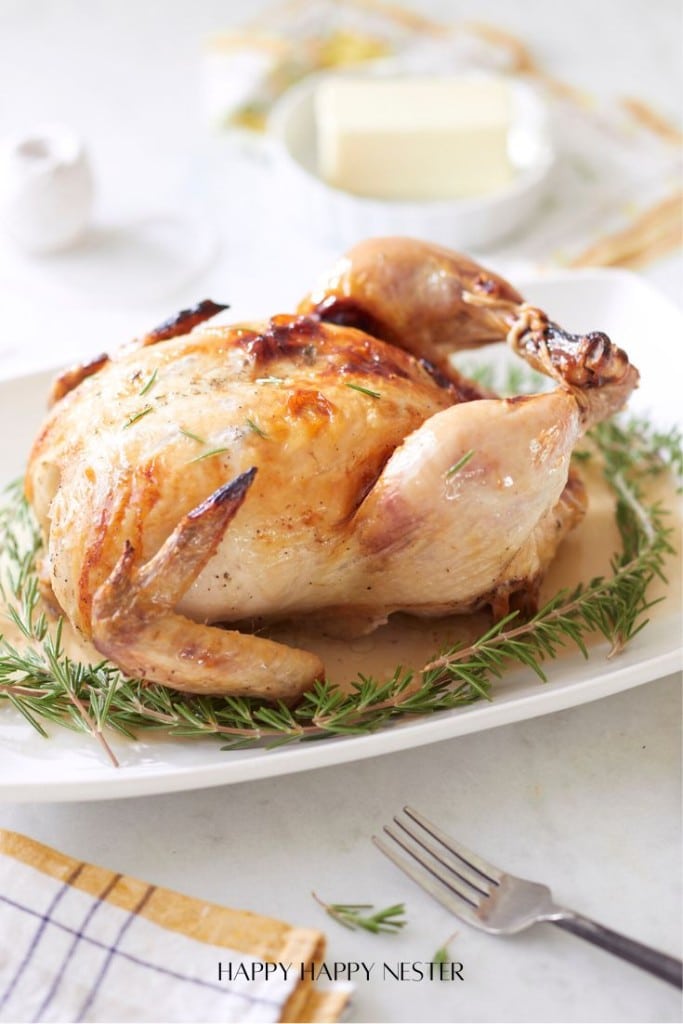
Say goodbye to bland, dry chicken and hello to a meal that’s bursting with moist meat, infused flavors in every bite. This recipe will surely become a favorite for weeknight dinners or dinner parties!
What Is Infused Chicken?
Infused chicken is prepared so that flavors seep deep into the meat rather than just stay on the surface. Instead of simply seasoning or marinating the outside, the chicken is infused with herbs, spices, marinades, or other ingredients to ensure that each bite is packed with taste.
This technique keeps the chicken juicy, tender, and flavorful from the inside out. It’s perfect for anyone who wants their chicken to be more than just a plain, dry piece of protein—it’s a delicious upgrade that elevates any chicken dish!
How Do You Infuse Chicken?
Marinating:
- Make a flavorful marinade with oil, vinegar, citrus juice, herbs, spices, and garlic.
- Submerge the chicken in the marinade, ensuring it’s fully coated. Let it sit for at least 2 hours or overnight in the refrigerator for best results.
- The acidity and oil in the marinade help carry the flavors deep into the chicken, making it tender and tasty.
Brining:
- Create a brine solution using water, salt, sugar, and other flavorings like herbs or garlic.
- Soak the chicken in the brine for a few hours (up to 24 hours for larger pieces).
- This not only adds flavor but also keeps the chicken moist while cooking.
Injecting:
- Use a meat injector to inject a liquid seasoning or marinade directly into the chicken. This method works great for whole chickens or significant cuts.
- Fill the injector with your chosen marinade (herbs, butter, garlic, or citrus juice) and inject it evenly into different chicken parts.
- This helps infuse flavor quickly without needing long marination times.
Stuffing:
- For whole chicken or chicken breast, stuff the inside or create pockets and fill them with herbs, lemon wedges, garlic, or other aromatics.
- As the chicken cooks, the flavors from the stuffing release, infusing the meat from the inside.
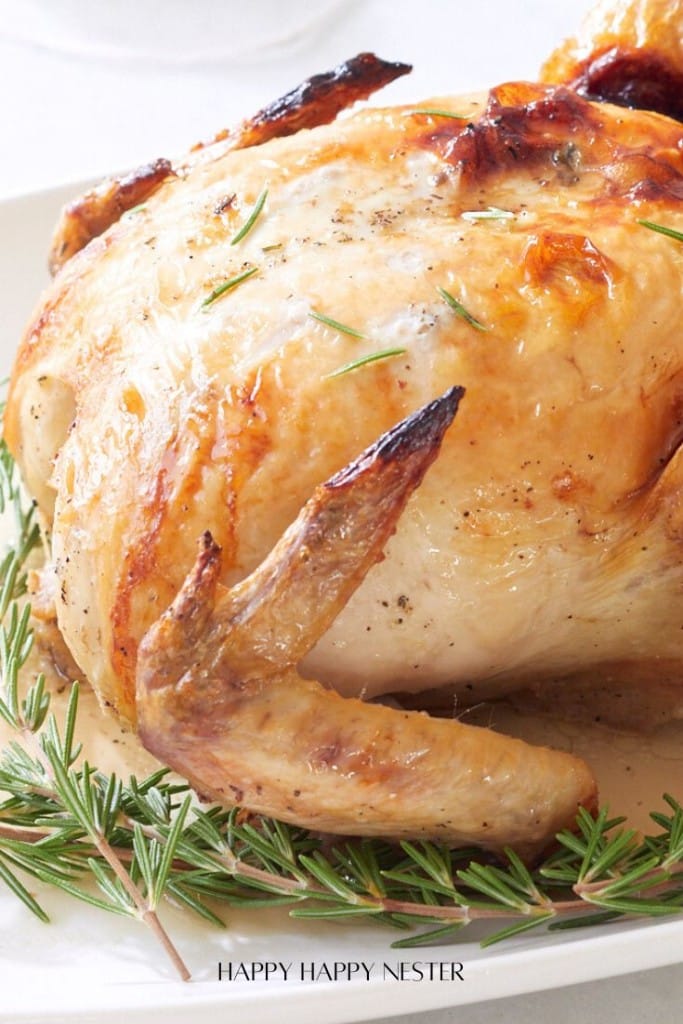
Infused Chicken Recipe Sauce
For this recipe, we’ll infuse the chicken using an injector. The buttery sauce will be loaded into the injector tool and carefully inserted into the raw chicken meat. This infusion step will be done right before baking. Injecting just before baking is a simple yet effective way to keep the chicken moist, tender, and packed with flavor—ideal for when you want deliciously seasoned meat without the wait of long marination times.
Ingredients You’ll Need
- Whole Chicken: The main star of the dish, providing a hearty base that absorbs all the flavors from the infusion.
- Butter: Adds richness and a smooth, velvety texture to the infused sauce, keeping the chicken moist and flavorful.
- Chicken Broth: Enhances the savory depth of the infusion, complementing the chicken’s natural flavor.
- Salt: Essential for bringing out and amplifying the dish’s overall taste.
- Pepper: Adds a hint of warmth and subtle spice to balance the richness of the butter and broth.
- Herbs: Fresh or dried herbs infuse the chicken with aromatic and earthy notes, adding layers of flavor to each bite.
How to Make Infused Chicken
Step 1 – Clean Chicken: Rinse the whole chicken under cold water and pat it dry with paper towels to remove excess moisture.
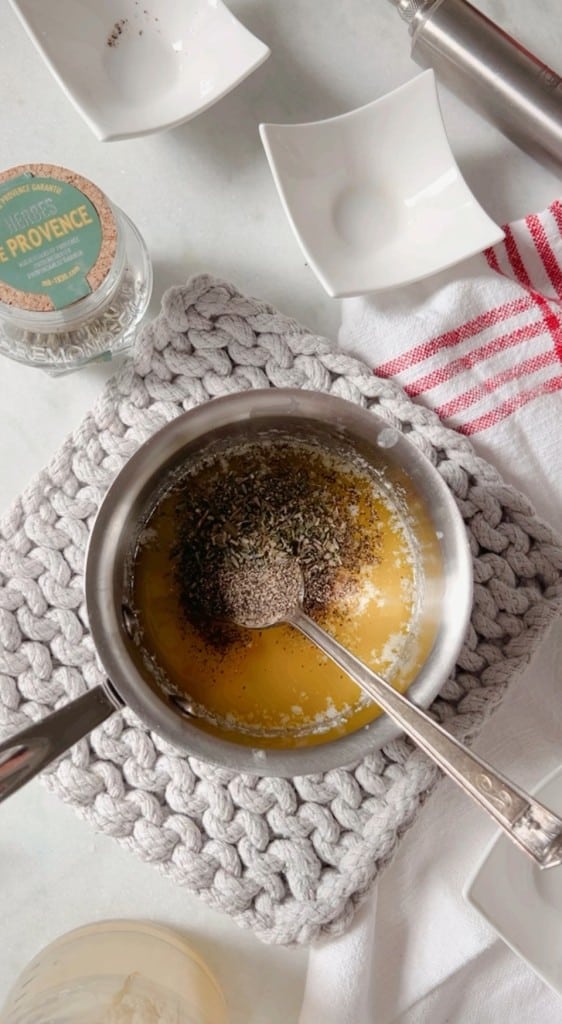
Step 2—Prepare the Infusion Mixture: Melt butter in a small saucepan over low heat, then mix in chicken broth, a pinch of salt and pepper, and your chosen herbs (e.g., thyme, rosemary, or parsley).
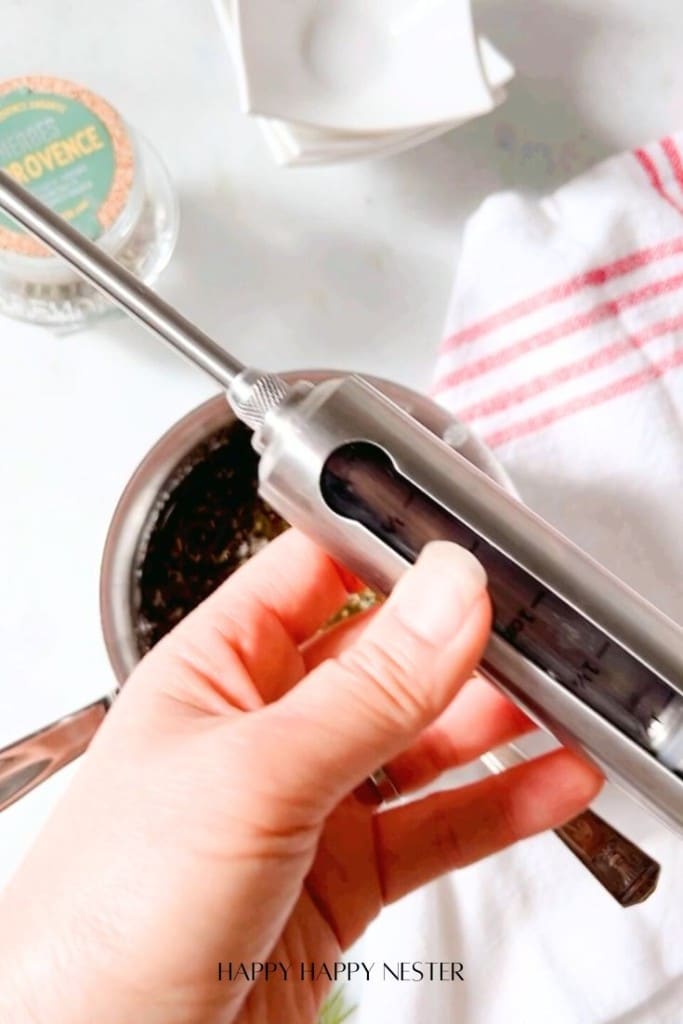
Step 3 – Fill the Injector: Draw the buttery infusion mixture into your meat injector tool, make sure it is warm but not too hot to handle.
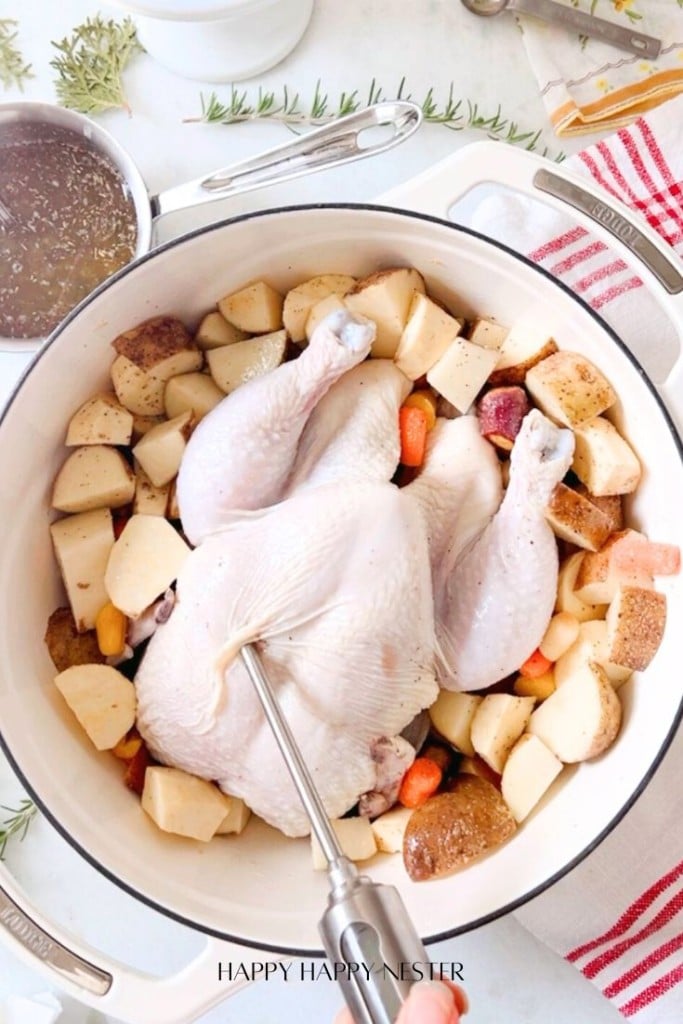
Step 4 – Inject the Chicken: Insert the injector into various thick parts of the chicken (such as the breasts and thighs) and slowly push the mixture into the meat. Repeat in multiple spots to ensure even distribution. FYI, while and after injecting the sauce, it may come out and squirt you. So, to prevent this from happening when pulling out the injector, place your finger over the insertion site to hold the liquid in the chicken.
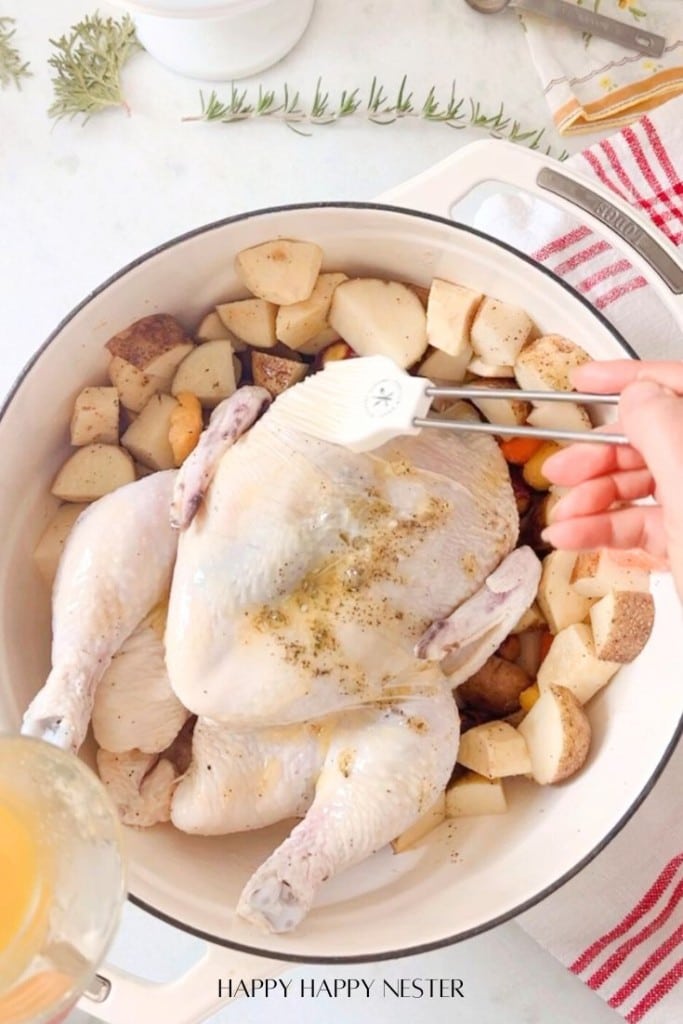
Step 5 – Season the Exterior: Rub the outside of the chicken with 1/4 cup butter and sprinkle with salt, pepper, and additional herbs for extra flavor.
Step 6 – Prepare for Baking: Place the infused chicken in a roasting pan or a baking dish lined with foil or parchment paper for easy cleanup.
Step 7—Bake: Preheat the oven to 450°F (232°C). Bake the chicken for about 15 minutes, or until the internal temperature reaches 325°F (163°C), for 1 hour. Check-in an hour and insert a meat thermometer in the thickest part of the meat. Baste the chicken with its juices halfway through cooking to keep it moist.
If you want to brown the chicken more, turn on the roasting feature and cook until brown.
Note that if you are baking a small chicken, you can lower the cooking time.
Step 8 – Rest and Serve: Let the chicken rest for 10-15 minutes after baking to allow the juices to redistribute. Carve and serve your moist, flavorful, infused chicken. Enjoy!
Why You’ll Love This Infused and Moist Chicken!
- Juicy and Moist Texture: Infusing the chicken with an injector ensures that it stays juicy and tender, preventing the dryness that can sometimes occur with baked chicken.
- Deep Flavor Throughout: The injector allows for even distribution of the buttery sauce and seasonings, ensuring that every bite is packed with flavor—not just the surface.
- Quick Flavor Infusion: Unlike marinating, which takes hours, injecting infuses the chicken instantly, saving time while still delivering rich, deep flavor.
- Customizable Seasoning: The technique is highly adaptable—you can experiment with different sauces, broths, and seasonings to create unique flavor combinations that suit your taste.
- Perfect for Busy Cooks: Injecting before baking is a great option for those who need a quick yet impressive meal without the lengthy preparation.
- Enhanced Moisture Retention: The added liquid from the infusion helps the chicken retain its moisture during baking, resulting in succulent, mouthwatering meat.
- Restaurant-Quality Results at Home: This method gives you that professional touch, making your homemade chicken taste like it came from a high-end restaurant—perfect for impressing family and guests!

Infused Chicken Recipe
Ingredients
- 1 whole chicken
Infusion Sauce
- 1 cup chicken broth
- ½ cup butter
- 2 tsp kosher salt
- 2 tsp black pepper
- 2 tsp garlic granules I love Costco garlic granules
Butter Baste
- ¼ cup melted butter
Instructions
- Clean Chicken: Rinse the whole chicken under cold water and pat it dry with paper towels to remove any excess moisture.
- Prepare the Infusion Mixture: Melt butter in a small saucepan over low heat, then mix in chicken broth, a pinch of salt, pepper, and your chosen herbs (e.g., thyme, rosemary, or parsley).
- Fill the Injector: Draw the buttery infusion mixture into your meat injector tool, making sure it is warm but not too hot to handle.
- Inject the Chicken: Insert the injector into various thick parts of the chicken (such as the breasts and thighs) and slowly push the mixture into the meat. Repeat in multiple spots to ensure even distribution. FYI, while and after injecting the sauce it may come out and squirt you. So, to prevent this from happening when pulling out the injector, place your finger over the insertion site to hold the liquid in the chicken.
- Season the Exterior: Rub the outside of the chicken with melted butter and sprinkle with salt, pepper, and additional herbs for extra flavor.
- Prepare for Baking: Place the infused chicken in a roasting pan or a baking dish lined with foil or parchment paper for easy cleanup.
- Bake: Preheat the oven to 450°F (232°C). Bake the chicken for about 15 minutes, or until the internal temperature reaches 325°F (163°C), for 1 hour. Check-in an hour and insert a meat thermometer in the thickest part of the meat. Baste the chicken with its juices halfway through cooking to keep it moist.If you want to brown the chicken more, turn on the roasting feature and cook until brown. Note that if you are baking a small chicken you can lower the cook time.
- Rest and Serve: Let the chicken rest for 10-15 minutes after baking to allow the juices to redistribute. Carve and serve your moist, flavorful, infused chicken. Enjoy!
Spices to Add to Infused Chicken
Garlic Powder: Adds a warm, savory depth.
Paprika: Provides a mild, smoky sweetness.
Onion Powder: Enhances overall savory flavor.
Cayenne Pepper: Adds a touch of heat and spice.
Ground Cumin: Offers a warm, earthy undertone.
Dried Oregano: Brings a hint of Mediterranean flavor.
Thyme: Adds subtle, herbal notes.
Black Pepper: Complements the other spices with a sharp, warm kick.
Turmeric: Adds a slight bitterness and beautiful color.
Rosemary: For an aromatic, woodsy touch.
The Best Way to Not Overcook the Chicken
Use a Meat Thermometer: Check the internal temperature and remove the chicken from the oven when it reaches 165°F (74°C). This prevents overcooking and ensures safe, juicy meat.
Avoid High Heat: Cook at a moderate temperature (around 325°F to 375°F) to allow even cooking and prevent the outside from drying out before the inside is fully cooked.
Let It Rest: After removing the chicken from heat, let it rest for 10-15 minutes. This allows the juices to be redistributed, preventing dry meat.
Cover with Foil: If baking or roasting, loosely cover the chicken with foil for part of the cooking time to retain moisture and prevent over-browning.
If you’re looking for other chicken recipes, take a look at these!
A well-seasoned, juicy chicken is unbeatable, and infusing it is both simple and delicious! My husband is now obsessed with the infuser and uses it on everything he cooks. I have to say, it even turns a mediocre steak into something incredible!
We’re especially excited to try this on our turkey this Thanksgiving—no more time-consuming brining.
Give this infused chicken recipe a try—you won’t regret it!
Cheers,

Photo Credits: MyPhotography.com

- Heart Shaped Brownies Recipe - February 13, 2026
- Framed Artwork from Amazon - February 12, 2026
- Chocolate Covered Quinoa Recipe - February 5, 2026



Leave a Reply