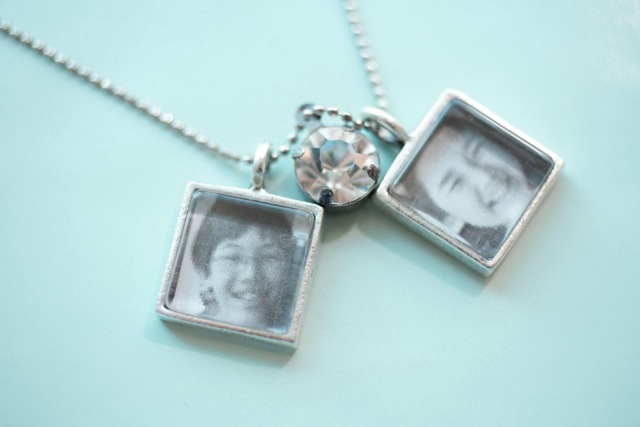
Personalized Photo Necklace
i’ve been been wanting to make one of these necklaces for a long time and i finally got around to making one. it is a relatively easy project and a nice gift for the holidays! i designed a very simple style since i like very little on my necklaces, but you could use a different chain and add more beads on the chain if you like. have fun with the project and you can personalize yours with meaningful charms.
here is how you make it, first you’ll need the materials.
.jpeg)
silver pendant. they come in all shapes and sizes. i found some on
Amazon and here is the link, pendant
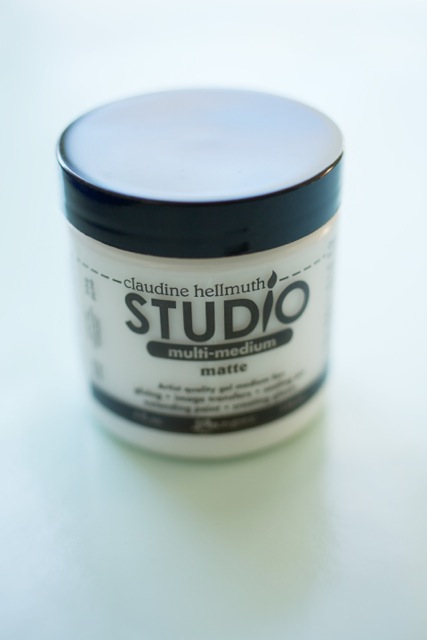
this multi-medium matte works like glue and it is terrific! my friend who makes jewelry has had trouble with other products, but i found this gel works without any problems. i found it on Amazon and here is the link, multi-medium matte gel
.jpeg)
so next you cut out your photos that you have sized to the pendant. if you don’t have a computer program that sizes photos (Adobe Photoshop), i would use Kinkos and just reduce a photo on the copier. a laser printout or photo copy works great for this project.
.jpeg)
place the gel medium on the front side of the photo and cover the surface of the photo. next place photo glue side down on the glass surface. line up photo with image. rub the back side of photo to make sure no air bubbles occur. let dry for an hour.
.jpeg)
once the image is dry, paint multi-medium matte on the back side of photo. cover the whole surface of photo and then place inside the pendant.
.jpeg)
press down to make sure there is a good seal. let dry and you are now ready place it on a chain. i bought a chain (i bought it from Joann Fabrics) that was exactly the right length, so i didn’t need to fiddle with anything. i just placed my pendants on the chain and then added a little bling! this would make a nice gift for grandparents for the holidays!

I named my blog Happy Happy Nester because I love everything related to the home. I’ve always enjoyed decorating my surroundings. Get cozy and stay for a bit, thanks for visiting!
Latest posts by Janine Waite (see all)
- Meringue Cookies Recipe - March 20, 2026
- Bathroom Accessories from Amazon - March 18, 2026
- Fluffy Japanese Pancake Recipe (Souffle) - March 16, 2026


Just Jaime
Great idea! I've been thinking about doing something similar with some lace. Thanks for sharing!
Janine Waite
Hi Jaime, Thanks for visiting happy happy nester. I'm glad you're inspired to make a pendant with lace. When you finish making it, I would be happy to post it. Let me know how it comes out!