• Skip to main content
  • Skip to header right navigation
  • Skip to site footer
  • About
  • Contact
  • Boutique of the Week
  • Facebook
  • Instagram
  • Pinterest
  • Twitter

Happy Happy Nester

Weekly Inspiration for Your Nest

  • Recipes
    • Appetizers
    • Breakfast/Brunch
    • Desserts
    • Dinners
    • Drinks
  • Crafts
  • Decor
  • Shop
    • Fall Decor
    • Kitchen
    • Pillows
    • Holiday Decor
  • Saturday Chitchat
  • Recipes
    • Appetizers
    • Breakfast/Brunch
    • Desserts
    • Dinners
    • Drinks
    • Snacks
  • Crafts
  • Decor
  • Shop
    • Fall Decor
    • Kitchen Favorites
    • Pillows
    • Holiday Decor
  • Saturday Chitchat
  • Boutique of the Week
  • About
  • Contact
  • Facebook
  • Instagram
  • Pinterest
  • Twitter

See What’s Trending…

Cakes

Cookies

Dinners

Wreaths

Drinks

Home › Crafts › Make Your Own Wrapping Paper

Make Your Own Wrapping Paper

Crafts
By Janine Waite · Published on Dec 18, 2020
Affiliate Disclosure: This Post May Contain Affiliate Links.

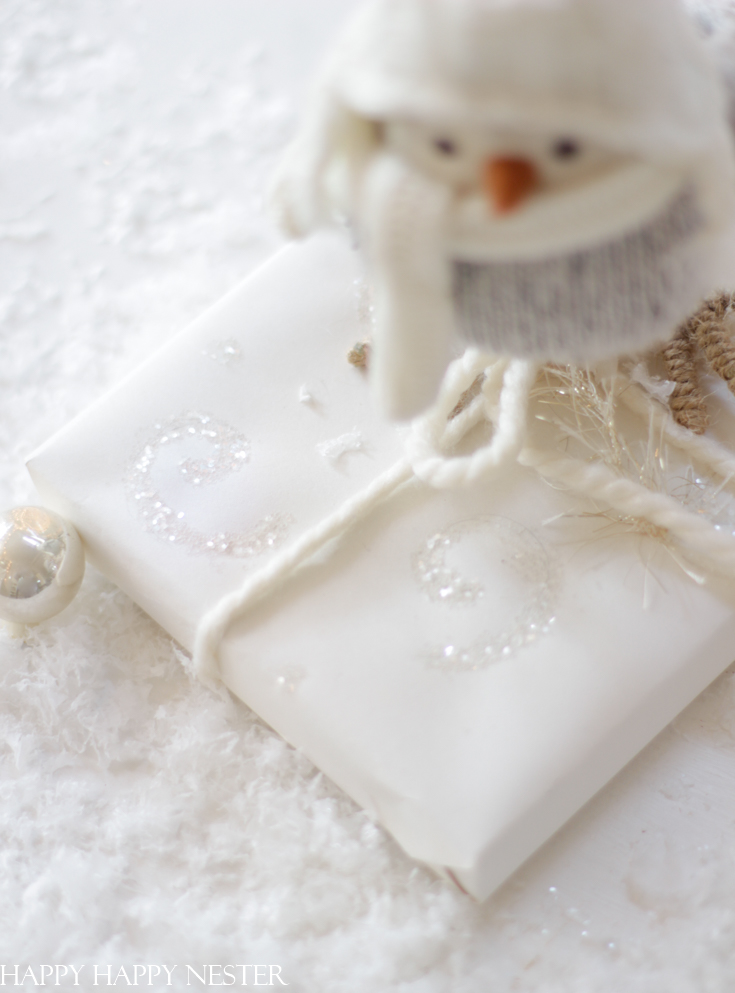
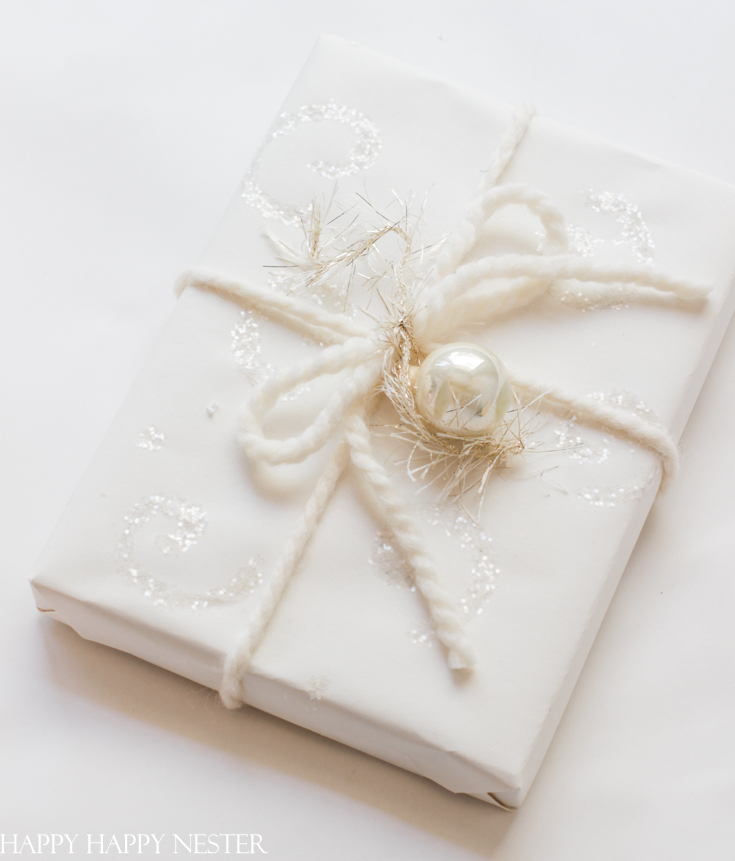
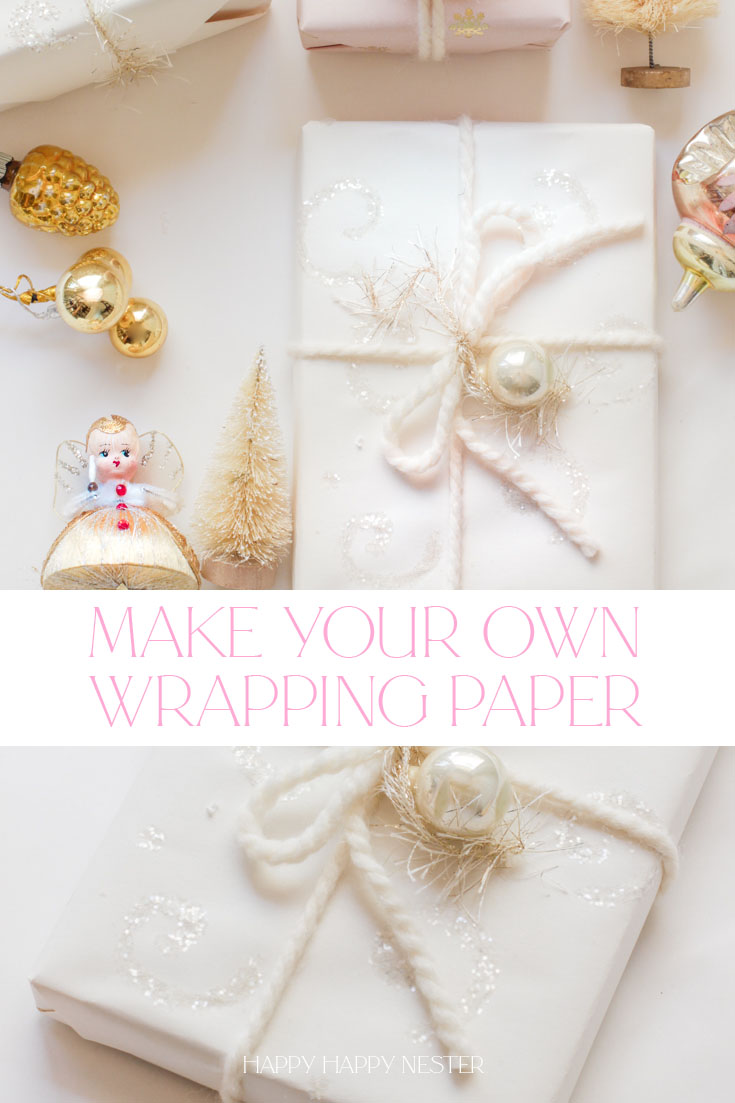
Make Your Own Wrapping Paper this year. This pretty glittery paper is such a quick project and takes a few minutes to make. And even your kids can make this beautiful sparkly paper. It’s that easy. make your own wrapping paper

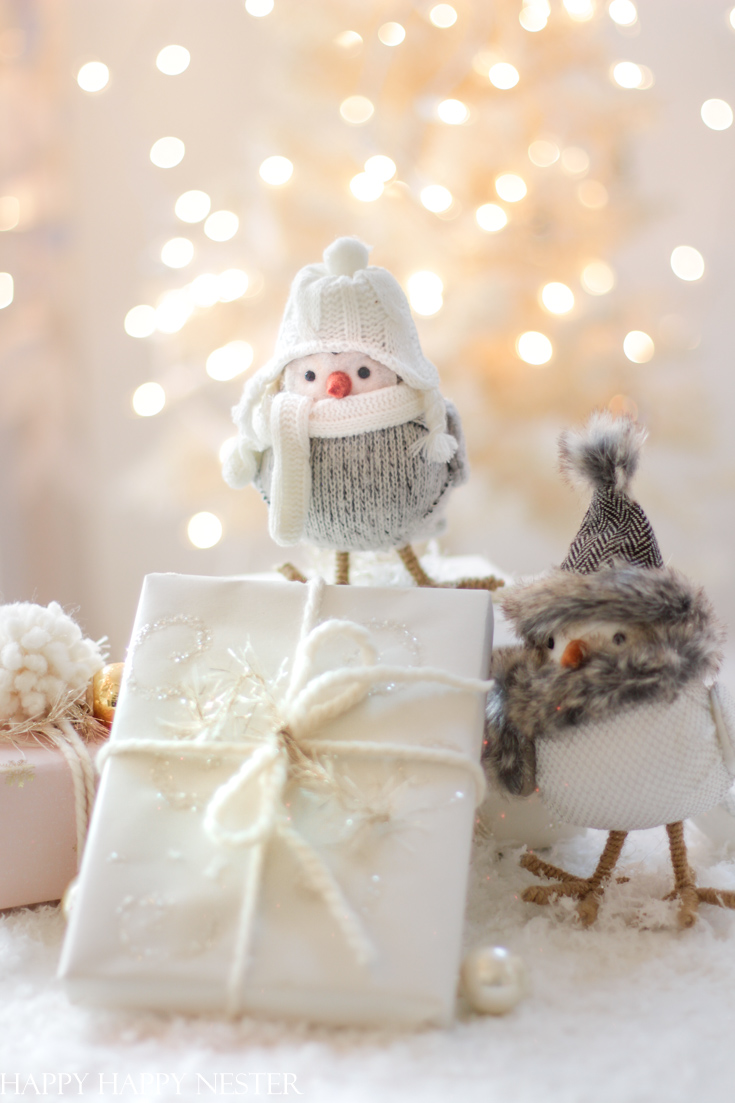
The pandemic has added a new twist to my projects this year. I’m not relying that much on the shopping supply chain and instead, I’m using the supplies I already own. I love that with my latest holiday gift tags project, all you need are some paper, scissors, and a printer. Well, this wrapping papercraft is one of these quick and simple projects. 

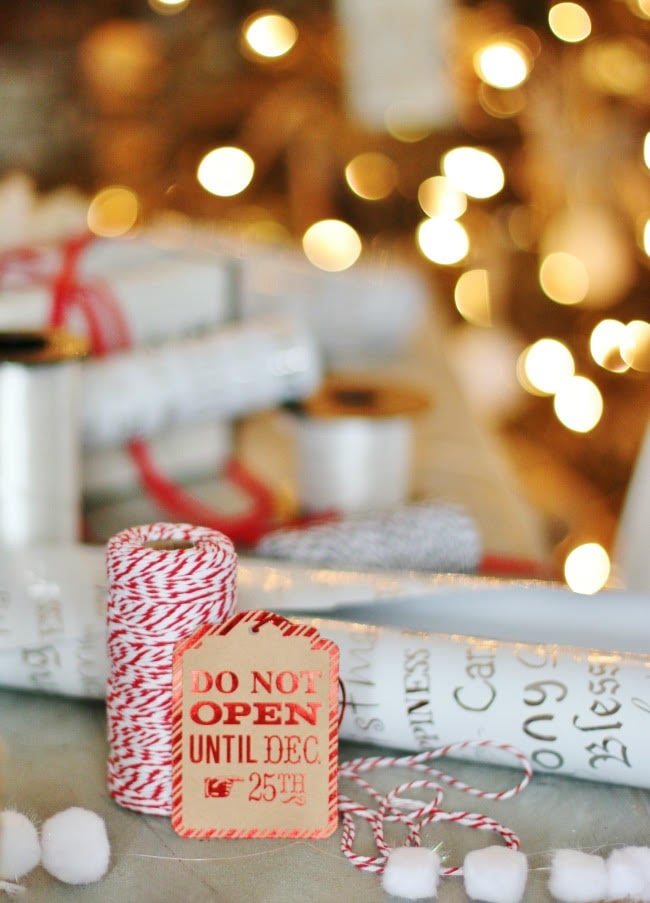
Lately, I’m creating crafts that are easy, quick, and fairly inexpensive. And today, my friends are committed to a monthly project that can be made in under 30 minutes. Although I didn’t time my project, I’m sure it is well under the 30-minute mark. Maybe it takes all of 15 minutes. Let’s take a look at my friend’s projects!


30 Minute DIY Crafts


gift wrapping, tags and bow for Christmas

Happy Happy Nester | Make Your Own Wrapping Paper
 
Make your own wrapping paper this year. This pretty glittery paper is such a quick project and only takes a couple of minutes to make. And even your kids can make this fun gift wrapping paper. It’s that easy. And by the way, there are a few important tips about glue and glitter that are key to creating a successful paper. Trust me. I did a bit of testing. Personalize your paper and have fun with this crafty project.
 

great christmas gift wrapping ideas

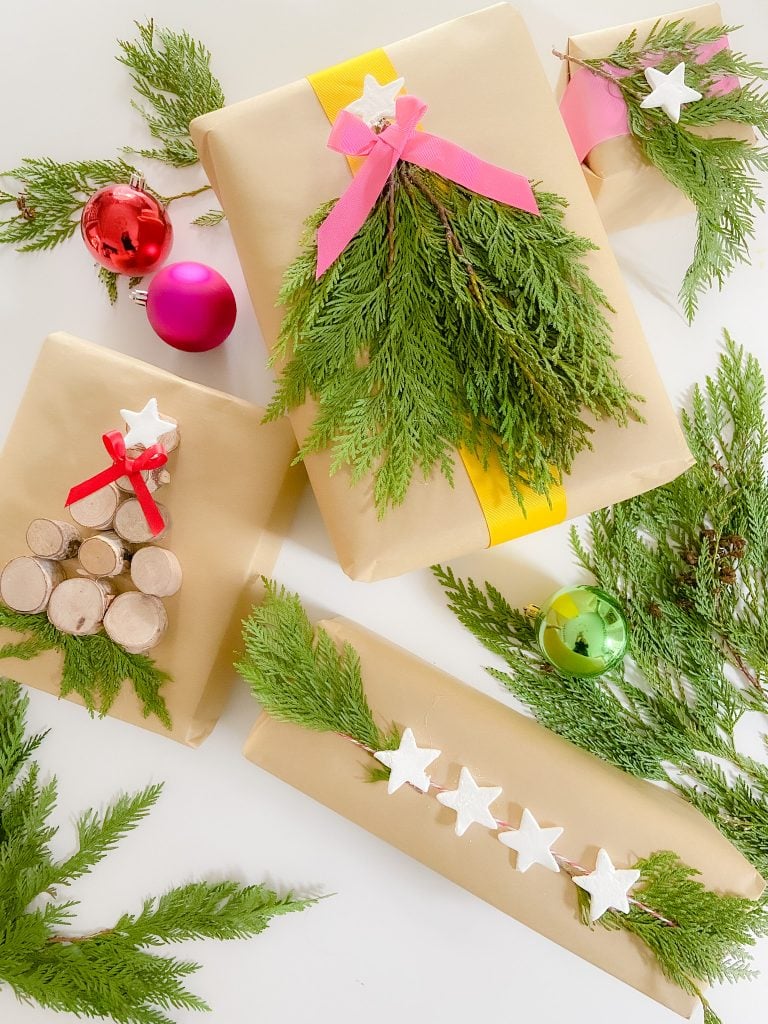
Tatertots and Jello | Baking Soda Clay Gift Wrap Embellishment DIY 

Creative gift wrap ideas using simple baking soda clay and natural elements. Using only two pantry ingredients and foraged items from your yard, you can create gorgeous gifts that will look stunning under your tree. 


fun and creative gift wrapping ideas for the holidays

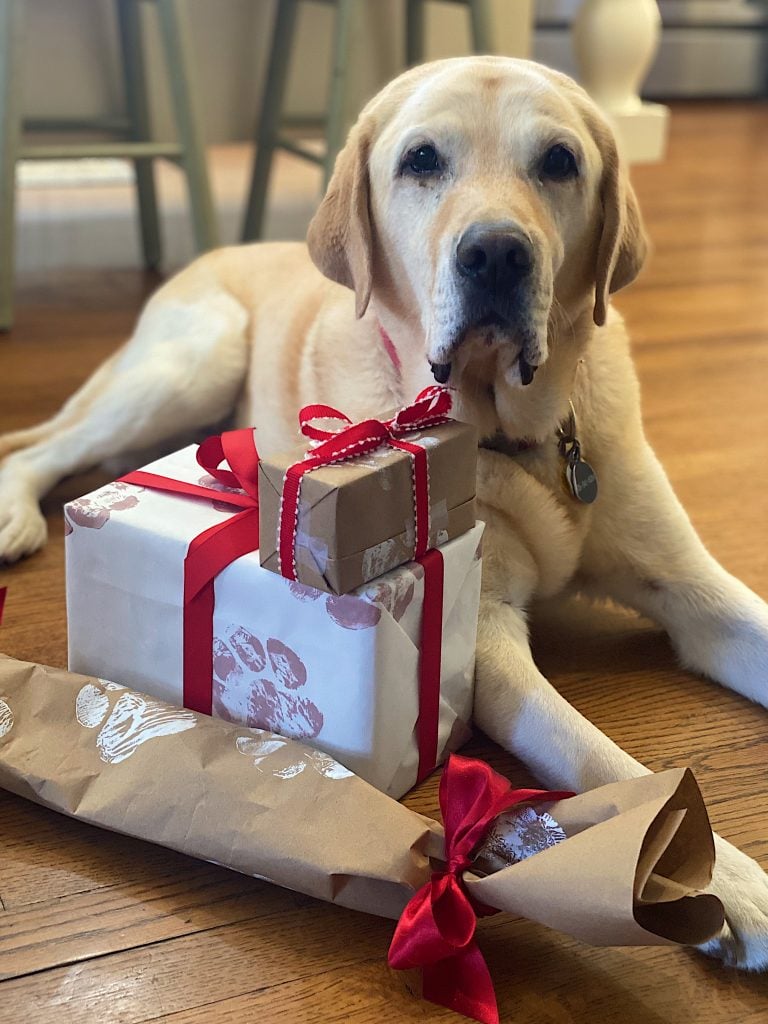
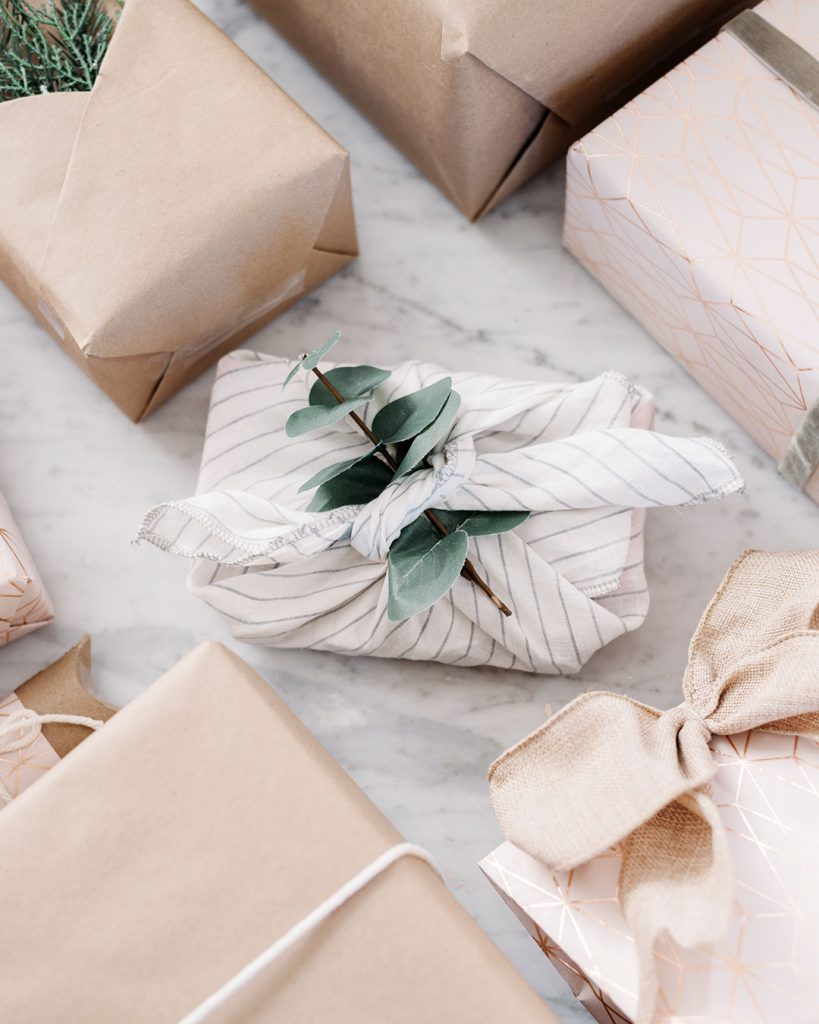
My 100 Year Old Home | Creative Pet Gift Wrapping Ideas

Sport and I had some fun shopping for gifts this year. We picked out items for everyone in the family, which are thoughtful and hilarious. We even made our own gift wrap paper and can’t wait to share our creative pet gift wrapping ideas.


gift wrapping ideas for the holidays

Thistlewood Farms | Last Minute Gift Wrap Idea
 
Make your own personalized ribbon in minutes. A simple step-by-step tutorial on how to create beautiful ribbons and bows for your packages.
 
 
Make your own wrapping paper this year. Get creative and check out this helpful post.
 
The DIY Mommy | Simple & Beautiful Gift Wrapping Ideas
 
From elegant fabric wrap to how to make the perfect bow, these beautiful gift wrapping ideas will help make your gifts look extra special this year. The best part? These ideas are inexpensive and easy to recreate!


LET’S DIG INTO THIS FUN WRAPPING PAPER PROJECT!
 

When I started on this project, I had no idea of some of the issues I would encounter. As it turns out, I did a bit of testing on some of the supplies. This research proved to be important. Yup, not all glues, and glitters are equal. Let’s dive into these issues that I tackled.

make your own wrapping paper for the holidays


GLUE

Glue Sticks

I originally planned to use the colored glue sticks when making my own wrapping paper. I love that the purple glue is visible, which means you can see your design. Unfortunately, this glue doesn’t hold the glitter. I found that when I touched or swiped my hand over the glitter, it quickly fell right off with little effort. Bummer. 

Elmer’s Glue

Next, I turned to my trusty bottle of Elmer’s Glue. I thought surely Elmer’s would hold the glitter. Nope! Who knew that it wouldn’t hold the sparkly stuff.


TACKY GLUE

I was getting discouraged with the glues. I was afraid that I would have to scrub this cute project. But, Tacky glue came to save the day. Yup, it holds the glitter the best. And read below about the drying element that seriously sealed the deal. 


GLITTER

Coarse Glitter

You all know that I love Hobby Lobby’s white glitter. It sparkles and doesn’t have any iridescent qualities, which means it’s not throwing off other colors. Gosh, despite its visual qualities, it turns out that the grains are a bit large, and for some reason, the glue doesn’t like to hold onto it as much. 


Fine Glitter

So, I pulled out a glitter that is a bit finer in size and tada, it held! The ultra-fine glitter held even better, but don’t get too excited, since it doesn’t sparkle as much. 


DRYING METHODS 

Tacky glue takes a while to dry, so I used a blow dryer to speed up the process. Well, I found out a couple of interesting things. Blow drying created a hard texture that did a great job attaching the glitter to the glue and paper. Also, it dried the glue in just a minute or so, which is a great time saver. At first, I used a warm setting, then switched to the cold air at the end of my drying time. As I said, it only takes about a minute or two to dry the glue. 

make your own wrapping paper for the holidays.

Make Your Own Wrapping Paper DIY

Supplies:

Paper ( I used the Ikea art paper that comes in a roll)

Glitter

Tacky Glue – this glue comes with another applicator, so if you want fine lines, this will work great.

Pencil (optional)

Watercolor Brush

Blow Dryer

Instructions: You can watch the video for the Tutorial

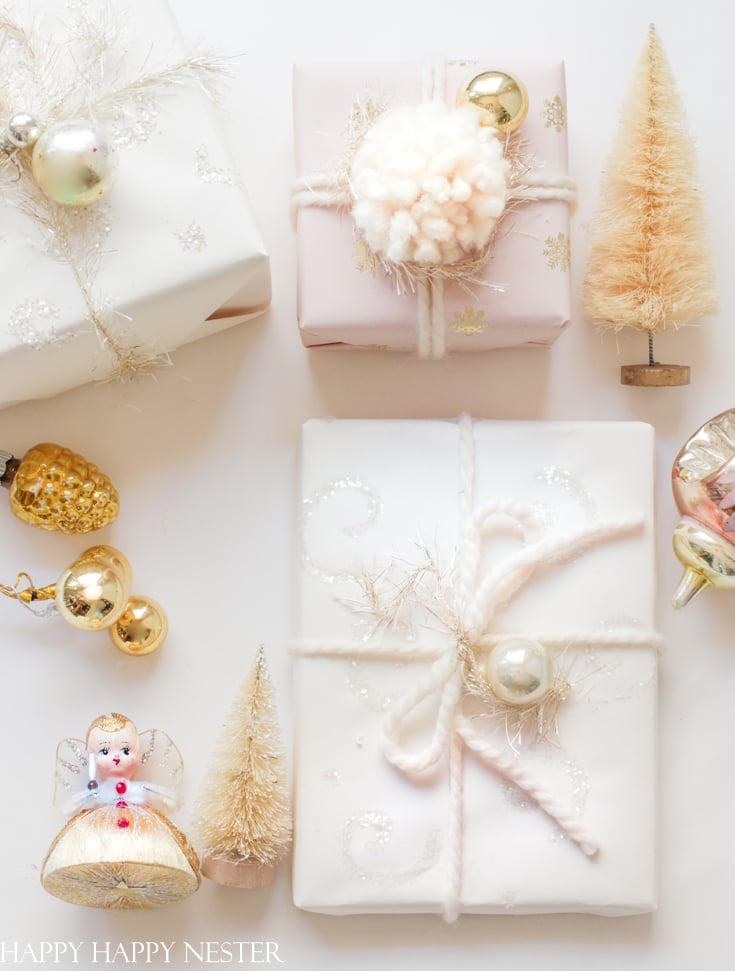
1. Wrap your gifts with white gift wrapping paper. I found white is the best color for the glitter to show up on. And I used a kid’s art paper roll that I bought at IKEA, which was super inexpensive. 

2. Once you decide on a pattern, lightly pencil in your design on the paper. I then lightly erased the pencil marks so I could barely see the design. 

3. Next, place your wrapped gift on a big sheet of paper that will catch the excess glitter. Then, place the glue in a small dish and brush on a layer over your pencil design. The glue tends to dry a bit, so I worked on one area at a time and glittered each area as I went. 

4. Sprinkle glitter over each design that is glued. Once you are all done, remove glitter from the paper and place the excess glitter back into the bottle.

5. Blow-dry the glue that you placed on the wrapping paper. After a couple of seconds, I used the warm setting, switched to the cold setting. Touch your glue to see if it’s dry. It only takes a minute or so to dry completely. 


make your own wrapping paper with a little bit of glitter and creativity


Don’t be afraid to personalize your wrapping paper and have fun with this crafty project. I made swirls, and I tried snowflakes. I found the swirls were a lot easier to create and still very pretty. You can choose to write a message on your gift or add the recipient’s name to the package. Or maybe you want an effortless project, make polka dots. The possibilities are endless.

Here are some other fun projects:

  • 5-Minute Easy Garland
  • Easy Christmas Ornaments DIY
  • Easy Tulip Wreath

Have a great weekend and Happy Holidays!

signature

pin it button

 Make your own wrapping paper this year. This pretty glittery paper is such a quick project and only takes a couple of minutes to make. And even your kids can make this fun gift wrapping paper. It's that easy. And by the way, there are a few important tips about glue and glitter that are key to creating a successful paper. Trust me. I did a bit of testing. Personalize your paper and have fun with this crafty project.


  • Author
  • Recent Posts
Janine Waite
Follow me
Janine Waite
I named my blog Happy Happy Nester because I love everything related to the home. I’ve always enjoyed decorating my surroundings. Get cozy and stay for a bit, thanks for visiting!
Janine Waite
Follow me
Latest posts by Janine Waite (see all)
  • Book Page Wreath DIY - March 23, 2023
  • Large Chocolate Easter Bunnies - March 22, 2023
  • March Crafts - March 18, 2023

You May Also Like

  • Free Printable Christmas Tags
    Free Printable Christmas Tags
  • How to Make Easy Paper Cones for Treats
    How to Make Easy Paper Cones for Treats
  • Vintage Christmas Gift Tags
    Vintage Christmas Gift Tags
  • Free Printable Christmas Gift Tags
    Free Printable Christmas Gift Tags

Sharing This!

  • Facebook
  • Twitter
  • Email

Reader Interactions

Comments

  1. KariAnne

    December 18, 2020 at 9:21 am

    Love these simple and easy ideas! You have truly inspired me!

    Merry Christmas friend!
    KariAnne

    Reply
    • happyhappynester

      January 01, 2021 at 11:14 am

      KariAnne, Happy Holidays!

Leave a Reply Cancel reply

Your email address will not be published. Required fields are marked *

Recipe Rating


Sidebar

Janine the Nester

Hello from the Nester

We love everything related to home, so get cozy and stay for a bit. Thanks for visiting our blog. Learn More...

Reader Favorites

This Italian Cream Cake has a pumpkin cream cheese frosting that makes this a winning combination. This dessert is perfect for the holidays.

Italian Cream Cake with a Twist of Pumpkin

The Best Crunchy Crispy Chocolate Chip Cookie

French Apple Custard Tart with Puff Pastry

DIY Paper Flowers Tutorial (Tissue Paper)

Upcycling Tin Cans with Scrapbooking Paper

How to Make a Paper Flower Wreath DIY

Popular Categories

  • Cakes
  • Cookies
  • Dinners
  • Wreaths
  • Organizing

Join Our Newsletter

Join our mailing list to receive the latest news and updates from our team.

You have Successfully Subscribed!

AFFILIATE DISCLOSURE:
I am grateful to be of service and bring you content free of charge. In order to do this, please note that when you click links and purchase items, in most (not all) cases, I will receive a referral commission. Your support in purchasing through these links enables me to keep my design and customization prices ridiculously low and empower more people worldwide to blog with less worry and less hassle.
Happy Happy Nester is a participant in the Amazon Services LLC Associates Program, an affiliate advertising program designed to provide a means for sites to earn advertising fees by advertising and linking to amazon.com.
Thank you! :)
-Happy Happy Nester

Our Guide

Join Our Newsletter

Join our mailing list to receive the latest news and updates from our team.

You have Successfully Subscribed!

  • Facebook
  • Instagram
  • Pinterest
  • Twitter

Recipes

Appetizers
Breakfast/Brunch
Desserts
Dinners
Drinks

Crafts & Decor

DIY
Gardening
Holiday
Wreaths

About

About The Nester
Contact
Privacy Policy

Copyright © 2023 · Happy Happy Nester by Janine Waite · Privacy Policy

↑ BACK TO TOP