• Skip to main content
  • Skip to header right navigation
  • Skip to site footer
  • About
  • Contact
  • Boutique of the Week
    • Facebook
    • Instagram
    • Pinterest
    • Twitter

Happy Happy Nester

Weekly Inspiration for Your Nest

  • Recipes
    • Appetizers
    • Breakfast/Brunch
    • Desserts
    • Dinners
    • Drinks
  • Crafts
  • Decor
  • Shop
    • Fall Decor
    • Kitchen
    • Pillows
    • Holiday Decor
  • Amazon Store
  • Recipes
    • Appetizers
    • Breakfast/Brunch
    • Desserts
    • Dinners
    • Drinks
    • Snacks
  • Crafts
  • Decor
  • Shop
    • Fall Decor
    • Kitchen Favorites
    • Pillows
    • Holiday Decor
  • Saturday Chitchat
  • Boutique of the Week
  • About
  • Contact
  • Facebook
  • Instagram
  • Pinterest
  • Twitter

See What’s Trending…

Cakes

Cookies

Dinners

Wreaths

Drinks

Home › DIY › Magnetic Bulletin Board

Magnetic Bulletin Board

DIY
By Janine Waite · Published on Jan 22, 2016
Affiliate Disclosure: This Post May Contain Affiliate Links.

Magnetic Bulletin Board

This is an easy project, and I’m pretty sure you will enjoy the results. Lately, we have been without a central location for keys, notes, and letters. For the most part, I leave my keys in my purse, but now and then they make it out of their home, and I have the hardest time finding them. If you make this project, you’ll have a great place to organize the small things in your lives.

~ A Note About the Nester ~
Every week, I end up losing my iPhone! My teenage son has a locating app on his phone so that he can find his parent’s phones. Yes, I believe this should be reversed?!
When it came to finding a key holder for our kitchen, I searched high and low and struck out. It feels like I always end up creating it instead. The upside about this dilemma is that I create unique things that no one else owns. Today, I want to show you how to make a bulletin board that is magnetic and can also house your keys. This project has endless possibilities, and if you want a big bulletin board, this is not a problem, just buy a big frame. You can surface it with paper, chalk paint, fabric or keep it plain. Also, you can change out the look with the seasons or decor. If you like bulletin boards, I have a dry erase board that is so easy to make, and you can color it any color. Here is the link: Dry Erase Board Ok, let’s get started.


Supplies:
Galvanized Aluminum (you can find sheets or rolls in the Hardware store’s roofing dept)
Metal scissors
Picture Frame
Paper, fabric, paint
Painter’s tape
scissors
hooks (if you want to hang keys)
glue (Crafter’s Pick works with wood)
Instructions:

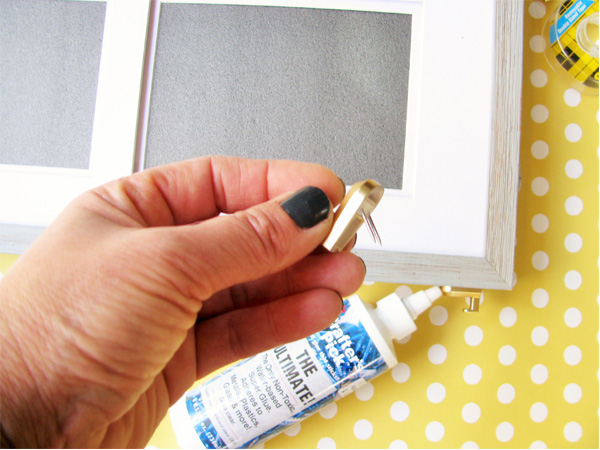
1. This is an optional step. Glue the hooks to the frame. Do one at a time and let dry for an hour before continuing with the project. I would wait a day before hanging keys from them.


2. Remove the glass from your frame. Use the paper from the frame to use as a pattern for cutting out the aluminum. Use a sharpie marker and trace around the template.
3. Cut the metal with your metal scissors. It is best to cut it a tiny bit smaller than the outline.

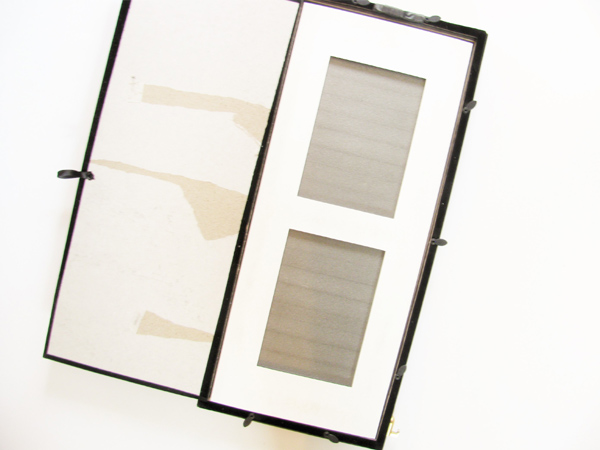
4. At this stage, you’ll want to make sure the metal sheet fits in the frame. If it catches and is too tight, trim the metal sheet.


4. To prevent the sharp edges from cutting you, place painter’s tape around the edges of the metal.

5. Cut out your paper or fabric to size. If you choose to paint the aluminum, paint one side.


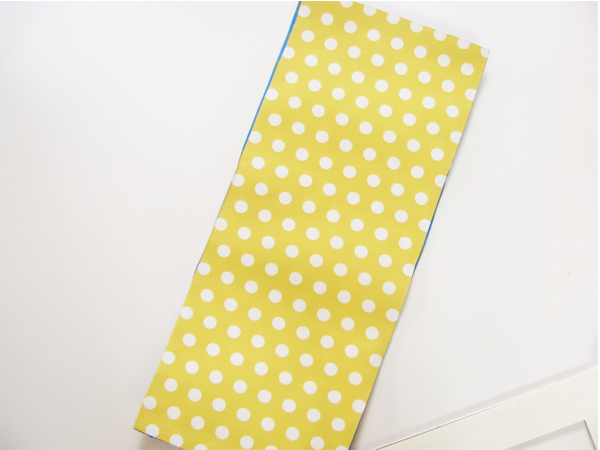
6. Tape down the paper on the metal.


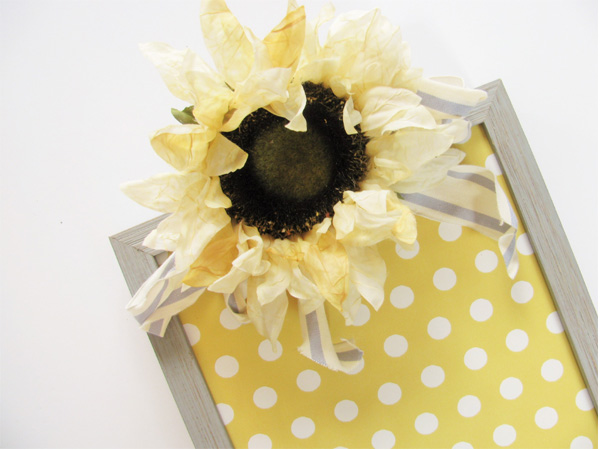
7. Place your decorated metal into the frame and then place everything back into the frame and close up the back.Tada, you’re done, and now you have a new homemade bulletin board. I placed a temporary hook on our cabinets and hung the board from it. I must note that the keys will cause it to be unbalanced at times, so I plan to use 3M temporary velcro to place on the wall and the bulletin board. This will prevent the movement of the board.


I did decorate mine with some fun flowers and ribbon, let your imagination have fun with this part of the project. If you are making it for a child, maybe place a wooden initial on the frame.

Thanks for the visit, and I hope my blog is inspiring you to create things for your home!

Cheers,


  • Author
  • Recent Posts
Janine Waite
Follow me
Janine Waite
I named my blog Happy Happy Nester because I love everything related to the home. I’ve always enjoyed decorating my surroundings. Get cozy and stay for a bit, thanks for visiting!
Janine Waite
Follow me
Latest posts by Janine Waite (see all)
  • How to Make a Tender Juicy Steak - May 8, 2025
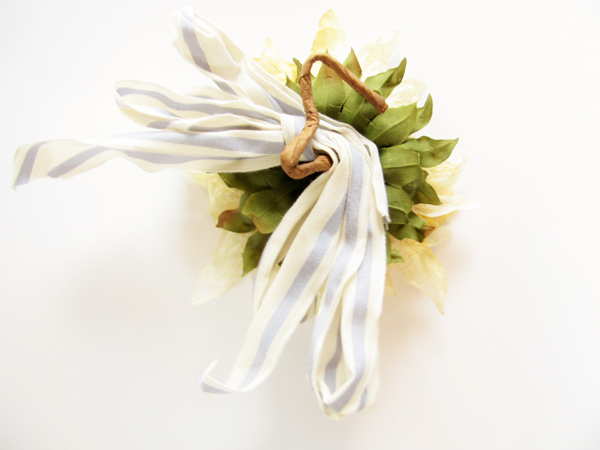
  • My Favorite Flower Crafts - May 3, 2025
  • Easy Corkboard Placemats DIY - May 2, 2025

You May Also Like

  • make an ornament wreath using magnets
    How to Make a Vintage Ornament Wreath (Without Glue)
  • halloween candy charcuterie board
    Halloween Candy Charcuterie Board
  • halloween charcuterie board
    Halloween Charcuterie Board
  • Two white pumpkins that have the words boo and wicked on them
    Letters on a Pumpkin (Easy No Carve)

Sharing This!

  • Facebook
  • Twitter
  • Email

Reader Interactions

Comments

  1. Susie@TheChelseaProject

    January 27, 2016 at 1:35 am

    That’s the cutest bulletin board I’ve ever seen. The yellow is so bright and cheery. It made me want to look through your kitchen for a coffee cup and a tea bag. That’s right! It’s so lovely, I just wanted to linger and enjoy. Looking so forward to seeing more of your projects.

    Reply
  2. happyhappynester

    January 27, 2016 at 6:12 am

    Susie,

    Ah, thanks so much for your comment. Yes, come on over and let’s have some tea or coffee. Wouldn’t that be the best!

    Reply
  3. Kristi @ Chatfield Court

    January 27, 2016 at 8:00 am

    Such a cute bulletin board, I’m loving the pretty yellow fabric you used. Great idea!

    Reply
  4. Maria @ Pastels & Macarons

    January 27, 2016 at 1:20 pm

    Oh this is too cute! What a great idea. Will have to give this a go. Great post and lovely photos 🙂

    Reply

Leave a Reply Cancel reply

Your email address will not be published. Required fields are marked *

Recipe Rating


Sidebar

Janine the Nester

Hello from the Nester

We love everything related to home, so get cozy and stay for a bit. Thanks for visiting our blog. Learn More...

Reader Favorites

The Best Crunchy Crispy Chocolate Chip Cookie

This Italian Cream Cake has a pumpkin cream cheese frosting that makes this a winning combination. This dessert is perfect for the holidays.

Italian Cream Cake with a Twist of Pumpkin

French Apple Custard Tart with Puff Pastry

DIY Paper Flowers Tutorial (Tissue Paper)

Upcycling Tin Cans with Scrapbooking Paper

How to Make a Paper Flower Wreath DIY

Popular Categories

  • Cakes
  • Cookies
  • Dinners
  • Wreaths
  • Organizing

Join Our Newsletter

Join our mailing list to receive the latest news and updates from our team.

You have Successfully Subscribed!

AFFILIATE DISCLOSURE:
I am grateful to be of service and bring you content free of charge. In order to do this, please note that when you click links and purchase items, in most (not all) cases, I will receive a referral commission. Your support in purchasing through these links enables me to keep my design and customization prices ridiculously low and empower more people worldwide to blog with less worry and less hassle.
Happy Happy Nester is a participant in the Amazon Services LLC Associates Program, an affiliate advertising program designed to provide a means for sites to earn advertising fees by advertising and linking to amazon.com.
Thank you! :)
-Happy Happy Nester

Our Guide

Join Our Newsletter

Join our mailing list to receive the latest news and updates from our team.

You have Successfully Subscribed!

  • Facebook
  • Instagram
  • Pinterest
  • Twitter

Recipes

Appetizers
Breakfast/Brunch
Desserts
Dinners
Drinks

Crafts & Decor

DIY
Gardening
Holiday
Wreaths

About

About The Nester
Contact
Privacy Policy

Copyright © 2025 · Happy Happy Nester by Janine Waite · Privacy Policy

↑ BACK TO TOP