 photo source: mark yamamoto
10 things I consider when it comes to our holiday card
The holidays are close upon us andI’mm starting to think about all my projects for this time of year. When it comes to holiday cards, it’s my observation that there are families that send holiday cards and those that don’t. You have probably guessed by now, that I’m the type who sends them! I feel like it’s kind of a nice way to mark the end of a year. And honestly, I look forward to receiving cards and notes from our long lost friends. Don’t you think it’s really wonderful to reconnect with various friends? If you are like us, we have lived in so many places and have made so many friends, that a photo card is just a nice thing to receive. When you think about it, our world is pretty electronic these days, so a card that is mailed is somewhat refreshing and tons more personal. Additionally, I feel that it celebrates paper in a way that can’t be conveyed on a computer screen!Back when the kids were really young and before there were Tiny Prints, Shutterfly, Minted and Costco, I was a crazy lady and made our cards by hand! I’m not sure what I was thinking, but I guess I needed a creative outlet that did not include toddler activities! For instance, I could only draw in a coloring books so much, before I realized I was adding shading and highlights to the cartoon characters! Anywho, every year, I plan our holiday cards during the month of November. So, I thought it would be nice to share my process and the 10 things that are good to consider in planning your photo.
One thing I should mention is that I decided to highlight Tiny Prints, since I’m an affiliate for their company. As a blogger, we can make a few dollars by writing an article and generating some sales. I only blog about my advertisers when I feel it naturally fits into something I truly believe in. I have always wanted to write a post about holiday cards, so it made sense to include Tiny Prints.
1. Choose your card first
In the past couple of years, I used to take the family photo first. Then, I painstakingly tried to figure out which card worked best with the photo. Last year, I decided to switch up the process and picked the card first.
This arrangement works great.
Here is what I realized, your card choice will dictate most of the photography choices. For instance, horizontal vs vertical, color vs black and white, and possibly subject matter. If you choose the card first you’ll also be guaranteed that a card and photo will work together, I’ve for many years where my photo just didn’t quite fit with the layout or the color scheme.

2. Choose either a black/white or color photo
Most card companies allow you to edit your photo, so if you have a color photo you can change easily change it to black and white. Also, a lot of camera apps have the same feature.

3. Choose either an indoor or outdoor photo location
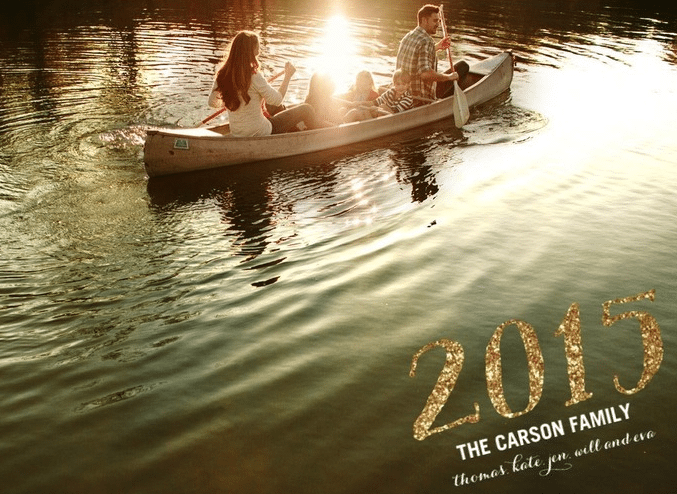
Since the weather here in northern California is pretty predictable, we pretty much shoot outdoors. I feel that natural lighting can be gorgeous, and plus most of us don’t have professional camera lights! In regards to an outdoor location, some fun possibilities are porches, fields, barns, cars, paths, ponds, parks, trails, a Christmas tree farm, and some interesting inner city walls of all things. Indoor shots could include, couches, in front of a Christmas tree and fireplace, on the floor, on your stairway, or on a big comfy bed.


4. Camera position
Do you like a close-up or a far away photo? Do you want the shot straight on, looking up, or looking down? My brother is a professional photographer and has done a few celebrity photo sessions. When he photographed Brooke Shields, she insisted that he shoot her from above. Of course, she was right and according to portrait photographers, the angle from above is more flattering. Photographing people straight on captures us at our widest angle… yikes!
5. Decide on a pose
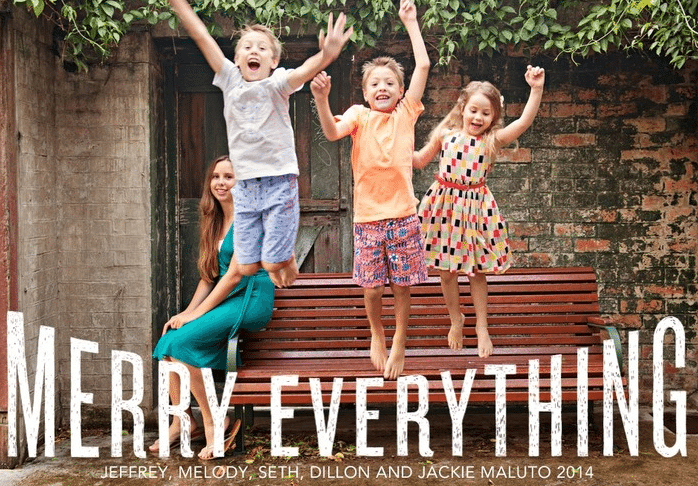
Classic or candid, this is a personal choice. You can all hold hands, kiss, hug, lying down, etc. If you are like us, we are pretty silly and we are always in a big a hug fest. We like the real us to come through in our photo, so we always choose candid.

6. Choose your clothes ahead of time
There are some pretty amazing blogs out there that actually give you examples of clothing schemes. some ideas that I have seen are denim and white, tan and light colors (neutral colors), greens and tans, orange and browns, mint, plaids, aqua, tan and maroon with a pop of yellow. I like mostly the same color on all of us and then have a pop of one warm color repeated on one adult and one child. It works best if the color is repeated twice for consistency and a visual statement.
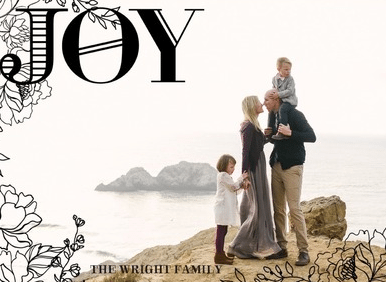
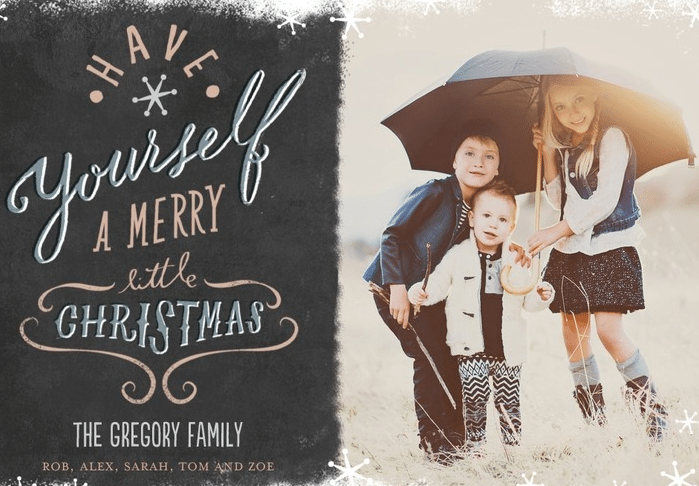
Here is an example of the color being repeated twice, note the purple on the woman and the daughter’s leggings.
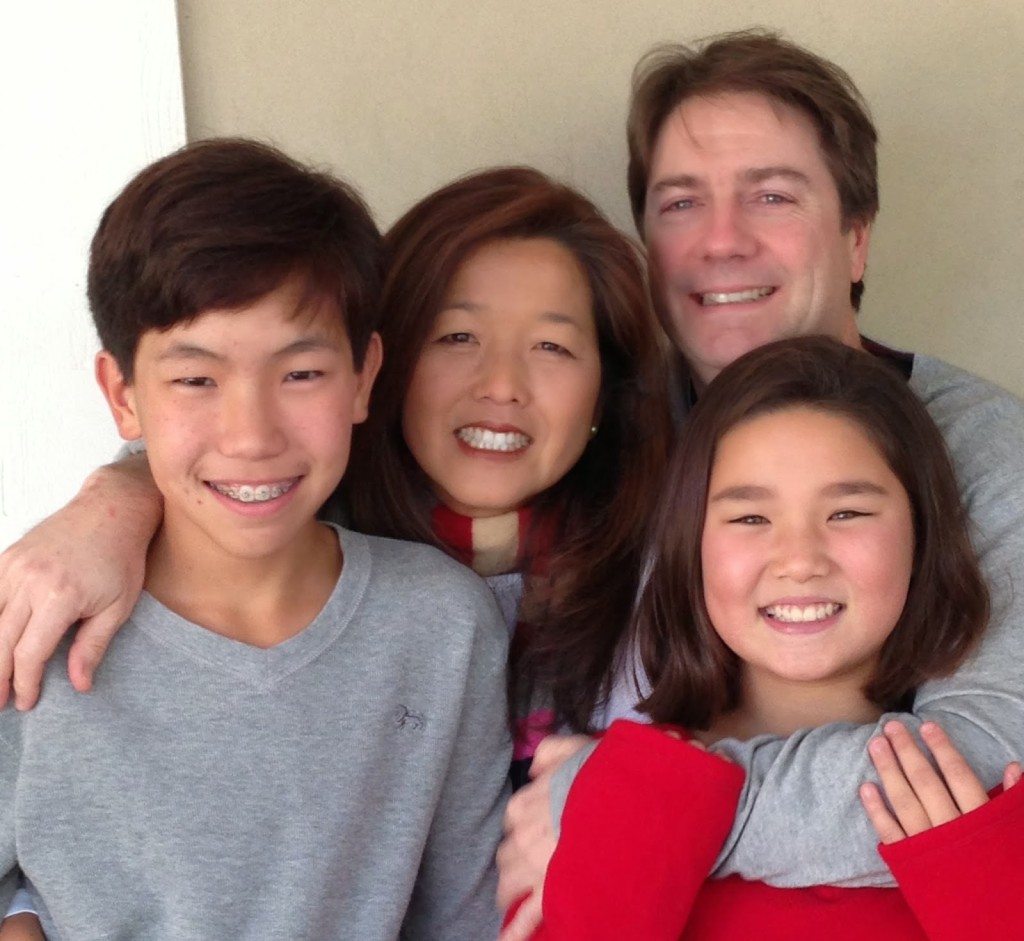
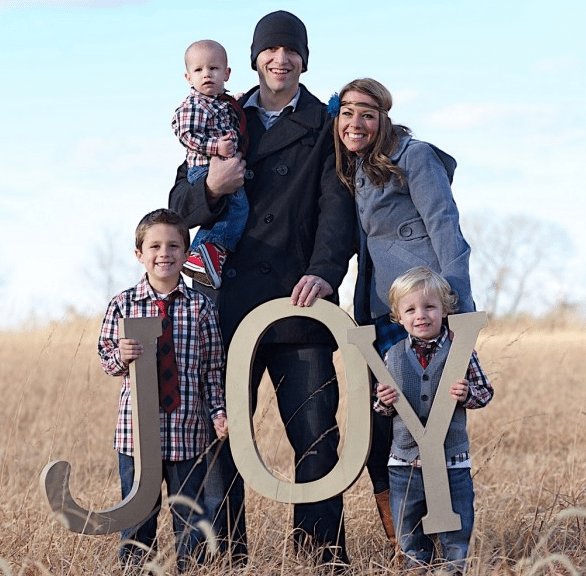
Here is our photo, where we are mostly dressed in gray and I repeated 2 bright colors. Note the red on my daughter top and the red in my scarf.
7. Horizontal or vertical orientation
This will be determined by the card you choose. so making that decision before taking the photo, helps so much! It took me quite a few holiday cards to figure this out!
8. Decide if you want to use props
There are so many ideas out there on Pinterest! I’ve seen people use benches, kid’s wagons, bikes, old cars, balloons, letters, hats, umbrellas, and much more. Design Mom has a great post on her photo session with her children. Here is the link: Design Mom blog


9. Consider the lighting and time of day you want to shoot.
I took a wonderful photography class online from a husband and wife team. Their blog, White on Rice is all about photography, travel, and recipes. here is the link: white on rice. They have such a great style and have a ton of good ideas. One thing that they suggested is to take notes on the light in a specific place during the day. Natural lighting varies throughout the day, and so it is important to find the best lighting for your photo. I have each room in our house logged with the best lighting, it is quite fascinating!
10. Take a snap shot
With your phone camera, take a pre-snap shot to check out if the location and light will work. This will save a lot of time and effort.
Bonus
I found this great makeup video from Cara’s blog, maskcara. the video is so helpful and it’s not too complicated. something I learned from watching it was to not only powder your face but, also powder your neck! this makes your makeup look more natural and consistent on camera. so check out Cara’s blog and video: maskcara blog
Thanks so much for visiting!
Planning everything before the photo shoot pays off! I thought with all the holiday craziness, I would help provide some helpful holiday card ideas. I’m going to take each day one at a time and try and enjoy the festivities and not stress too much. I hope this post is informative and that you are now inspired to design and order your photo holiday card!
Cheers,


- Cherry Blossom Cookie Recipe - April 3, 2026
- Amazon Simple Porch Decor - April 1, 2026
- Recipes For Springtime - March 28, 2026


Lisa @ Texas Decor
Great tips, Janine! I never thought to pick out the card first, but you're right, that totally makes sense! Oh, and I want to make sure I'm only shot from above now. 😉 Love your beautiful family pic!
Janine Waite
Thanks so much for the wonderful comment! I'm glad I was able to impart some photo tips! Yes, I can use all the help on my photos, so shooting from above is a good thing. Also,my son took my IG photo and he said if you have the person turn side ways and stick out their chin, it makes for a good shot. So, you'll see all these tricks on our next holiday card! 🙂
Daidri Smythe
Really good suggestions Janine and thanks for sharing about white on rice's photography classes!
Janine Waite
Hi Daidri ~ Thanks so much for visiting my blog! I can't wait to meet you in person! It will be nice to have a fellow blogger in my life! I'm glad you found the White on Rice info helpful. Their session on Creative Learning was packed full of helpful photo tips. I think I might buy it since I only was able to watch the first day for about 6 hours. Well, have a wonderful Thanksgiving! Take care, Janine
Loi Thai, Tone on Tone
Your family is beautiful!!! Thanks for sharing all those fabulous tips. Taking a snapshot with the phone camera is a great idea. Cheers
Janine Waite
Hi Loi ~ Thank you! My kiddos are the stars of our family photos! I'm not sure why I never thought to take a pre photo!!! It was nice to work out all the colors, lighting, and location before the family posed, since some of us aren't too patient! :o) Thanks so much for visiting my blog, you are way too kind!