• Skip to main content
  • Skip to header right navigation
  • Skip to site footer
  • About
  • Contact
  • Boutique of the Week
    • Facebook
    • Instagram
    • Pinterest
    • Twitter

Happy Happy Nester

Weekly Inspiration for Your Nest

  • Recipes
    • Appetizers
    • Breakfast/Brunch
    • Desserts
    • Dinners
    • Drinks
  • Crafts
  • Decor
  • Shop
    • Fall Decor
    • Kitchen
    • Pillows
    • Holiday Decor
  • Amazon Store
  • Recipes
    • Appetizers
    • Breakfast/Brunch
    • Desserts
    • Dinners
    • Drinks
    • Snacks
  • Crafts
  • Decor
  • Shop
    • Fall Decor
    • Kitchen Favorites
    • Pillows
    • Holiday Decor
  • Saturday Chitchat
  • Boutique of the Week
  • About
  • Contact
  • Facebook
  • Instagram
  • Pinterest
  • Twitter

See What’s Trending…

Cakes

Cookies

Dinners

Wreaths

Drinks

Home › Uncategorized › Easy Way to Personalize Your Iphone Cover

Easy Way to Personalize Your Iphone Cover

Uncategorized
By Janine Waite · Published on Mar 10, 2013
Affiliate Disclosure: This Post May Contain Affiliate Links.
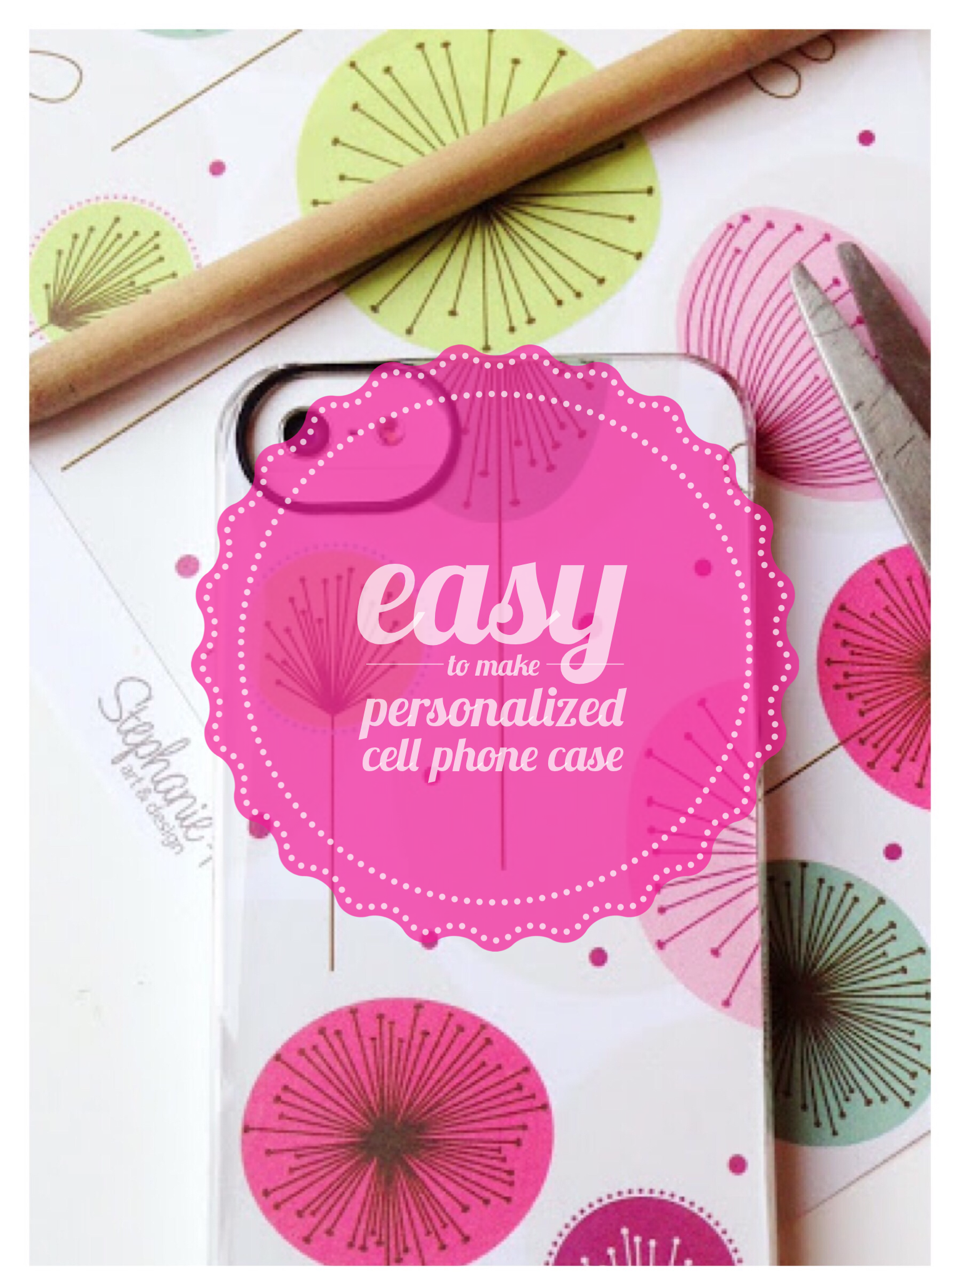
Iphone Cover with Craft Paper
Ok, I totally love this iPhone case since I can change out the paper or image!  If you can get a clear phone case, you should really try this.  After searching on the internet, I finally found this case. It is an Adopted case… unfortunately, Amazon doesn’t carry this brand, but I bought mine at the apple store.  I have created a lot of other posts with this project: Iphone case My husband loves it too so now he wants one.  I think the key to this project is to find a fun scrapbooking paper.  I’m decorating my phone with paper that kind of goes with the seasons and holidays.  Hope this inspires you and thanks for visiting. 

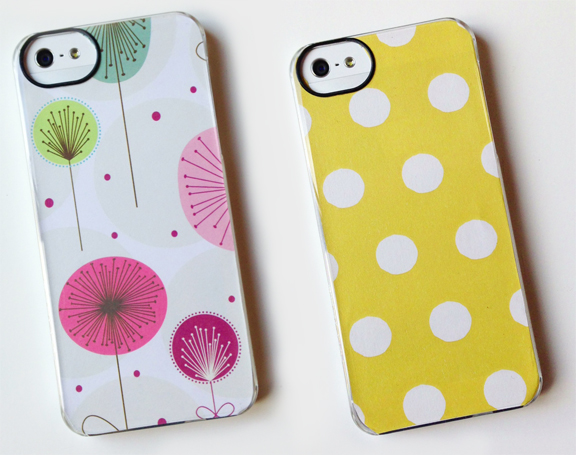
Here are the materials you need, it’s pretty simple.  This paper is designed by Stephanie Hunt, the title is called Love is in the Air.  Here is her store: https://www.bellablvd.net/Products.aspx  The other polka dot paper is wrapping paper from the Paper Source.
Here is the case.
Just outline the phone with a pencil and cut with scissors.  Make sure you cut out the area around the camera lens. When cutting the camera lens hole, I placed the paper into the case right side showing through the plastic and then traced the opening right onto the paper. This way you are sure to get the cut exactly on the correct side and placement on the paper. After cutting the lens hole, pop the paper back into the case. Next insert the phone and you are done…for now! If you like craft paper projects here is one that you make enjoy: DIY chalkboard labels
Cheers,

  • Author
  • Recent Posts
Janine Waite
Follow me
Janine Waite
I named my blog Happy Happy Nester because I love everything related to the home. I’ve always enjoyed decorating my surroundings. Get cozy and stay for a bit, thanks for visiting!
Janine Waite
Follow me
Latest posts by Janine Waite (see all)
  • How to Make a Tender Juicy Steak - May 8, 2025
  • My Favorite Flower Crafts - May 3, 2025
  • Easy Corkboard Placemats DIY - May 2, 2025

You May Also Like

  • iphone-screensavers-1
    50+ Free Cute iPhone Wallpapers
  • rifle paper party supplies
    Rifle Paper Company: Books, Pillows and More
  • tin can projects
    Upcycling Tin Cans with Scrapbooking Paper
  • how to make candles
    How to Make Your Own Personalized Candles

Sharing This!

  • Facebook
  • Twitter
  • Email

Reader Interactions

Comments

  1. Olivia

    May 23, 2015 at 8:12 pm

    How cute!!! What an awesome idea!!! Thanks for sharing

    Reply
  2. Visit my site for San Antonio Moving Company

    October 23, 2015 at 11:48 am

    This is a nice thing for my gadget thanks for the steps I'll make one.

    Reply

Leave a Reply Cancel reply

Your email address will not be published. Required fields are marked *

Recipe Rating


Sidebar

Janine the Nester

Hello from the Nester

We love everything related to home, so get cozy and stay for a bit. Thanks for visiting our blog. Learn More...

Reader Favorites

The Best Crunchy Crispy Chocolate Chip Cookie

This Italian Cream Cake has a pumpkin cream cheese frosting that makes this a winning combination. This dessert is perfect for the holidays.

Italian Cream Cake with a Twist of Pumpkin

French Apple Custard Tart with Puff Pastry

DIY Paper Flowers Tutorial (Tissue Paper)

Upcycling Tin Cans with Scrapbooking Paper

How to Make a Paper Flower Wreath DIY

Popular Categories

  • Cakes
  • Cookies
  • Dinners
  • Wreaths
  • Organizing

Join Our Newsletter

Join our mailing list to receive the latest news and updates from our team.

You have Successfully Subscribed!

AFFILIATE DISCLOSURE:
I am grateful to be of service and bring you content free of charge. In order to do this, please note that when you click links and purchase items, in most (not all) cases, I will receive a referral commission. Your support in purchasing through these links enables me to keep my design and customization prices ridiculously low and empower more people worldwide to blog with less worry and less hassle.
Happy Happy Nester is a participant in the Amazon Services LLC Associates Program, an affiliate advertising program designed to provide a means for sites to earn advertising fees by advertising and linking to amazon.com.
Thank you! :)
-Happy Happy Nester

Our Guide

Join Our Newsletter

Join our mailing list to receive the latest news and updates from our team.

You have Successfully Subscribed!

  • Facebook
  • Instagram
  • Pinterest
  • Twitter

Recipes

Appetizers
Breakfast/Brunch
Desserts
Dinners
Drinks

Crafts & Decor

DIY
Gardening
Holiday
Wreaths

About

About The Nester
Contact
Privacy Policy

Copyright © 2025 · Happy Happy Nester by Janine Waite · Privacy Policy

↑ BACK TO TOP