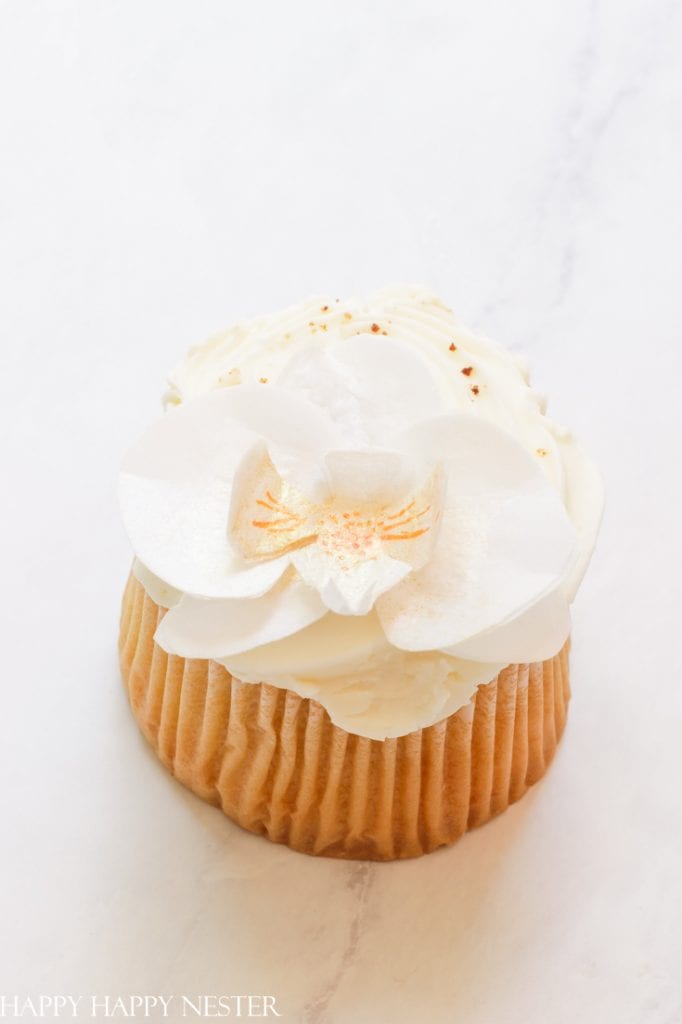
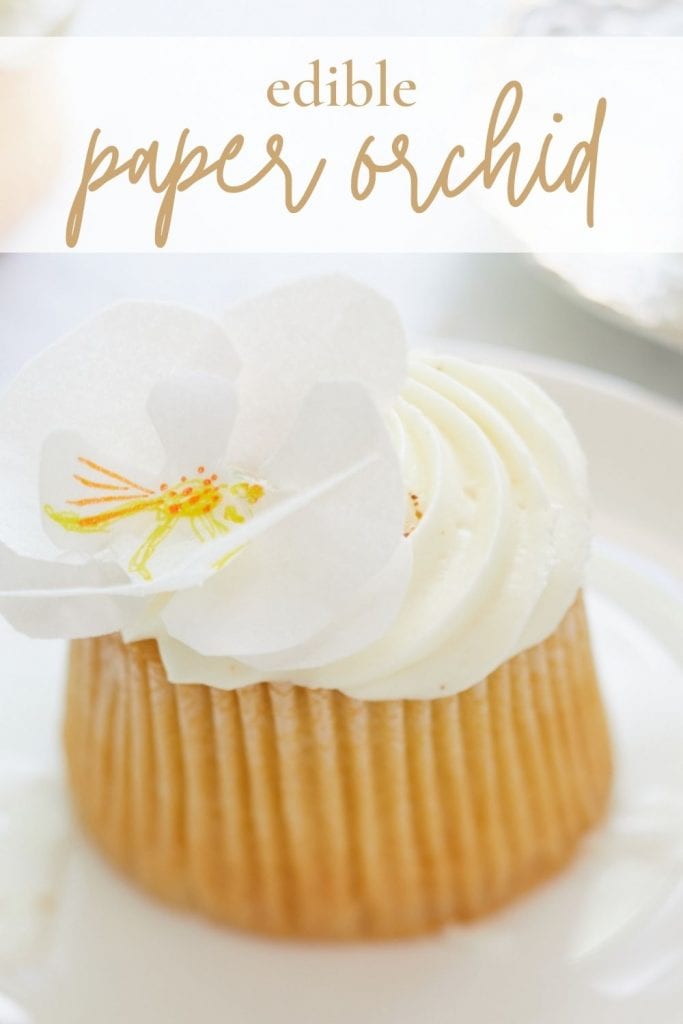
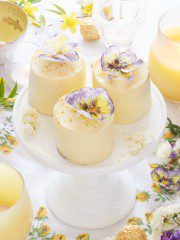
This project of How to Make a Paper Orchid is so simple. Place these pretty edible wafer paper flowers on top of cupcakes, cakes, or desserts.
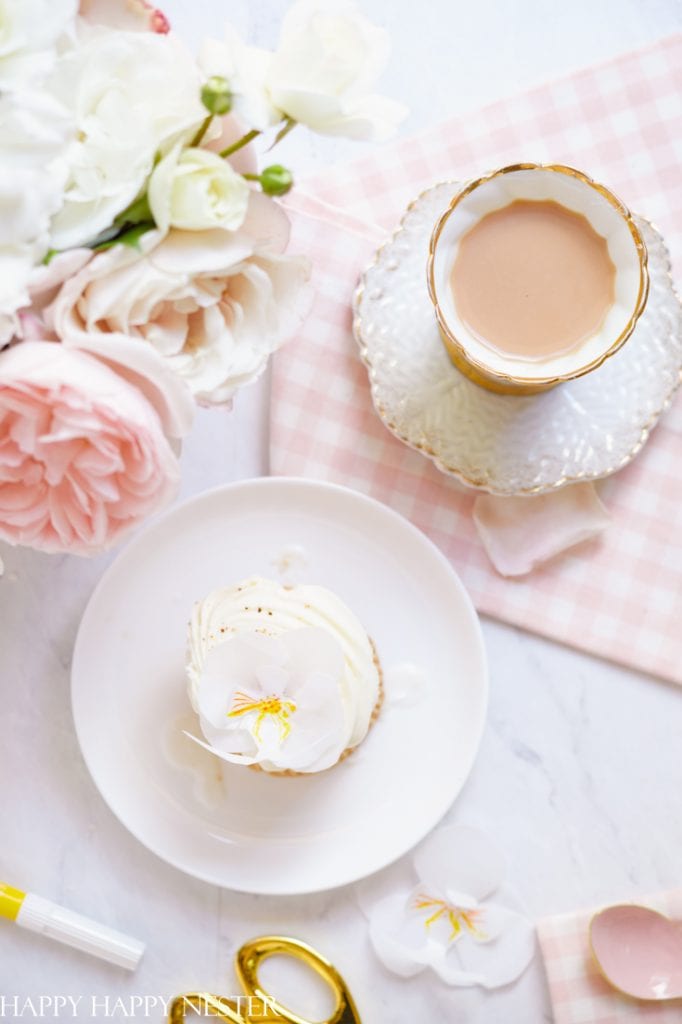
If you don’t own a beautiful Phalaenopsis Moth Orchid, this is the best next thing to place on your desserts. Learn how to make this easy paper flower!
I am not one to make icing flowers for cakes, but now I’m enamored with wafer paper flowers. As some of you know, I recently made some pansy wafer paper flowers.
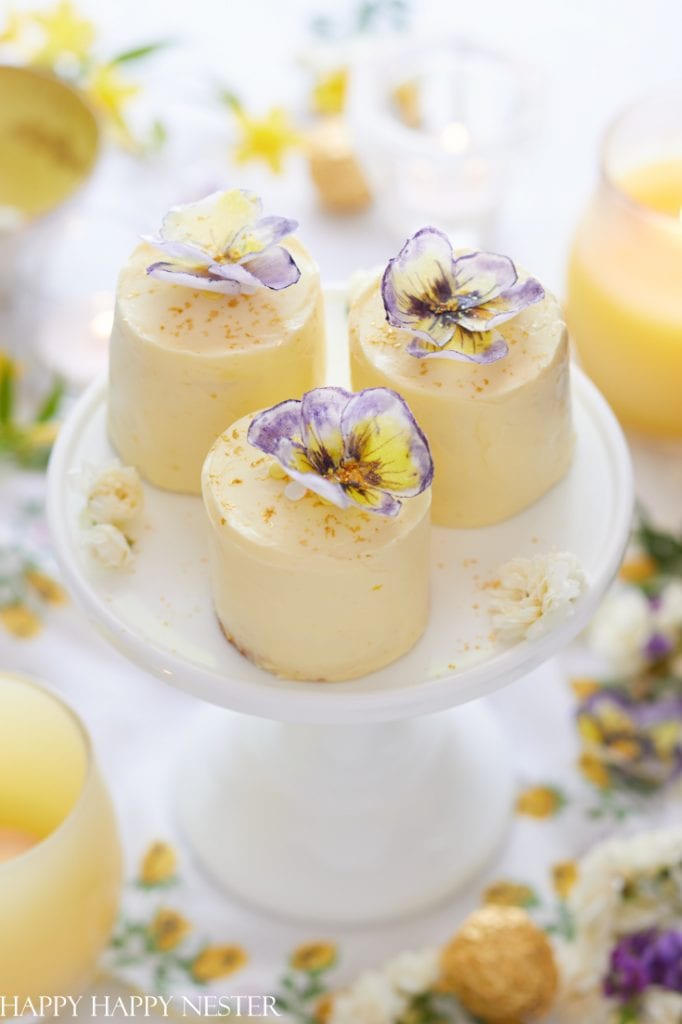
Today’s moth orchid is easy. It only has three petal pieces that need to be cut out. I attached the petals with water, and then I placed them on the hardened cupcake frosting.
If your frosting is fresh and moist, I will place some barriers between the frosting and the flower. It might be good to put another piece of wafer paper on the cake and then attach the flower to the wafer paper. I’ve always attached my flowers to dry frosting.
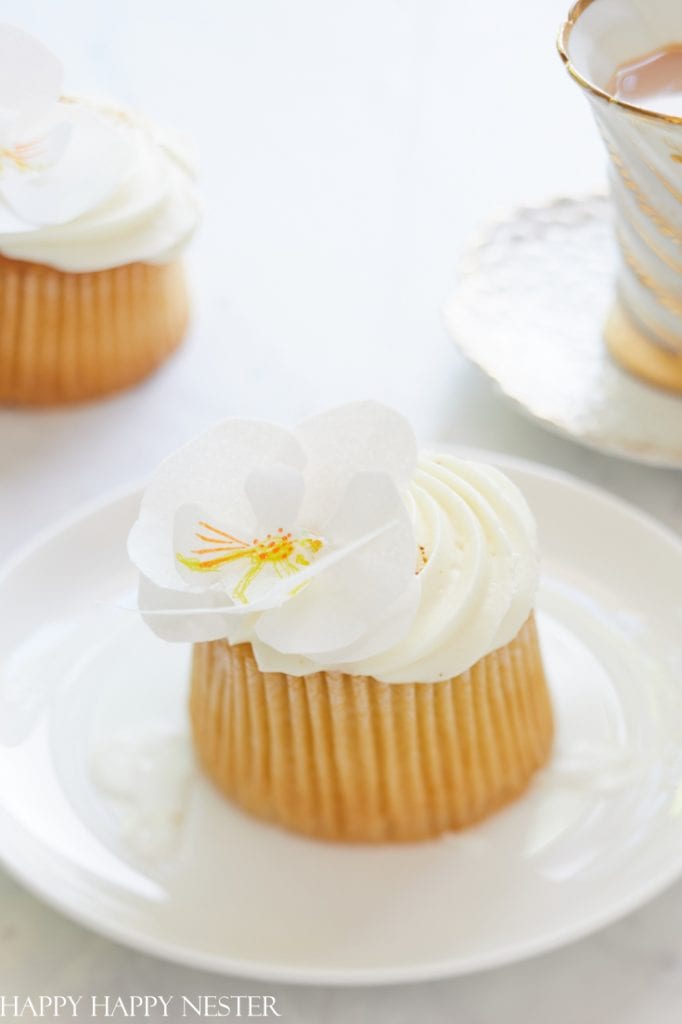
I know that you can apply petal dust to your orchid, and I will add them to my second version. This project is a simplistic orchid, and if you are new to papermaking, it pretty easy.
Orchid Supplies
*The following post contains affiliate links
Orchid Template (download them by signing up for the Newsletter below)
Wafer Paper ( I bought the thin wafer paper, and I may buy the thicker one next time)
Petal Dust ( I ended up using gold dust, but you should use the yellow petal dust)
Edible Colored Markers ( I used an orange food marker to make the dots)
Scissor
Water
How to Make a Paper Orchid
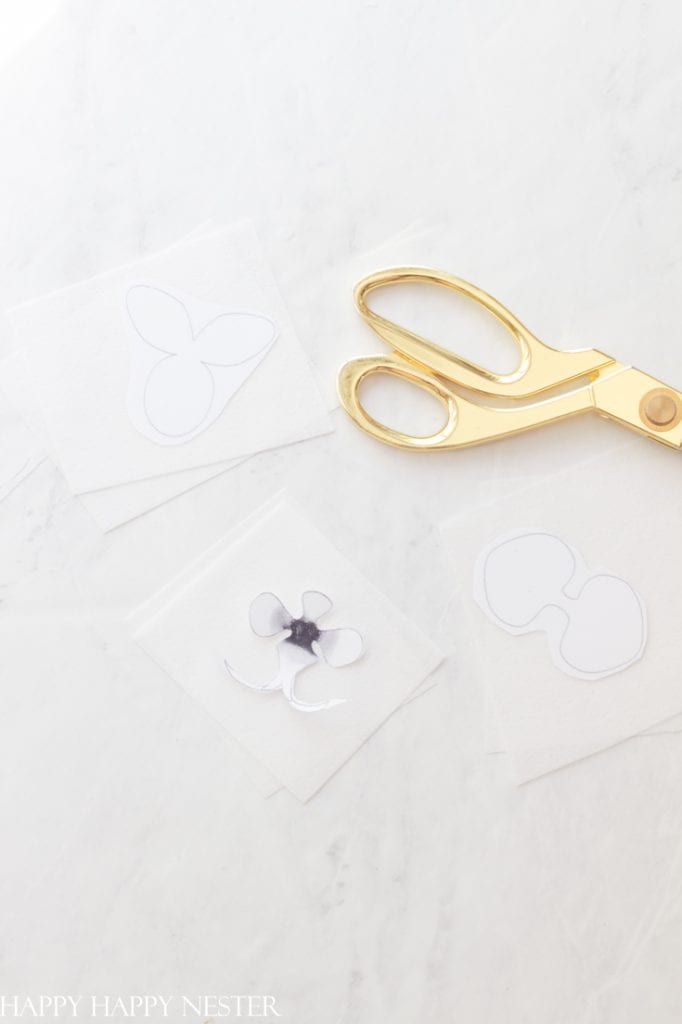
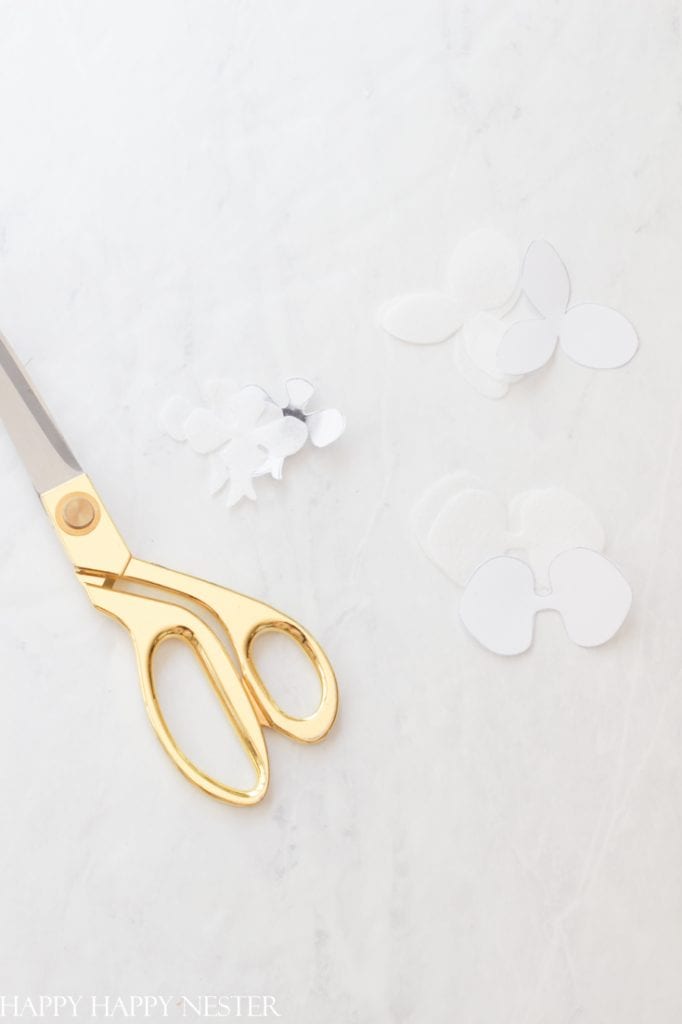
Step 1 – Cut Out Petals
You’ll be cutting out three petals. But for each set of petals, we will double the paper, so it will turn out you’ll be cutting six total.
Step 2 – Double Petals
Add a very light layer of water to your petals. Then take the duplicate petal and attach the second petal. Do this for each of the three petals. Allow petals to dry.
Step 3 – Add Color
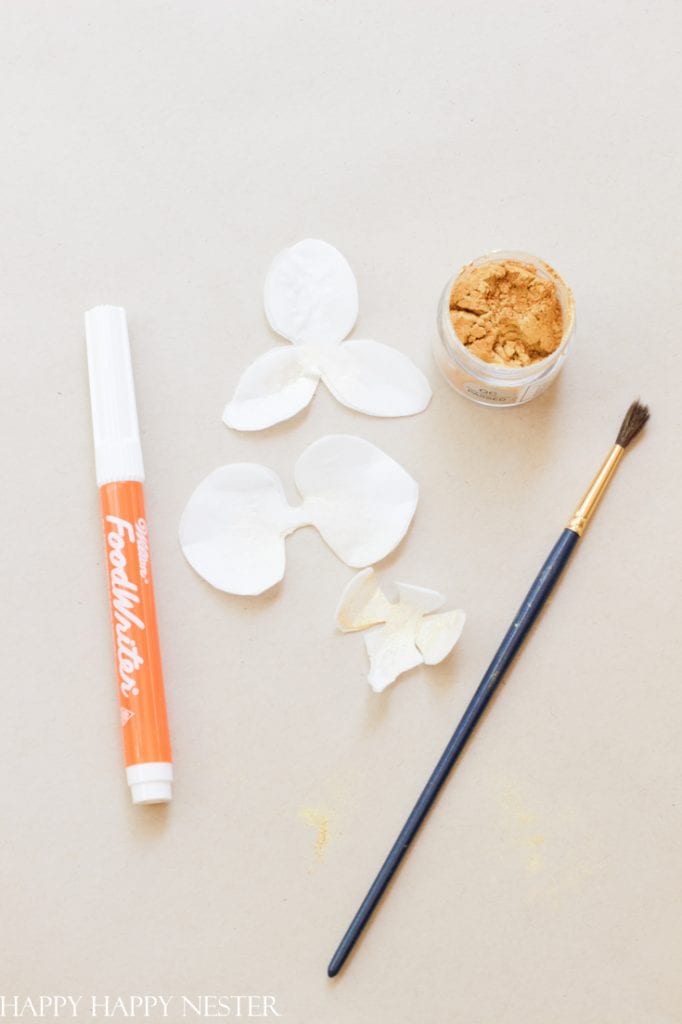
Add color to the middle petal. You can use a food coloring pen or petal dust. You’ll use a light yellow color. Brush on and let dry.


Place orange dots in the middle lip petal. Use a food coloring pen.
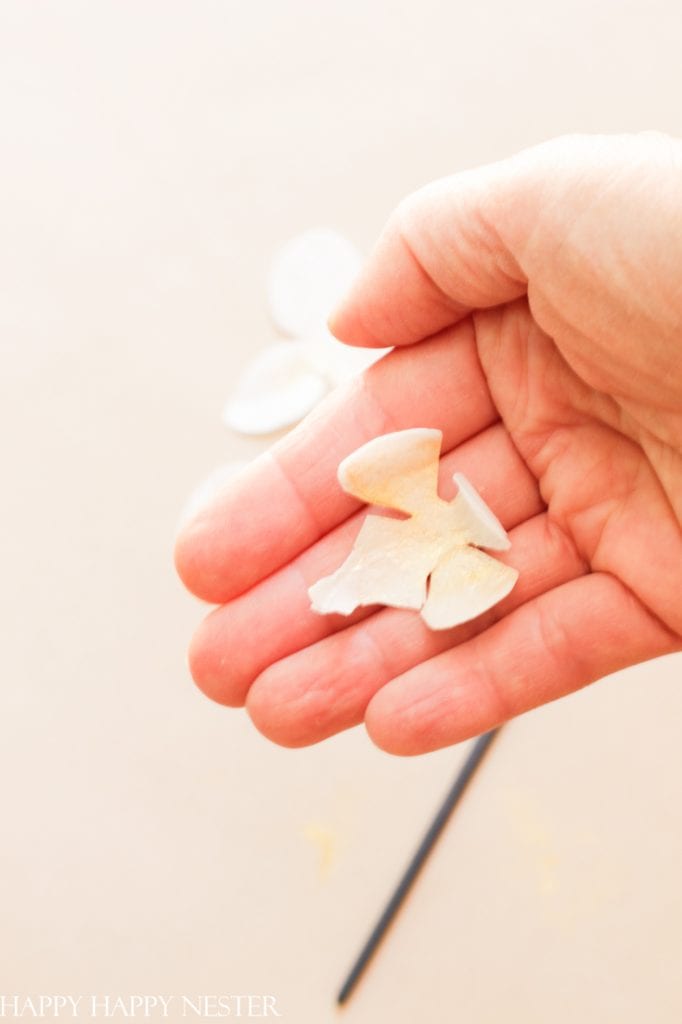
Step 4 – Mold the Lip (middle petal)
Gently mold the top petal to point downward and the two side petals to point inward. Gently squeeze the bottom of the lip and pinch the side together. Then curve the bottom upward towards the middle.
Step 5 – Attach the Petals
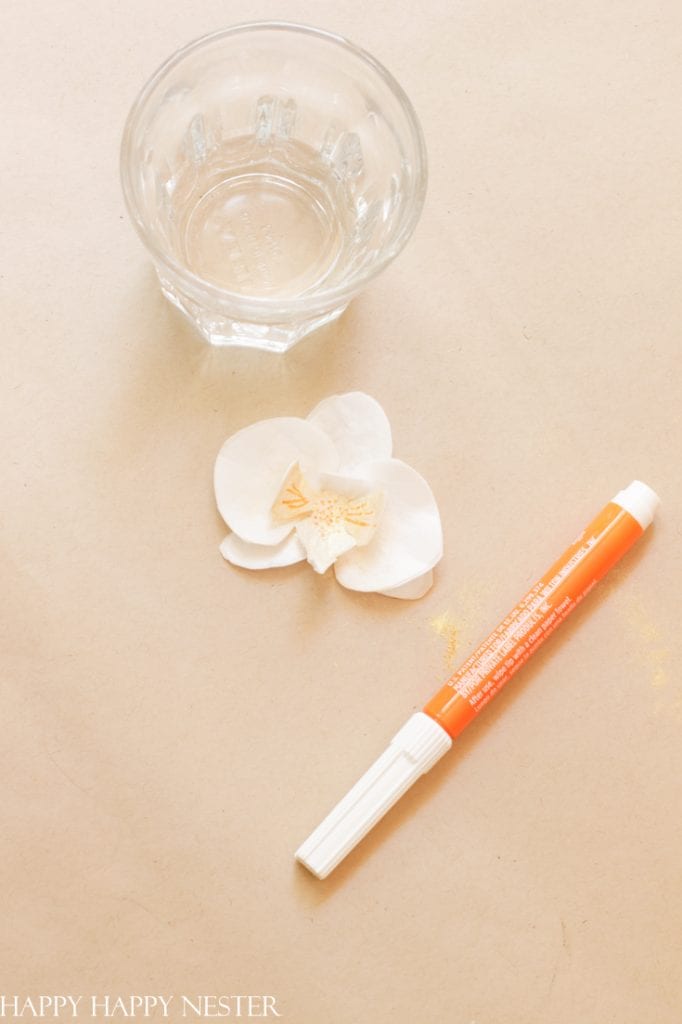
Here is the order in which the flower petals attach. The bottom of the orchid is the three petals with the bigger petal on top.
Then place a small amount of water in the middle of the three petals and put the two petal paper on top. The two petals are in between the three petal pieces of paper, like the above photo.
The final petal is the lip petal. Add a tiny amount of water to the two petals and place the lip on top. Press together. Allow drying.
Now with summer just around the corner, we will have friends over for dinners. I’ll be making more dinners and desserts. I’m excited to add my paper orchids to my cakes and cupcakes.
I love how my passion for flowers and cakes have come together!
Enjoy your spring day!
Cheers,


- Pink Crafts for Adults - January 17, 2026
- Dinner Ideas - January 10, 2026
- My New Favorite Products from Amazon - January 7, 2026
Leave a Reply