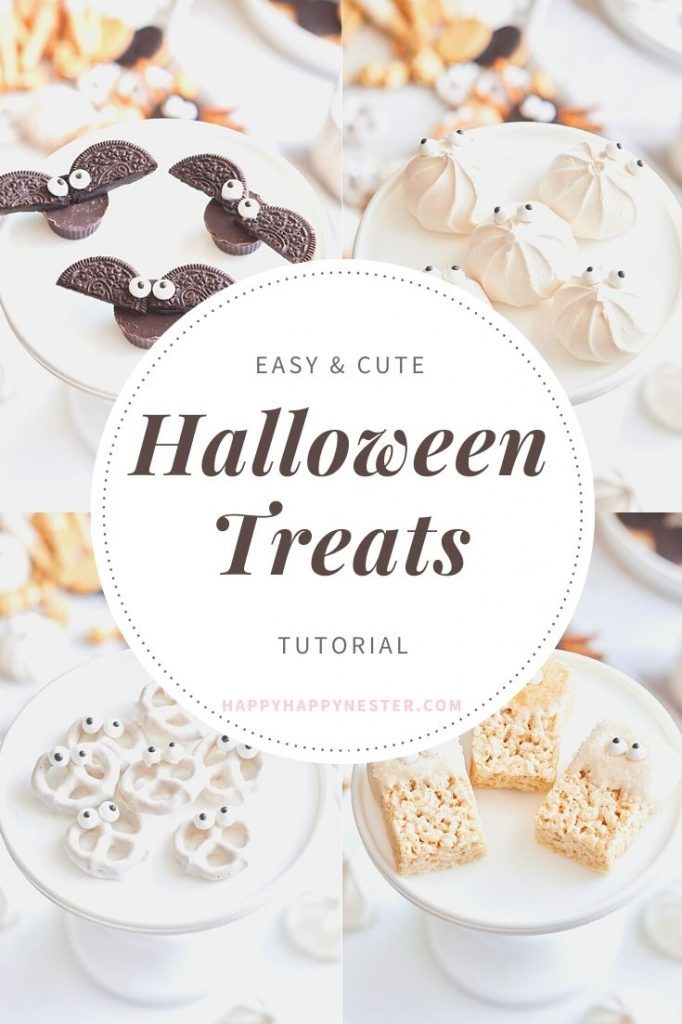
Do you need some Halloween Treat Ideas for a School party? Well, here are the cutest and easiest little candies and cookies that will make you smile.
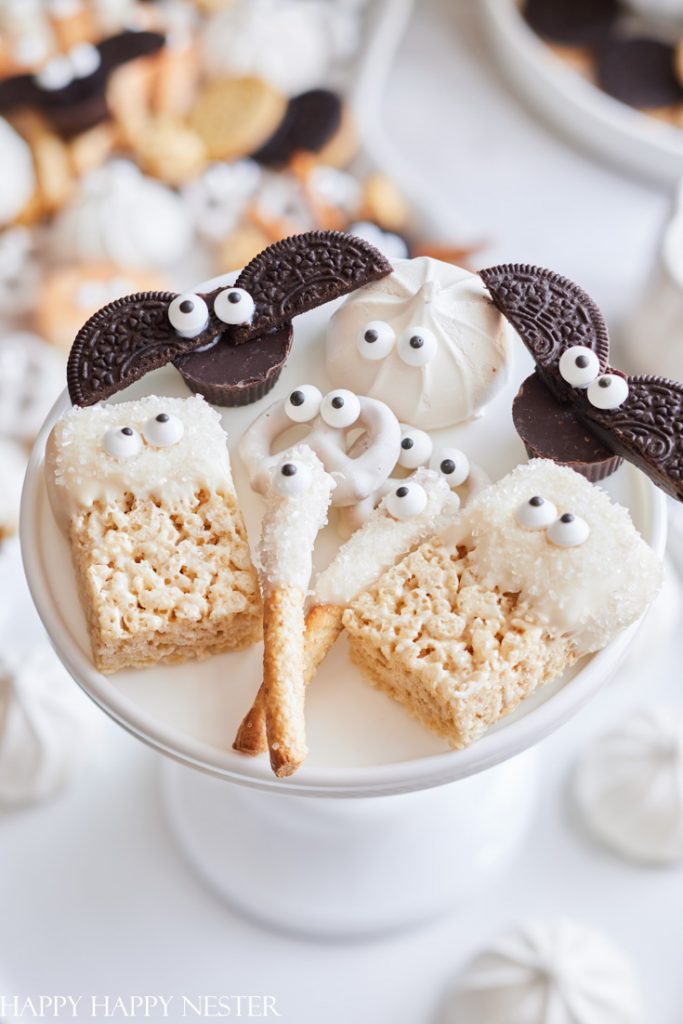
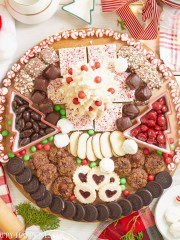
This adorable tray of Halloween treats will delight your kids and friends. Also, it’s the perfect little project for you and your kids.
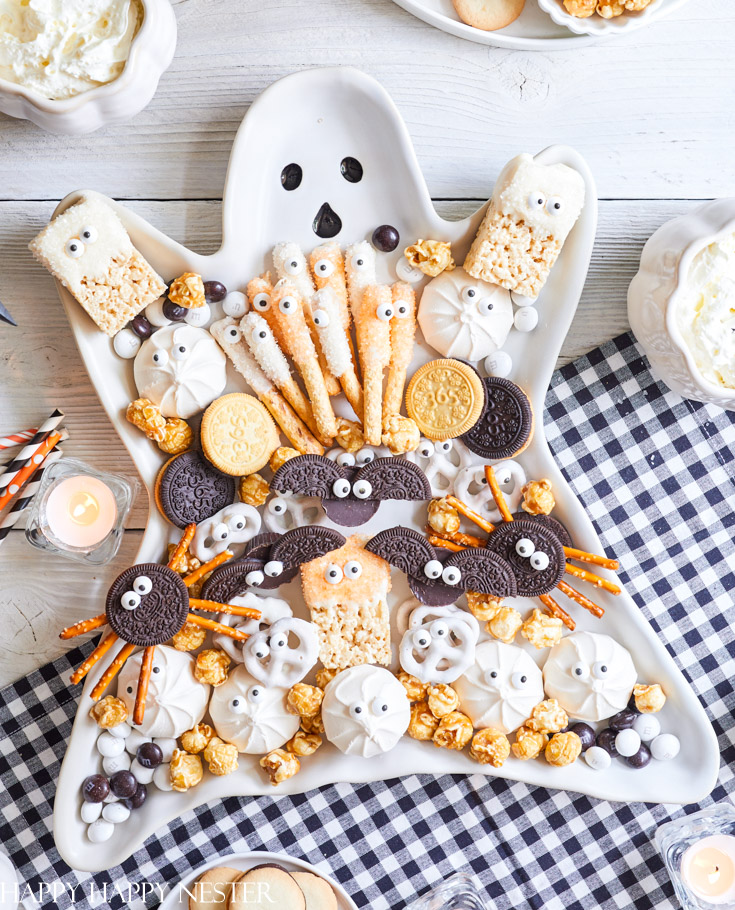
The other day, I posted the cutest Charcuterie board over on Instagram, and this post went over so well. Everyone mentioned how they loved how cute the treats came out.
While I was designing this tray, I got a little carried away with the cuteness factor. In fact, I went a bit crazy and used up my whole package of candy eyes. Yes, I put them on rice Krispy treats, pretzels, Reese’s Peanut butter cups, and more. And now that I think of it, I should’ve put some on the caramel popcorn!
Now, that’s way too funny.
If you need more Halloween ideas, then take a look at a couple of these posts:
Halloween Treat Ideas for School
*The following posts contain affiliate links
I took a few shortcuts on these little treats. And despite how easy they are to make, they look like you spent a lot of time on them.
I feel like it’s all about the cute little candy eyes that make these cookies and candies charming.
Let’s get this tutorial started.
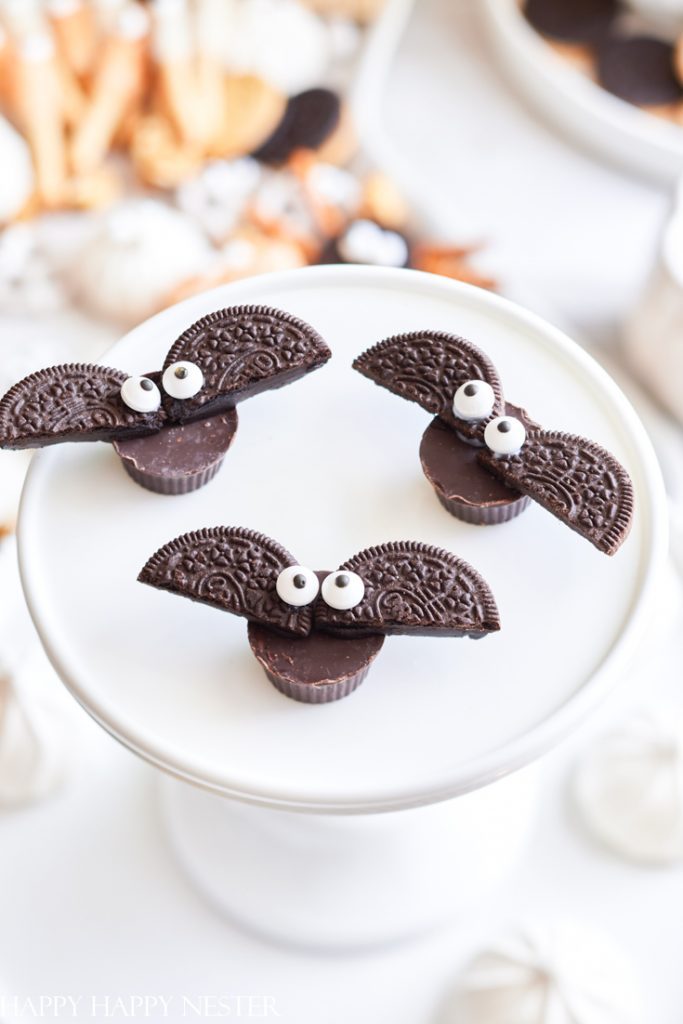
Bats
You’ll need five ingredients for this cute treat.
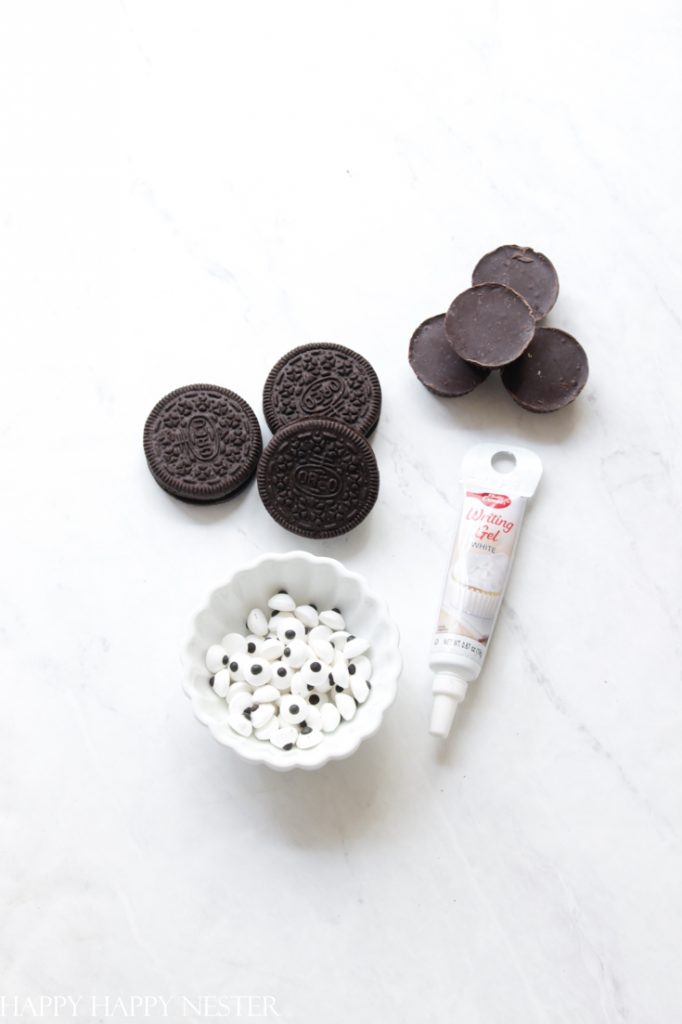
Ingredients:
Reese Peanut Butter Cups (you’ll want to buy the mini cups and not the larger ones)
Knife
Instructions:


Step 1 – Make the Wings
Split apart the Oreo into two pieces. Then cut one of the cookies in half with a knife.
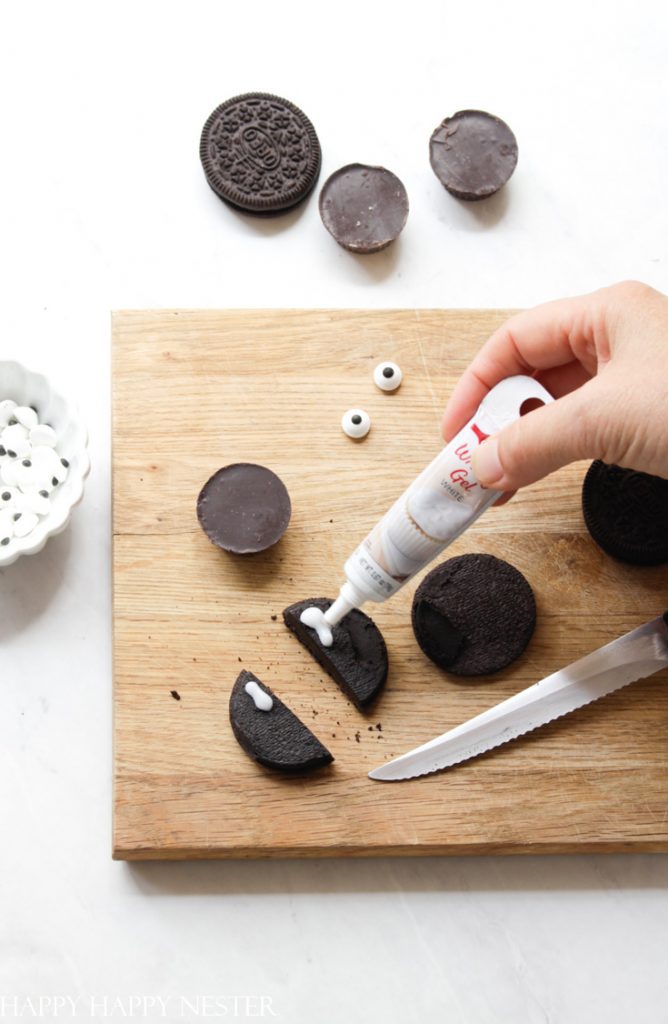
Step 2 – Place Icing on Cookie
Line of the wings as they will appear on the body of the peanut butter cup. Now, place the icing on the inside of the cookie. Note from the photo that I placed the icing on the top corner of the cookie.
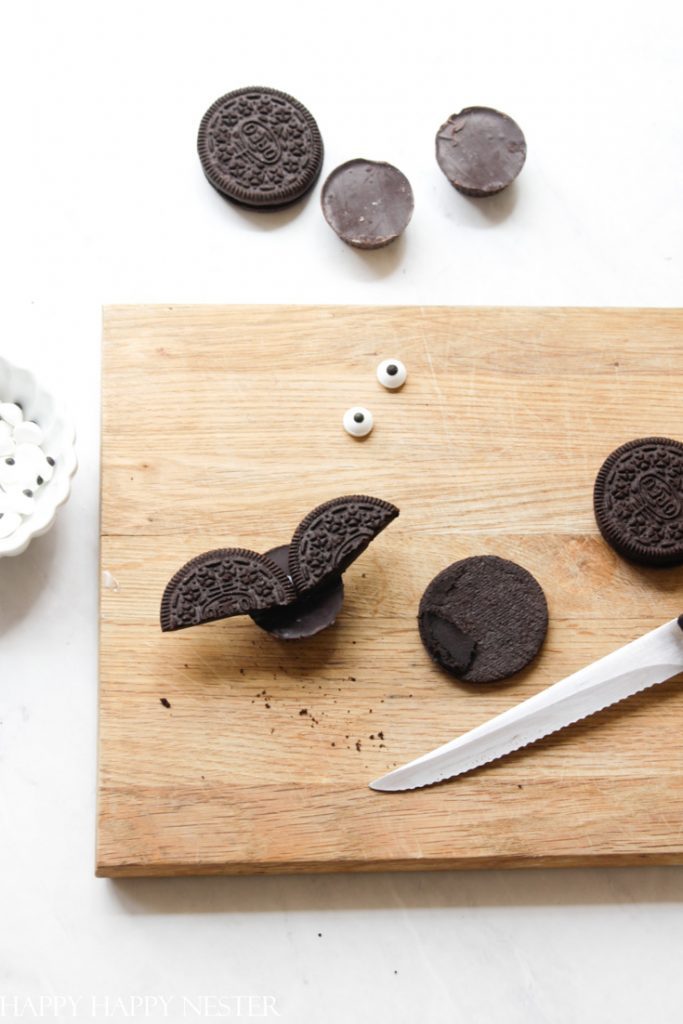
Step 3 – Place Wings on Peanut Butter Cup
Now flip over the wings and place them on the peanut butter cup. The icing acts as the glue for the wings.


Step 4 – Place Eyes on the Bat
Place a dab of icing on the backside of the candy eyes. Then place the eyes on the inside corner where the wings meet. In a couple of easy and quick steps, you have the cutest bats for Halloween!
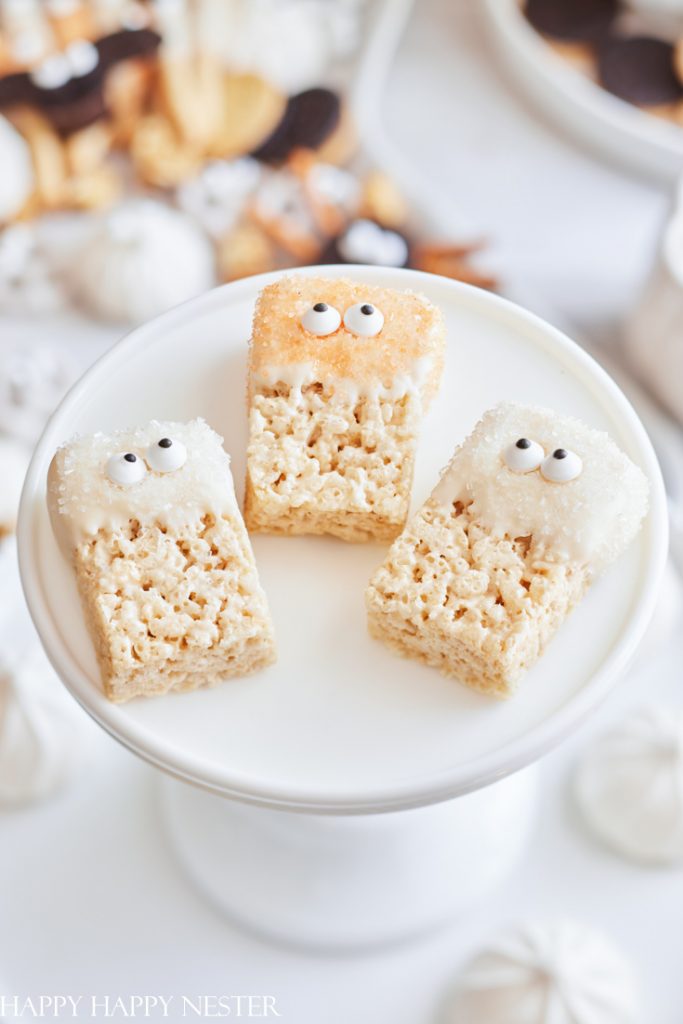
Rice Krispy Treats
But the already made rice Krispy Treats to save time. I had no clue that these premade treats were even available at the grocery stores. My daughter suggested that I buy them, but if you enjoy making your own or have to make a lot of them, then the homemade ones make more sense.
Ingredients:
Instructions:
Step 1 – Melt Chocolate
This can be tricky. When melting your chocolate in the microwave, definitely make sure to use the lowest power setting. The package says to use the defrost mode, but I couldn’t figure out how many pounds to enter. So, I used our microwaves reheat option.
I placed the chocolate in a pyrex bowl and heated the chocolate in one-minute intervals. After a minute, I checked the chocolate and stirred the mixture. Once it started to melt, I heated it in 30-second intervals. When your chocolate is mostly melted, pull it from the microwave and stir until the small pieces melt.
Step 2 – Dip Rice Krispy Treat
Dip the treats in the melted white chocolate. Once the treat is cover in chocolate, place on the candy eyes. Next, sprinkle the chocolate with sprinkles. Place the rice Krispy treat on parchment paper. Let cool and harden before touching.
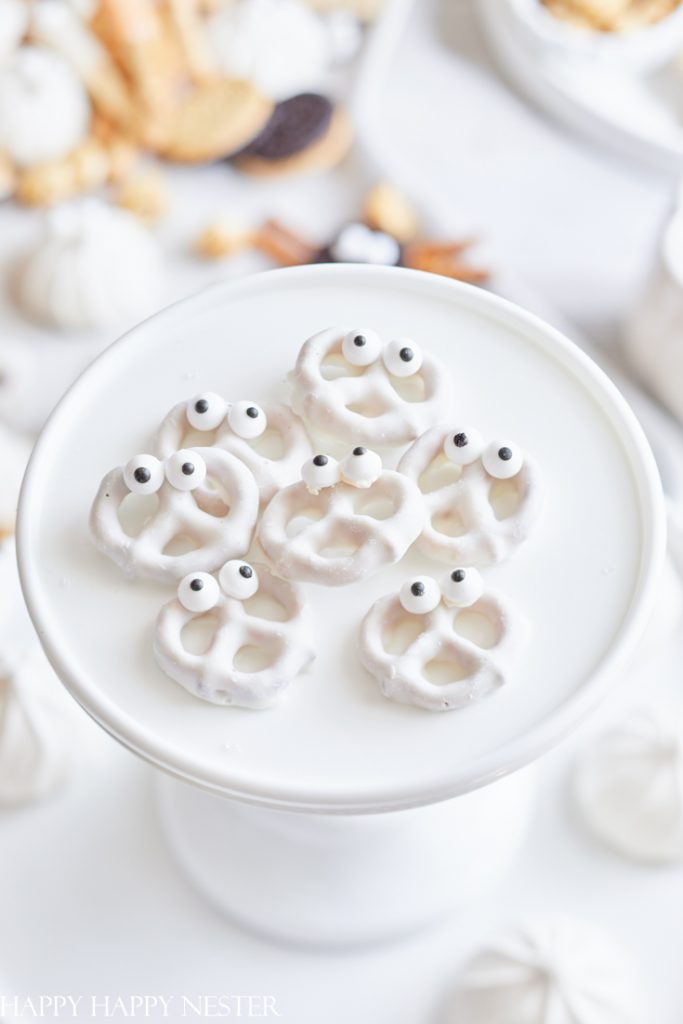
Pretzel Ghosts
For these pretzel ghosts, I saved time and bought the already covered pretzels. The old me would’ve covered the pretzels myself, but now I’m all about efficiency. This little dessert is the easiest of the Halloween treats among all the ideas in this post.
Ingredients:
White Chocolate Covered Pretzels
Instructions:
Step 1 – Create the Ghost
Place a dab of icing on the backside of the eyes. Next, attach the eyes to the top pretzel. Let dry and harden before touching.
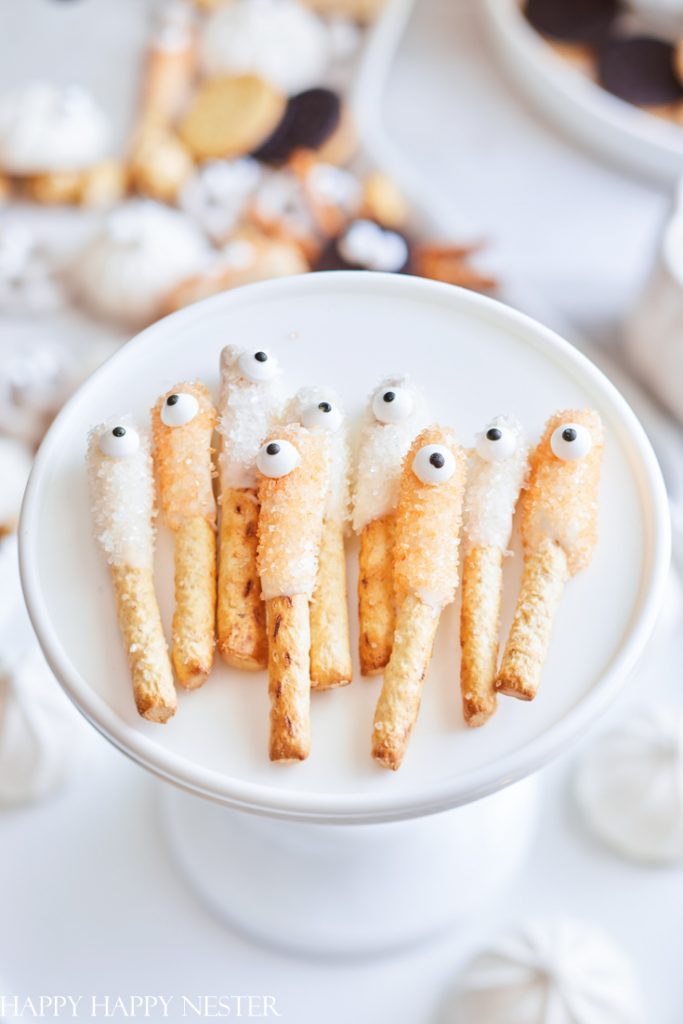
Pretzel sticks
These are the cutest Halloween treat. And let’s go crazy and place one candy eye on the face!
Ingredients:
Sprinkles
Instructions:
Step 1 – Melt Chocolate
This can be tricky. When melting your chocolate in the microwave, definitely make sure to use the lowest power setting. The package says to use the defrost mode, but I couldn’t figure out how many pounds to enter. So, I used our microwaves reheat option.
I placed the chocolate in a pyrex bowl and heated the chocolate in one-minute intervals. After a minute, I checked the chocolate and stirred the mixture. Once it started to melt, I heated it in 30-second intervals. When your chocolate is mostly melted, pull it from the microwave and stir until the small pieces melt.
Step 2 – Coat Pretzel
Place some melted chocolate on the spoon. Then roll the pretzel in the melted chocolate until the pretzel is covered thoroughly.
Step 3 – Coat Pretzel with Sprinkles and Eye
Coat the chocolate with candy sprinkles and place one eye on the chocolate. Then place the pretzel on some parchment paper making sure that the pretzel is eye-side up. Cool until chocolate is firm to touch.
Well, I’m sure your Halloween party will be fabulous, and these Halloween treat ideas come in handy. I had a blast making them for you!
Happy Halloween to you and your family!
Cheers,


- Machine Washable Rugs - January 21, 2026
- Pink Crafts for Adults - January 17, 2026
- Dinner Ideas - January 10, 2026
Leave a Reply