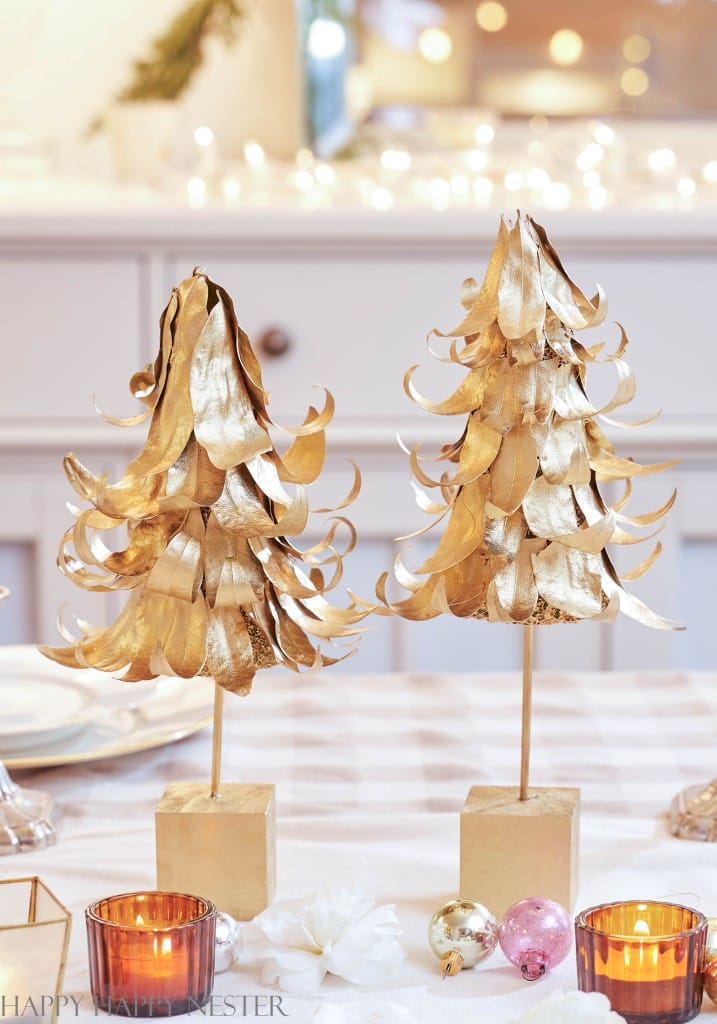
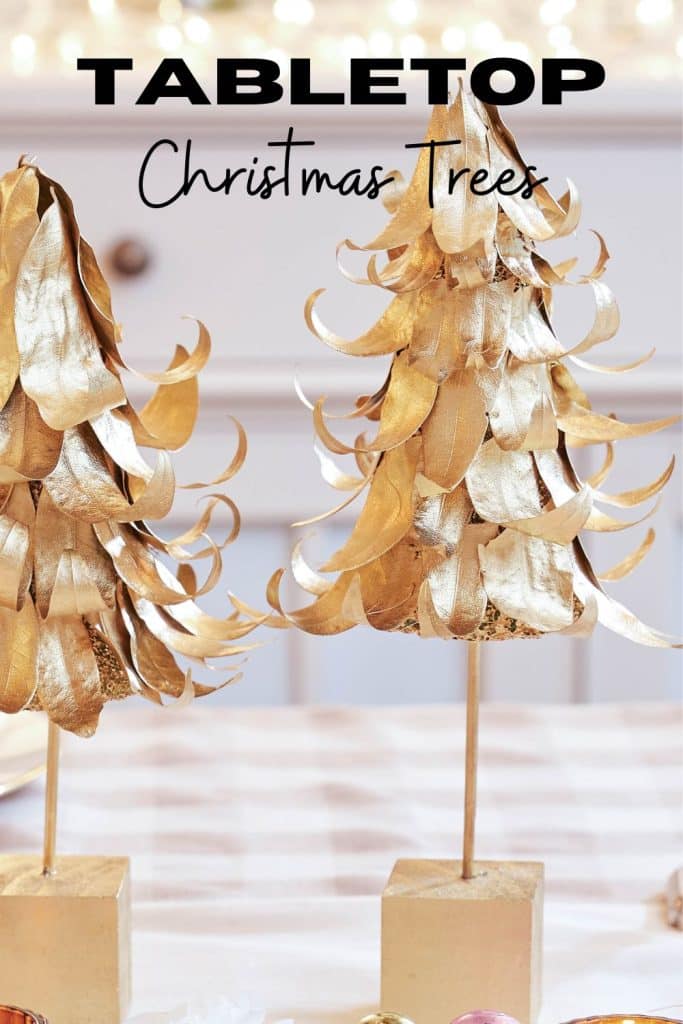
Create your own DIY Tabletop Christmas Tree this holiday season. It’s a perfect project for crafters and decorators. This charming, homemade tree adds a personal and cozy touch to your holiday decor and table.

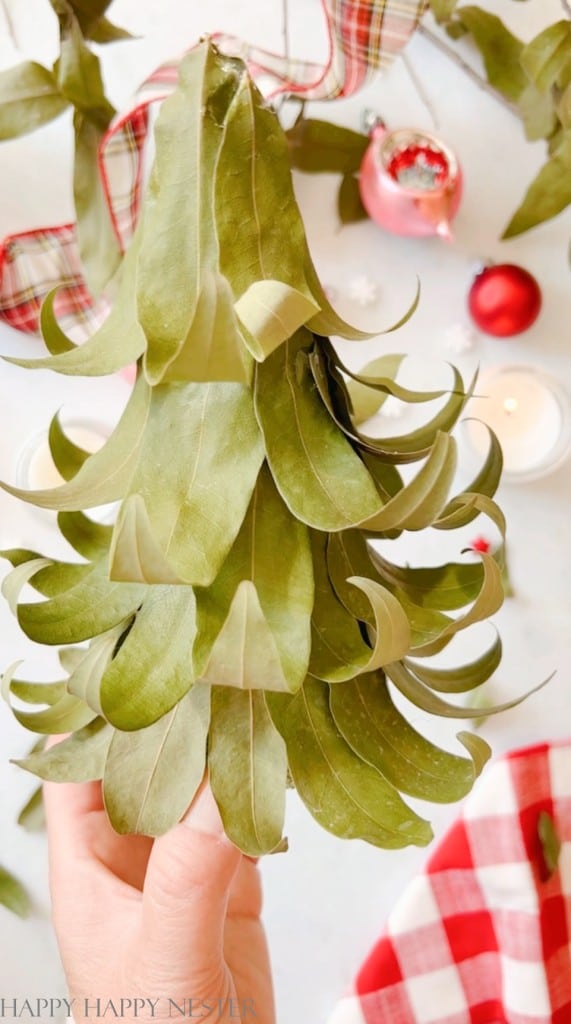
Check out how you can take a styrofoam cone, cover it in bay leaves, add a bit of gold spray paint, and within a few minutes, you’ve got a super pretty tabletop Christmas tree. It’s surprisingly easy and looks fantastic!
I love any tree project that I can create and not buy at the store. I’m always looking for new project every holiday. Here are few that I have created that are pretty popular over here on the blog:

My husband and I frequently visit Napa this winter since it is so close to our home. I have a favorite store there, and we spied the cutest little leaf tree. I took a photo and decided to create my version of the tree.
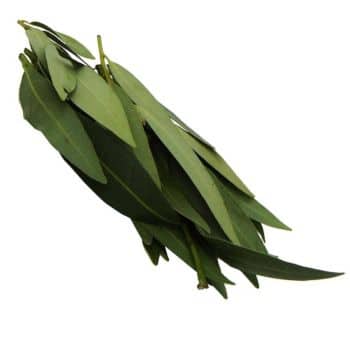
I used bay leaves since they are plentiful here in the San Francisco Bay Area. I love that the leaves curl up as they dry out, which is a bonus.
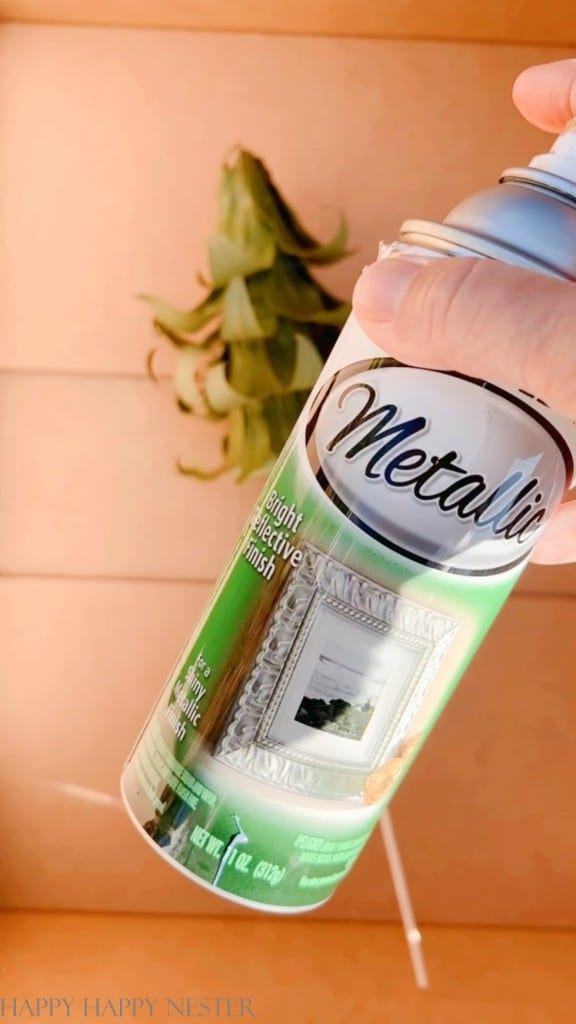
I could’ve left them green, but I decided to spray them with gold spray paint, giving them a metallic feel.
Either way, these adorable trees are my fave and I love how easy they are to create.

DIY TABLETOP CHRISTMAS TREE
Since this cute little tree is made of bay leaves, you’re probably wondering what I use if I don’t have them around my neighborhood.
If you can buy some fresh eucalyptus branches from the grocery store, that works just as well! They will dry like Bay leaves and curl up on their ends.
TIPS TO MAKING THESE LEAF TREES
- Spray Paint: If you plan to create a gold tree, you’ll want to spray your styrofoam cone before you attach the leaves.
- Leaves: You can use fresh or dried leaves. I did both when I made my two trees.
- Where to Start: When attaching your leaves, start at the bottom of your cone.
- Choosing Out Leaves: This may sound obvious, but you’ll want to make sure you place your bigger leaves on the bottom and as you move up the tree, choose and use smaller leaves.
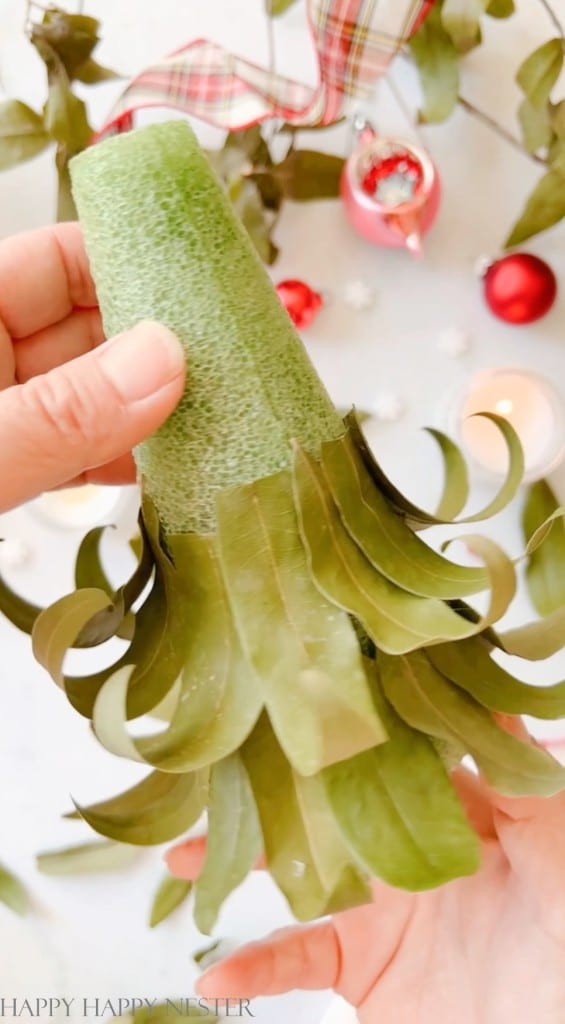
- Attaching Leaves: If I had a long leaf, I would break it at the top and allow the tip to show and curl up on the tree.
- Stagger Leave: When you glued your first row, place the second row of leaves in between the lower leaves.
- Drilling the Hole: Make sure to keep the drill bit upright and not at an angle. This will prevent the tree from leaning when placed on the base.
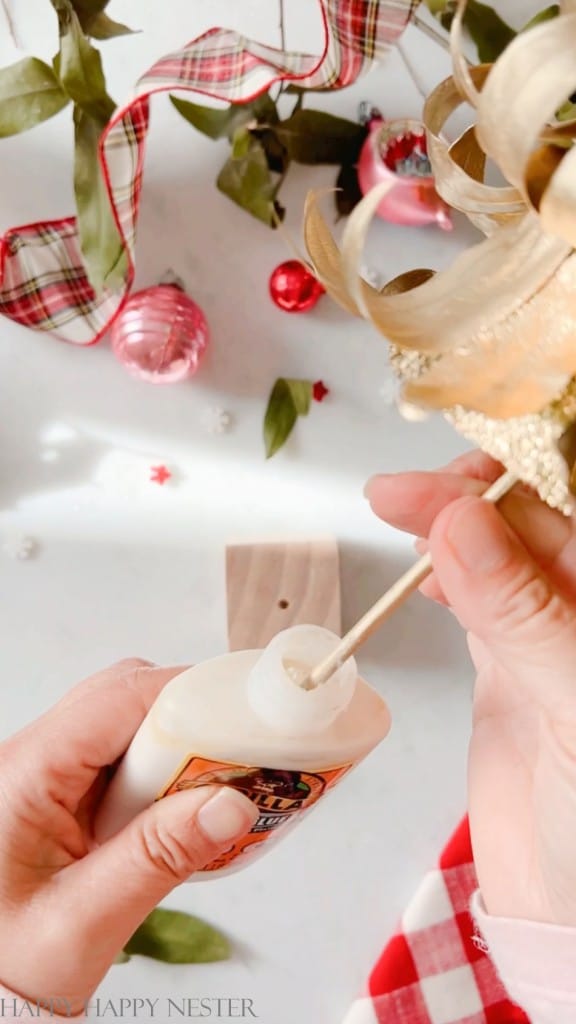
- Securing the Tree: To secure the tree on it’s base and trunk, apply glue on the base and on the shish kabob stick.
Step-by-Step Tutorial on This Table Top Tree
Supplies You’ll Need:
- 50 – 60 Bay or Eucalyptus Leaves
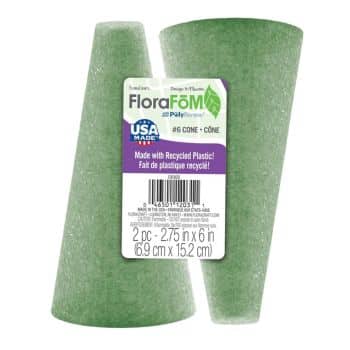
- 7-inch Styrofoam Cone
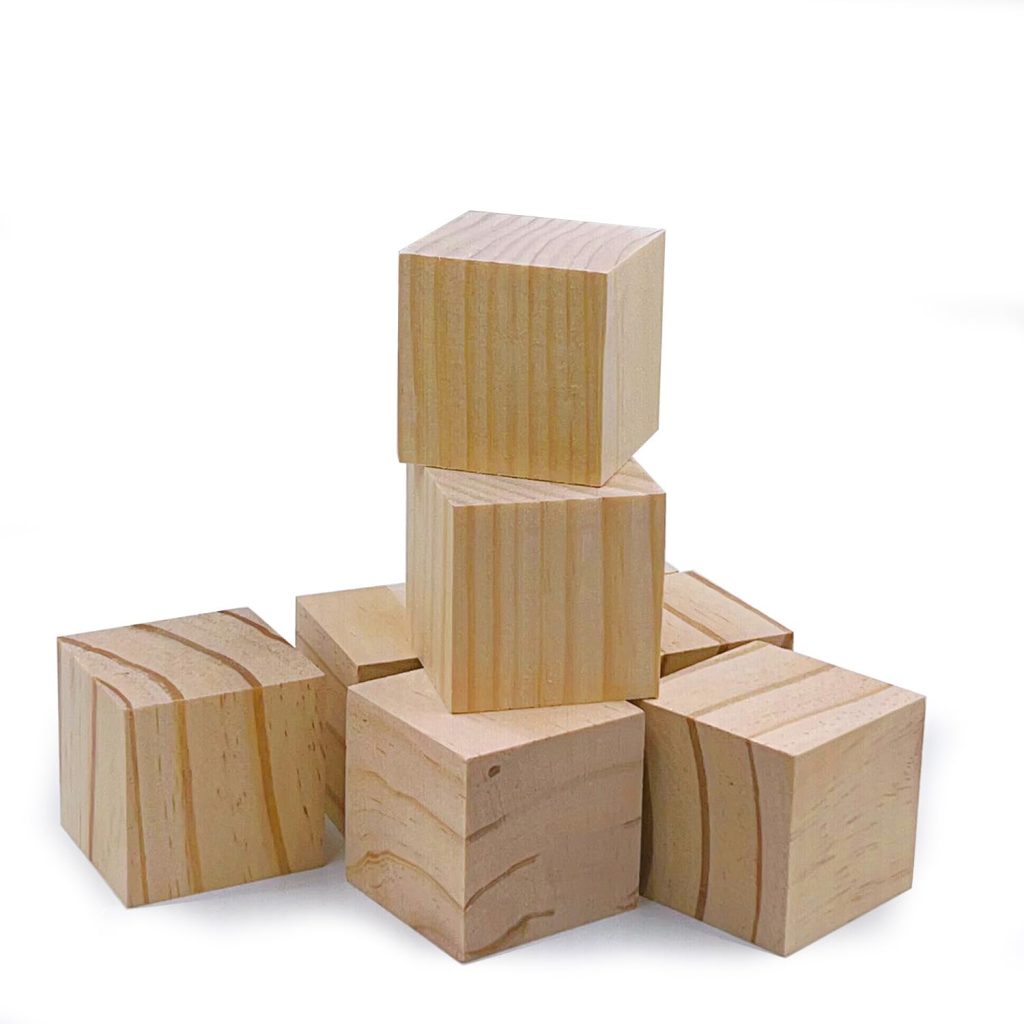
- A 2-inch Square Block of Wood
- Glue Gun
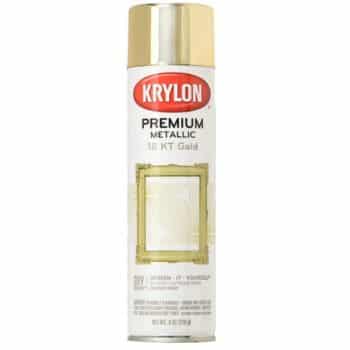
- Gold Spray Paint
- Wooden Shish Kabob Skewer
- Wood Glue
- Drill with Bit
S


Instructions:
Step 1 – Pick Bay Leaves
If you have a bay laurel tree, grab a branch of leaves. I like to use leaves that are dried out, but you can use fresh leaves.
Step 2 – Spray Cone
Spray in a well ventilated area the cone with gold spray paint. I also sprayed the wooden base as well. If your leaves are ready to use, you can spray them as well, but I found spraying them after the tree is completed is easier and more effecient.
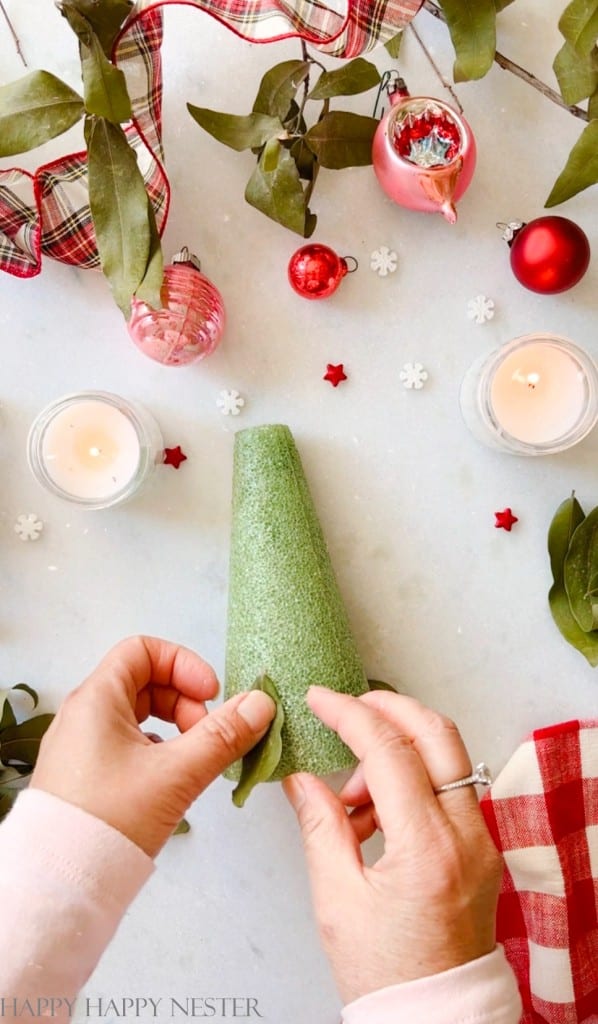
Step 3 – Attach Leaves
Once the paint is dry on the cone, attach the leaves to it. You’ll want to begin at the bottom part of the cone. You’ll add a layer of leaves, making sure the curled part of the leaves is at the bottom and fans out. Glue down the leaves with a glue fun.
Work all around the base of the cone, and then apply the second layer of leaves. Stagger the leaves so that the next layer of leaves falls in between the bottom layer of leaves.
Work your way to the top of the cone. On the top of the tree, try to get the tips of the bay leaves to meet at a point.
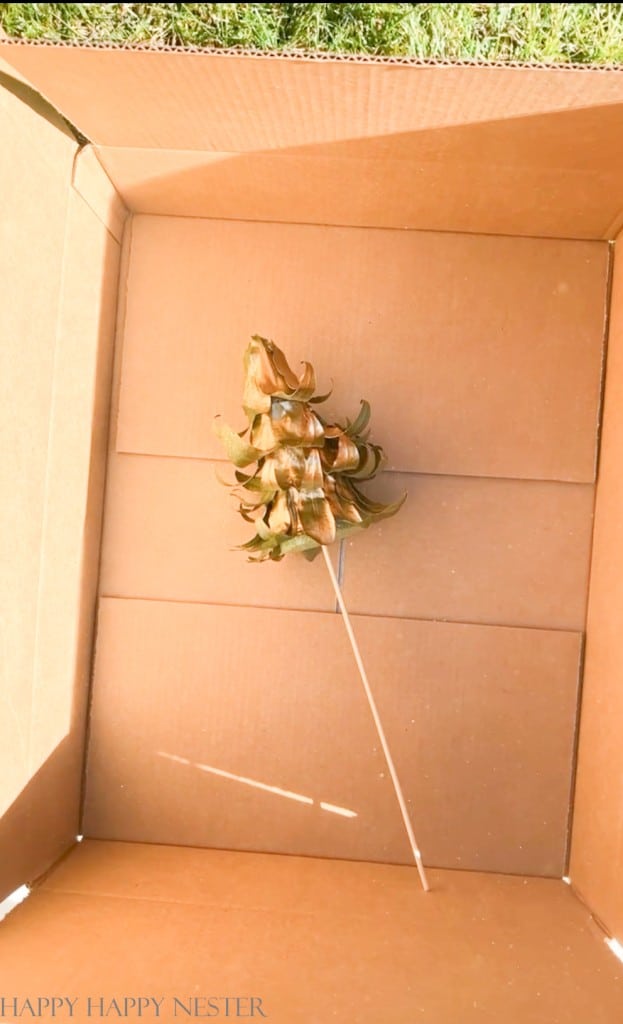
Step 4 – Spray Tree
Spray you tree in a well ventilated area. Allow for the paint to dry before handling and moving to the next step.
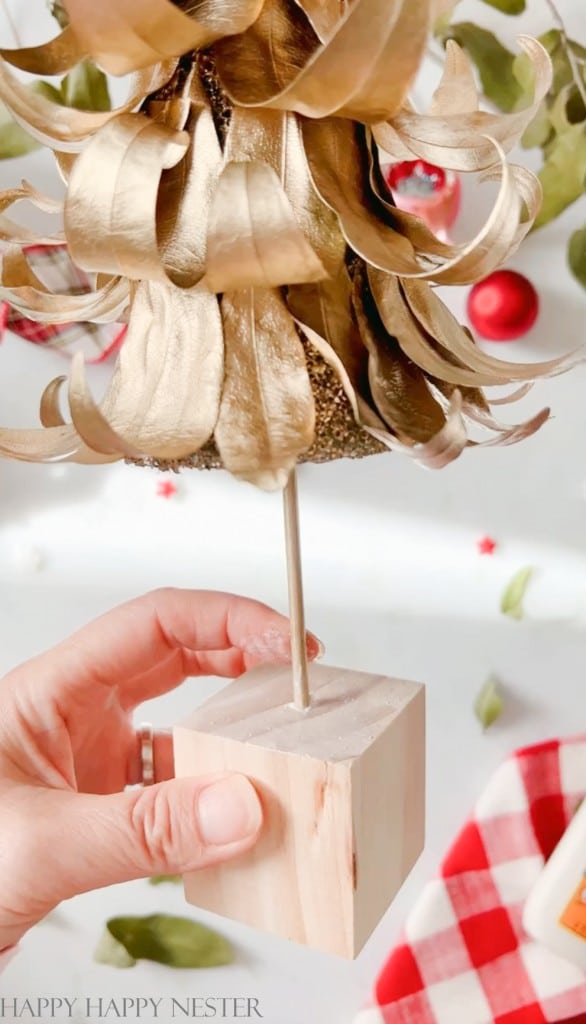
Step 5 – Drill the Hole
Drill a hole in the wooden block. Make sure the drill bit is slightly smaller than the tree trunk. You place the bit directly behind the wooden shisk kabob. The two should be the same width, with the drill bit being a tiny bit smaller. Place the drill bit into the wood, making sure to drill perpendicular to the platform. If you drill at an angle then your hole is at an angle, your tree won’t sit straight and will lean to the side.
Step 6 – Secure the Tree
Place a little bit of wood glue in the hole and place your tree and trunk into the hole. Place the shish kabob into the styrofoam base. If you need to trim the stick, you can do that before inserting it in the bottom of the cone.
All the glue to dry and decorate your house with your tree. Attach small ornaments and lights if you wish!

This adorable tree is featured in a blog hop showcasing my friends’ holiday tablescapes. Don’t miss the chance to check out their amazing photos below.
I had a blast making this DIY tabletop Christmas tree, and it looks so pretty on my dining room table. My husband says they really bring out a lot of character with the playful movement of the leaves.
Happy Crafting!

BLOGGER’S BEST HOLIDAY TABLESCAPES
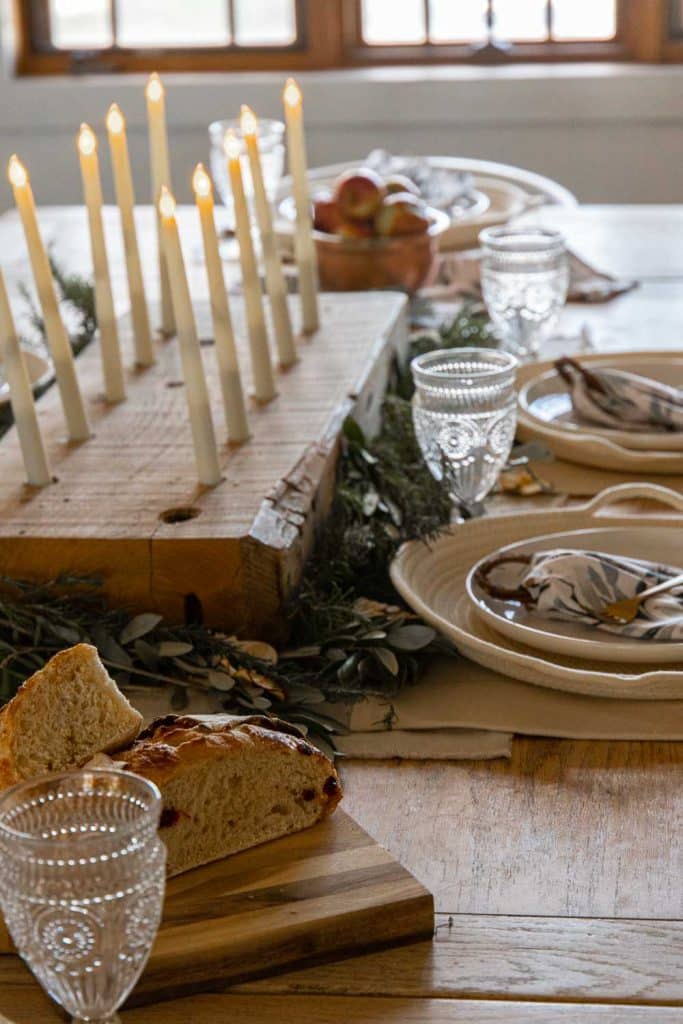
A Handmade Holiday Tablescape | Twelve on Main
This year, I focused on creating a cozy and inviting space with simple handmade decor items. I want my home to feel lived in this Christmas. Warmth, layering and textures are my main focus this year.
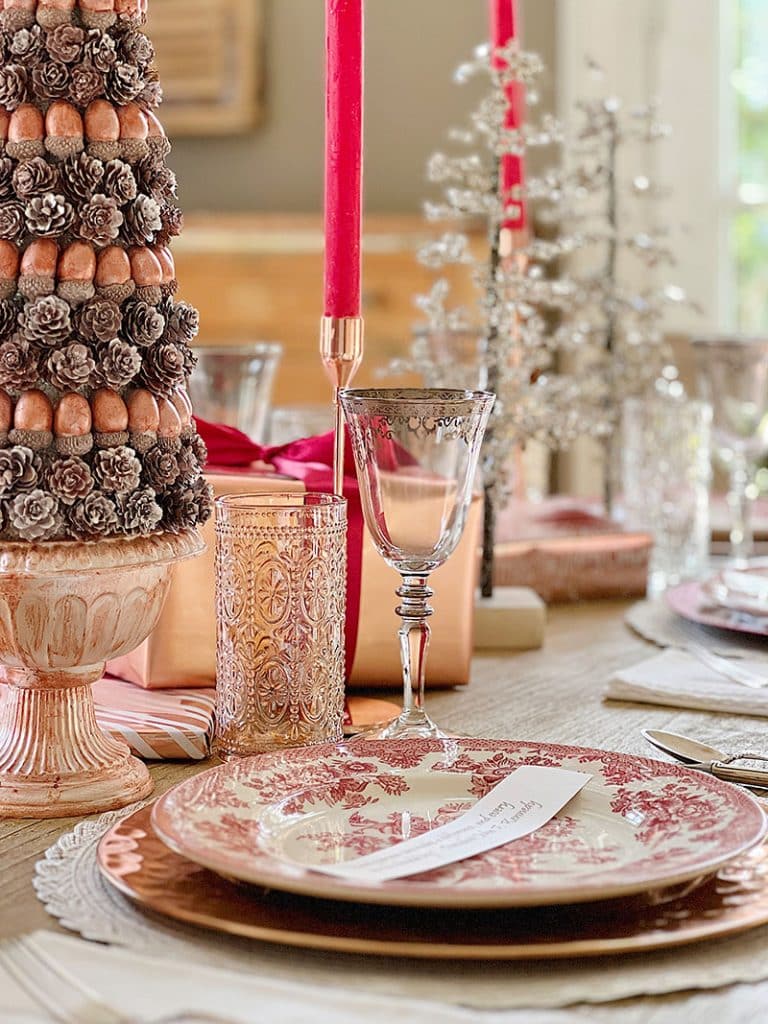
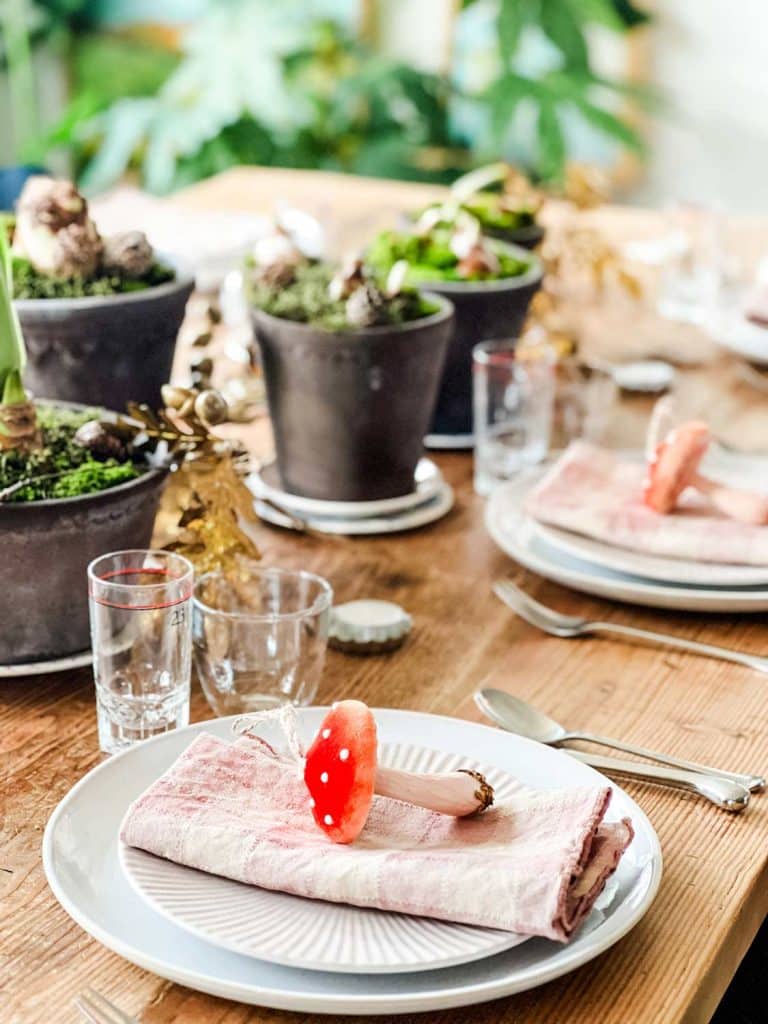
A Table of Christmas Colors | My 100 Year Old Home
I created a table of Christmas colors featuring rose gold and cranberry. The pinecone and acorn tree is a new DIY and I can’t wait to share it all!

Black and White Christmas Tablescape | Craftberry Bush
T
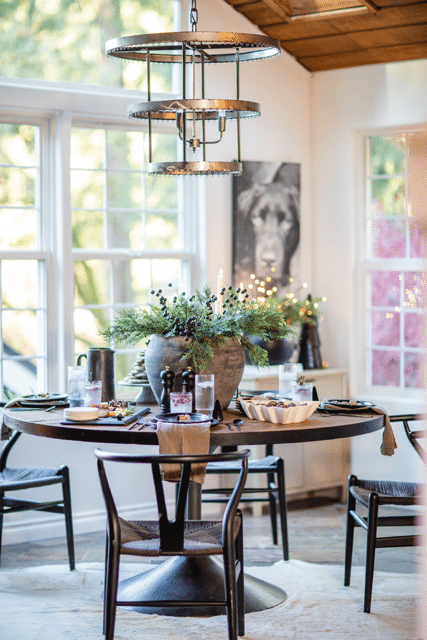
A Rustic Modern Christmas Tablescape | My Sweet Savannah
See how I created a beautiful rustic and neutral table setting! You don’t have to spend a lot of money or buy all new to get a luxe look!
A Simple Rustic Holiday Tablescape | Most Lovely Things
A simple holiday tablescape with long-lasting centerpiece.


- Fluffy Japanese Pancake Recipe (Souffle) - June 24, 2026
- Mochi Recipe: How to Make Easy Homemade Mochi - June 18, 2026
- Strawberry Oreo Cheesecake Recipe with Oreo Cookie Crust - June 15, 2026


Melaine Thompson
Oh my gosh! How cute are these? So creative, xoxo