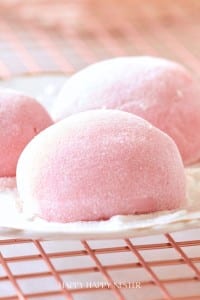
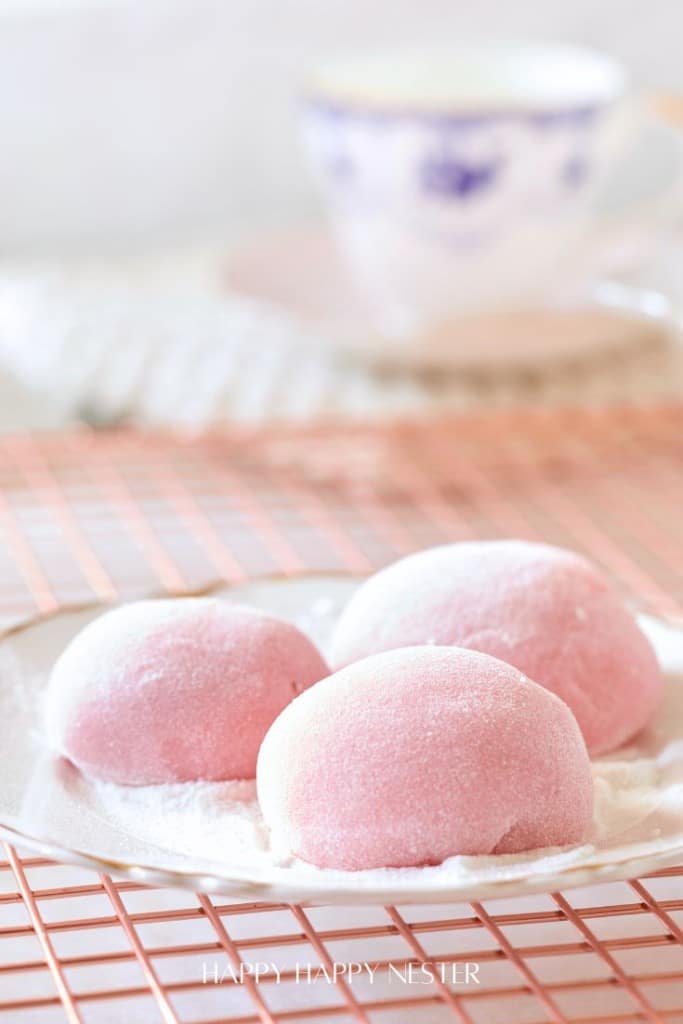
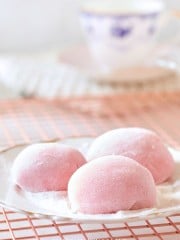
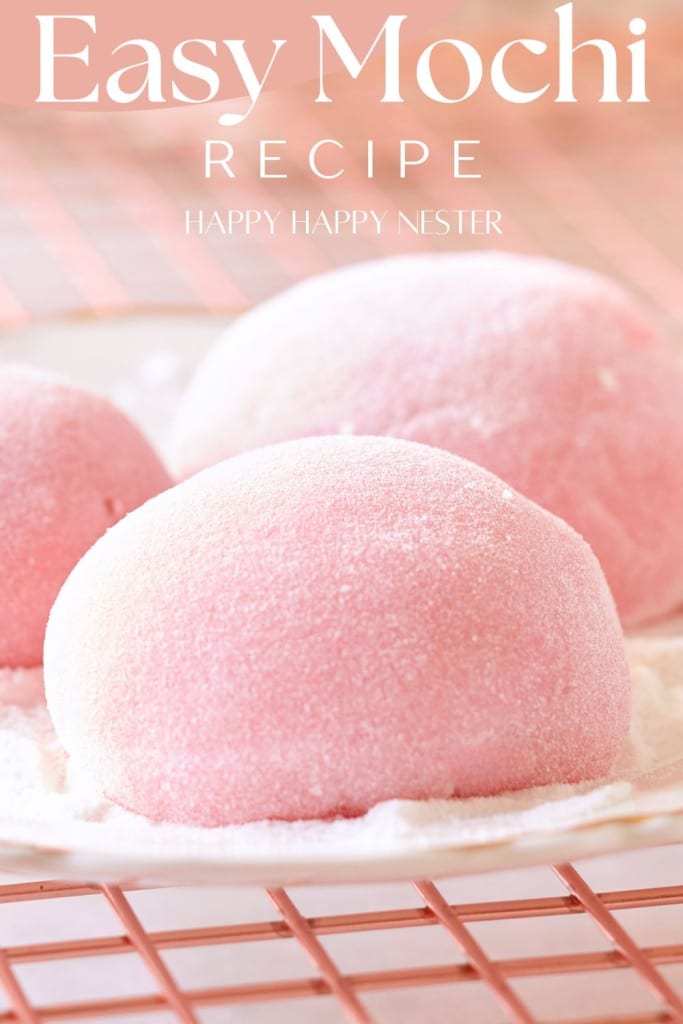
This easy mochi recipe proves that making mochi at home is way simpler than you might think, and it’s such a fun way to satisfy your sweet cravings or wow your friends. With just a few essential ingredients like glutinous rice flour and your favorite fillings, you can whip up soft, chewy mochi in no time. Whether you’re into classic red bean paste, creamy ice cream centers, or something different, this guide will show you how to make this sweet treat effortlessly!
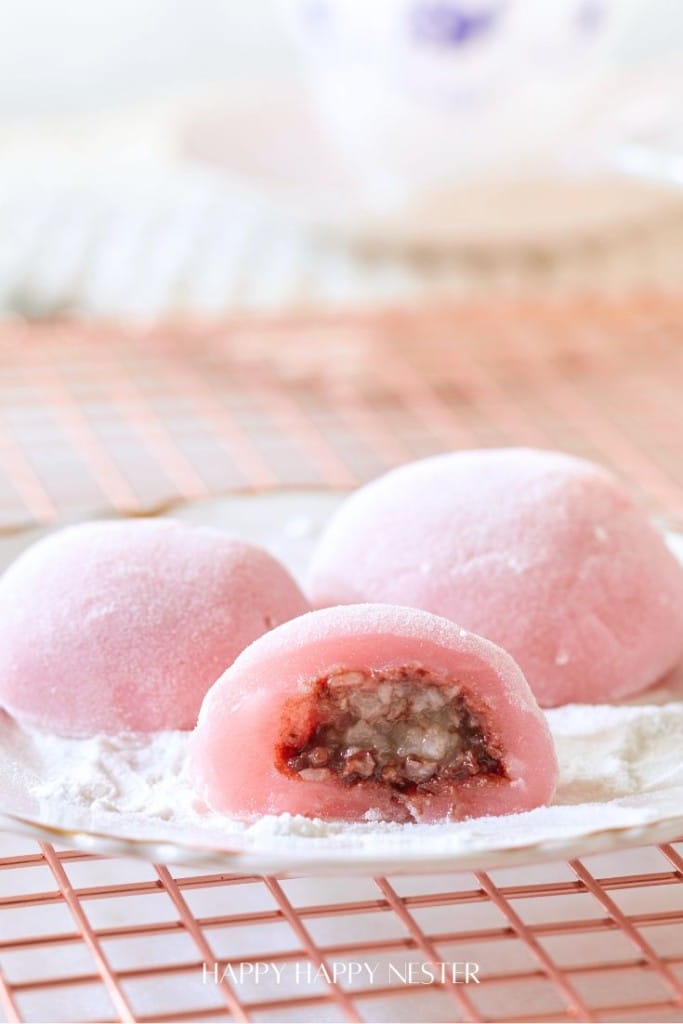
I’ve tried making strawberry mochi, ice cream mochi, and more, but this recipe adds a fun twist by using an Almond Joy candy as the filling. The combination of coconut and chocolate pairs perfectly with the lightly sweet rice exterior!
How to Make Mochi in the Microwave (Easy Method)
When I first started making mochi, I used my mom’s recipe, which involved steaming the mochi on the stovetop. While it produced delicious results, the process was time-consuming, and the mochi was super hot and difficult to work with. Now, I’ve switched to the microwave method, which is so much more convenient and easy! It’s faster, safer, and delivers the same chewy texture without the hassle.
What Is Mochi?
Mochi, pronounced “moh-chee,” is a traditional Japanese rice cake made from glutinous rice. Its soft, chewy texture has made it a beloved dessert worldwide. Mochi can be filled with sweet red bean paste, wrapped around ice cream, or enjoyed plain with a sprinkle of cornstarch.
Easy Mochi Recipe
Ingredients You’ll Need for This Mochi Recipe
Here’s everything you need to make easy mochi at home:
- Mochiko (glutinous rice flour): The key ingredient that gives mochi its signature chewy texture.
- Water: Water is essential for hydrating the rice flour and creating a smooth dough.
- Granulated sugar: Adds sweetness to the mochi dough.
- Vinegar (optional): Enhances elasticity and makes the dough easier to handle.
- Red dye (optional): Adds a vibrant color to your mochi for a fun twist.
- Cornstarch: Prevents sticking while shaping and handling the dough.
- Almond Joy Candy Filling: The secret filling that makes this mochi extra special — the combination of coconut, chocolate, and almond pairs perfectly with the chewy rice exterior.
Tools Needed
- Microwave-safe bowl
- Whisk or spoon
- Plastic wrap/Silicone Microwave Cover
Step-by-Step Guide to Making Mochi
Preparing the Mochi Dough
Step 1 – Combine the Ingredients: In a microwave-safe bowl, mix the mochiko rice flour, sugar, water, vinegar, and a few drops of red dye. Whisk until the mixture is smooth and free of lumps.
Step 2 – Microwave the Mixture: Cover the bowl with plastic wrap and microwave for 1 minute. Remove, stir the mixture, and microwave for another 30 seconds. Repeat this process until the dough is sticky, thick, and slightly translucent. This usually takes about 3-4 minutes total.
Step 3 – Check for Consistency: The mochi dough should be glossy and stretchy. If it still appears liquidy, microwave in 15-second intervals until it reaches a soft yet not liquid texture.
Shaping the Mochi
Step 1 – Prepare Your Workspace: Generously dust a clean surface with cornstarch to prevent sticking. Let the mochi dough cool slightly so it’s not too hot to handle with your hands.
Step 2 – Mold Dough: Take a small portion of the dough, roughly the size of a quarter cup, and place it onto the cornstarch-dusted surface. Form dough into a small pancake about 3 ½ – 4 inches wide in diameter with a thickness typically around 1/4 inch.
Step 3 – Filling: Cut the Almond Joy chocolate in half and place each piece in the middle of your round pancake-shaped mochi. Next, bring up the sides of the mochi and pinch them in the middle. Make sure that all edges are pinched together so there are no holes.
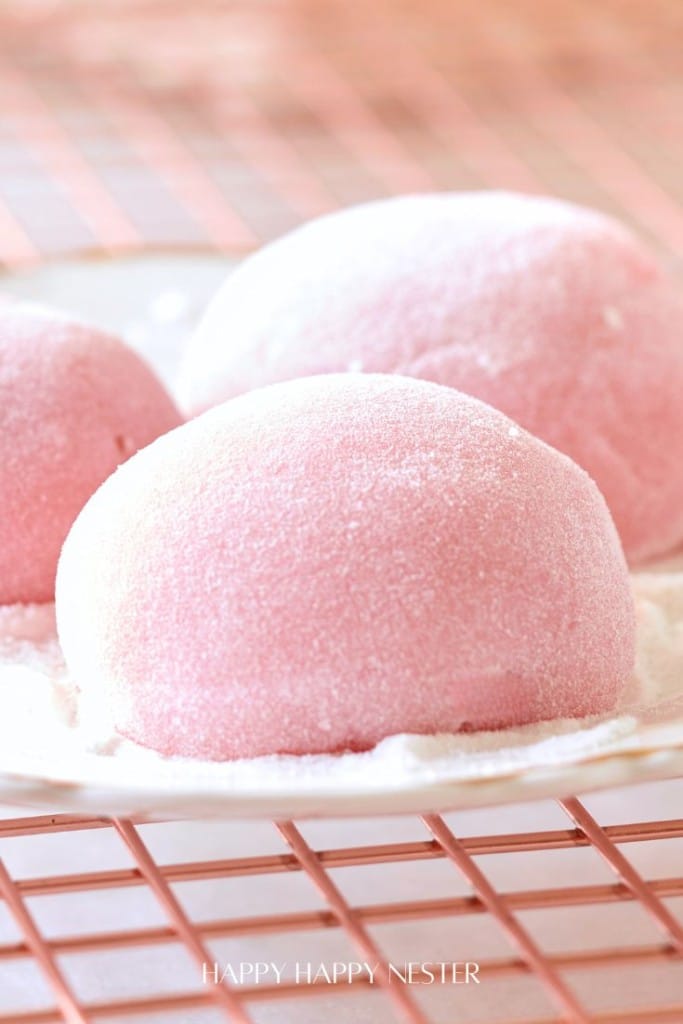
Roll the mochi into a ball in your hand. Place seams side down on a plate sprinkled with Mochiko flour or cornstarch.
Easy Mochi Recipe
Ingredients
Mochi
- 1½ cup Mochiko Sweet Rice Flour I use the brand, Koda Farms Mochiko Flour
- 1 cup granulated sugar
- 1½ cup water
- 2 drops white vinegar It keeps the mochi pliable
- drops red food coloring
- cornstarch or mochiko flour This is used to dust the surface and your hands while forming the mochi
Candy Filling
- Almond Joy Candies Cut in half
Instructions
Almond Joy Candies
- Unwrap the candies and cut them in half crosswise.
Prep Counter
- Clean your counter and sprinkle it with Mochiko flour or cornstarch. I place parchment paper down and then cover it with cornstarch.Also, sprinkle a container or plate with Mochiko flour or cornstarch.
Mochi
- Measure out the Mochiko flour and sugar and mix in a medium size bowl.
- Add the water, vinegar, and food coloring to the rice flour. Mix thoroughly with a whisk.
- Cover the bowl with a microwaveable plate or silicone cover.
- Place the mochi mixture in the microwave and cook on a high setting for a minute. Not all microwaves have the same strength, so your cook time might be less or more. Please adjust accordingly. I have a powerful microwave.
- After a minute of cooking, take it out of the oven and stir. Cover again with plastic and cook another minute.Repeat this until you cook it for about 4 minutes, and make sure to stir the mochi each time.
Forming Mochi
- On your prepped countertop, form dough into a small pancake about 3 ½ – 4 inches wide in diameter. Be careful; the dough is super hot. Also, the mochi will be sticky, so dust your hands and the mochi with cornstarch or mochiko flour.
- Place half the Almond Joy in the middle of your round pancake. Next, bring up the sides of the mochi and pinch the dough together. Make sure that all edges get pinched together so there are no holes.
- Roll mochi in a ball in your hand. Place the seam side down on a plate sprinkled with Mochiko flour or cornstarch.
Nutrition
Loved this recipe? Leave a quick star rating at the bottom of the page! Thanks, much appreciated!
Tips for Making Perfect Mochi at Home
Working with mochi dough can feel tricky at first, but these simple tips will help you handle it like a pro and get perfectly chewy results every time.
- Dust generously with cornstarch: Mochi dough is very sticky — keep your hands and surface well dusted to make shaping easier.
- Work quickly: Mochi firms up as it cools, so shape it while it’s still warm and pliable.
- Don’t skip the vinegar: Even a small amount improves elasticity and makes the dough much easier to handle.
- Wet hands work too: If you run out of cornstarch, slightly damp hands also prevent sticking.
- Adjust sweetness to taste: Feel free to increase or decrease sugar based on your preference.
- Get creative with colors: A few drops of food dye transforms the look without affecting the texture or flavor.
Mochi Filling Ideas
Adding a filling to your mochi takes this treat to the next level. Here are some popular options to inspire your creations:
- Sweet Red Bean Paste: A traditional Japanese filling with rich, earthy sweetness.
- Ice Cream: A creamy, cold filling that pairs perfectly with the chewy mochi exterior.
- Peanut Butter: Offers a salty-sweet contrast and a smooth texture.
- Chocolate Ganache: A decadent and indulgent option for chocolate lovers.
- Fresh Strawberries: A juicy, fruity center that adds freshness.
- Custard Cream: A silky, luxurious filling that’s perfect for dessert enthusiasts.
Serving and Storing Your Mochi
- Serve Fresh: Mochi is best enjoyed fresh when soft and chewy. You can eat it plain or pair it with sweet toppings such as a dusting of powdered sugar.
- Store Properly: If you have leftovers, store them in an airtight container at room temperature for up to one day. For more extended storage, refrigerate them, but note that mochi may harden slightly.
Frequently Asked Questions About Mochi
Yes! Making mochi at home is easier than you think. With just a few simple ingredients like mochiko rice flour, sugar, and water, you can make soft, chewy mochi right in your microwave in minutes.
Mochi is made with mochiko, also known as glutinous rice flour or sweet rice flour. Regular all-purpose flour won’t give you the same chewy texture.
Absolutely! This recipe uses the microwave method, which is faster, easier, and produces the same delicious chewy texture without any special equipment.
Yes! Mochi freezes beautifully. Wrap each piece individually in plastic wrap, place in a freezer-safe bag, and freeze for up to 3 months. Thaw at room temperature for 15-20 minutes before serving.
Related Blog Posts to Explore
- Mochi Recipe with Mochiko Flour: Learn the basics of making mochi with this simple and versatile recipe using mochiko rice flour.
Strawberry Mochi: Discover how to create this fruity and refreshing variation, perfect for summer treats.
Mochi Ice Cream Recipe: Dive into the ultimate dessert guide to wrapping creamy ice cream in a chewy mochi shell.
Orange Mochi Recipe: Here’s my quick, easy Orange Mochi that uses sweet rice flour and fresh mandarins, popped in the microwave and wrapped around a mandarin orange.
Butter Mochi Recipe (Mochiko Flour): This easy Butter Mochi Recipe is a tasty Hawaiian cake with hints of coconut, custard, and butter — wonderfully chewy and dense.
Tori Karaage Don: Crispy Japanese fried chicken served over a bowl of rice — a savory main if you’re craving something beyond dessert.
Give this recipe a try and see how easy and fun it is to make your mochi at home. Whether you stick to the basics or get creative with flavors and fillings, it’s sure to be a hit. Don’t forget to share your results—we’d love to hear how it turned out!
Cheers,

Photo Credits: MyPhotography.com


- Lazy Saturday Morning Breakfast Ideas - July 18, 2026
- Lemon Blueberry Crumble (With Creamy Mascarpone) - July 16, 2026
- Red and White Christmas Tree - July 9, 2026
")

")

Leave a Reply