Looking for the perfect fall craft to add charm to your Thanksgiving table? This Succulent Pumpkins DIY is a simple, stylish way to bring a touch of autumn indoors! With just a pumpkin, a few succulents, moss, and a glue gun, you can create a beautiful pumpkin succulent centerpiece in no time. This easy succulent pumpkin DIY will elevate your seasonal decor and impress guests with its unique, natural look. Plus, this fall craft is beginner-friendly, making it an ideal choice for adding a bit of greenery and fall decor to any space!
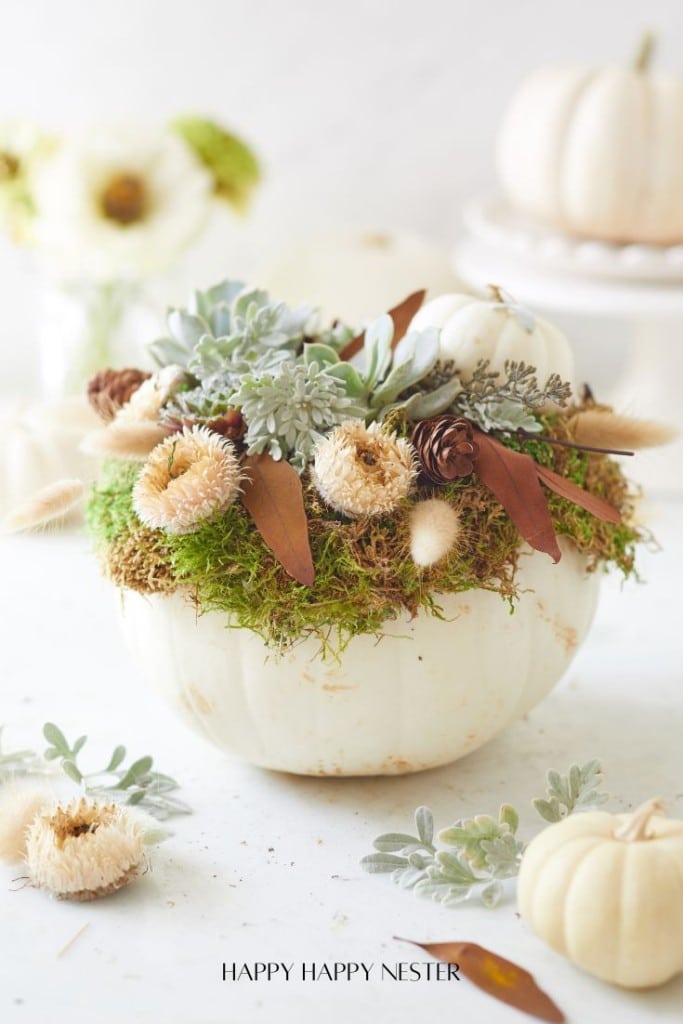
I’ve created quite a variety of decorated pumpkins over the years—I’ve carved them, turned them into vases, and even crafted pumpkin houses! Now, I’m on to my second succulent pumpkin, and I’m thrilled to share this unique twist on fall decor with you.
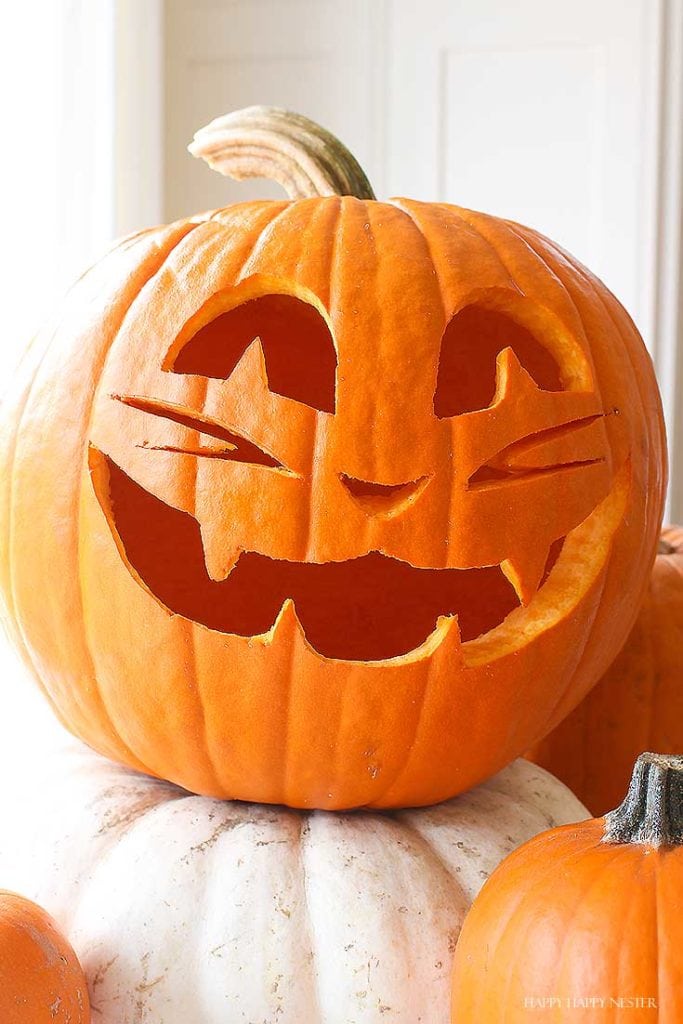
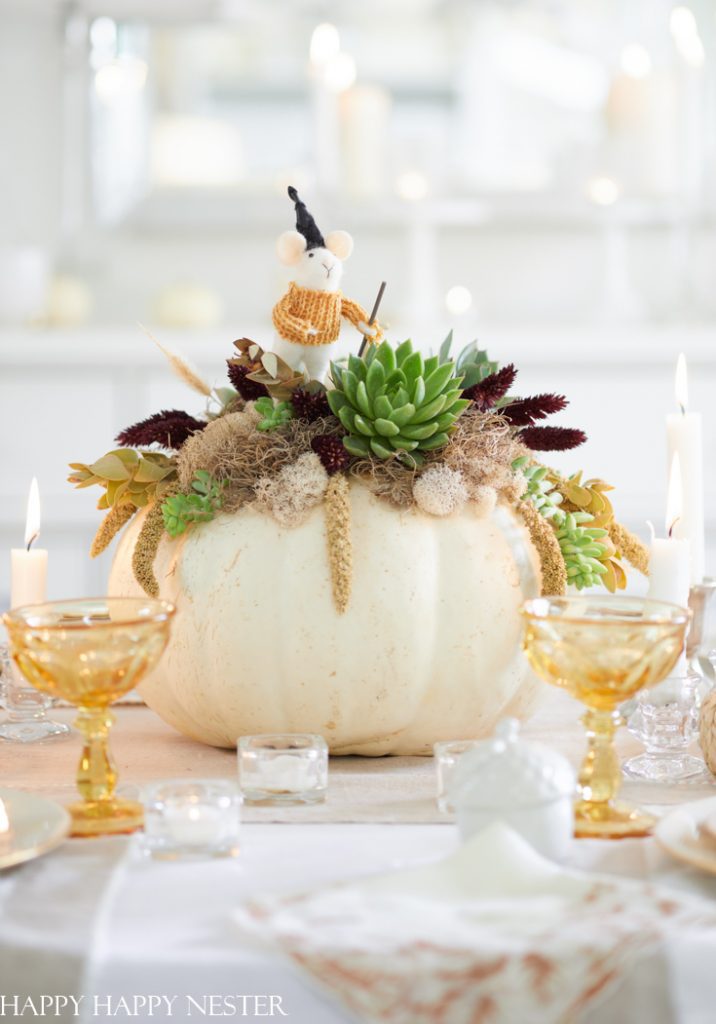
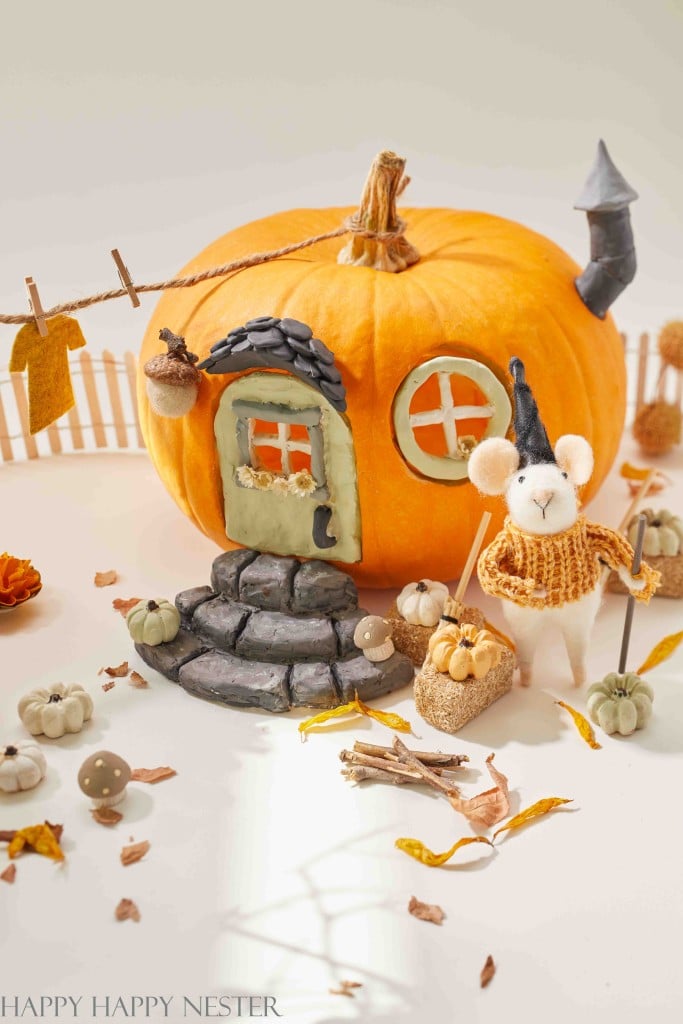
One of the things I love most about this fall project is its longevity. Using a fresh pumpkin allows this centerpiece to last well beyond autumn, bringing beauty to your home for weeks. And once the season’s over, the succulents can be repurposed! I simply plant them in my garden, giving them new life even after Thanksgiving.
The best part? You don’t need a green thumb to succeed with this DIY pumpkin succulent centerpiece. Succulents are incredibly hardy and can thrive even when stripped of their soil and attached to a pumpkin with glue!
Wait, does this craft use hot glue to secure the succulents?
Although attaching succulents to a live pumpkin with hot glue may seem surprising, the process doesn’t harm the plants! Succulents are incredibly resilient and can withstand brief exposure to the heat of the glue.
By applying a small dab of hot glue to the base of each succulent, you can press it directly into the moss on the pumpkin’s surface, and it will adhere beautifully. The glue cools quickly, creating a secure hold without damaging the succulent. This method works fabulously, keeping your arrangement in place for weeks without compromising the health of your plants.
One of the best parts about making a succulent pumpkin centerpiece is that there’s no need to cut into the pumpkin itself. Keeping the pumpkin intact significantly extends its lifespan—once cut, pumpkins tend to mold and decay quickly. Instead, we simply glue the moss and succulents onto the pumpkin’s surface, preserving its natural structure and preventing it from rotting. This way, your beautiful fall centerpiece can last weeks beyond Halloween and Thanksgiving!
Selecting Succulents
Size and Shape
Choose small to medium succulents that fit nicely on the pumpkin’s surface. Varying shapes—like rosettes, trailing, or spiky varieties—add visual interest and depth to your design.
Color Variety
Look for succulents in a range of colors to create a vibrant arrangement. Many succulents come in shades of green, blue, purple, and even pink, which add a beautiful contrast to the pumpkin’s color.
Sturdiness
Opt for hardy succulents with strong stems and leaves. These are easier to handle and attach to the pumpkin without damage, making them perfect for DIY projects.
Growth Rate
Consider choosing slow-growing succulents for your pumpkin. Fast-growing types can quickly outgrow the arrangement, while slower-growing varieties will stay beautifully in place longer.
Root Structure
Succulents with compact root systems are ideal, as they can lie flat on the pumpkin surface. Avoid succulents with large, sprawling roots.
Let’s look at this easy, beautiful autumn pumpkin craft, which will bring a natural look to your home!
How To Make Pumpkin Succulents
Supplies You’ll Need
- Pumpkin
- 3-4 Succulents
- Moss
- Dried Plants and Flowers – I used Dusty Miller from my yard, strawflowers, pinecones, brown died eucalyptus leaves, and bunny tails.
- Hot Glue Gun
- Mini White Pumpkin
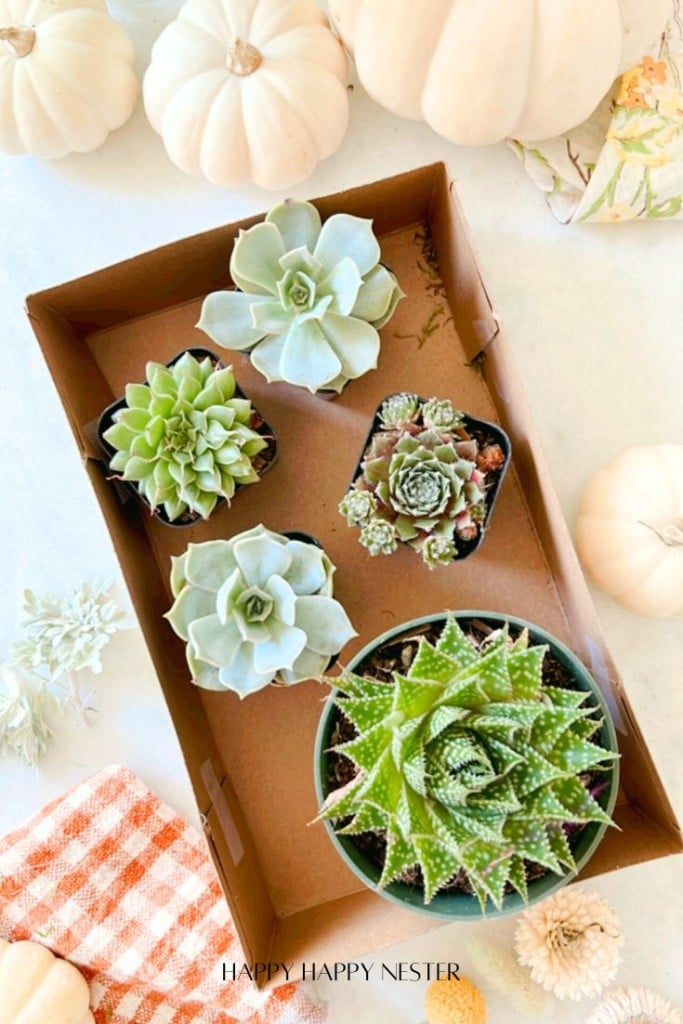
Step 1 – Choose Succulents
Select a variety of small succulents in different shapes, colors, and textures for visual interest. Aim for succulents with sturdy stems and leaves, which will hold up best on your pumpkin.
Step 2 – Clean Pumpkin
Wipe down your pumpkin with a damp cloth to remove dirt or residue. This ensures a smooth surface for the moss and succulents to adhere correctly.
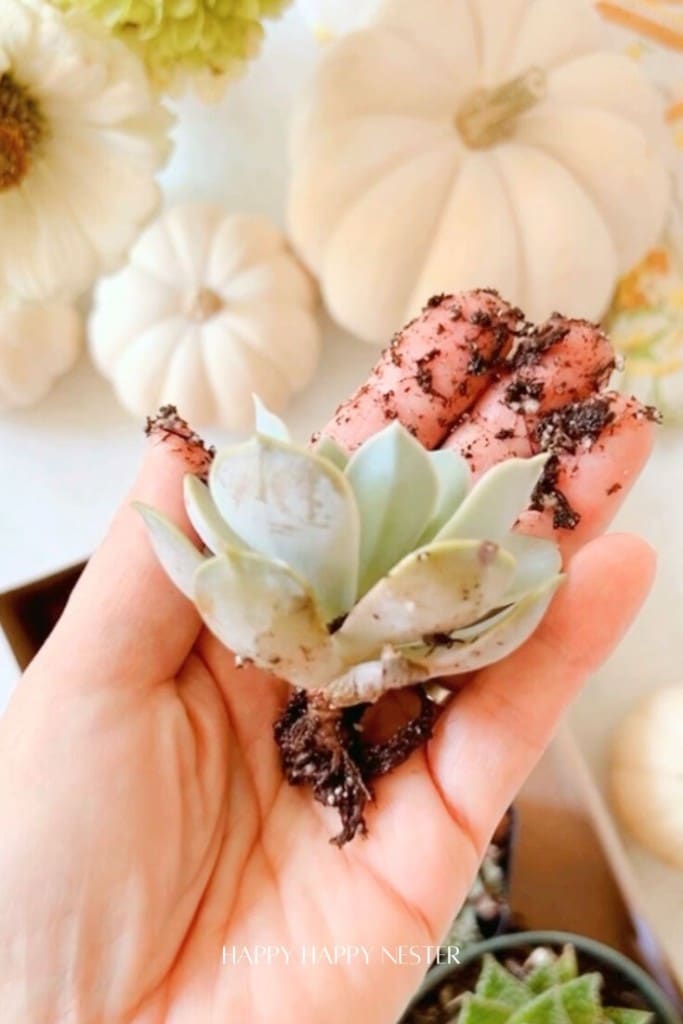
Step 3 – Remove Succulent from Pot
Carefully take each succulent out of its pot, gently removing as much soil as possible from the roots. You want the roots exposed, so they lie flat on the pumpkin surface.
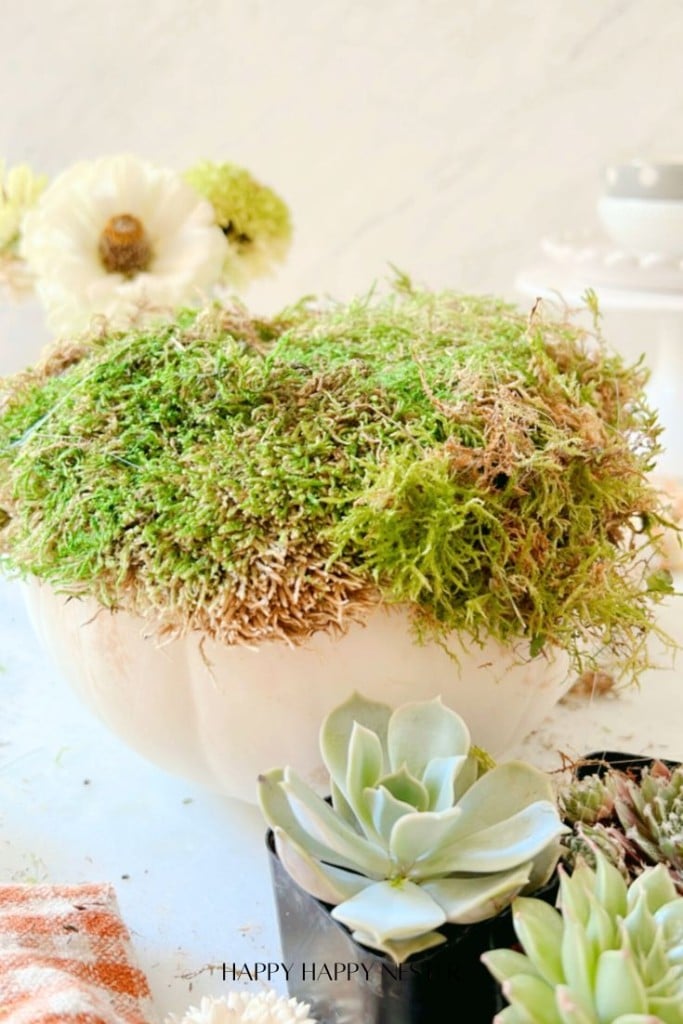
Step 4 – Hot Glue Moss to Pumpkin
Apply a layer of hot glue to the top of your pumpkin, then press the moss firmly onto the glue. This layer of moss acts as a base for your succulents and provides a natural, earthy look to the arrangement.
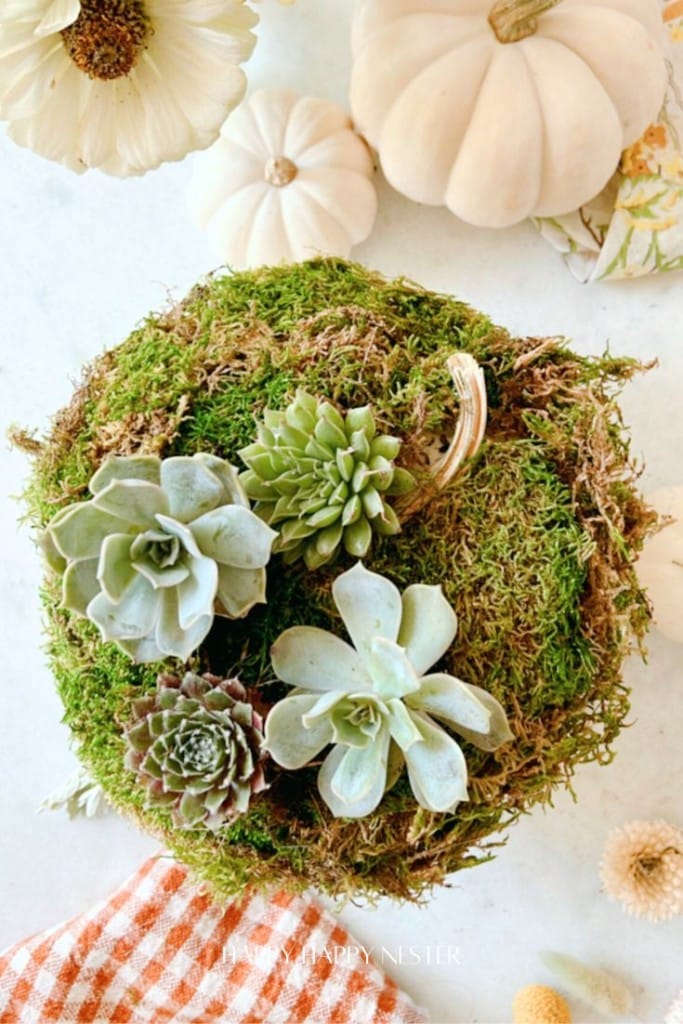
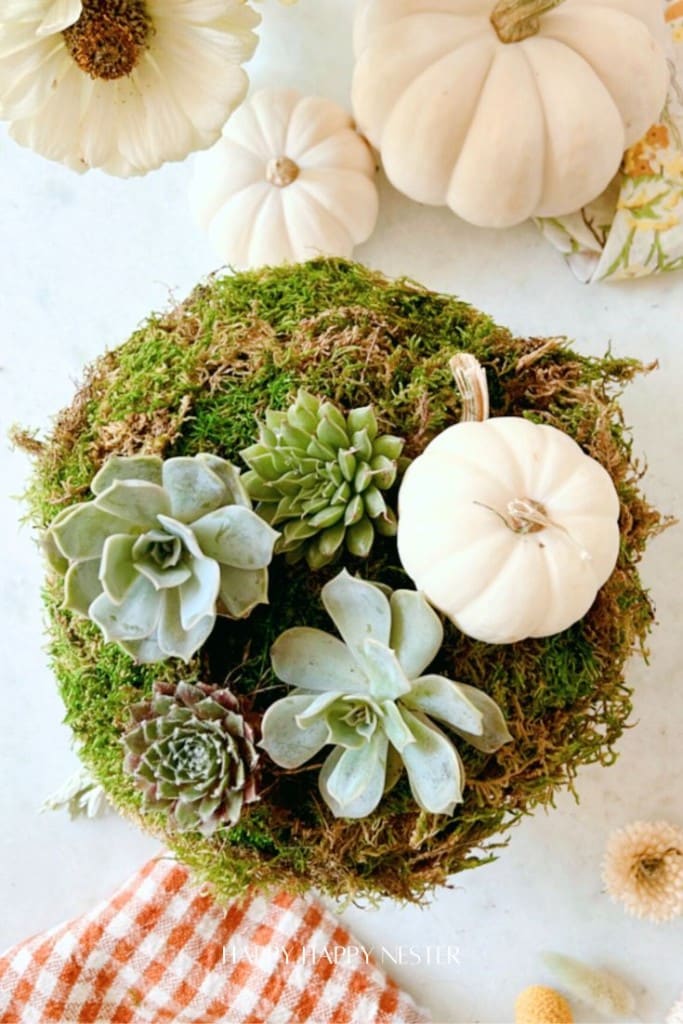
Step 5 – Attach Succulent to Pumpkin
One by one, apply a dab of hot glue to the base of each succulent and press it into the moss. Arrange the succulents however you like, making sure to fill in any gaps for a lush, full appearance.
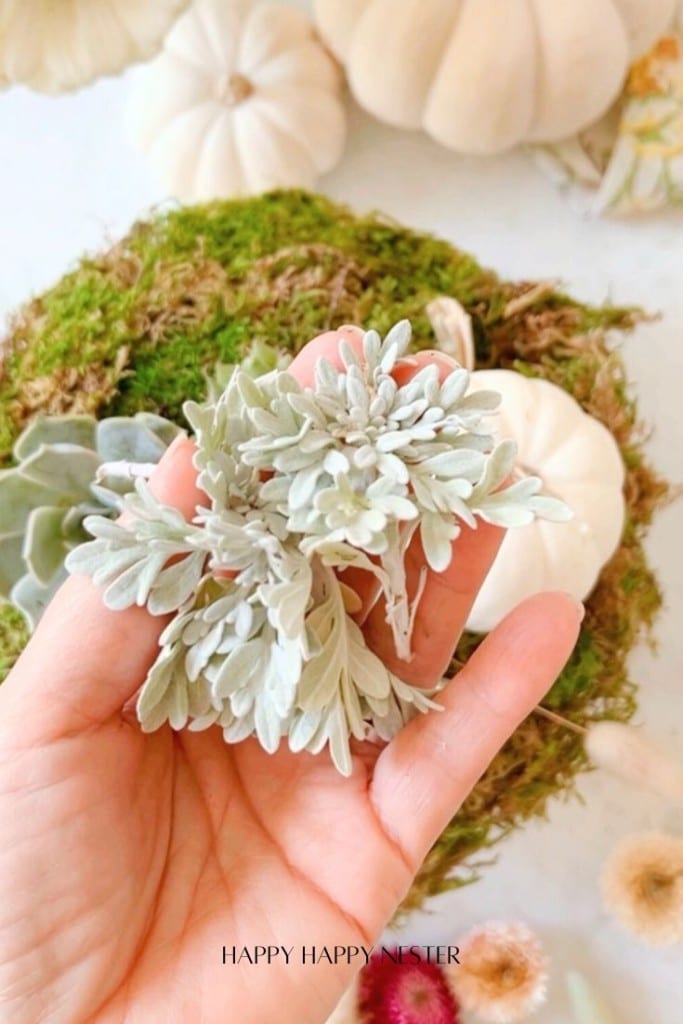
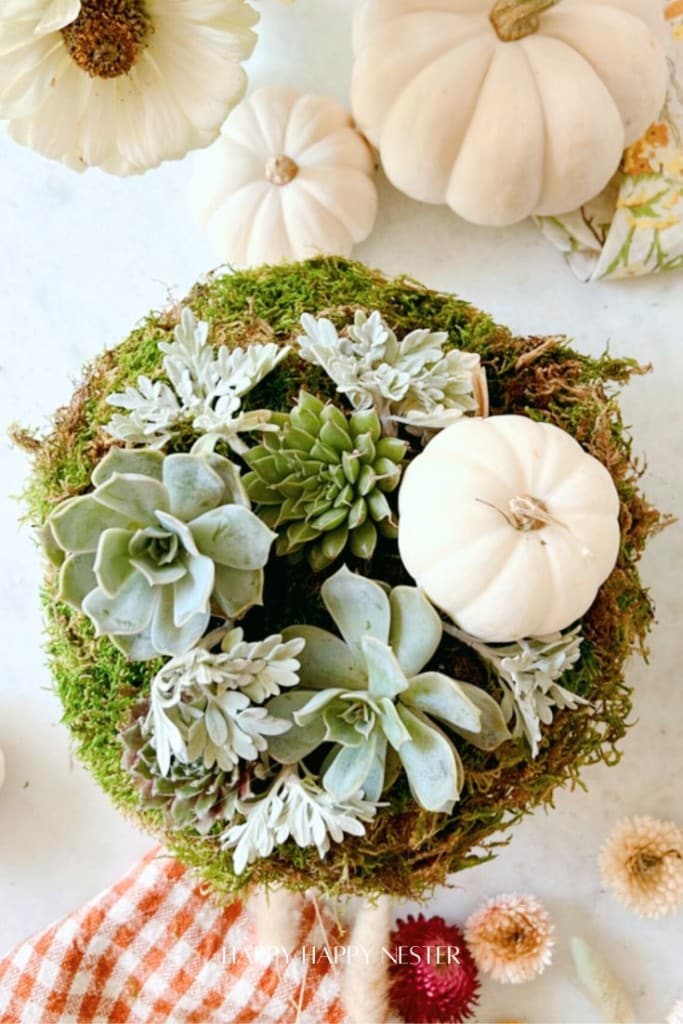
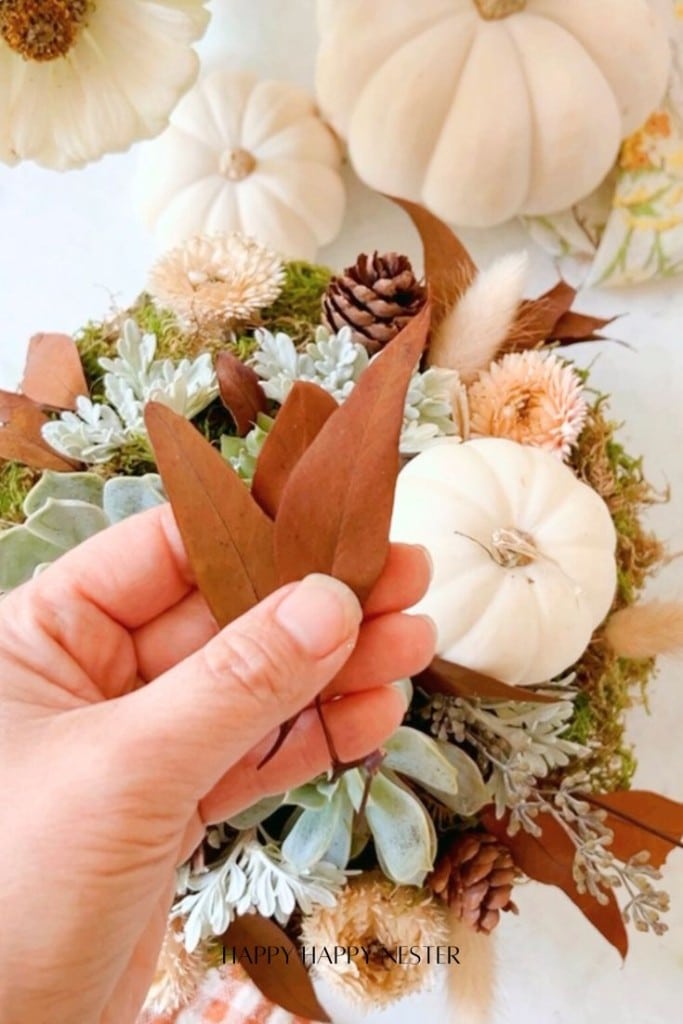
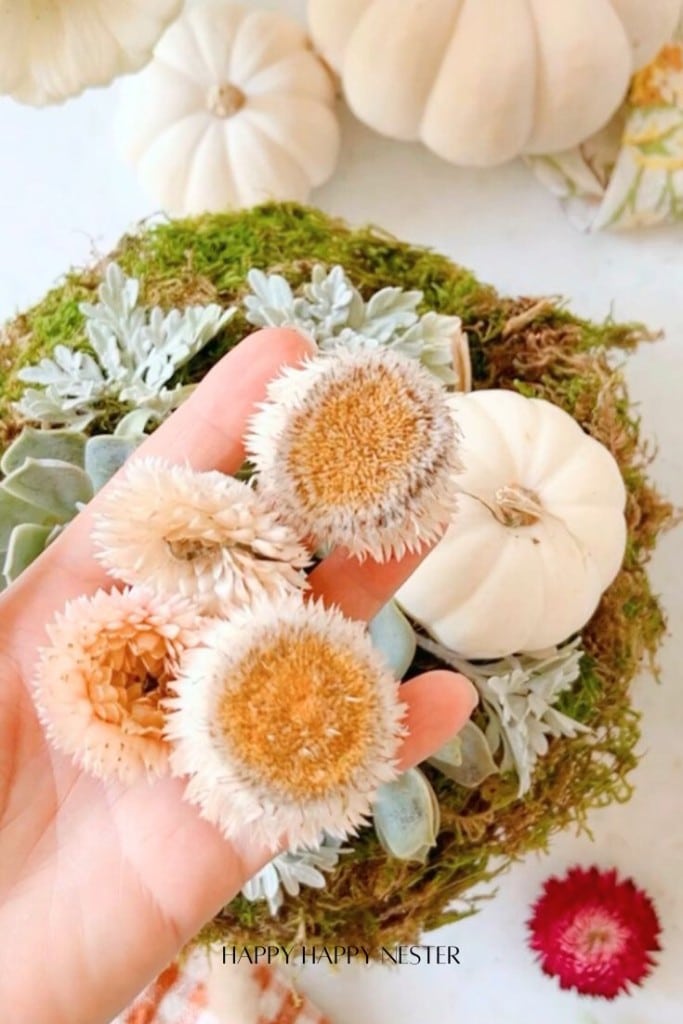
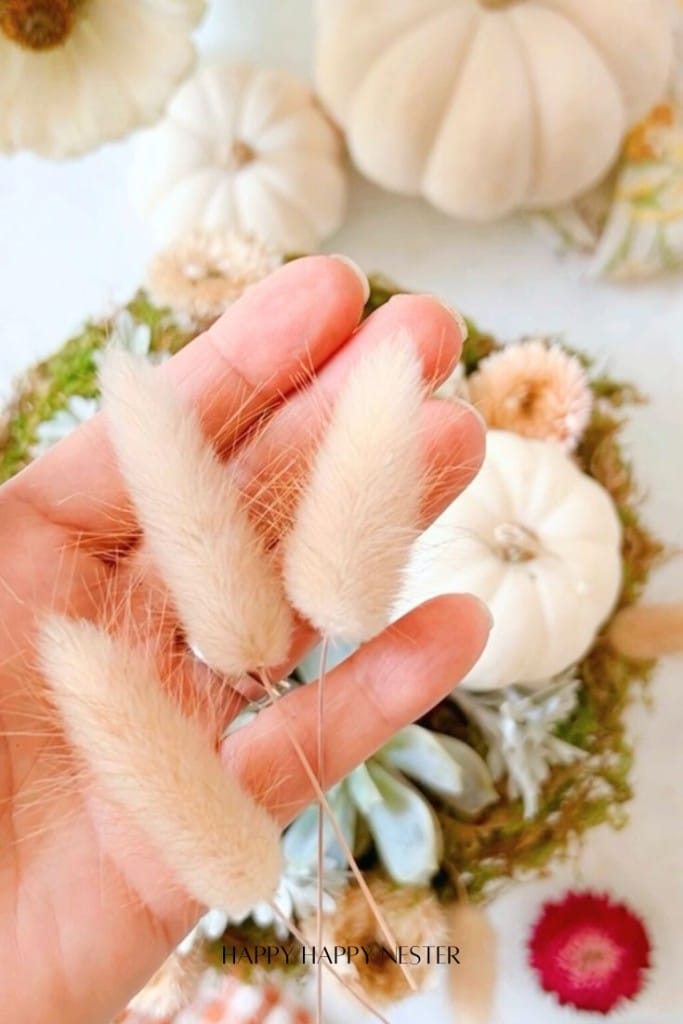
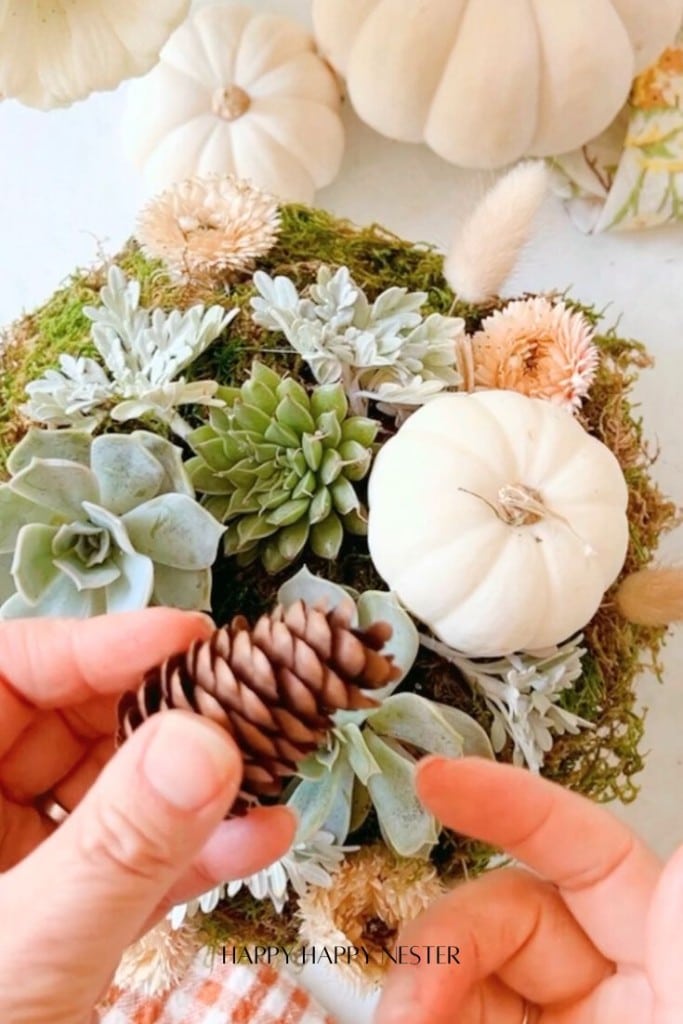
Step 6 – Add Final Touches
Once your succulents are in place, you can add small decorative elements like mini pinecones, acorns, or even a sprinkle of glitter for extra flair. These little details can make your succulent pumpkin centerpiece truly unique!
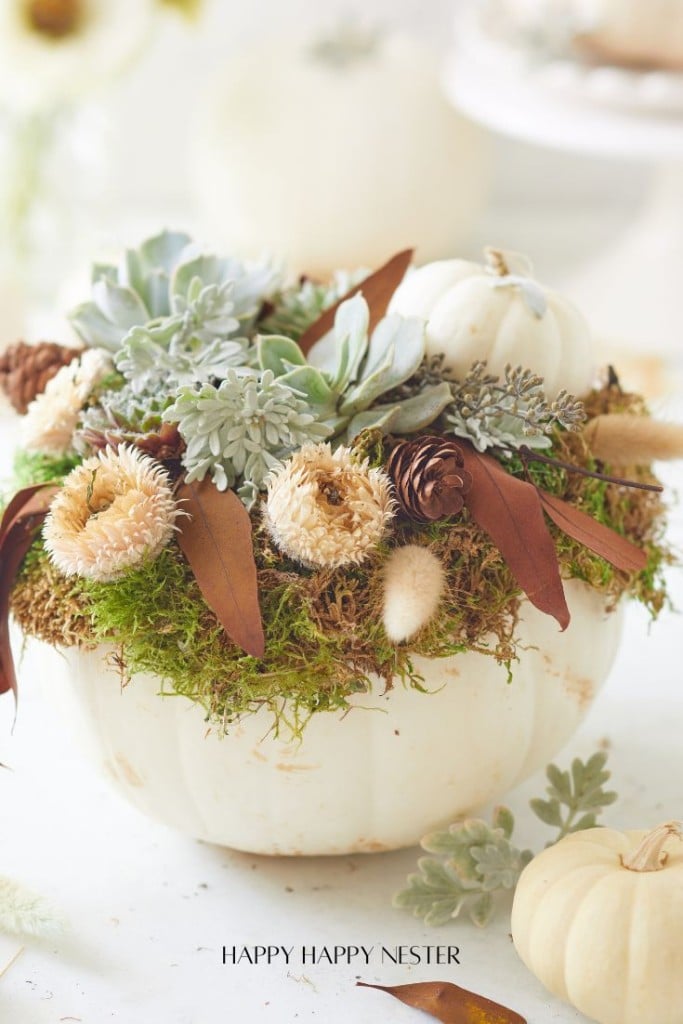
Step 7 – Display Your Succulent Pumpkin
Place your finished succulent pumpkin on your table, mantle, or anywhere that needs a festive touch! Enjoy this beautiful, long-lasting fall decor, and once the season is over, replant the succulents in your garden.
Frequently Asked Questions
A succulent-topped pumpkin can last anywhere from 2 to 3 months if kept in a cool, dry location. Once the pumpkin softens, you can remove the succulents and replant them.
To care for pumpkin succulents, mist the succulents lightly with water once a week and keep the pumpkin in a cool, dry place to prevent rotting. Avoid overwatering, as the succulents get moisture from the air and the pumpkin base itself.
No, hot glue doesn’t harm the succulents; it allows them to attach securely to the pumpkin without damaging the plants. The succulents will still root and grow, even after being glued.
Yes, once the pumpkin starts to decay, you can remove the succulents and replant them in soil, where they’ll continue to grow.
Place pumpkins in a cool, dry area, avoid direct sunlight and mist the succulents sparingly to keep them from rotting. Be careful not to gouge or nick the pumpkin’s skin, as any damage can cause it to rot more quickly.
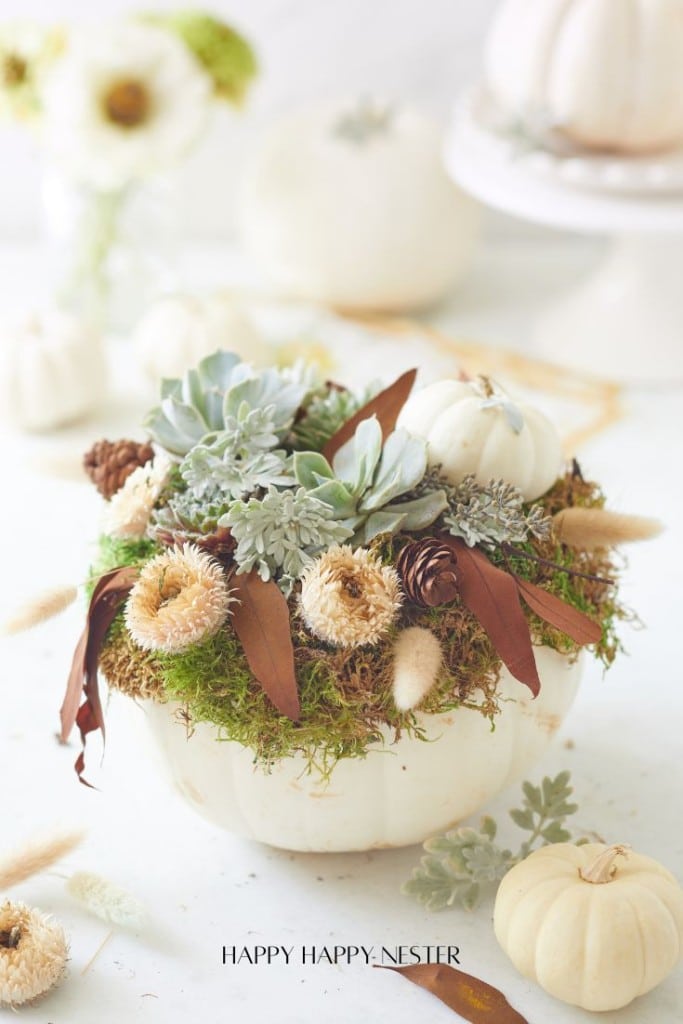
Thanks for joining me on this fun succulent pumpkins DIY! Creating these long-lasting fall decorations is an easy way to add seasonal charm to your home without worrying about constant upkeep.
Remember, keeping the pumpkin intact and lightly misting the succulents will help your succulent pumpkin arrangement last for months. This guide inspires you to craft your beautiful, low-maintenance, succulent pumpkin centerpiece this season.
Happy decorating!

Photo Credits: MyPhotography.com

- My New Favorite Products from Amazon - January 7, 2026
- Last-Minute Stocking Stuffers - December 24, 2025
- My Favorite Gift Wrap Inspiration - December 20, 2025

Leave a Reply