Fall Printable is the Happy Craft for the week. I’m super excited to join this crazy talented group of bloggers for this Fall Printable and Vignette Tour hosted by Kristen from Ella Claire Blog. You can find the list and printables at the bottom of this post.
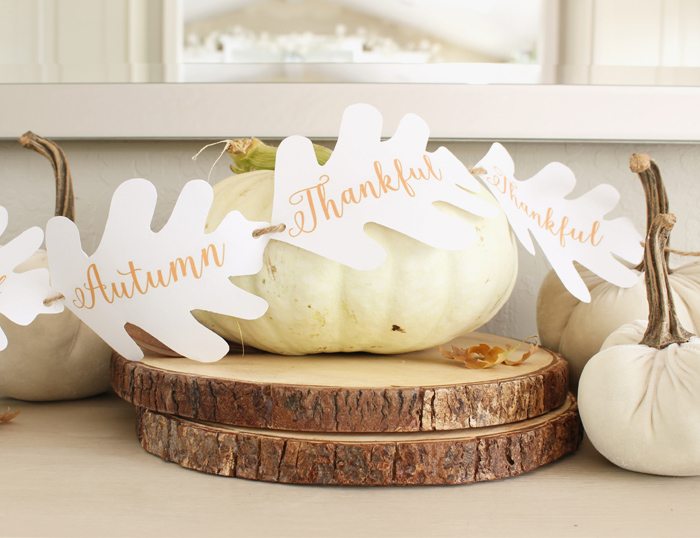
Last year, I created an easy Leaf Garland that is one of my most viewed posts.
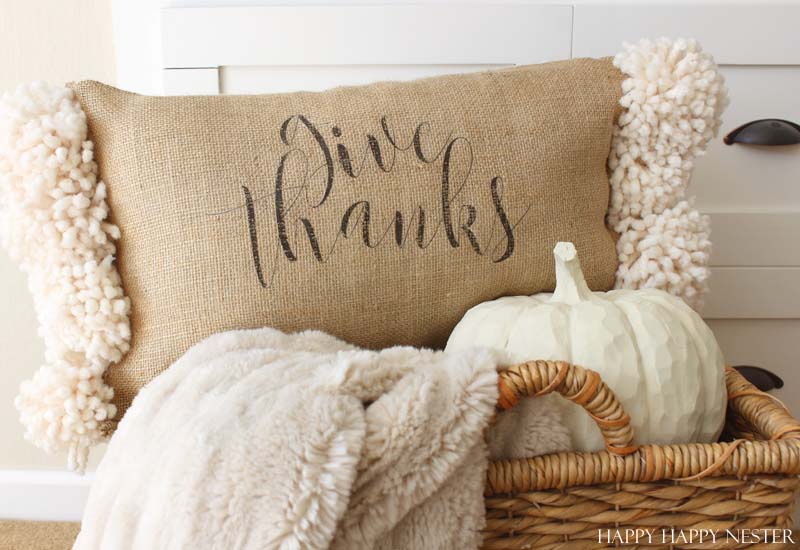
Hello Fall
It was one crazy summer.
My kids thought that I was too energetic and insane. Yes, I leaped from one project to the next as they sat around our house just doing what teenagers do best, chilling on their phones and computers.
Well, I do tend to have a project or two in the works, and lately, this has been the usual state of things for me.
And somehow, I was able to get my Fall Home Tour if any of you are interested.
I’m like a little hummingbird extracting the nectar out of the sweet honeysuckle flowers, flapping my wings so rapidly that you can’t see them.
My house is filled to the brim of projects all half completed.
So, I guess while making this printable, I was juggling a ton of thoughts in my mind, and you might say my brain was elsewhere. And the inevitable happened…
I ironed my knee.
I know, you are trying to picture how I accomplished this dangerous task.
Well, I had my cute little ironing board on the floor next to my whole photo setup. And yes, my knee was level with the board, and need I say more?
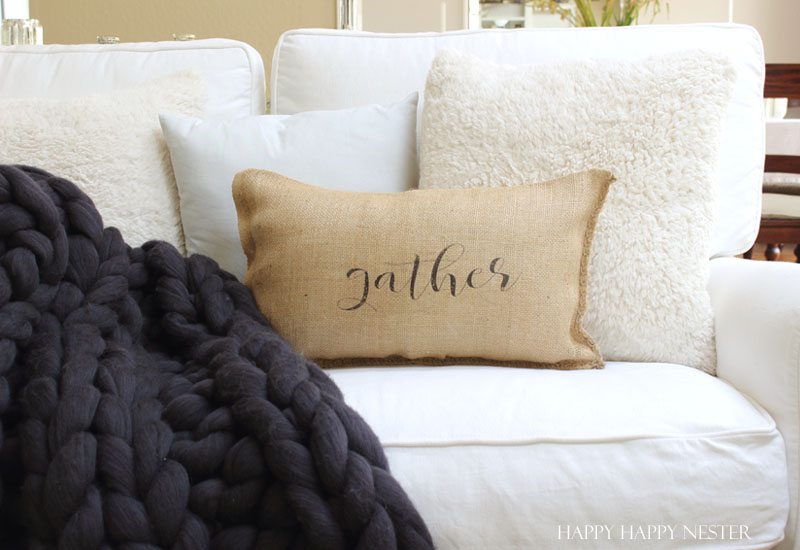
Yes, I need just to slow down and breathe deeply…
Take time to be present with my environment, activities, and family.
Become one with a slow-paced happy snail.
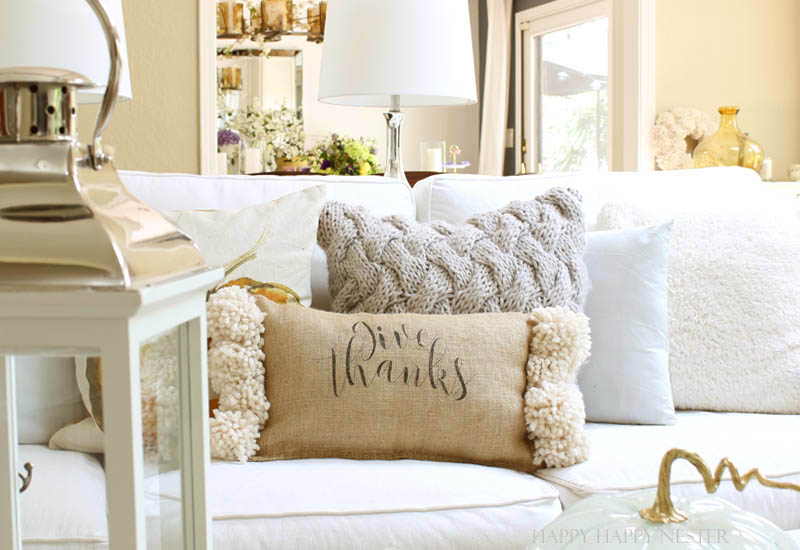
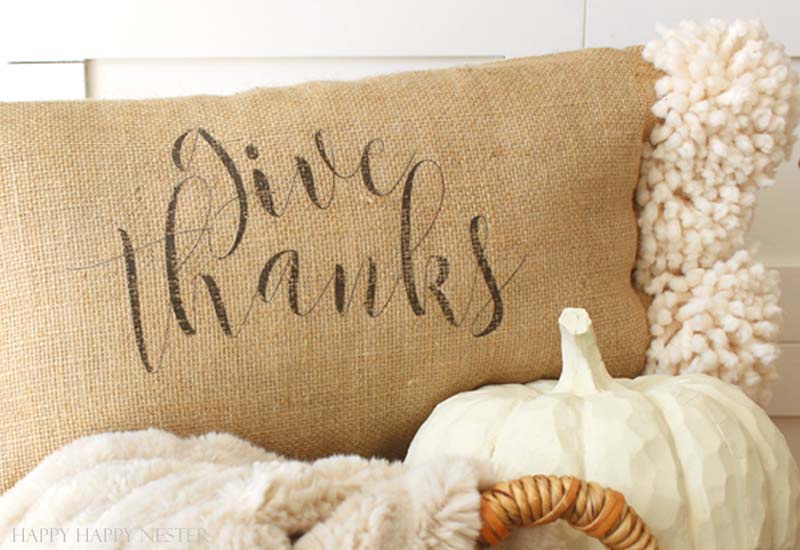
Slow down. Relax. And above all else Give Thanks.
This fall will be different.
I will enjoy my last year of my son before he heads off to college.
I’ll make time to sit around with my family and enjoy our great outdoor fires during the crisp fall evenings.
I’ll take a weekend road trip to Napa and walk among the beautiful red and orange grapevines.
I feel that my number one goal will be to be content with me.
Here is to a mellow and thankful fall!
Supplies:
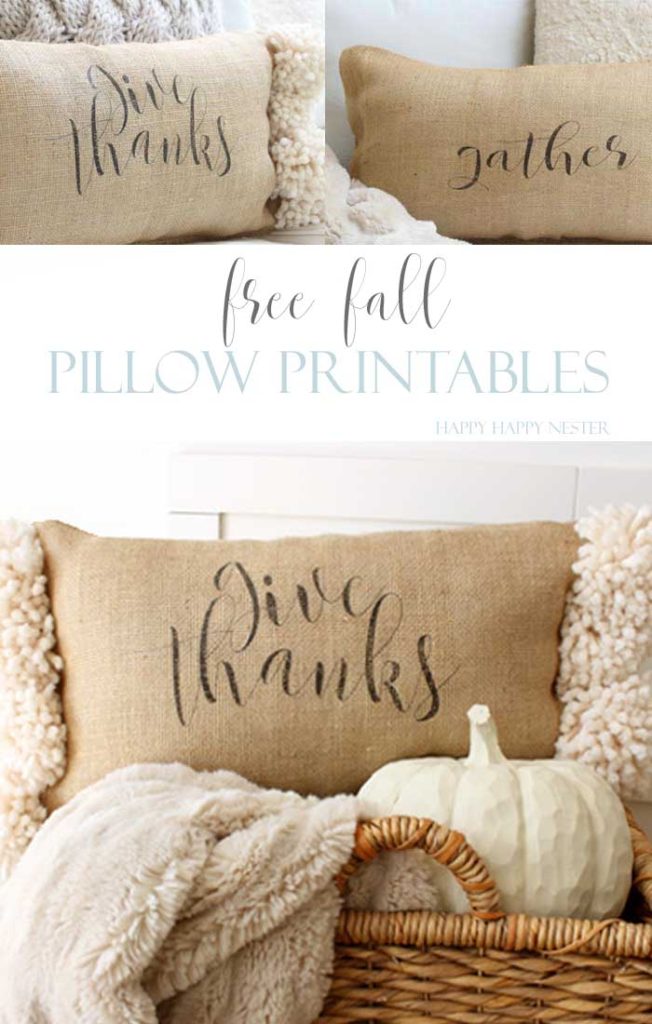
Download the Give Thanks and Gather Printables (Download via the form below)
Kitchen Cutting board
Snaps
Beige Thread/sewing needle
Iron
DOWNLOAD Give Thanks and Gather Printables Here:
Instructions:
Printing
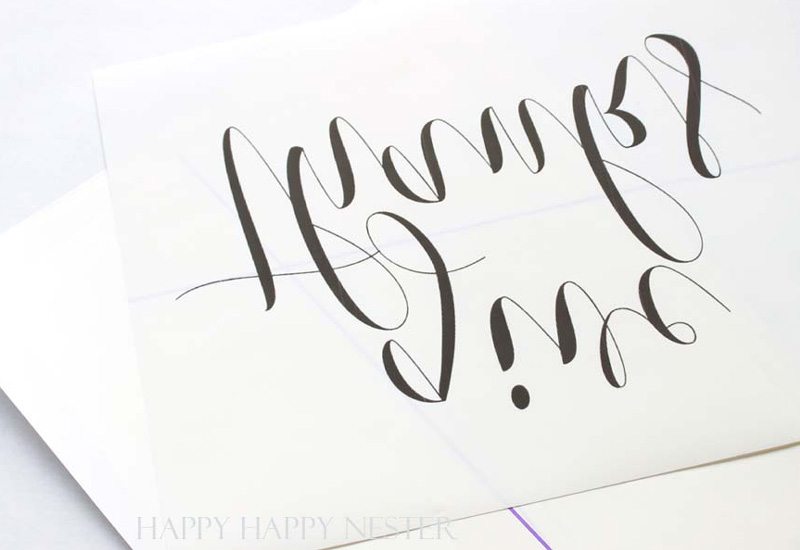
1. Print out a mirror image of “Give Thanks” or “Gather” on transfer paper. Make sure to print on the side of the paper that doesn’t have the blue line on it. I did a test of our printer and placed the words top on the top sheet, this would tell which side of the paper in the tray, it printed on.
Also, make sure your printer settings are horizontal for the paper.
Cutting
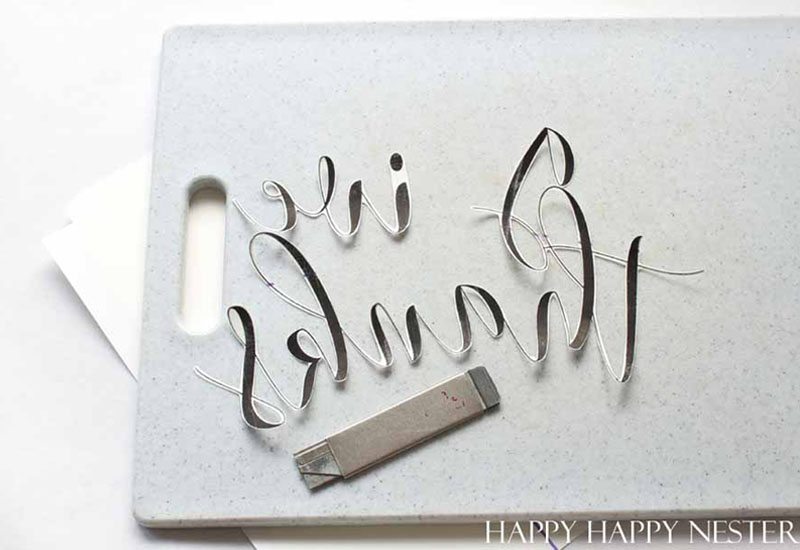
2. Cut close to the lines of the font. This transfer paper is glossy and when it transfers you’ll definitely want to cut out the letters rather than create a big circle around the design.
Ironing
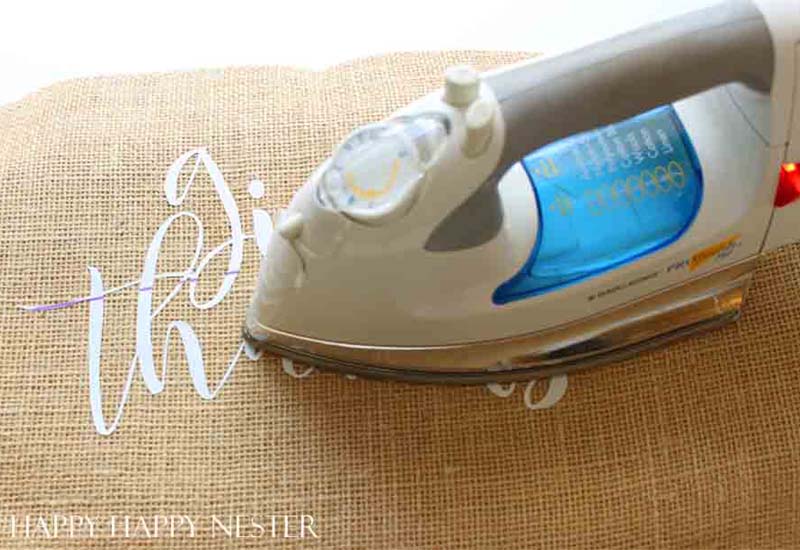
3. Iron your burlap bag so there are no wrinkles before transferring the words. Place your transfer paper with the black letter on the material. You should see the words now saying, “Give Thanks.”
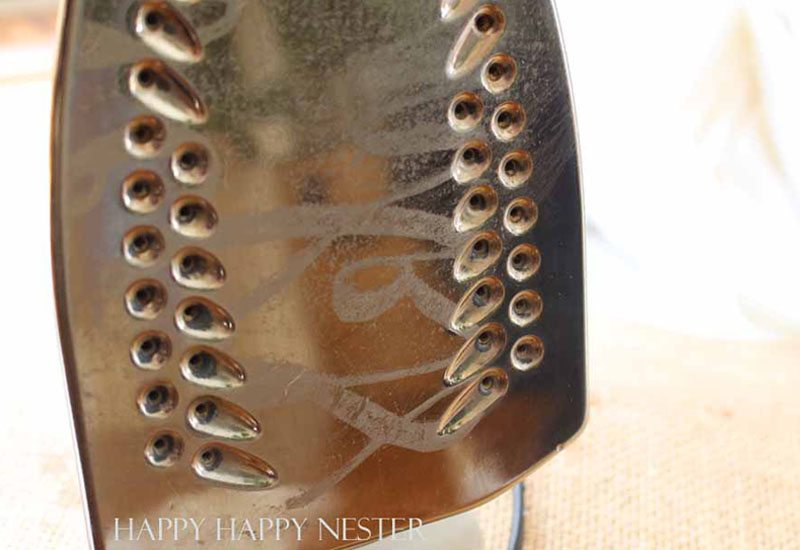
4. Turn on the iron to the setting that is without the steam feature. Once your iron is warm, iron your letters onto the pillow. I found I had to go over the words quite a bit to get them to adhere to the burlap.
Removing the backing
5. Let the letters cool and then pull back the white back slowly. And if it looks like the vinyl didn’t transfer make sure to iron again and press it into the fabric.
6. With all the white backing off, if you like the distressed look you can iron the letters lightly. Some of the black print will come off and look distressed. I accidentally did this and I loved the look. If you iron it too much your letters will disappear!
7. When washing make sure to use cold water and do not place it in the dryer. The transfer paper package says if you want to iron the image later, place a piece of parchment paper on top and iron. Well, I wouldn’t iron them at all. I did on one of my tests and the letters came off.
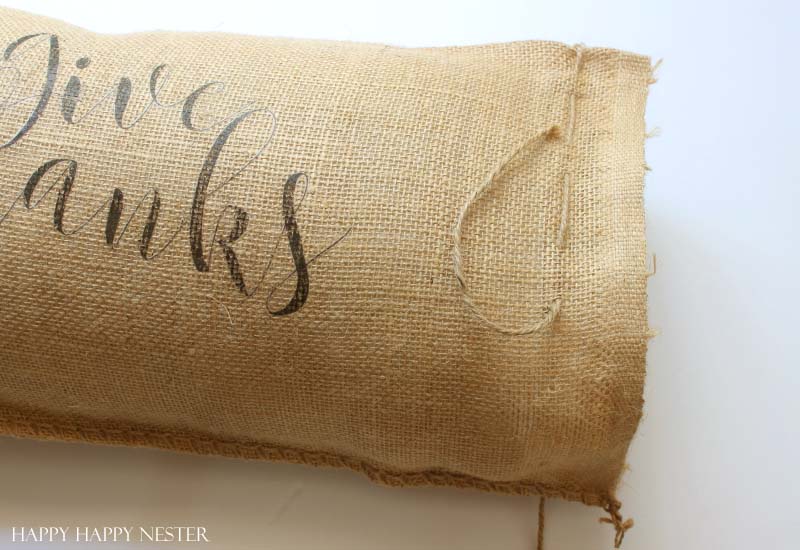
8. These already made burlap bags have a drawstring on the open end. I just pulled the string out and I sewed on snaps on the open end of the burlap bag.
Pom Poms
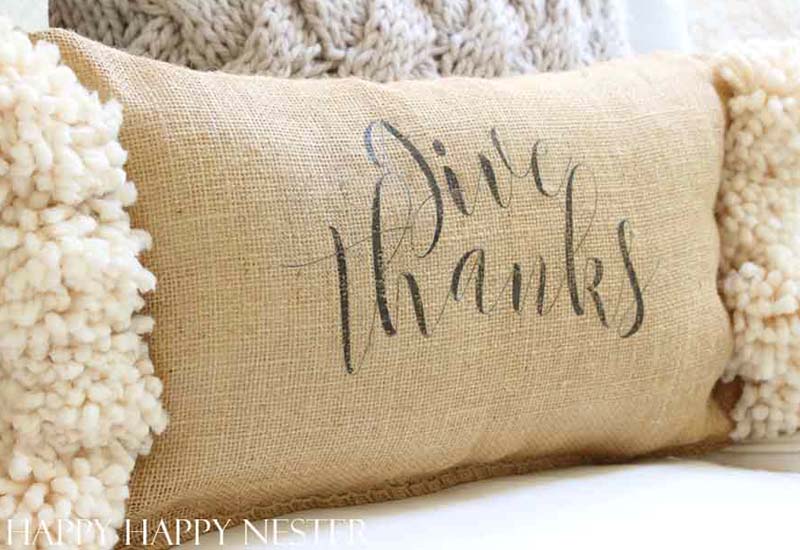
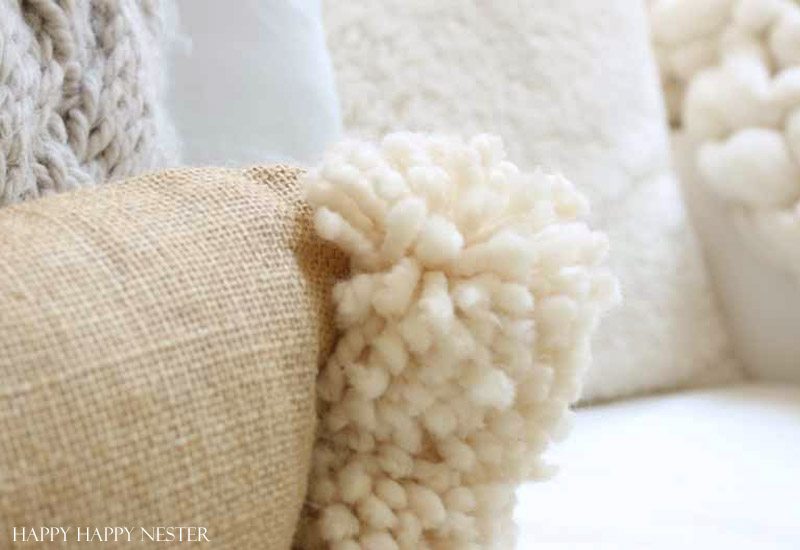
9. Next, I made pom poms and then hand sewed 4 pom poms to each end. Here is a great tutorial on how to make pom poms. Mine is 4 inches in length. And here the yarn that I bought off Amazon. I love the creaminess color of it.
But you can also forego making the pom poms and create a pillow without them. Both look so cute!
So, you succeded in making your own transfer pillow! If you are in the mood for fall pillows, I found the cutest ones that will jumpstart your autumn decorating.
Have a creative week and see you next Monday!
Happy Touring
“They Broke Bread” and Watercolor Pumpkin Place Cards by Ella Claire | Vintage Bird Printables by Town and Country Living | Bread Wrap by TIDBITS | Fall Feather Printable by Taryn Whiteaker | Apple and Eucalyptus Free Fall Printable by So Much Better with Age | Block Printed Leaves by Shades of Blue Interiors
Fall Has Always Been My Favorite by A Burst of Beautiful | Fall Floral Plate Chargers by Zevy Joy | Starting over in fall by anderson + grant | Watercolor Honey Crisp Apple by Finding Silver Pennies | 4 Fall Feather Prints by Refresh Restyle | The Deer King by My Someday in May
Autumn is the Hush Before Winter by Clean and Scentsible | Watercolour Succulent Pumpkins by The Happy Housie | 4 Watercolor Wreaths by My Uncommon Slice of Suburbia | Gather Here with a Grateful Heart by Craftberry Bush | Fall Fun by My Sweet Savannah | Watercolor Grateful Printable by Maison de Pax
Autumn Tea Tag Printables by Paint Me Pink | Leaves Falling by Lolly Jane | Happy Fall Watercolor by Kelly Elko | Heirloom Pumpkin Watercolor Series by Nina Hendrick Design Co. | I Never Met a Pumpkin I Didn’t Like by Live Laugh Rowe | Bountiful Blessings by Unskinny Boppy
Autumn My Cozy Friend by In My Own Style | Fall Chalkboard Tags by Home Stories A to Z | Thankful Grateful Blessed Printable Tags by Nest of Posies | A Happy Pillow Made Just for You by Happy Happy Nester | Fall Botany Art Gallery Wall by Bless’er House
- Chocolate Covered Quinoa Recipe - February 5, 2026
- Valentine’s Day Gifts from Amazon - February 4, 2026
- My Favorite Cleaning Items from Amazon - January 28, 2026


Leave a Reply