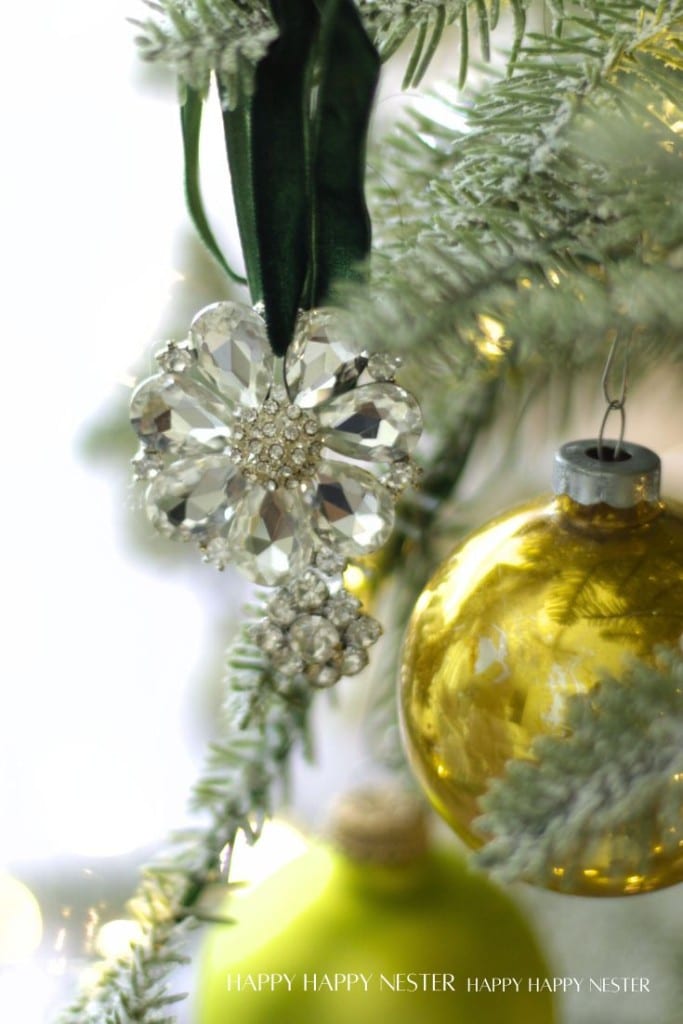
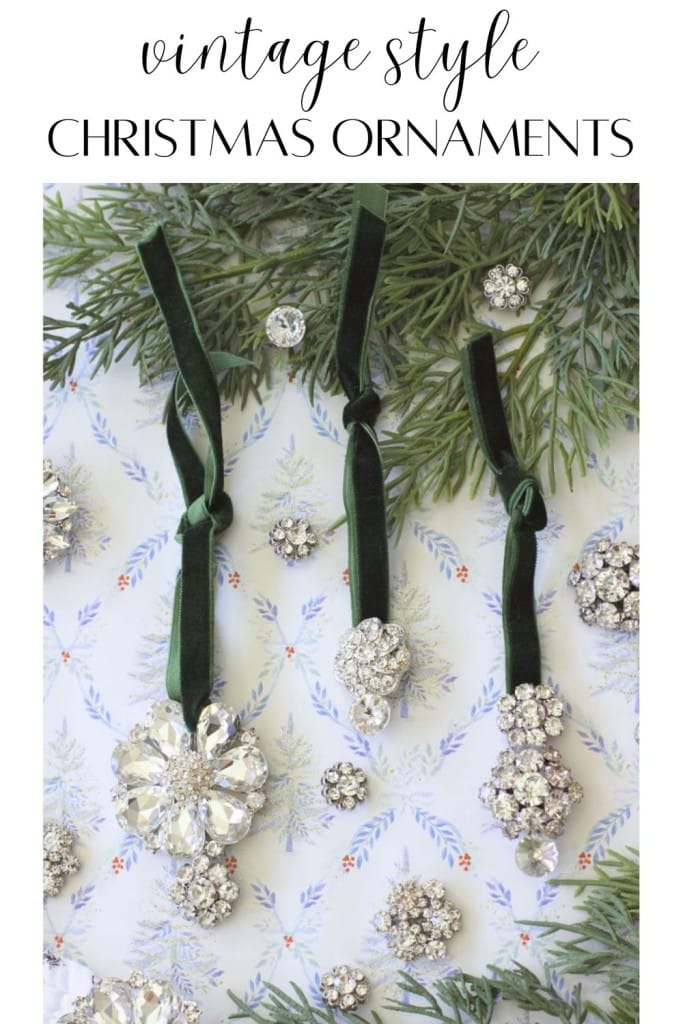
Vintage Style Christmas Ornaments DIY projects are a beautiful way to bring a touch of nostalgia and sparkle to your holiday decor. In this easy and elegant craft, I’m transforming retro-style rhinestone buttons into dazzling ornaments trimmed with soft velvet ribbon.
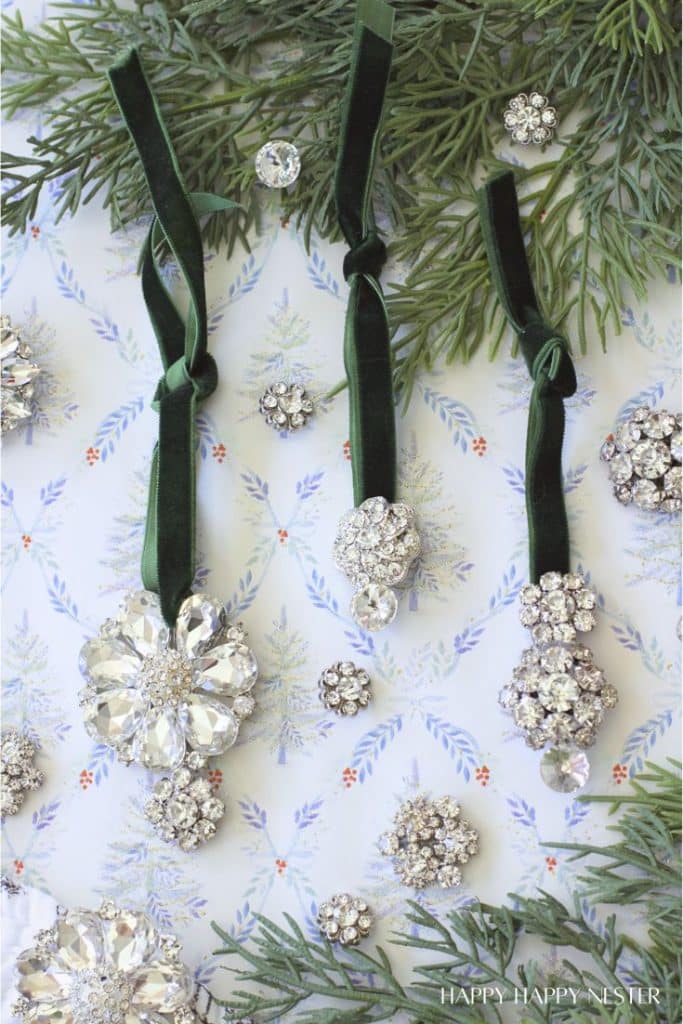
The mix of sparkly rhinestones and vintage textures gives these ornaments that cozy, old-fashioned holiday charm we all love. You can hang them on your tree, tie them onto gifts, or sprinkle them around your home for a touch of Christmas sparkle everywhere!
It’s been a little chaotic over here lately. We moved into this rental home back in July, and here we are in November… and I’m still digging through boxes to find my craft supplies. Some are in storage, some are stacked in the garage, and the rest? Who knows! So for this project, I ended up making multiple trips to the craft store for things I definitely already own somewhere.
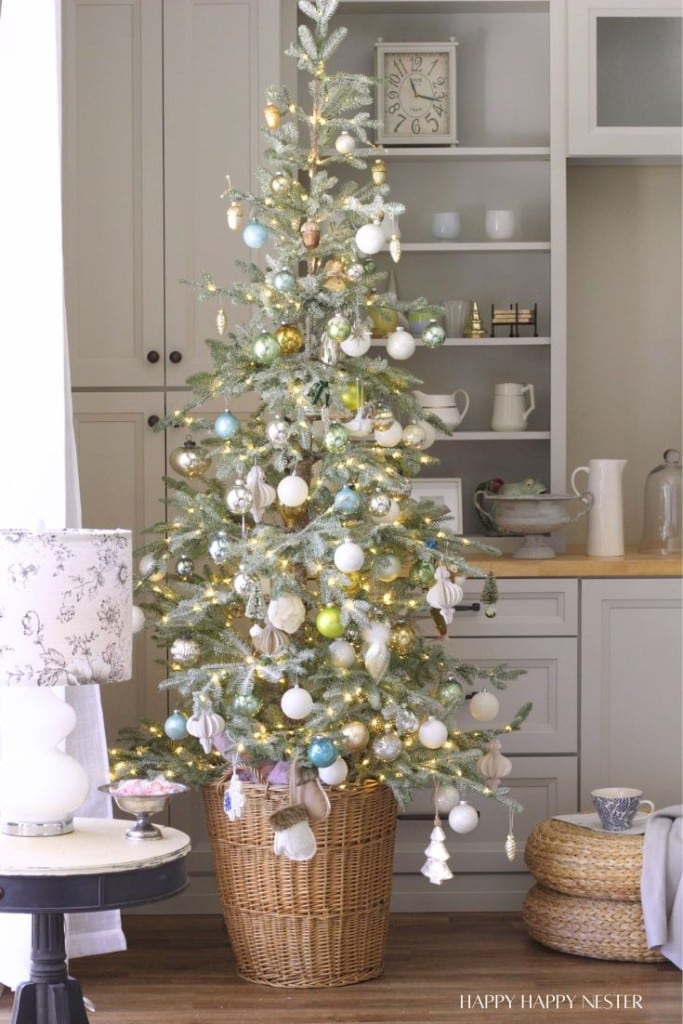
But hey—we made it! I finished the ornament and I’m actually really happy with how it turned out. I also stayed up way too late decorating our Christmas tree (you know how that goes). I’m still hunting for my white poinsettias to tuck into the branches, so the tree isn’t completely done… but I’m loving our very first Christmas season here in Florida. And honestly, this rental home has been such a cozy, happy place for the holidays.
I hope you enjoy this Vintage Style Christmas Ornament DIY—it truly is so easy to make, and it looks like something you’d find at Anthropologie (without that Anthropologie price tag!). It’s simple, sparkly, elegant, and inexpensive… all the best things!
How to Make Vintage Style Christmas Ornaments
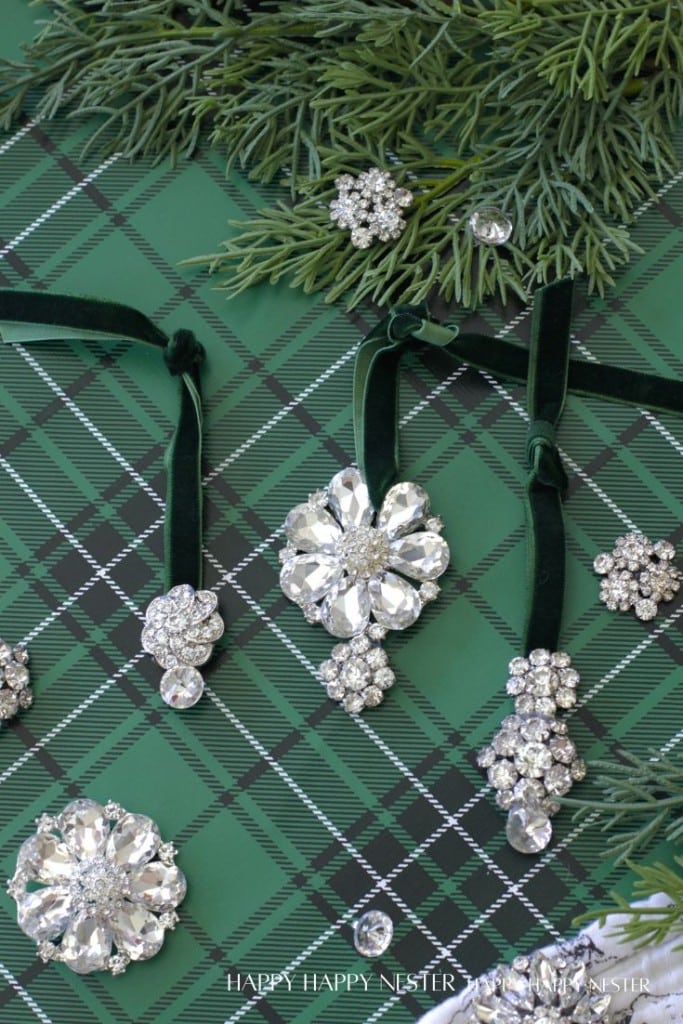
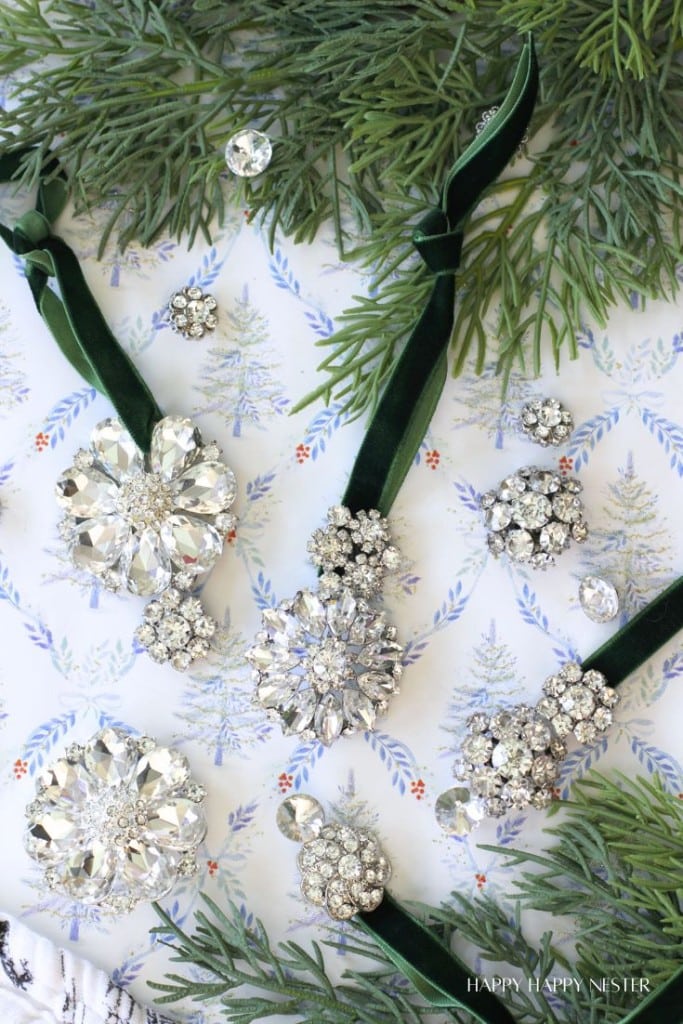
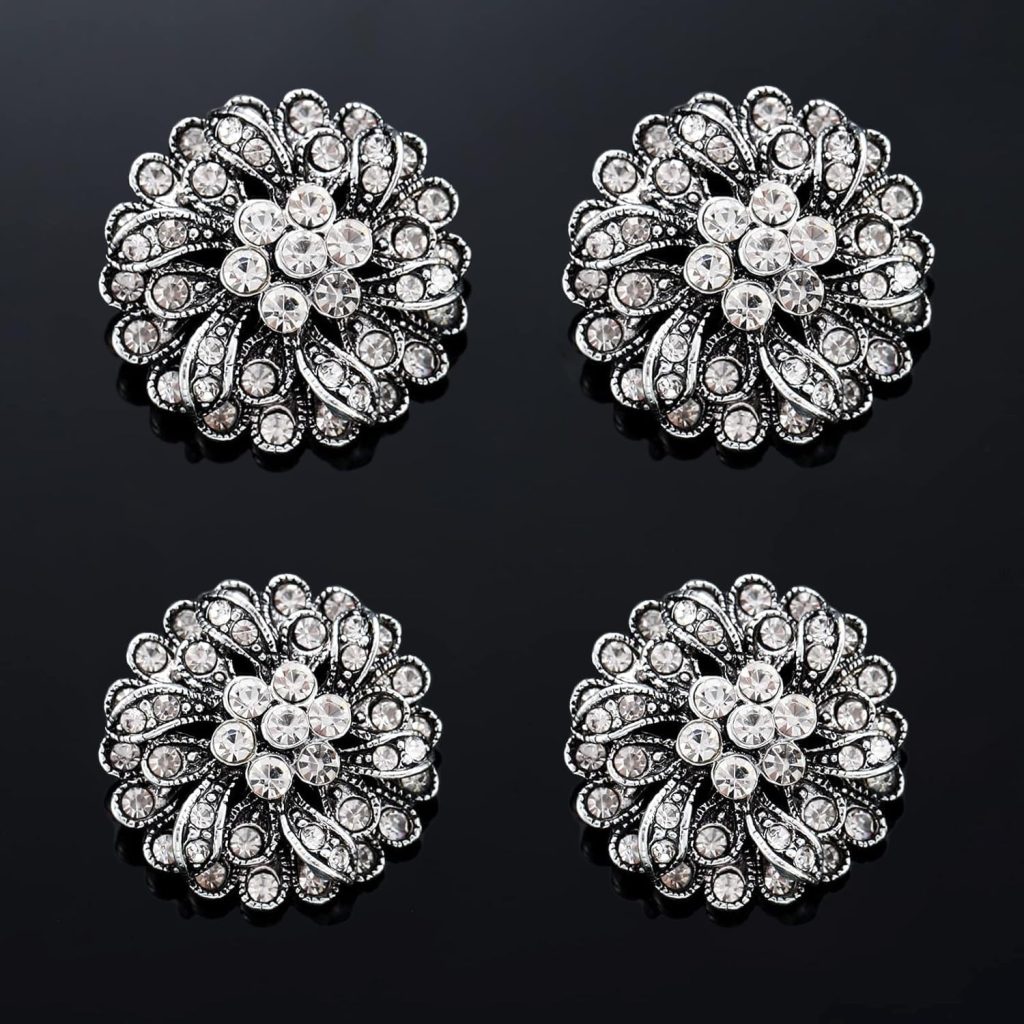
If you love creating one-of-a-kind holiday decor, these Vintage Style Christmas Ornaments DIY projects are the perfect way to add sparkle and charm to your tree. I used large rhinestone buttons that have that classic retro look — think glittery and elegant, just like the vintage glass ornaments from decades past.
To make them, simply thread a pretty velvet ribbon through the top of each rhinestone button and tie a bow to create a hanging loop. That’s it! They’re super simple to make and look absolutely stunning on the tree.
It seems like every year we have a Christmas ornament project for our fun little blog hop, and I love keeping that tradition going! This time around, though, I had a bit of a struggle—I still can’t find most of my crafting supplies. They’re probably packed away somewhere in the garage since I lost my studio space. Living in a smaller home definitely keeps me on my toes (and constantly searching through boxes!).
But enough about that—let’s get to the fun part! This year’s project is an easy and sparkly Christmas ornament DIY using vintage-style buttons. It’s quick to make, looks beautiful on the tree, and has that classic, old-fashioned holiday charm I adore.
And if you’re in the mood for more festive inspiration, I’ve linked a few of my favorite ornament DIYs below—each one is simple, creative, and perfect for adding a handmade touch to your holidays!
- DIY Pinecone Ornaments
- Clay Mushrooms DIY
- Snowflake Toilet Paper Rolls DIY
- DIY Christmas Diorama Ornaments
- Make Your Own Ornament with a Cloche
Supplies You’ll Need
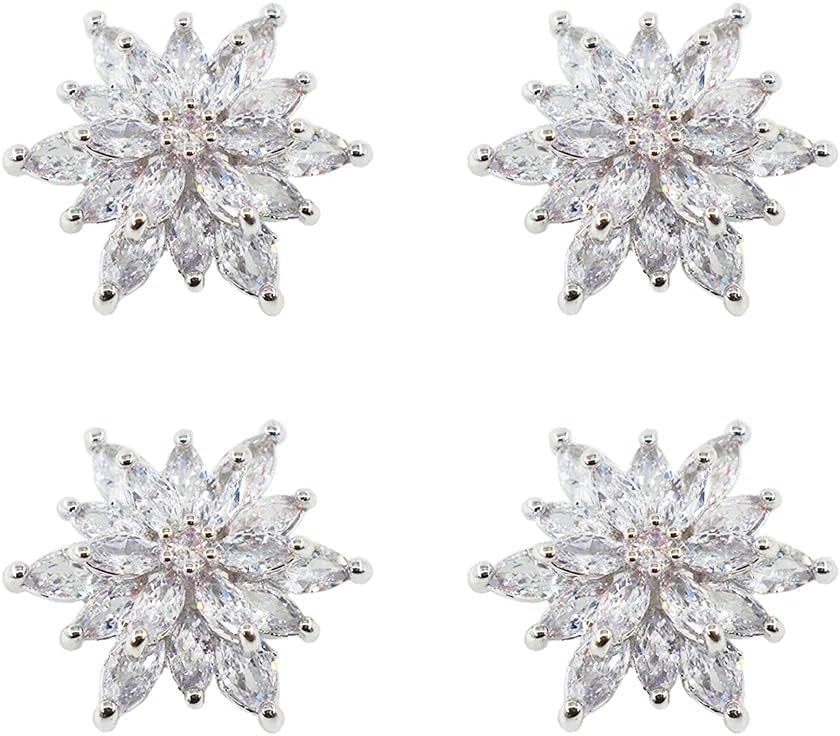
Large Rhinestone Buttons – These sparkly, retro-style buttons are the stars of this project! They instantly give your ornaments that glamorous vintage look and catch the light beautifully on the tree.
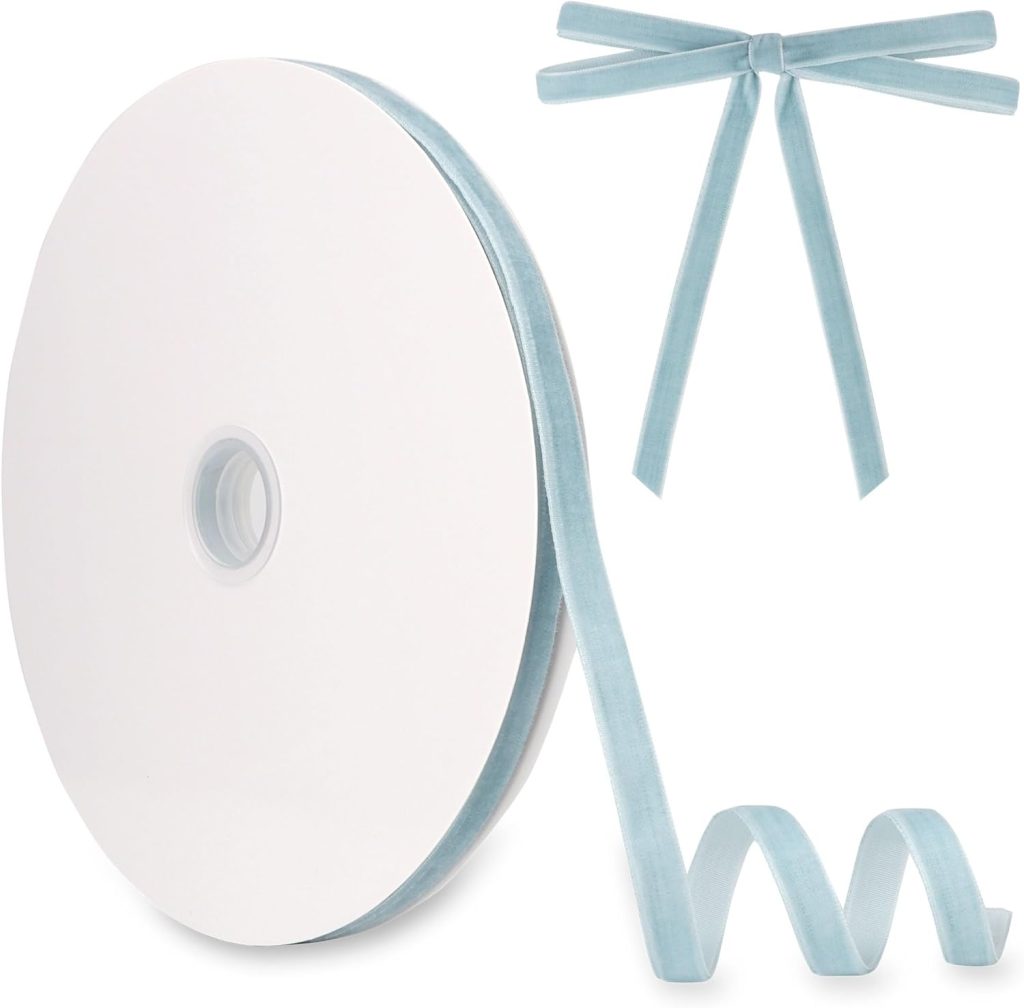
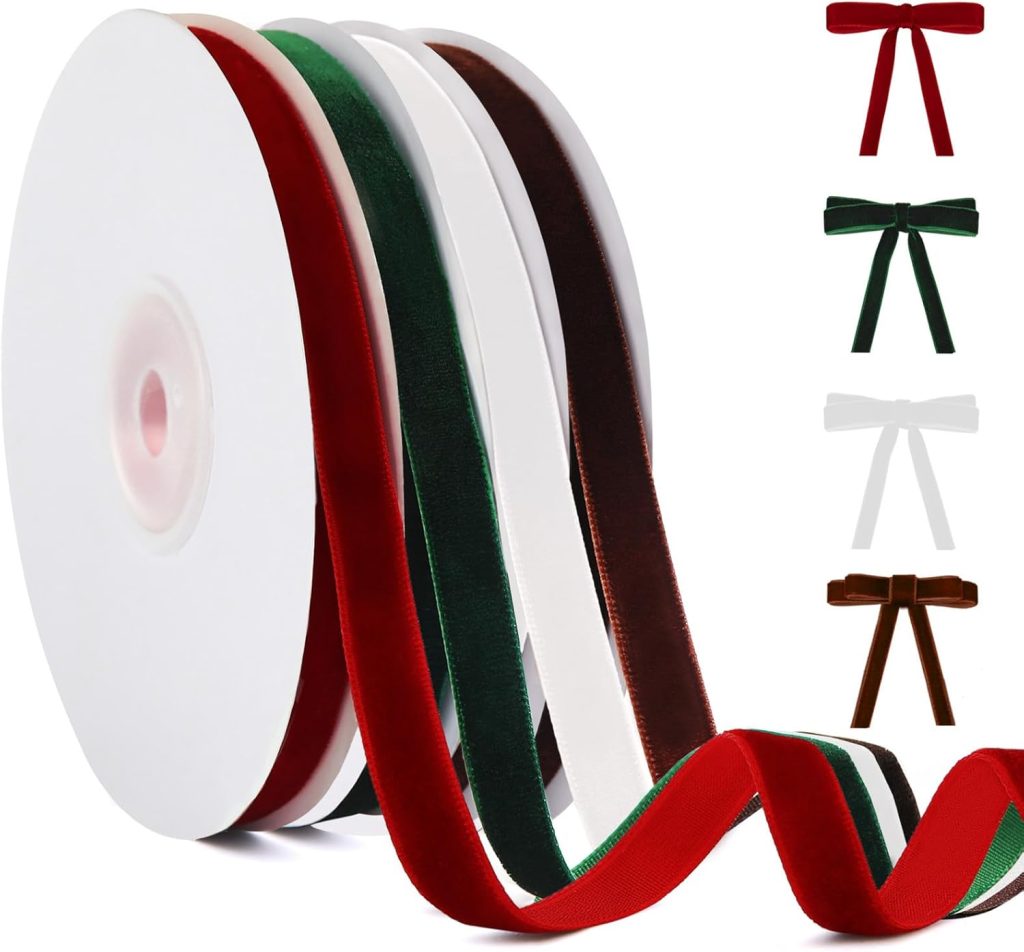
Pretty Velvet Ribbon – Velvet ribbon is so on trend this Christmas, and it adds the perfect touch of elegance and texture. Pick a soft, rich color like deep red, forest green, or champagne gold to complement the rhinestones—it doubles as both the hanging loop and a pretty bow for that timeless, festive look.
Step-by-Step Instructions
Step-by-Step: Vintage Style Rhinestone Button Ornaments
Step 1 – Design Your Ornaments
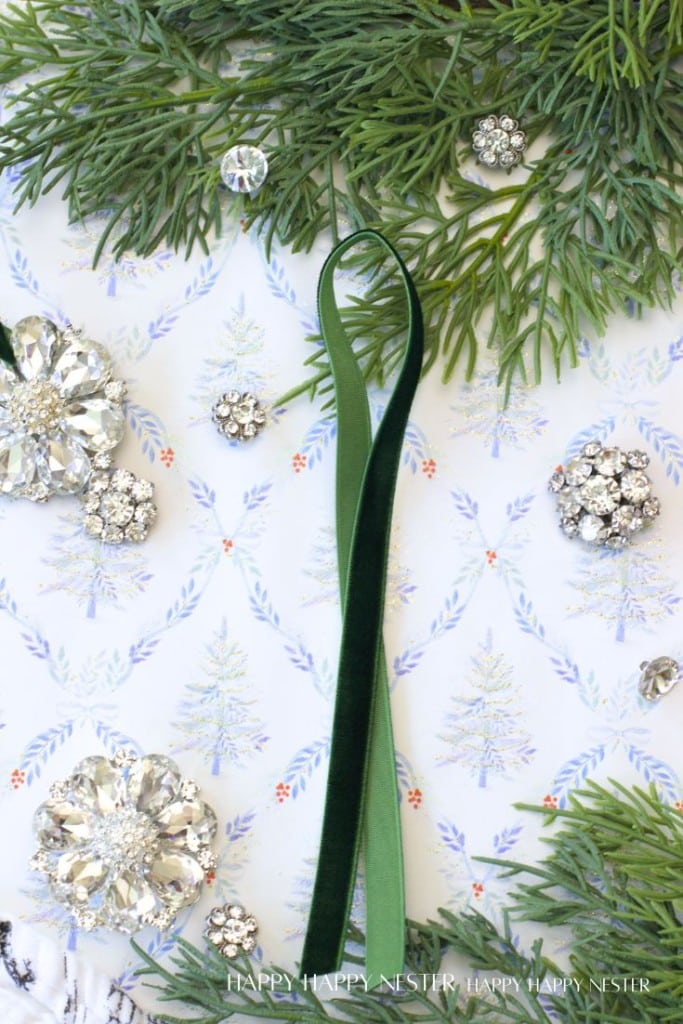
Lay your rhinestone buttons on a clean, flat surface and play with layouts (single button or stacked). This helps you choose sizes and ribbon colors before making a commitment.
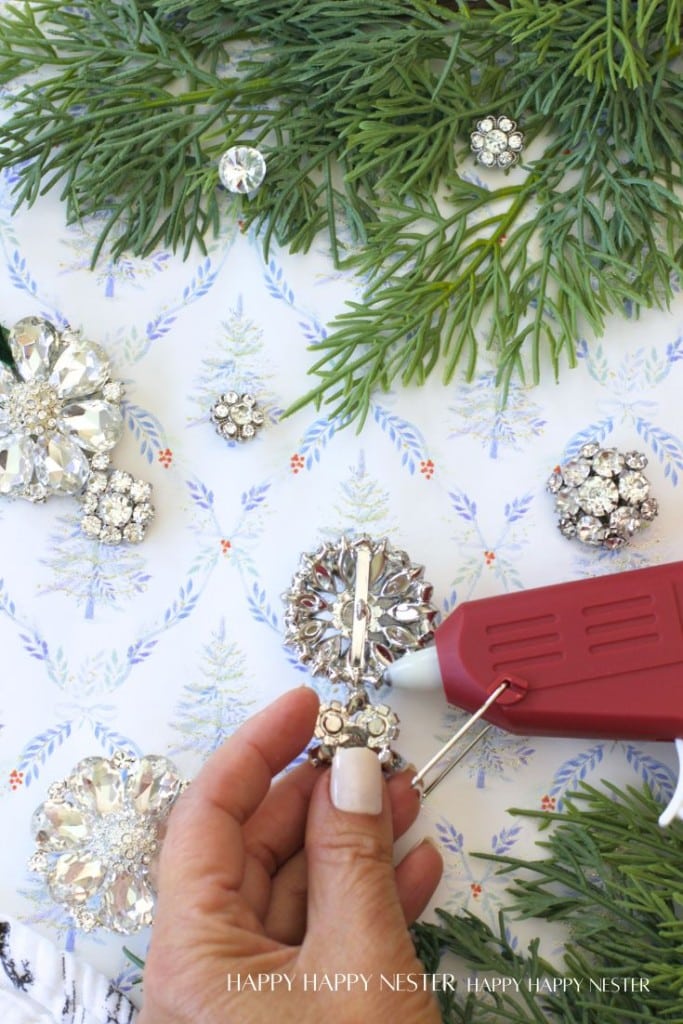
Step 2 – Glue the Buttons (Optional Stacking)
If you’re stacking, add a small dot of hot glue to the back of the top button and press it onto the base button. Hold 10–15 seconds until set. (Low-temp glue is best for plastic rhinestones.)
Step 3 – Thread the Ribbon
Use a narrow velvet ribbon (about ¼–⅜ inch). Thread it through the button holes and pull the ends even.
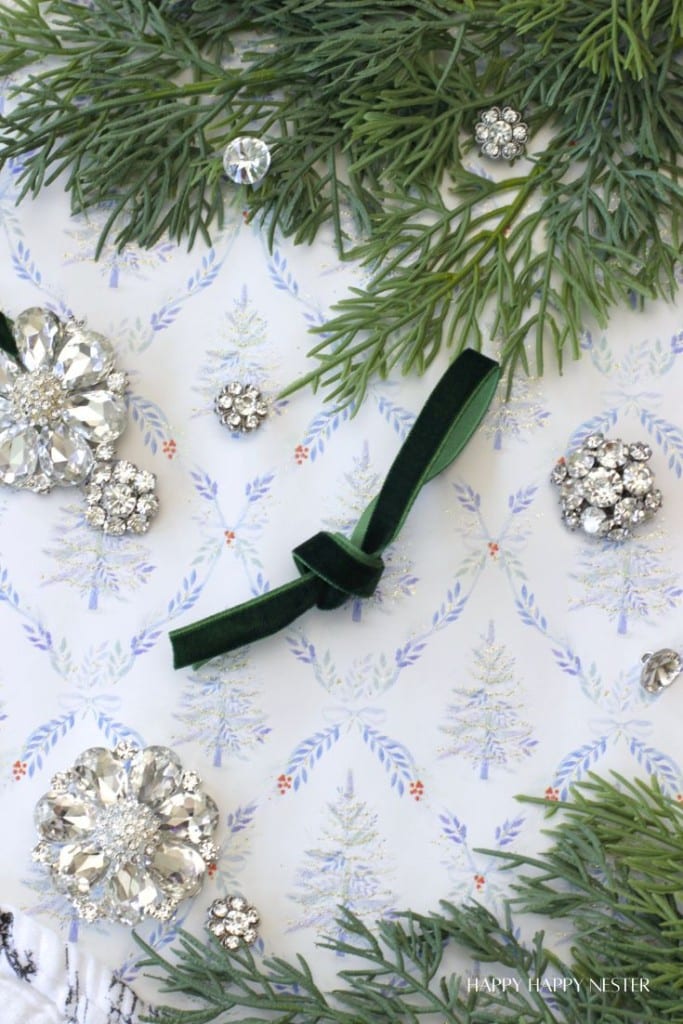
Step 4 – Tie the Hanging Loop
Tie a neat knot at the top to make your loop, leaving enough length to hang on the branch. Trim the ends and quickly seal with a lighter or clear nail polish to prevent fraying.
Step 5 – Add a Bow (Optional but cute!)
Tie a small velvet bow at the base of the loop for that luxe, vintage look. Adjust the tails so they sit nicely.
Step 6 – Let Everything Set
Give the glue a minute to fully cool/firm up, especially if you stacked buttons.
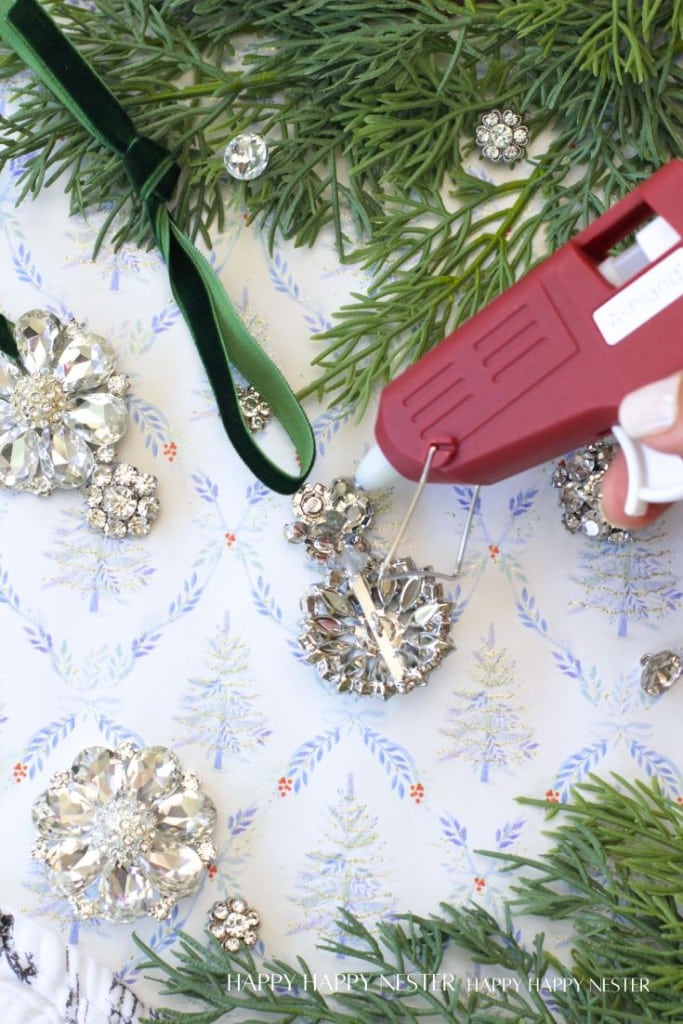
Step 7 – Optional Ribbon
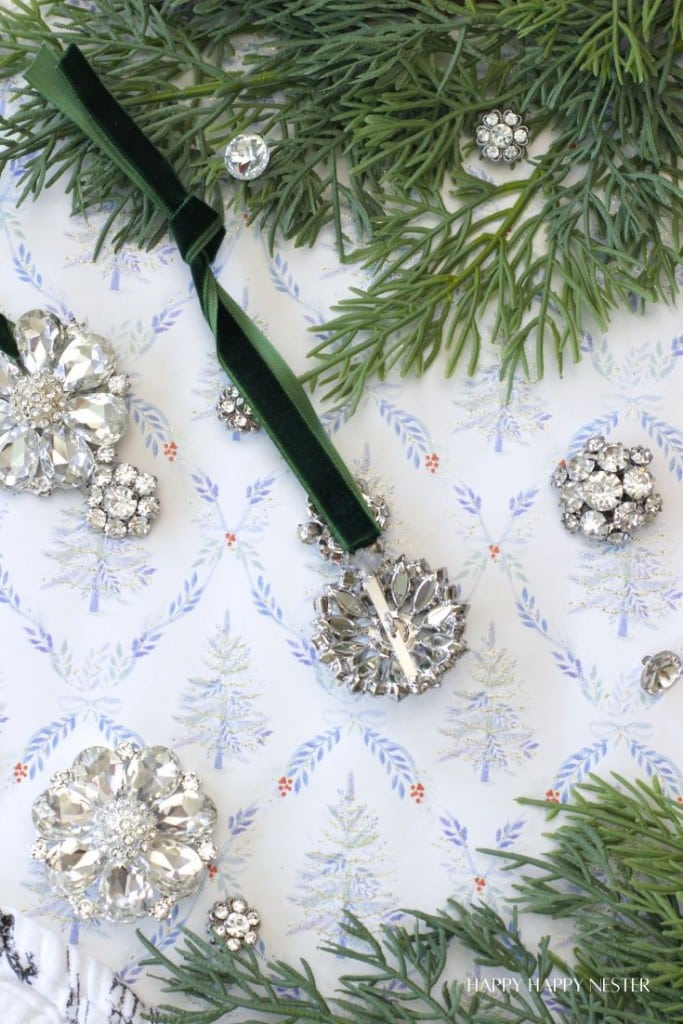
If your button doesn’t have a large enough hole to thread the ribbon through, no worries! First, create the hanging loop by bringing the two ends of the ribbon together and tying a small knot at the top. This will form the hanger for your ornament. Just place a small dot of hot glue on the back (near the top edge). Press the ribbon loop into the glue and hold it for a few seconds until it sets. This creates a simple and secure hanger without needing to thread anything. Let it cool completely before hanging.
Step 8 – Hang & Shine
Hook the loop over a tree bough and nestle your ornament near twinkle lights so the rhinestones really sparkle.
Pro Tips
- Velvet ribbon is trending this Christmas—match colors to your tree palette (deep red, forest green, champagne).
- For extra security on heavier buttons, add a tiny dot of jewelry glue (E6000) behind the knot or between stacked layers.
- Want a barely-there hanger? Swap ribbon for clear fishing line and add a separate velvet bow on the front.

Thanks so much for stopping by to see my Vintage Style Christmas Ornament. I really enjoyed making these and adding them to our tree this year. When December rolls around and I pull out my ornament boxes, it always feels like opening a little time capsule. The handmade ornaments are the ones that always stand out. They carry memories and stories with them.
I still have one my aunt made years ago—a tiny felt appliqué bird. It’s simple and sweet, and every time I hang it up, it brings back a flood of warm holiday memories. Those kinds of ornaments have a way of staying with us, year after year.
Happy crafting, and I hope you enjoy creating your own keepsakes. Make sure to check out my friends’ gorgeous ornament projects below—they’re full of sparkle, charm, and holiday cheer. ✨🎄
Cheers,

Blogger’s Best DIY Holiday Handmade Ornaments
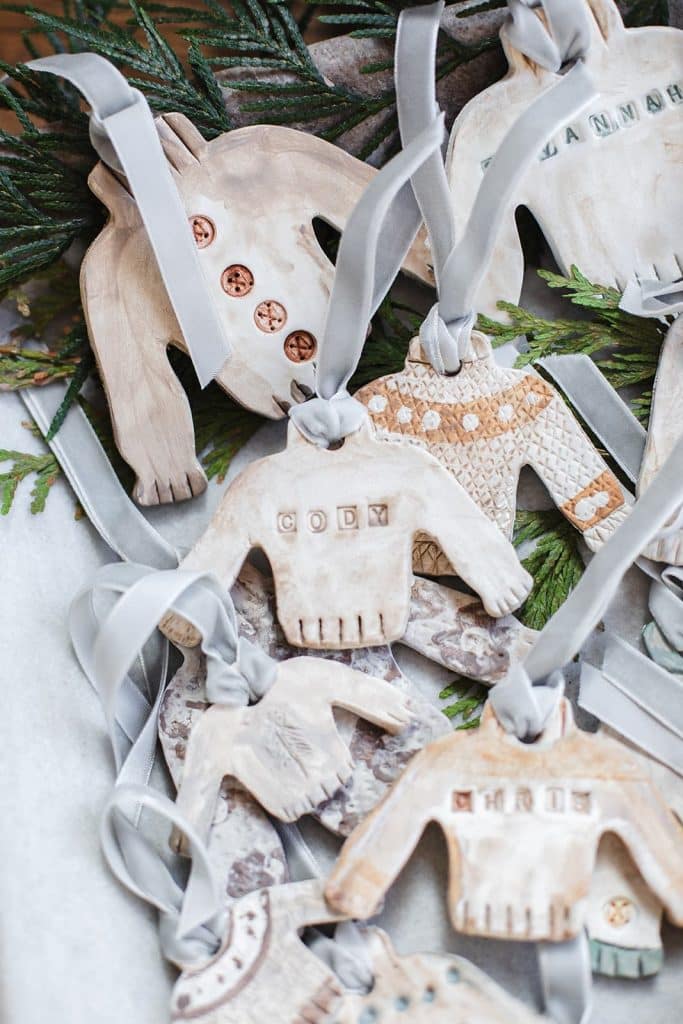
Homemade Clay Sweater Ornaments | My Sweet Savannah
Learn how to make homemade clay sweater ornaments with cookie cutters, paint, and ribbon for a charming holiday craft.
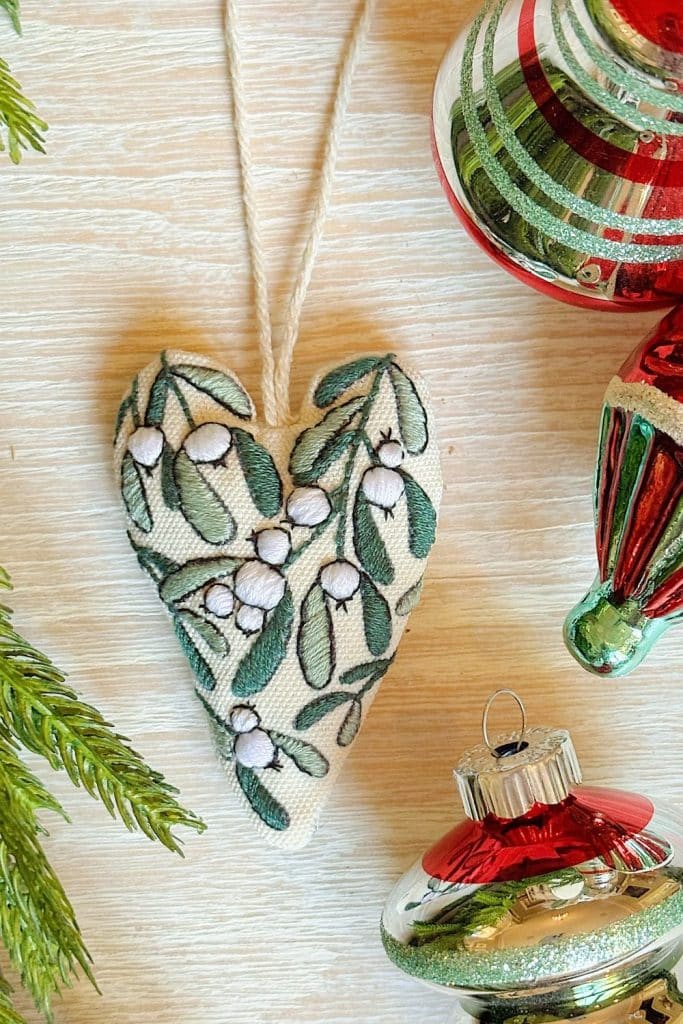
DIY Embroidered Handmade Christmas Ornaments | My 100 Year Old Home
There’s something so special about handmade Christmas ornaments … the kind that hold a story, a little bit of creativity, and a whole lot of heart. Every year, I enjoy discovering new ways to create unique and meaningful decorations for our tree, and this year’s project is something I think you will all enjoy. Why? Because it’s part of a kit to make eight handmade Christmas ornaments!
Vintage Style Christmas Ornaments DIY | Happy Happy Nester
Vintage Style Christmas Ornaments DIY projects are a beautiful way to bring a touch of nostalgia and sparkle to your holiday decor. In this easy and elegant craft, I’m transforming retro-style rhinestone buttons into dazzling ornaments trimmed with soft velvet ribbon.
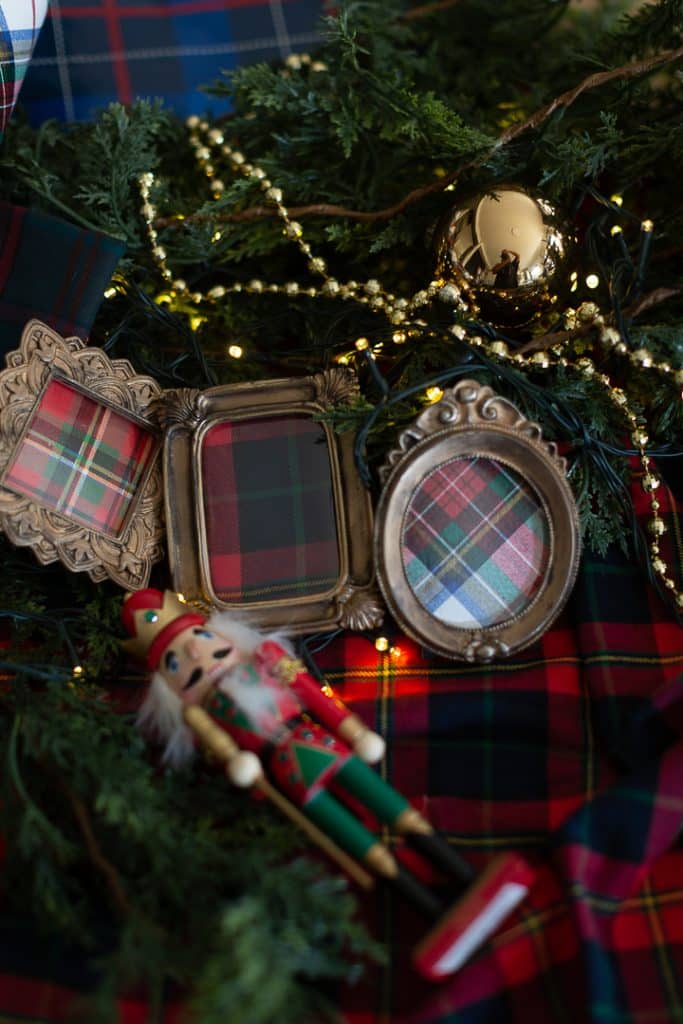
Plaid Christmas Ornaments | Craftberry Bush
These plaid Christmas ornaments are so easy to make. Perfect for the currently trending nostalgic Christmas decor.
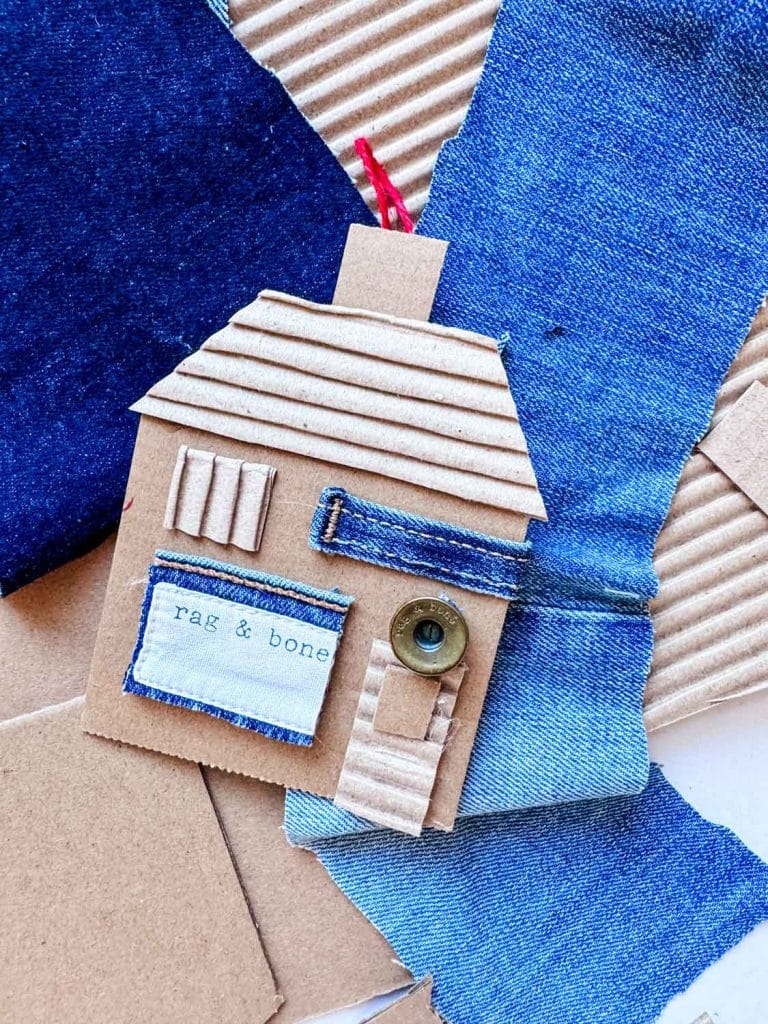
Upcycled Denim House & Cardboard Ornaments | Most Lovely Things
Make these upcycled house ornaments using denim and cardboard. A great craft for older kids. Once you get started, you can get very creative with the materials. No two house ornaments would be alike!


- Mochi Recipe: How to Make Easy Homemade Mochi - June 18, 2026
- Strawberry Oreo Cheesecake Recipe with Oreo Cookie Crust - June 15, 2026
- Ai Kitchen Remodel - June 12, 2026


")
Annie Diamond
Janine, your ornaments are so elegant! I like the idea of sprinkling them everywhere! The tree, packages, napkin rings, tied onto doorknobs…
Melaine Thompson
These are fabulous! So sparkly and fun!