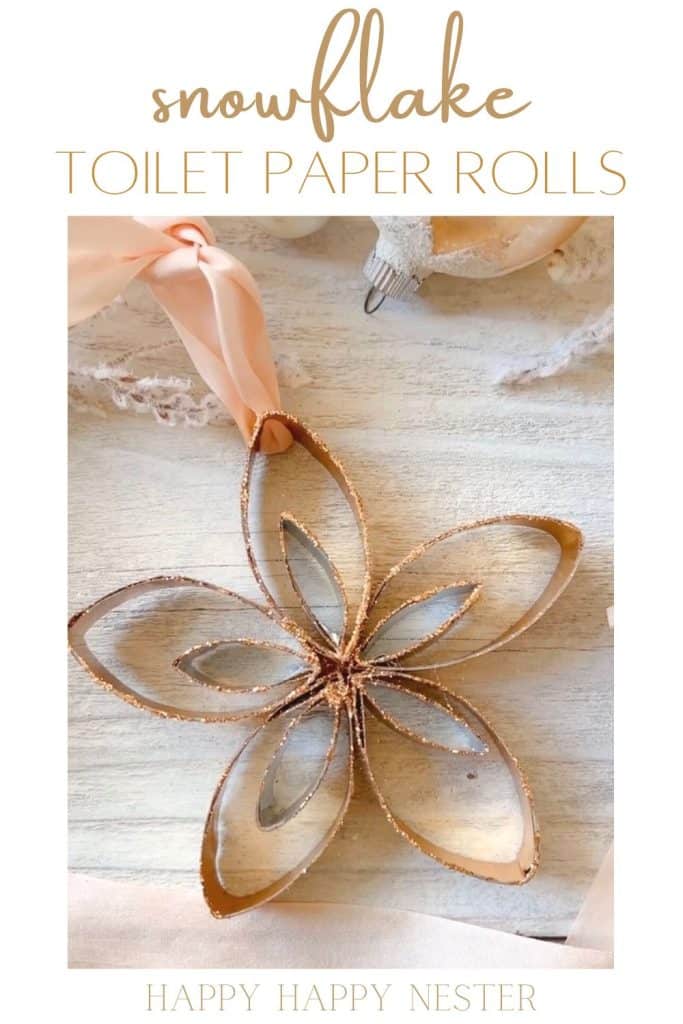
These are the cutest Snowflake Toilet Paper Rolls and are so easy and inexpensive. This holiday craft project is simple to create; you only need a couple of toilet paper rolls, metal washi tape, glitter, and hot glue.

This covered snowflake looks like a metal star, yet it’s made out of paper. If you don’t like the metallic look, choose a fun and pretty patterned washi tape for your project!
I created a 12-Day Craft Series on my Instagram account this month. I had a blast designing so many fun and pretty projects. Today’s snowflake is one that I fell in love with. I transformed the paper roll so much that I fooled my husband. He couldn’t figure out how I made this ornament!
But on another note, I have created quite a few ornaments on the blog. Here are some of them, just in case you want more projects.

This snowflake is popular on social media platforms like TikTok and Instagram. So, I initially set out to make one using toilet paper rolls and no washi tape.
I got the idea of adding glitter, and my creative brain thought about adding washi tape. I love the metallic tape and how it makes the snowflake look metallic. I feel that the tape changes the look of the toilet paper in a big way.
I’ve never seen anyone make their snowflake look anything like my creation. I know some people spray paint their snowflakes, and you can do that if you don’t want to use washi tape. But I love the reflective element of the tape.
Snowflake Toilet Paper Rolls Tutorial
This simple holiday craft makes the prettiest snowflake. I love how inexpensive it is to create and that I’m upcycling a material!
It’s a good thing, as Martha Stewart always says!
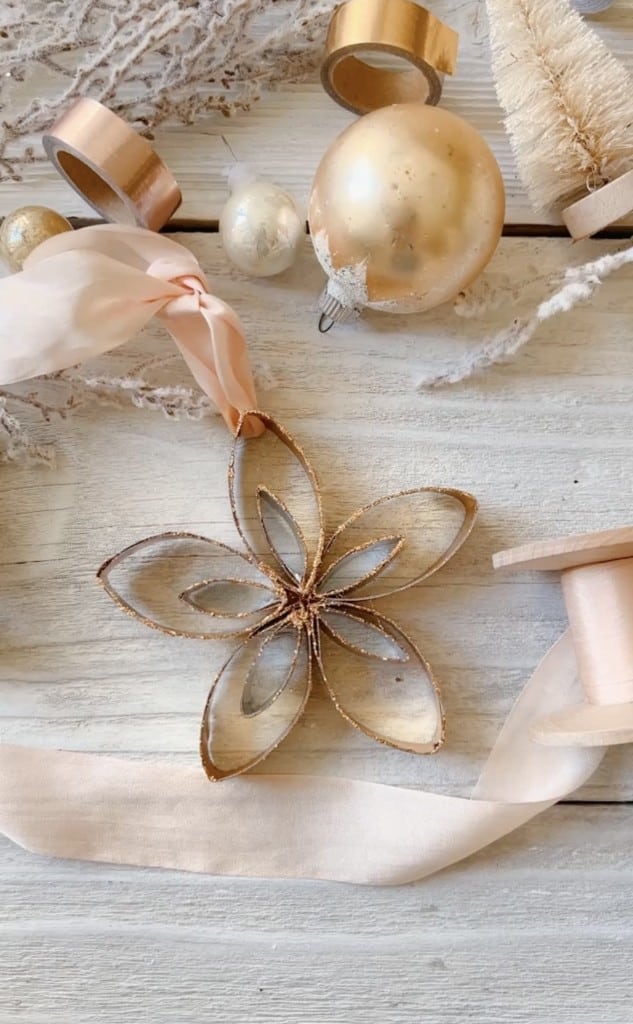
Supplies You’ll Need
- Toilet Paper Rolls
- Washi Tape (Gold and Silver Metallic tape)
- Fine Copper Glitter
- Elmer’s Glue
- Hot Glue Gun
- Hole Punch
- Ribbon
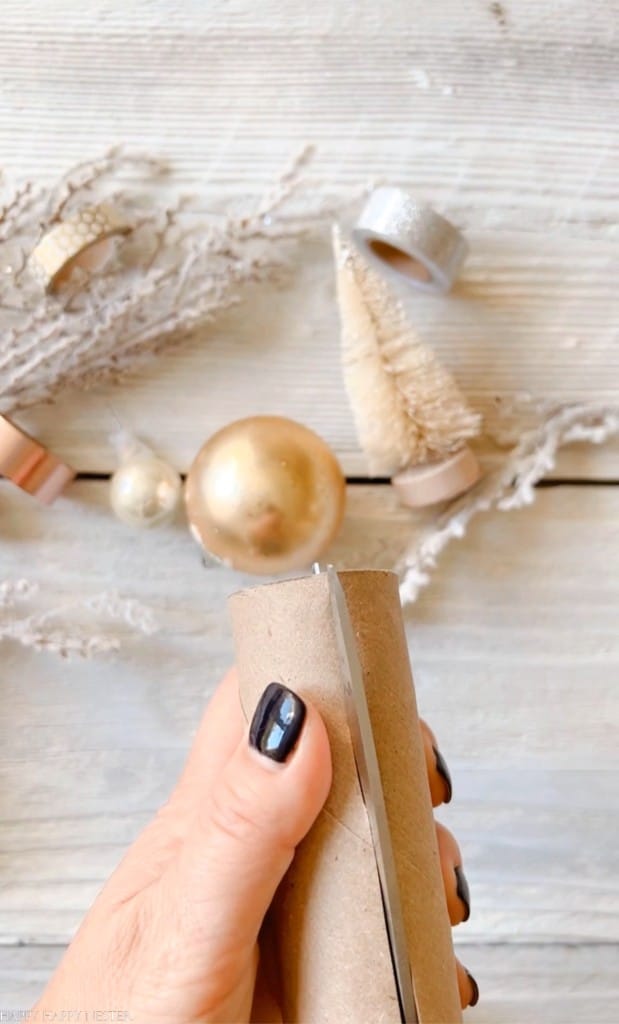
Step 1 – Cut Your Roll
Make one cut going lengthways with your scissors.
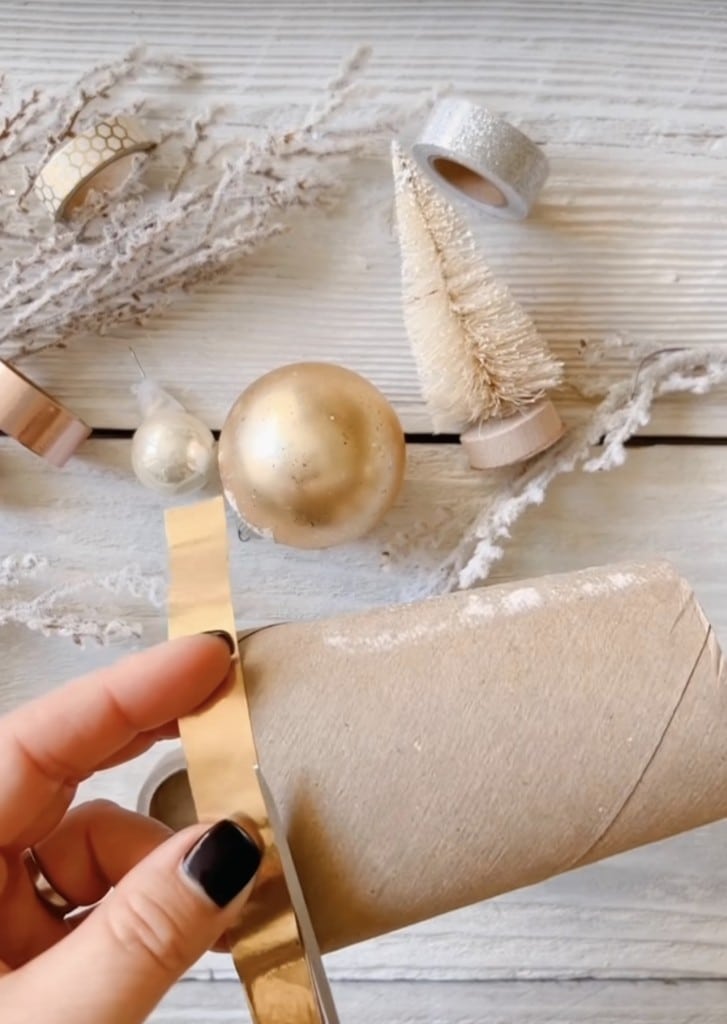
Step 2 – Make Your Rings
Place your washi tape on the edge of the roll and trim right up to the edge of the tape. The tape is your guide for cutting. Repeat this step four more times until you have five big rings.

Step 3 – Make Your Small Rings
Do step 2 but fold the ring in half to make a smaller ring.
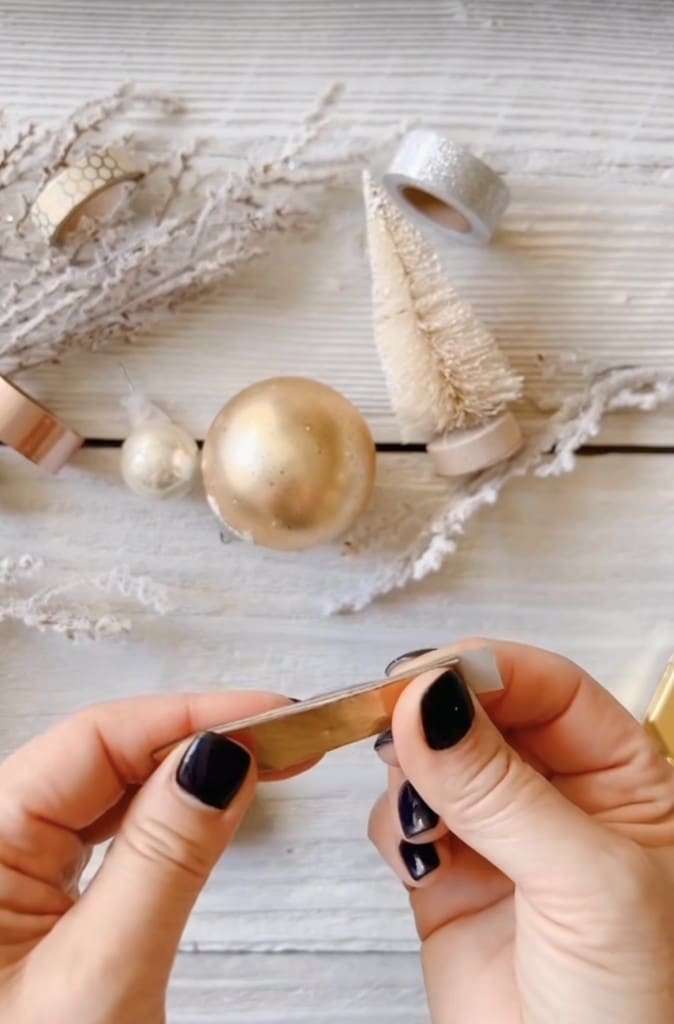

Step 4 – Cover The Rings with Washi Tape
Now cover the paper rings on both sides. Leave extra washi tape on one end to connect the tape and create a complete paper circle. Make five big and trim rings. I wrapped my bigger rings in gold washi tape and the smaller (inner) rings in silver.

Step 5 – Glue Your Snowflake
Line up your big rings in a circle and glue them together in the middle of the snowflake. Next, place your smaller rings inside the center of the bigger ones. Glue them to the bottom part near the center of the snowflake, as shown.
Step 6 – Add Glitter
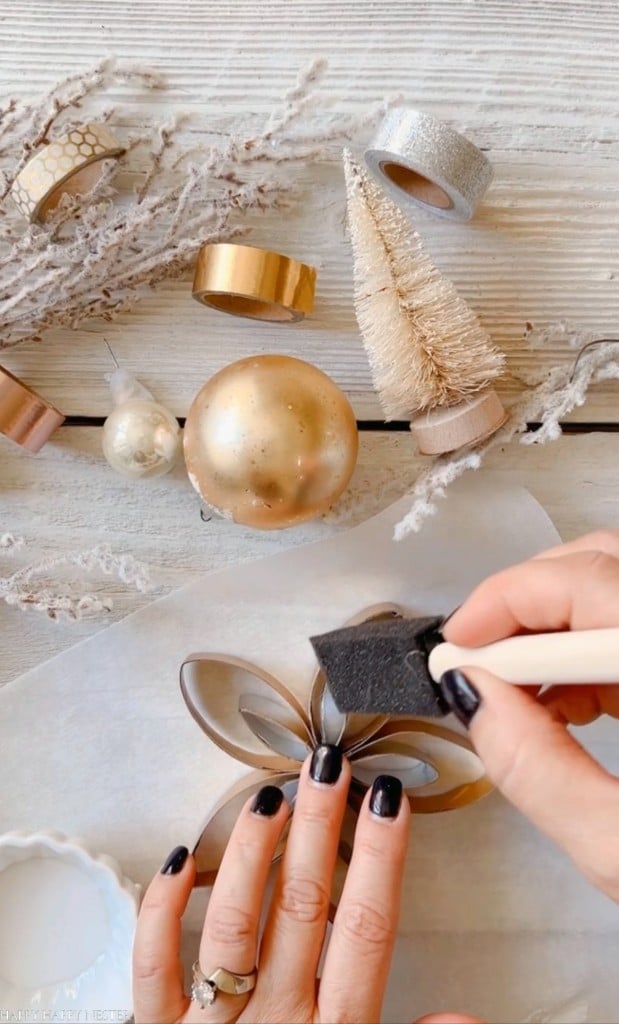
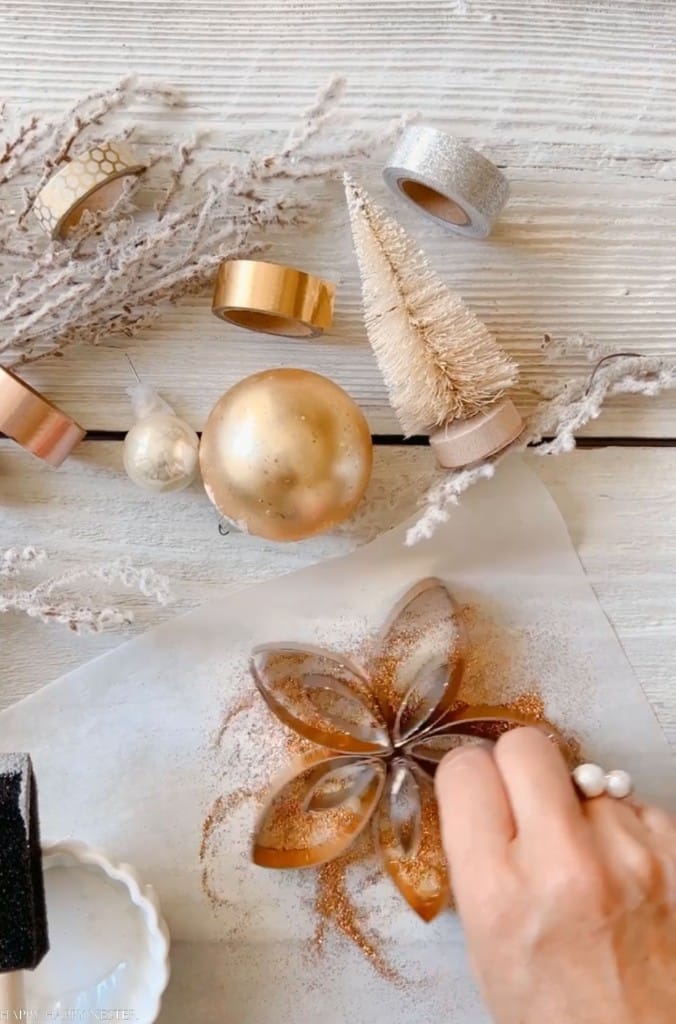
Sprinkle your copper glitter on a paper plate or parchment paper. Next, paint a thin layer of glue on the top surface of your completed snowflake. Then quickly place the snowflake glue side down on the plate of glitter. Allow the glitter and glue to dry.
Step 6 – Hang
Punch a hole in the top of one of the snowflake rings. Thread a ribbon through the hole and hang it on your Christmas tree.
Thanks so much for visiting this post. It was so much fun to share this easy and pretty upcycled holiday craft with you!
So make sure to save up your toilet paper rolls to create this cute snowflake ornament.
Cheers,


- My Favorite Cakes - July 5, 2025
- Outdoor Tables and Chairs - July 2, 2025
- My Favorite Floral Desserts - June 28, 2025




Leave a Reply