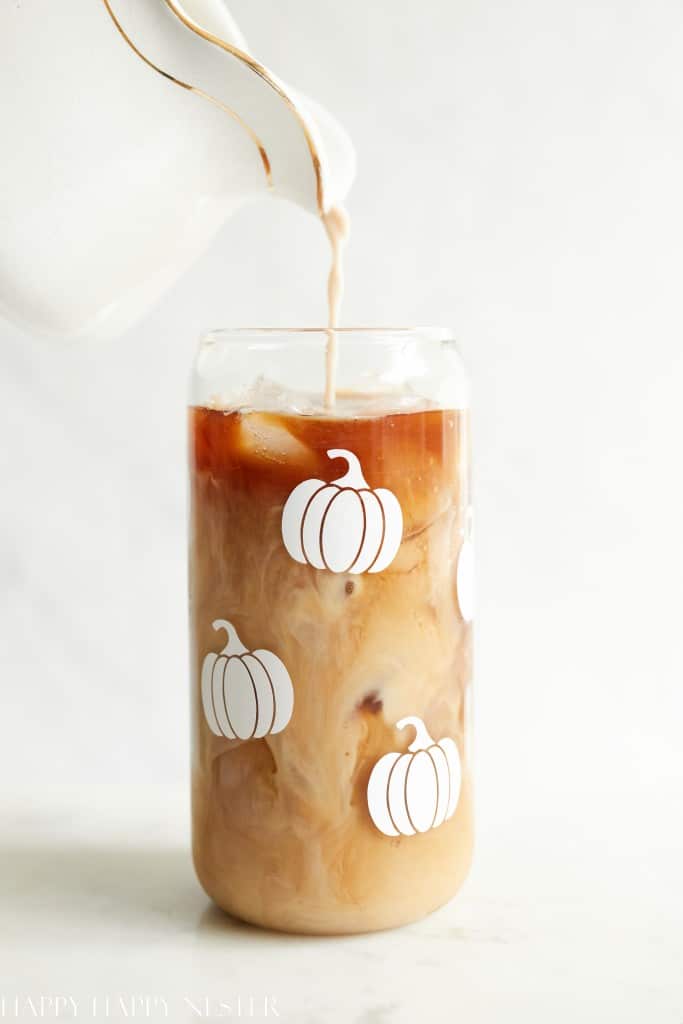
These Beer Can Glass Designs are popular over on TikTok and Pinterest. I created a fun fall version that is easy to make if you own a Cricut machine. This pumpkin design is perfect for the upcoming fall season.
Creating vinyl stickers to attach to glass isn’t too tricky. And if you’re a Circuit crafter, this project will be a breeze.
Read more: Beer Can Glass Designs (Cricut Machine)I’ve made a few projects on my Cricut machine, and I always love the results of how they come out. Here are a few of these projects, plus other fun fall crafts.
- Oui Yogurt Jar Crafts
- Organizing Kitchen Labels
- Felt Wreath DIY
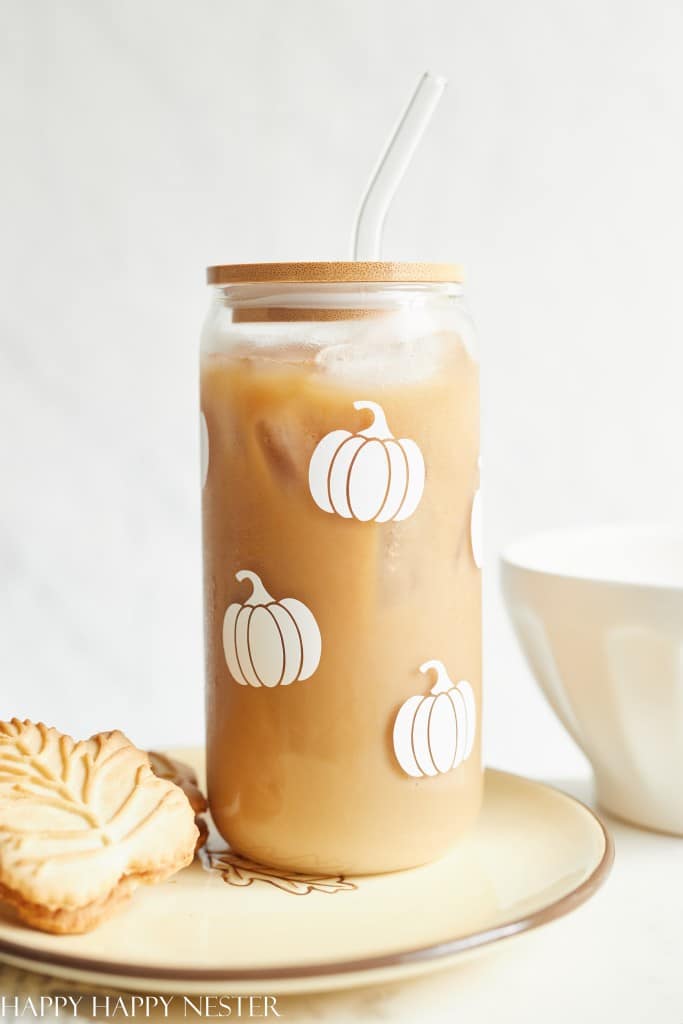
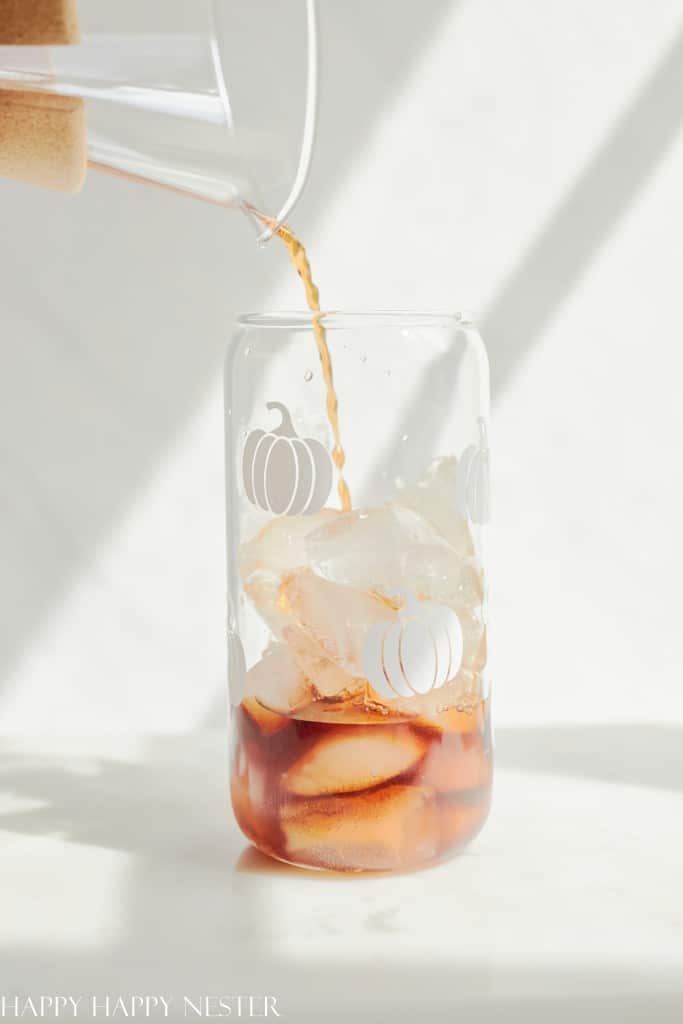
Beer Can Glass Designs
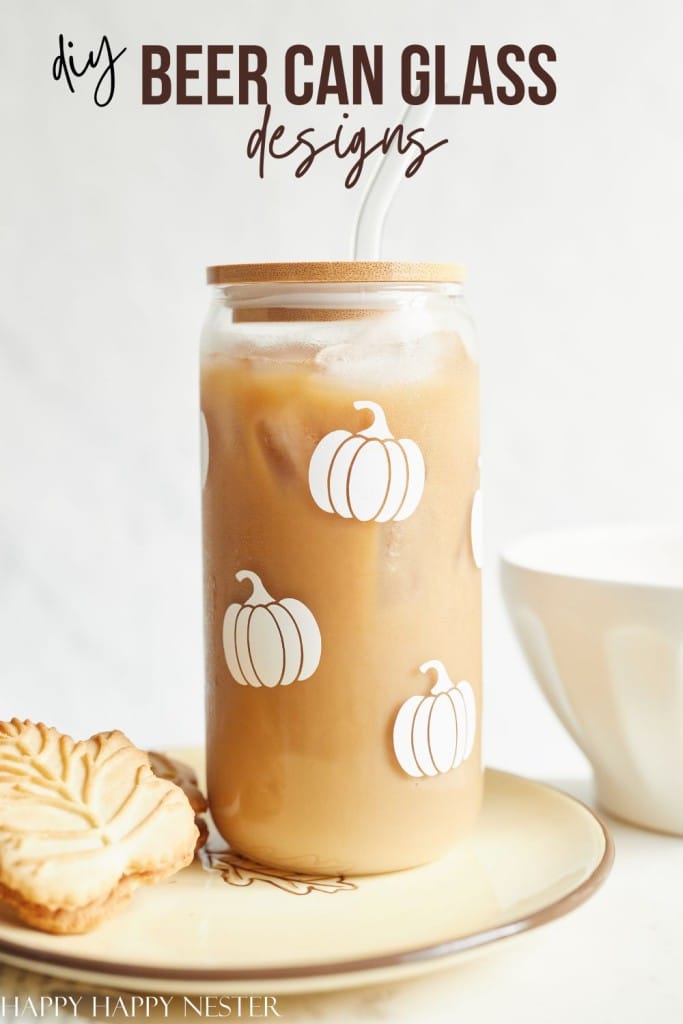
These adorable glass beer can shaped glasses are showing up all over social media platforms. I was immediately intrigued by them, and I found some online and ordered them. Of course, I couldn’t leave them plain and had to create a fun design. So for fall, I decided to add a few pumpkins to them and celebrate the new season.
I must inform you that to do this project; you need to have a Cricut machine to make pumpkin labels.
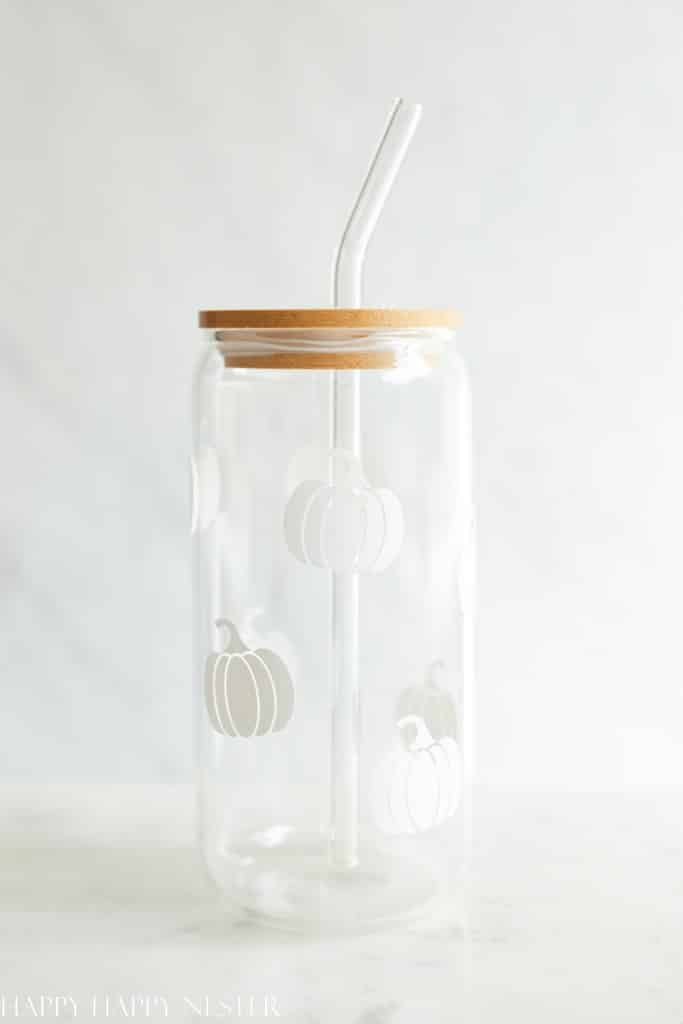
This cute pumpkin is simple enough, and this post will walk you through the process.
It’s not complicated to make, and if you know how to use a Cricut machine, you can skip many steps.
Check this out…
If You Like this glass but don’t have the time or interest to make one, here are a few cute ones I found already.
Step by Step: How to Make Beer Glass Pumpkin Labels
Supplies:
Cricut Machine I have the Maker)
1 Pumpkin image (SVG file)
Vinyl (white or cream)
Beer can glass set with straws
Scissors
Directions:
Step 1 – Buy and Download the Pumpkin
I bought my cute pumpkin design over on Etsy. I like to support these small companies and their owners.
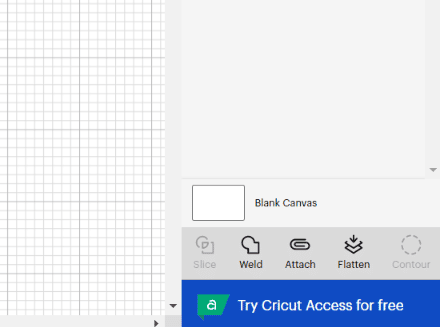
Step 2 – Upload the SVG File
Once you download the pumpkin SVG file on your computer, upload the file onto your Cricut project. This option is on the taskbar to the left of the screen. It’s the second button from the bottom. Click on the “upload” image and browse on your computer to find and choose the image.
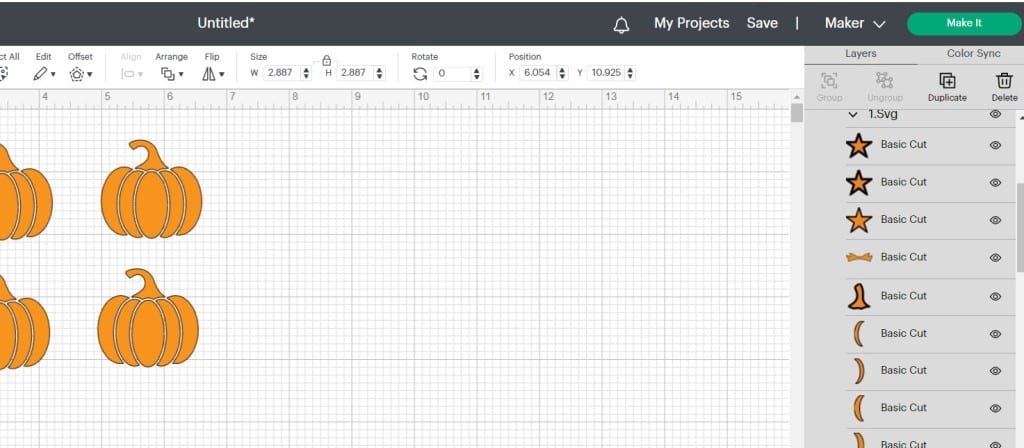
Step 3 – Resize the Image
Once the image appears on your canvas, click on the image and grab ahold of a corner. Drag and resize the image to about 2 inches.
Step 3 – Attach the Image
Please select the image by tapping on it with your cursor. Then on the bottom right screen, there is a button to attach the image. If you skip this step, the image becomes dispersed, and all the parts will be distributed on your cut vinyl.
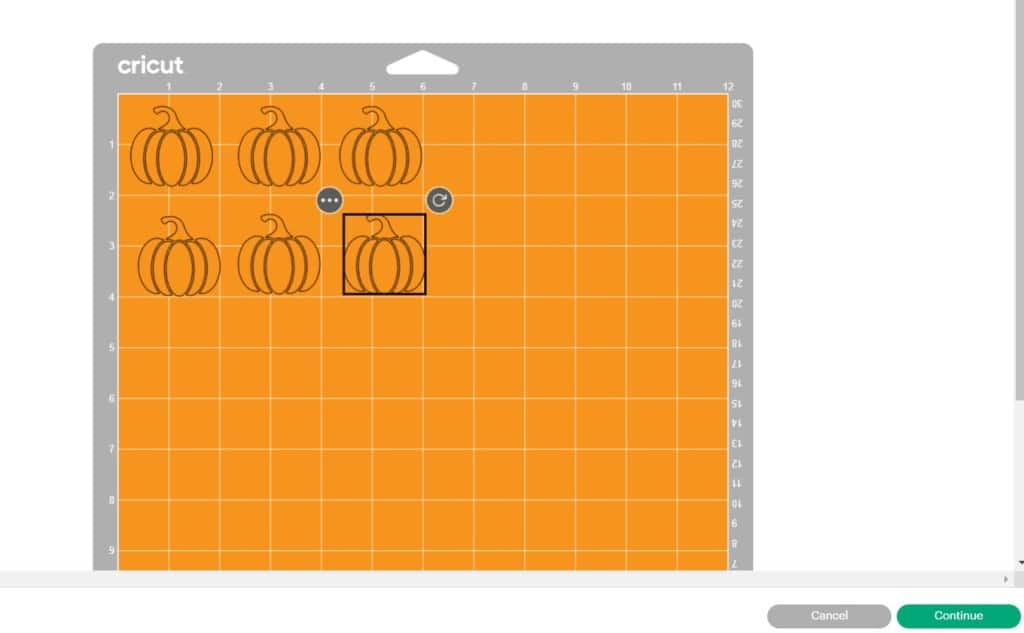
Step 4 – Duplicate the Image
Once you resize and attach things, right-click on the image and choose duplicate in the screen that appears to the right of the image. I made about six pumpkins for this project.
Step 5 – Connect Your Computer with the Cricut Machine
Use the USB cable that is attached to your Cricut machine and attach the other end to your computer. Plug in and turn on your Cricut machine at this point.
Step 5 – Cut Out the Pumpkins
Click the “Make it” button in the top right corner of your screen.
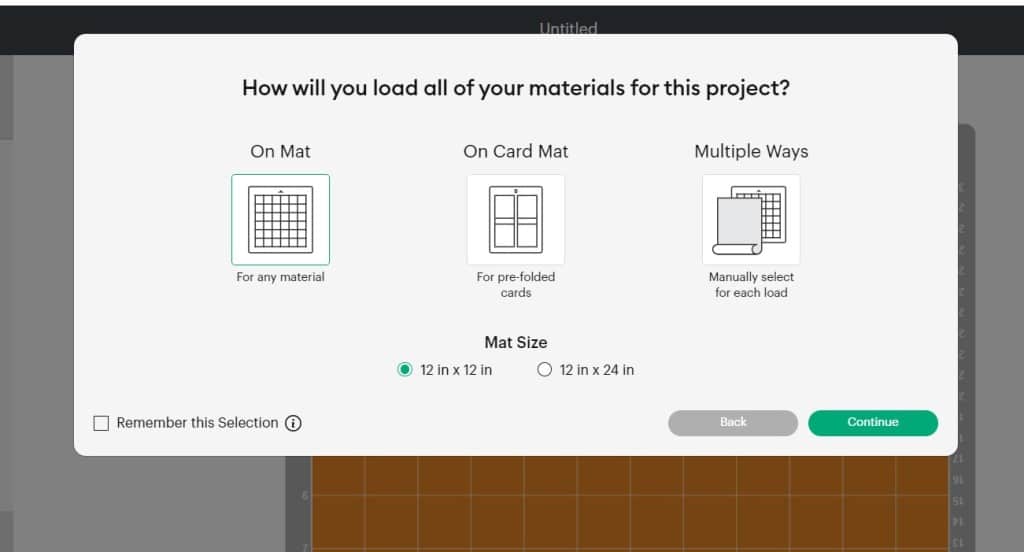
Step 6 – Choose On Mat
When the screen appears, How will you load all your materials for this project? Choose “On Mat.”
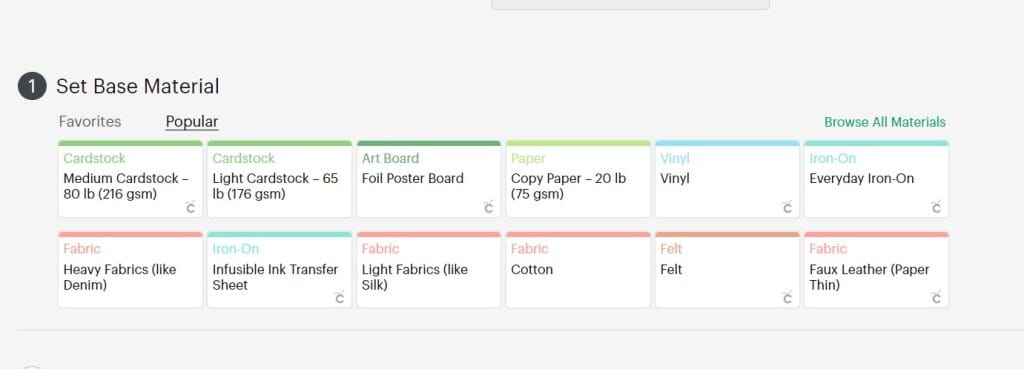
Step 7 – Choose the Material
The material you’ll be using is vinyl. So go ahead on click on the “Vinyl” selection.
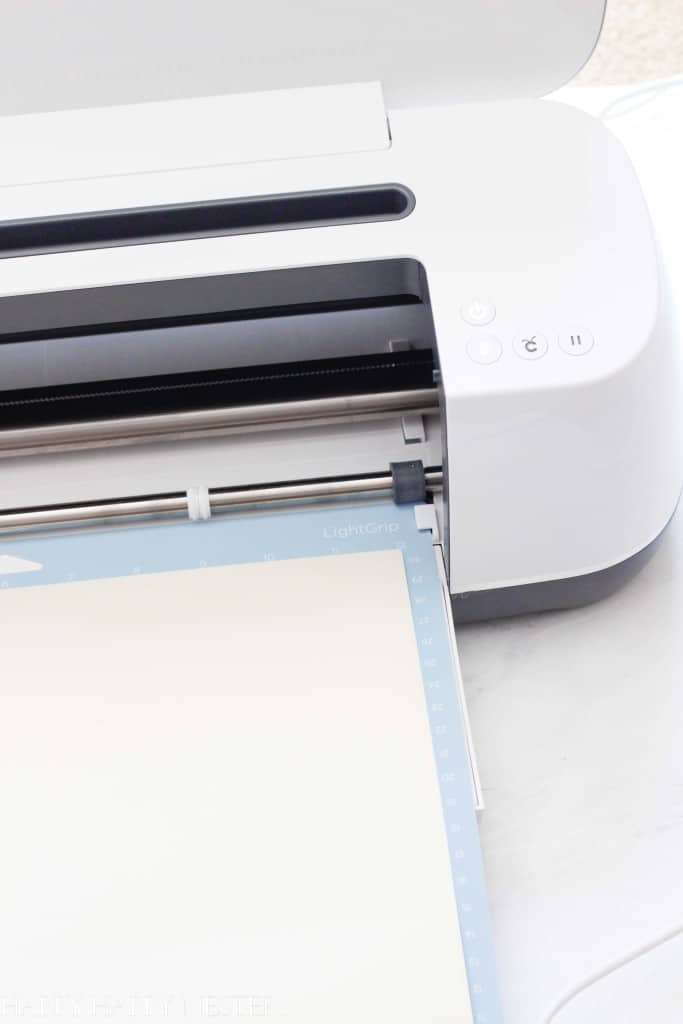
Step 8 – Place Vinyl on the Cutting Mat
With the vinyl side up, place it on your Cricut cutting mat. Ensure it adheres to the mat so it won’t slide around in the machine.
Step 9 – Watch for Cricut Machine Prompts
At this point, the Cricut machine will prompt you with blinking buttons.
First Prompt: The first prompt is the arrow that will feed your cutting mat. Before hitting the button, place your mat under the paper guides
Second Prompt: Then, the following prompt of the Cricut logo will blink. After clicking it, the Cricut will begin the cutting process.
Third Prompt: The final prompt is the arrow again, and once you hit the button, your vinyl and mat will release from the machine.
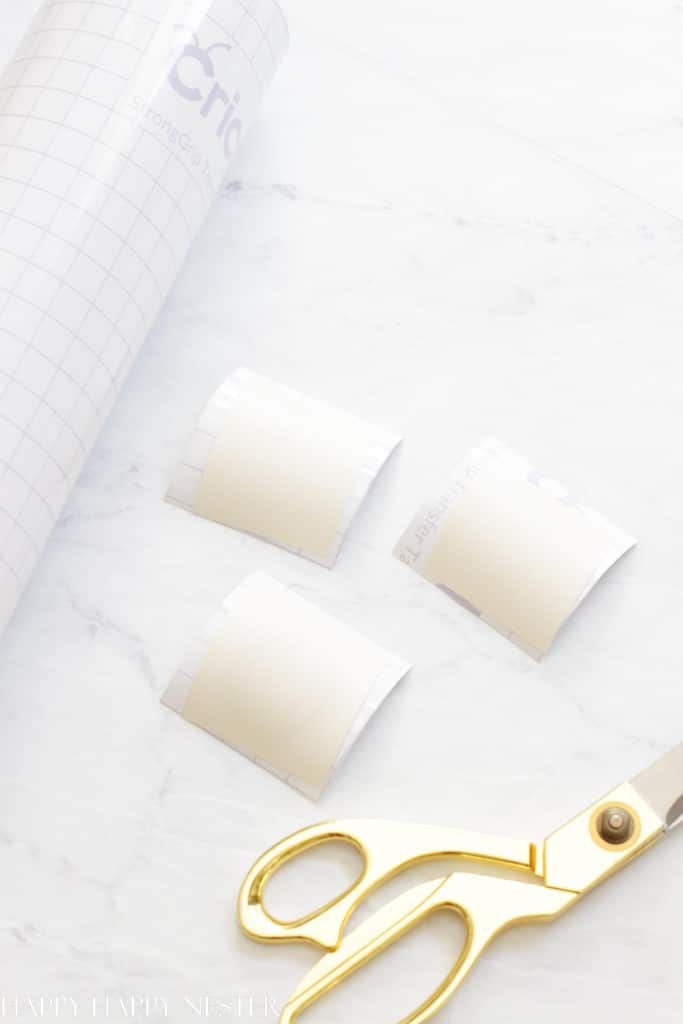
Step 10 – Cut Out Pumpkins
Just trim the pumpkins into squares. Next, cut a piece of transfer paper about the same size.
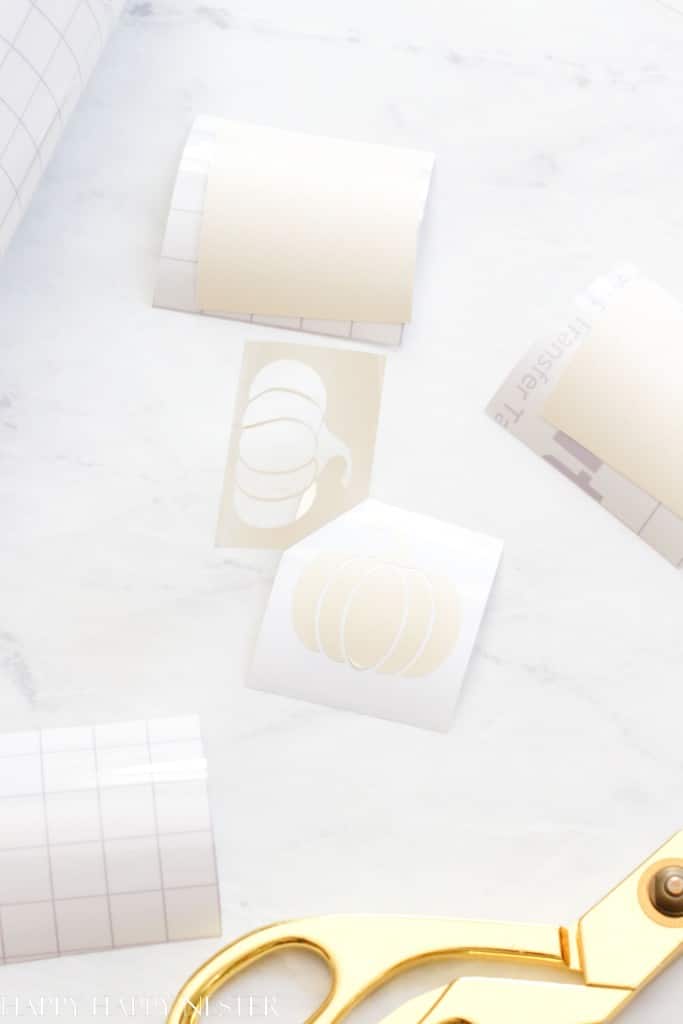
Step 11 – Remove Vinyl
Pull the vinyl away from the backing, and the pumpkin will remain on the vinyl backing.
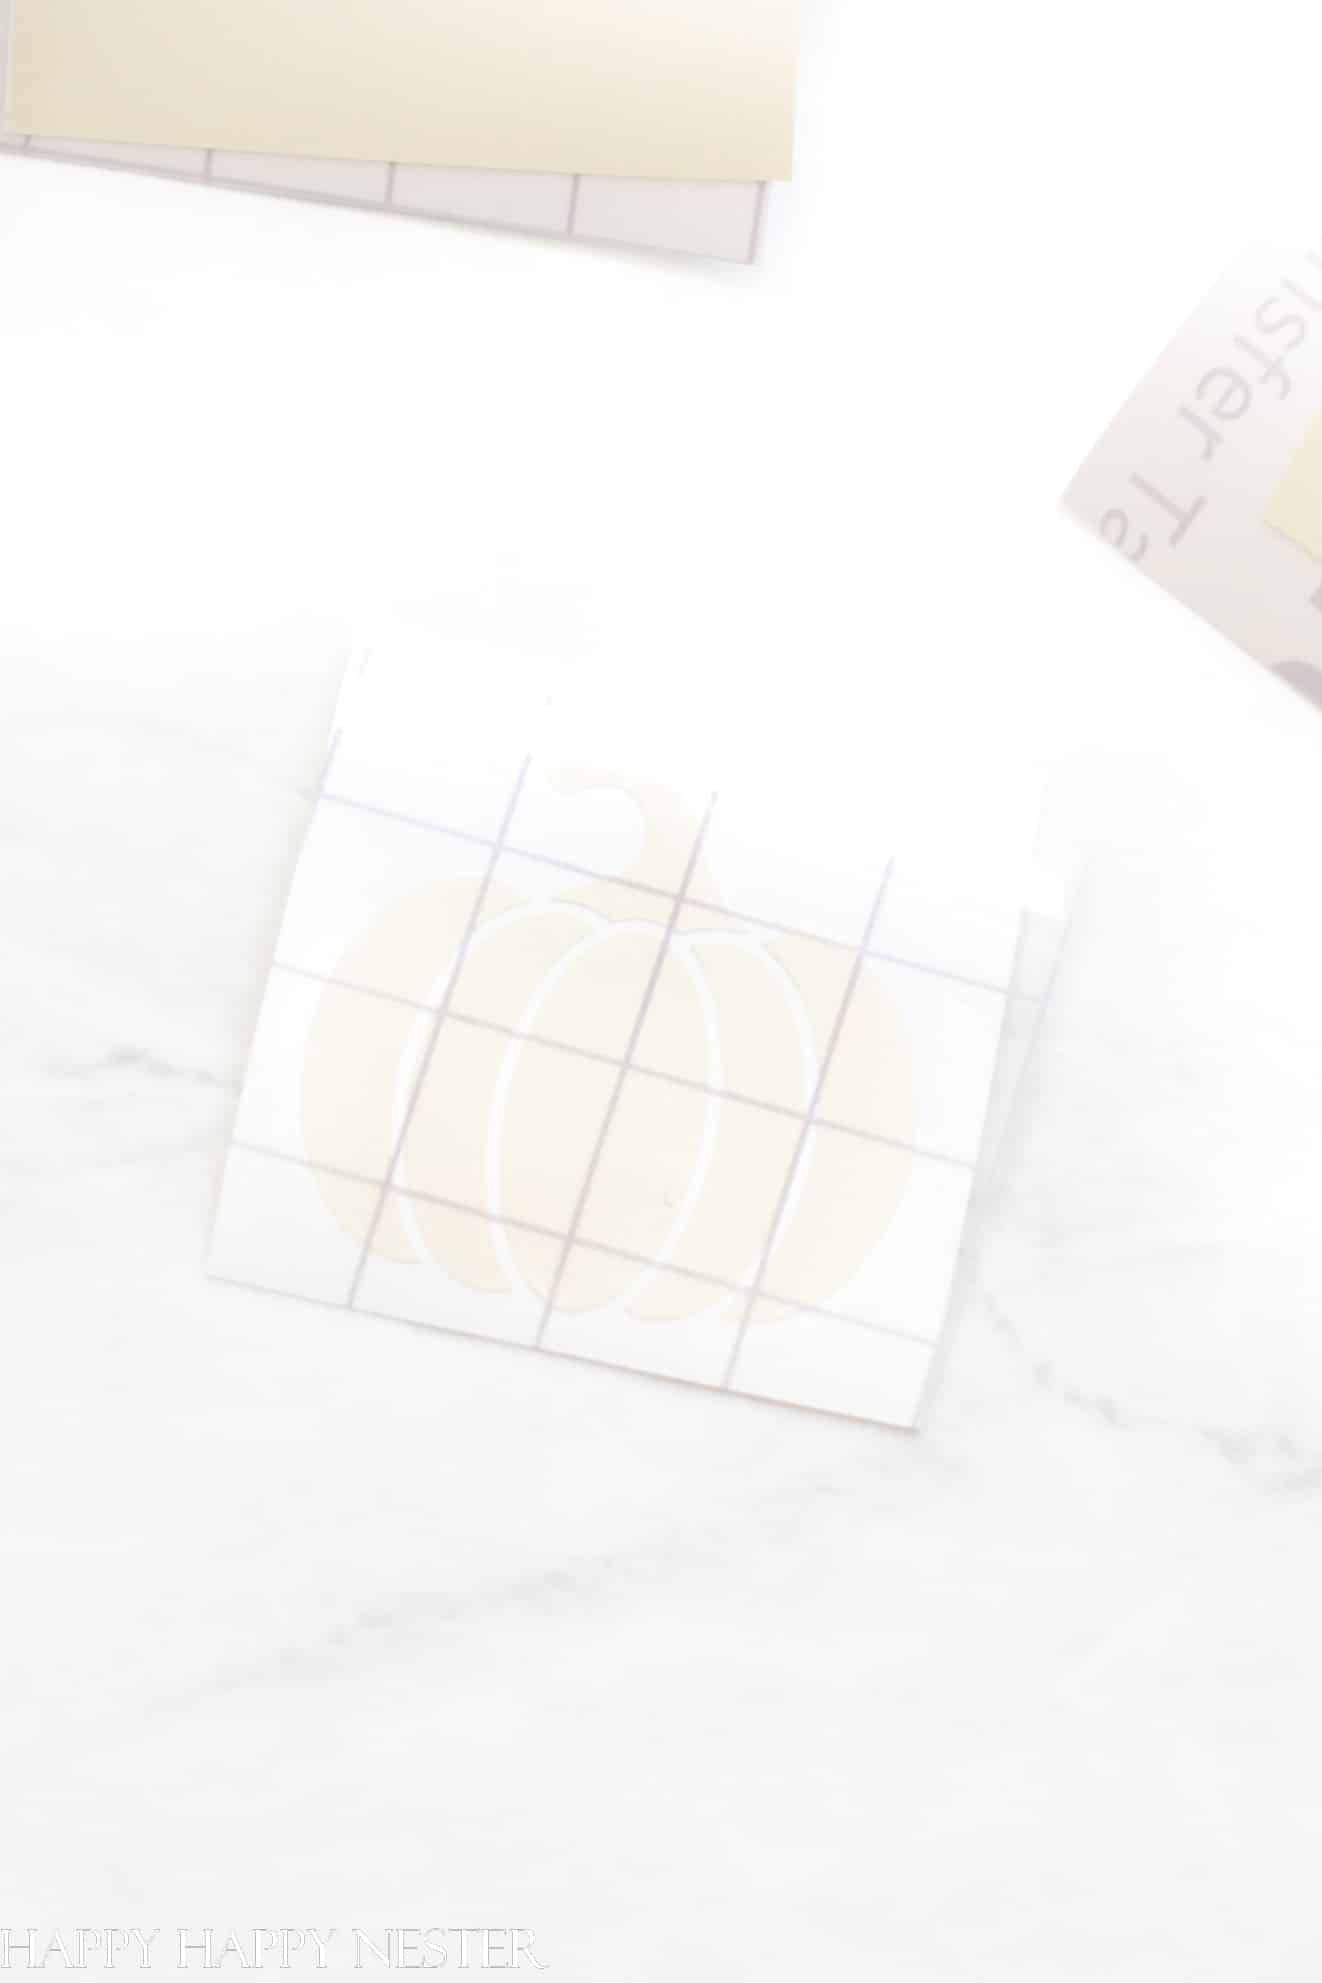
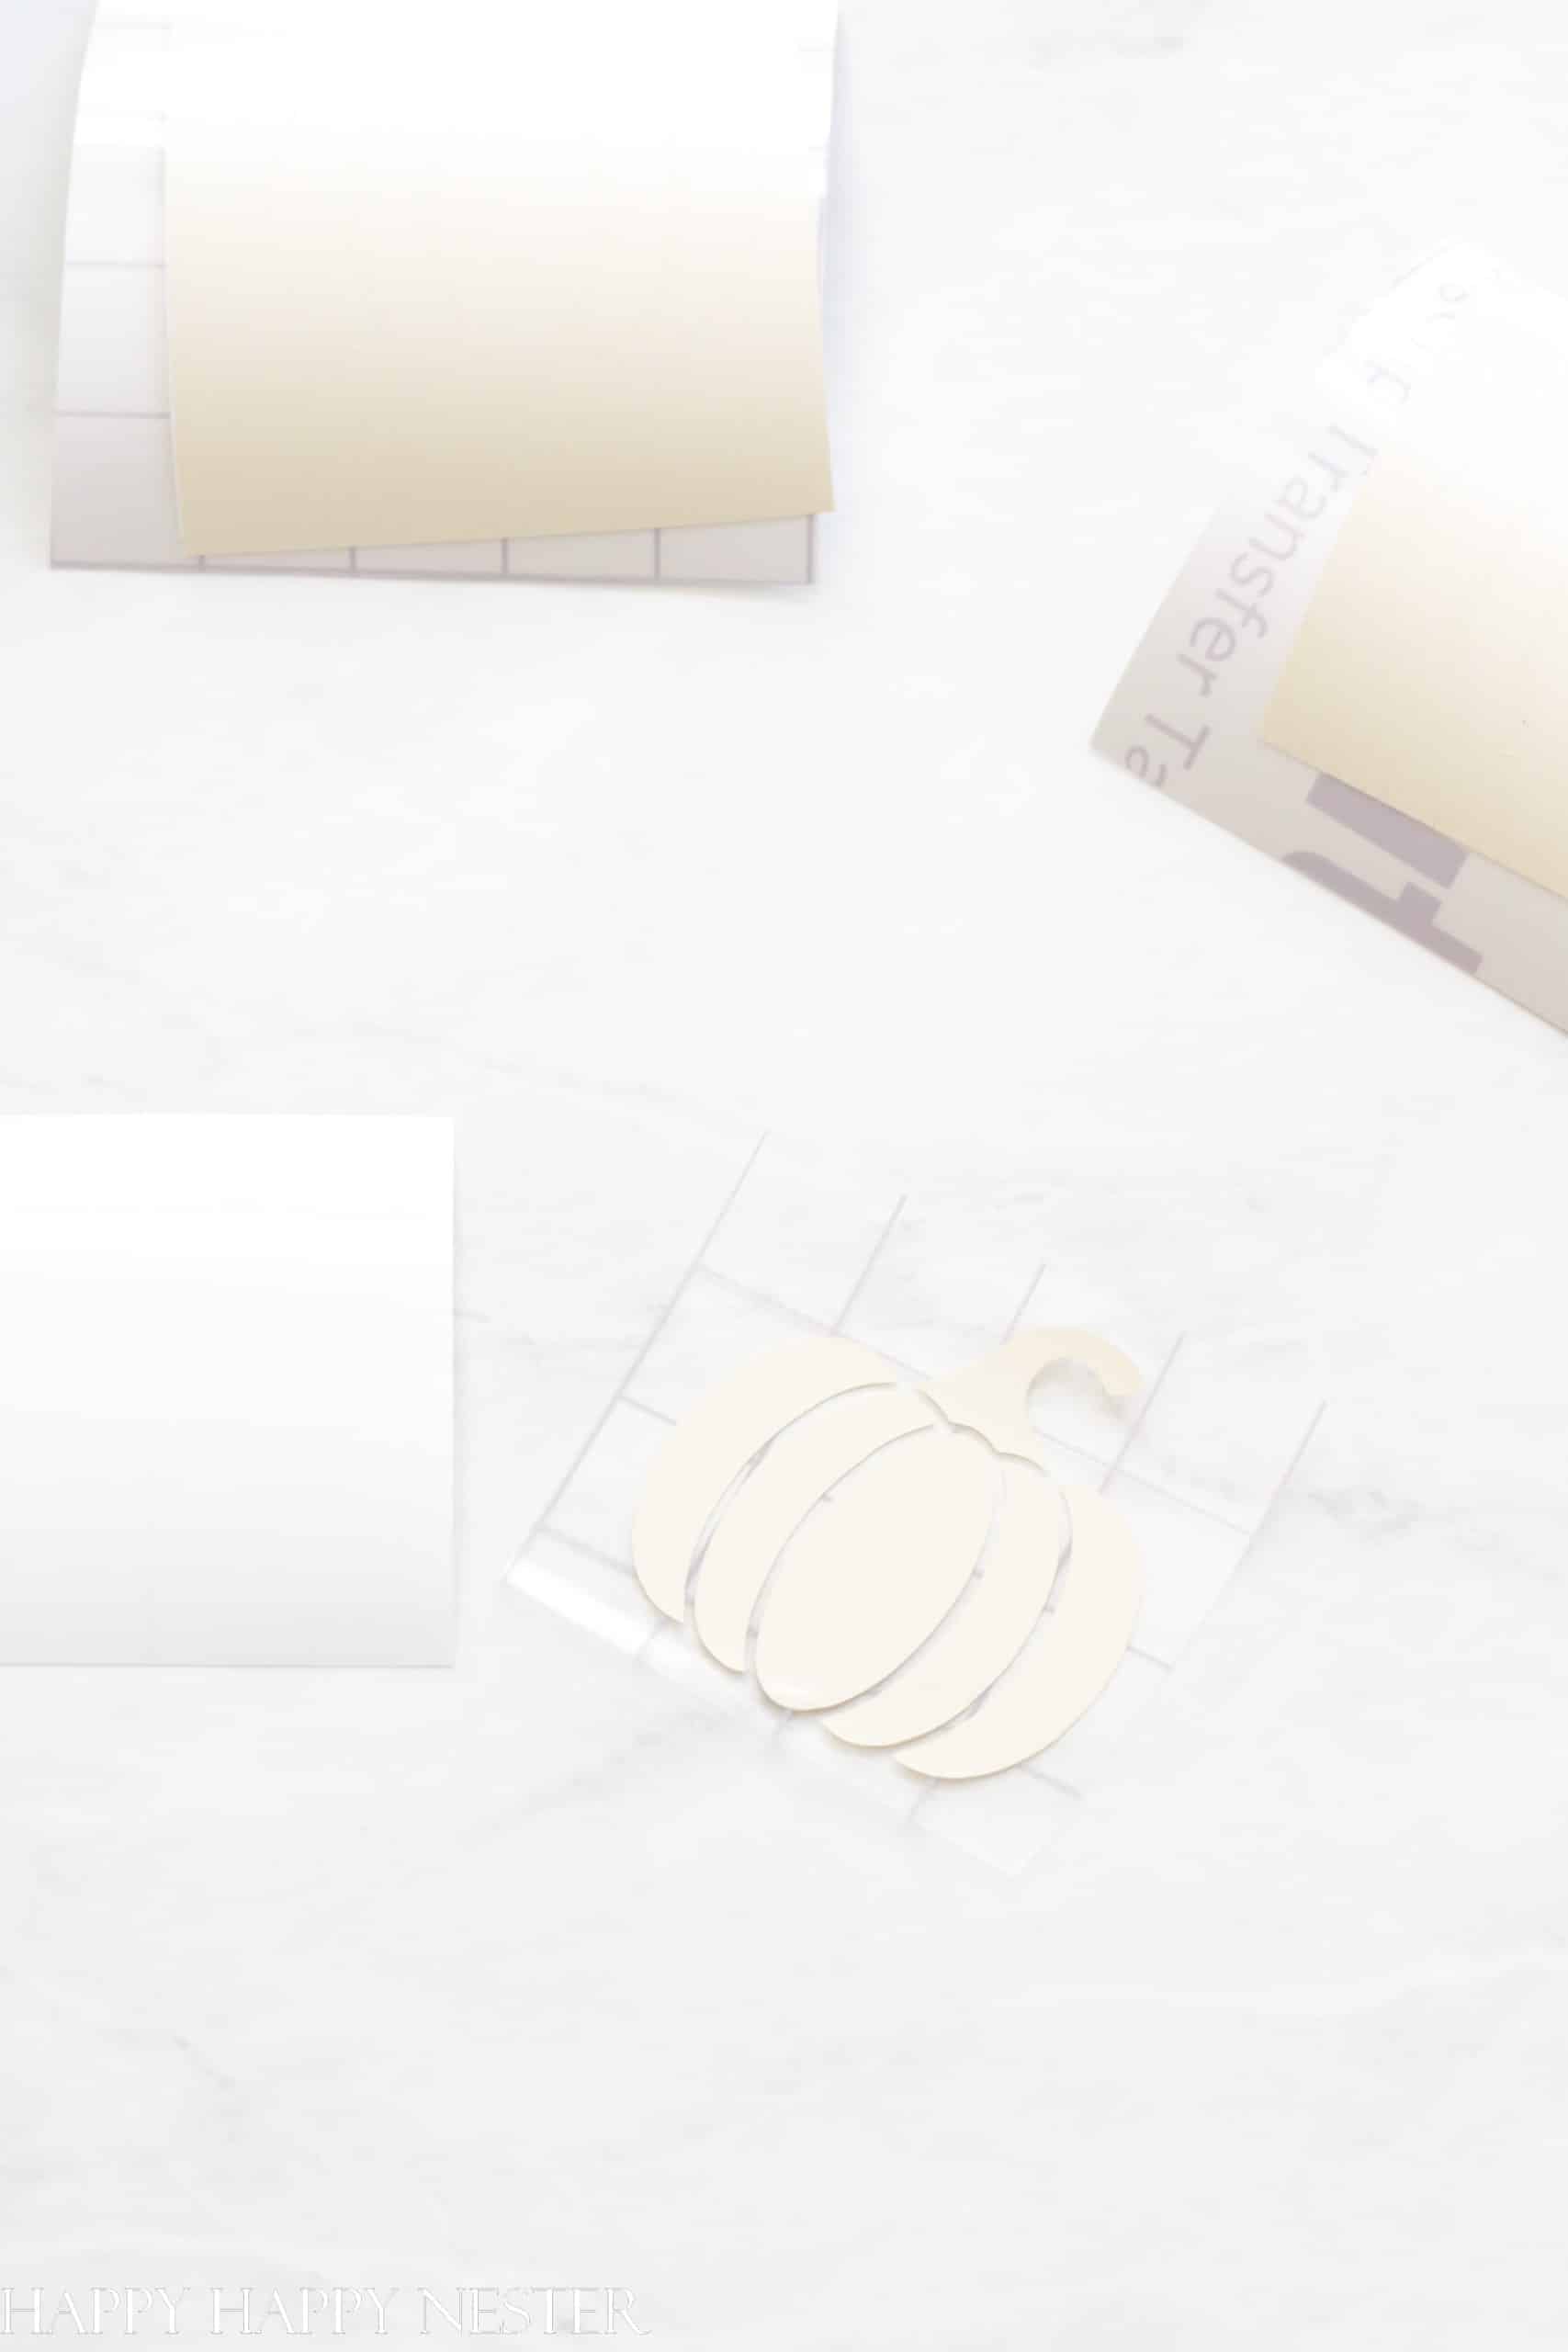
Step 12 – Place Transfer Paper on Pumpkin
Remove the backing of the transfer paper and place it sticky side down on top of the pumpkin. Lightly rub the top of the transfer paper so that the pumpkin sticks to it.
Step 13 – Clean Beer Glass
Clean your glass and wipe dry. Make sure there isn’t any debris on the glass. You can clean it with rubbing alcohol on a cloth, but I find washing it and drying it is fine.
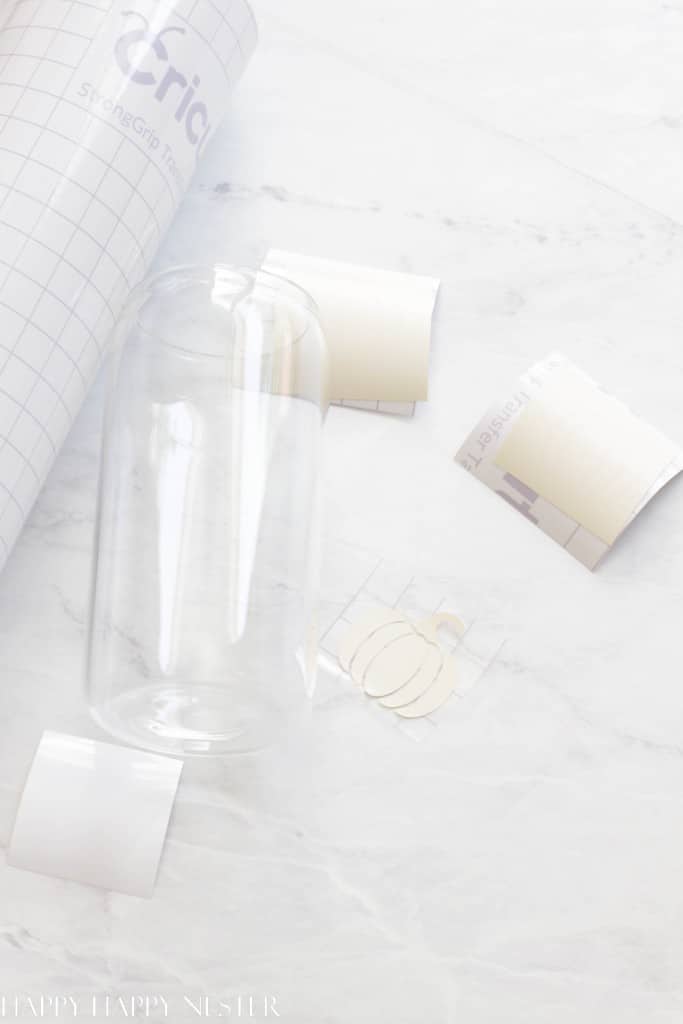
Step 14 – Place the Pumpkin on Glass
Now take your pumpkin, and with the sticky side of the pumpkin and transfer paper, adhere it to your glass. Take a hard surface like a credit card and rub all the edges of the pumpkin. This secures the pumpkin to the glass.
Step 15 – Unpeel the Transfer Paper
Remove the transfer paper from the glass carefully. If the pumpkin sticker comes away with the paper, pull it back to the glass before proceeding further.
Step 16 – Rub Pumpkin onto the Glass
Secure the pumpkin by rubbing the vinyl onto the beer can glass.
A Few Frequently Asked Questions:
What kind of Cricut vinyl should I use for this project?
I used Cricut Premium Permanent Vinyl for this project. It is weather-resistant, dishwasher-safe, and fade-proof.
How do I wash my glass with the labels?
Even though the Premium Permanent Vinyl withstands the dishwasher, I still hand wash my glasses.
I hope you survived that epic long beer can glass designs Cricut tutorial! It’s such a powerful craft machine. Whenever I use my Cricut, I think I should make more things with the device.
Once you get the basics down on how to use the Cricut, it isn’t too overwhelming. Each time I use it, I become more familiar with the process.
Well, happy crafting and enjoying this fun glass.
Cheers,


- Amazon Simple Porch Decor - April 1, 2026
- Recipes For Springtime - March 28, 2026
- Irish Soda Bread Recipe (with Buttermilk) - March 26, 2026
")


Leave a Reply