• Skip to main content
  • Skip to header right navigation
  • Skip to site footer
  • About
  • Contact
  • Boutique of the Week
    • Facebook
    • Instagram
    • Pinterest
    • Twitter

Happy Happy Nester

Weekly Inspiration for Your Nest

  • Recipes
    • Appetizers
    • Breakfast/Brunch
    • Desserts
    • Dinners
    • Drinks
  • Crafts
  • Decor
  • Shop
    • Fall Decor
    • Kitchen
    • Pillows
    • Holiday Decor
  • Amazon Store
  • Recipes
    • Appetizers
    • Breakfast/Brunch
    • Desserts
    • Dinners
    • Drinks
    • Snacks
  • Crafts
  • Decor
  • Shop
    • Fall Decor
    • Kitchen Favorites
    • Pillows
    • Holiday Decor
  • Saturday Chitchat
  • Boutique of the Week
  • About
  • Contact
  • Facebook
  • Instagram
  • Pinterest
  • Twitter

See What’s Trending…

Cakes

Cookies

Dinners

Wreaths

Drinks

Home › Crafts › Boho DIY Placemats with Tassels

Boho DIY Placemats with Tassels

Crafts
By Janine Waite · Published on Jul 9, 2021
Affiliate Disclosure: This Post May Contain Affiliate Links.

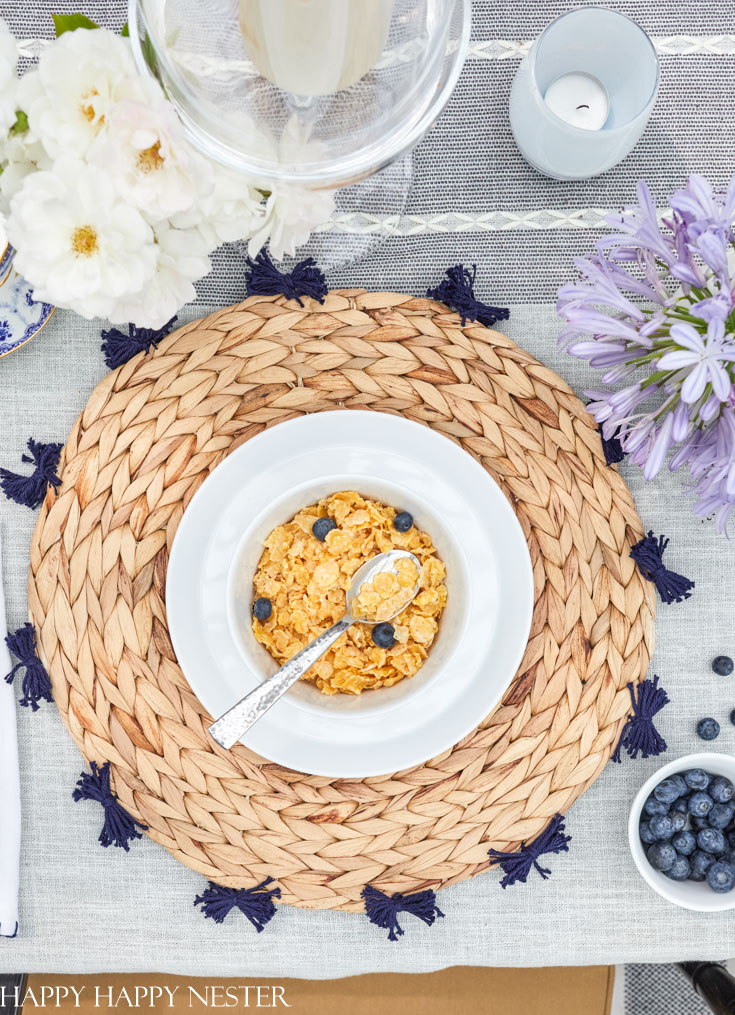
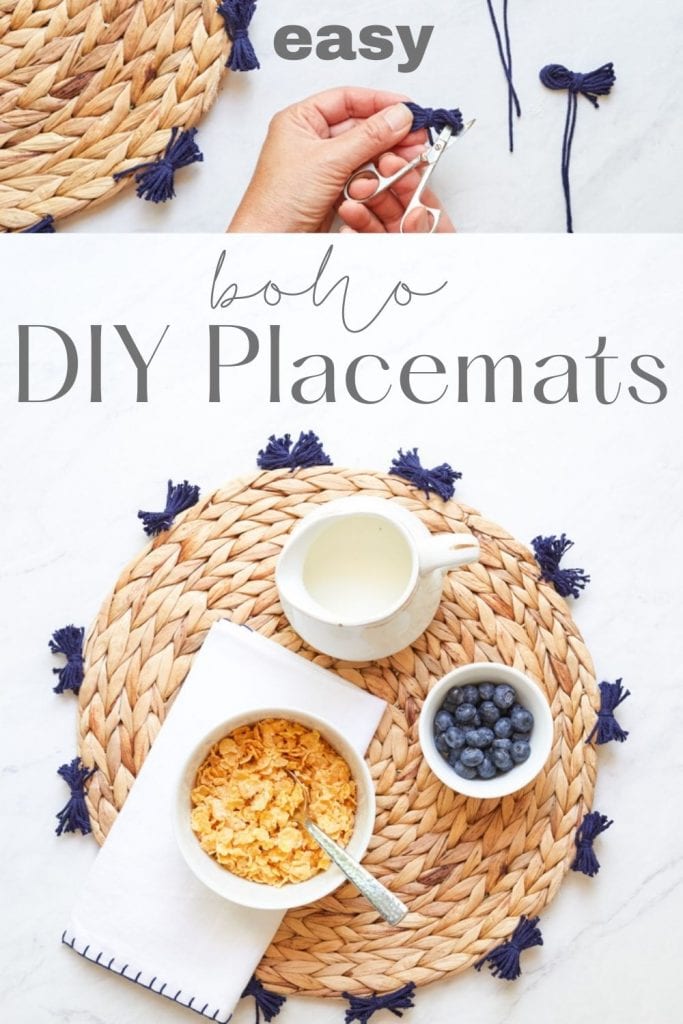
These Boho DIY Placemats with tassels are easy to make! I love that they match my Serena & Lily Catalonia bohemian style placemats quite nicely.

bohemian fringe tutorial
Photo: My Photography

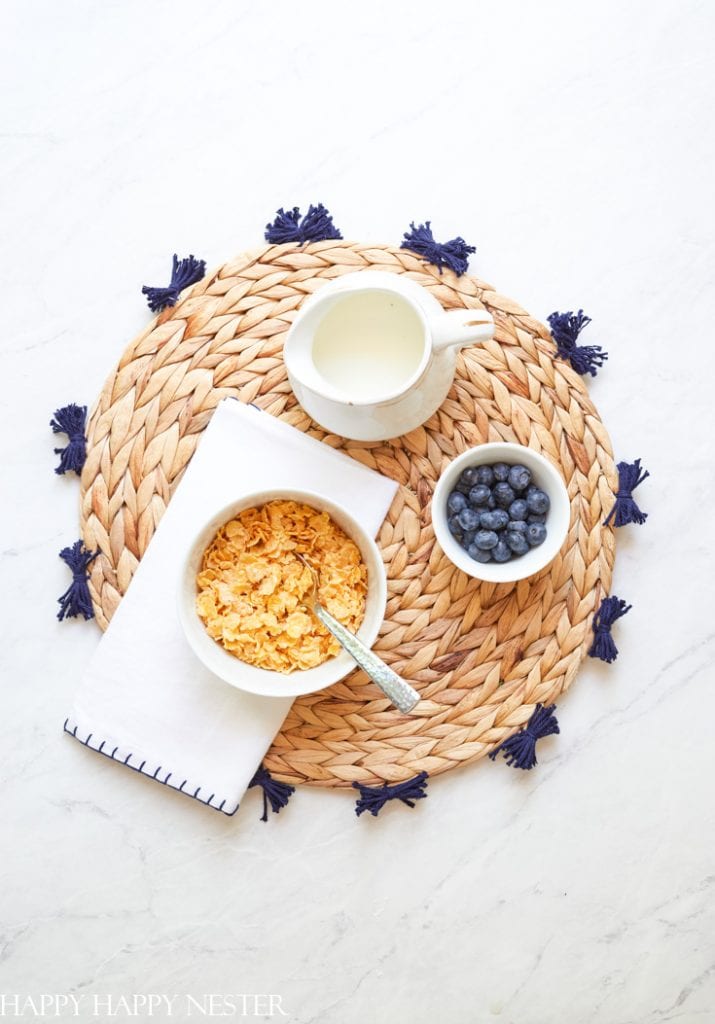
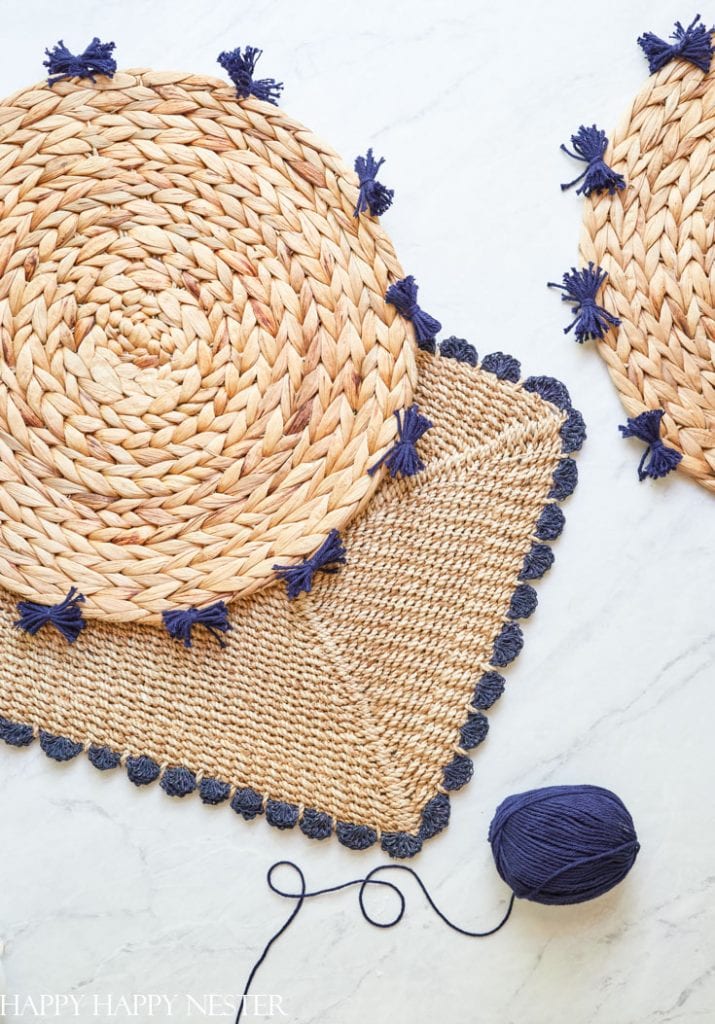
This simple project adds just the right boho accent to a hyacinth round placemat. I added a navy blue fringe, but you can add whatever color you like to match your table decor.

boho diy placemats
Photo: My Photography

This spring and summer I’ve been a bit obsessed with my Serena & Lily woven placemats. My woven SL placemats are so cute and perfect for outdoor dining, but, the price tag can be a bit steep. So, when I wanted to add more mats to our outdoor table, I got busy working on this fun boho DIY placemats post.

And this project is perfect for this month’s blog hop with my friends. Today’s hop is a craft with summer colors. And my color this year is navy blue.

It’s such a fresh and summery color.

How to Make Boho DIY Placemats

*The following post contains affiliate links

Supplies:

Round Rattan Placemats

Yarn

Scissors

Craft Needle

diy placements
Photo: My Photography

Directions:

serena & lily knockoffs table decor
fringe table mat tutorial

Step 1 – Make the Tassels

Place your index finger and middle finger together. Now, with the end of your yarn, wrap it ten times around your two fingers. Next, trim off the yarn. Remove the loop from your two fingers.

Just a little note, the length of your tassels will depend on how many fingers you choose to wrap. So, if you want a bigger tassel wrap your yarn around three fingers.

Next, cut a piece of yarn that’s about eight inches long.

Take your loop and pinch it together in the middle to look like a bow. Next, you’ll take your eight-inch-long yarn and tie and knot it around the middle of the bow. Make sure not to cut these longer strings.

Your bow now has two loops. Take your scissors and trim the middle of each loop.

boho diy placemats
Photo: My Photography

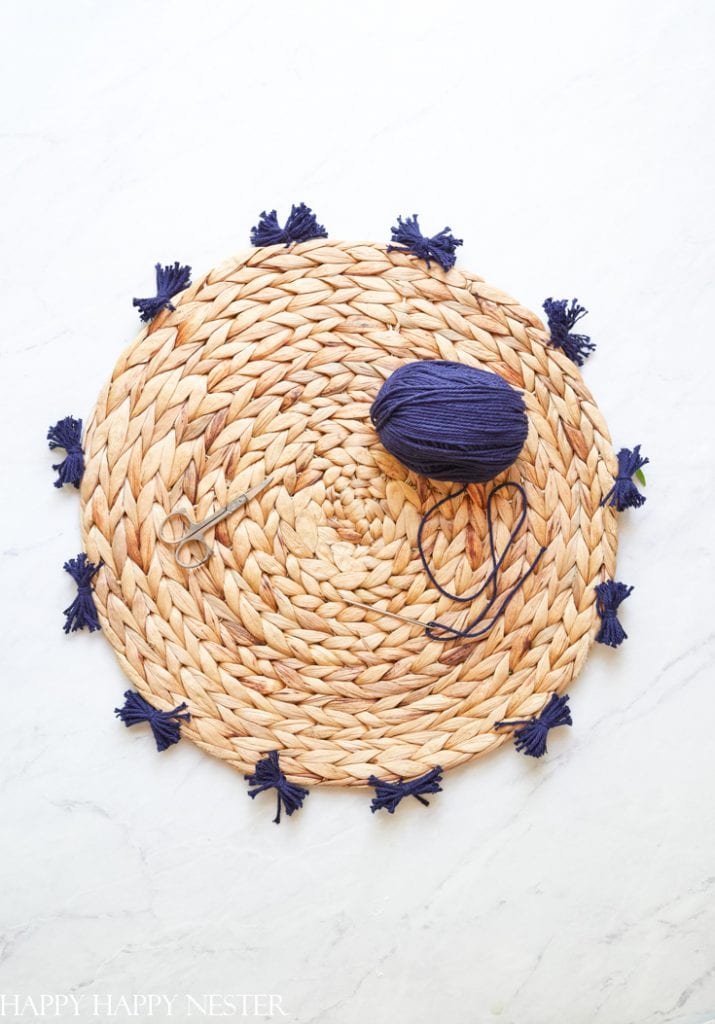
Step 2 – Attach the Tassels

Find the strings you tied in the middle of the bow and thread one of them through your craft needle. Take that needle and thread it through the edge of the placemat. Now, take the two remaining long strings and tie them together in a knot. Lastly, once you have secured your tassel to the placemat, trim the two remaining strings to match the length of the tassels of the bow.

boho diy placemats
Photo: My Photography

As some of you know, we moved our table to under our patio this summer. The new location is super fun and cozy and we’re surprised how much this has changed our outdoor dining experience.

Well, this new change had a domino effect and I’m all about hanging outdoors and styling our backyard patio. Here are a few of my posts.

I hope you enjoyed this fun DIY placemats project. Make sure to check out my latest summer posts.

  • Hanging Rattan Chairs
  • Outdoor Table Decorations for Summer
  • Outdoor Summer Decor Ideas

Oh yeah, here are my friend’s wonderful summer craft projects!

Summer Colors with Friends

Summer Colors Tablecloth

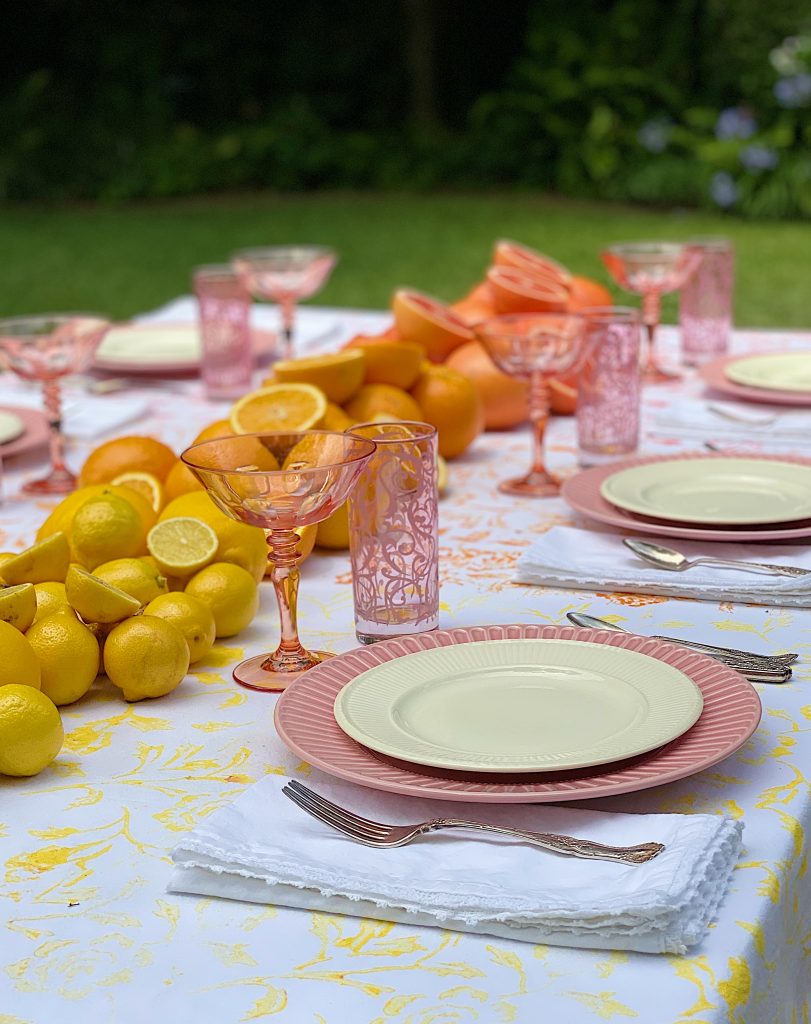
My 100 Year Old Home

Summer Colors Tablecloth DIY

I love how I rescued this stained tablecloth by painting it in summer colors with a paint roller. It looks perfect on my Summer Colors Citrus Table!
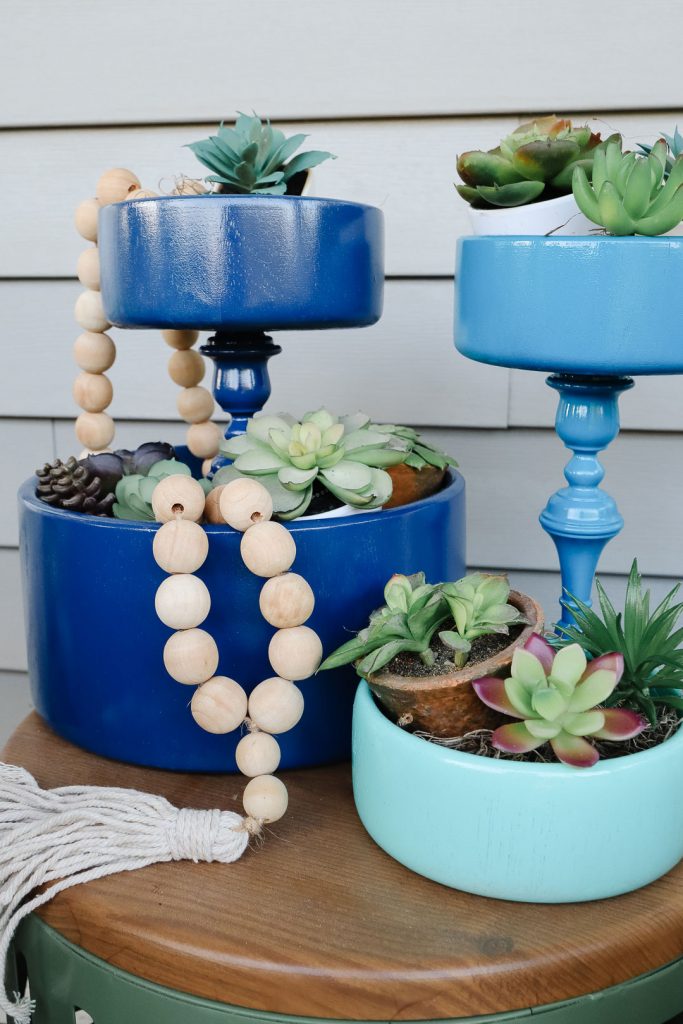
The DIY Mommy

DIY Tiered Trays

Look at these DIY Tiered Trays made from wooden bowls and candlesticks.
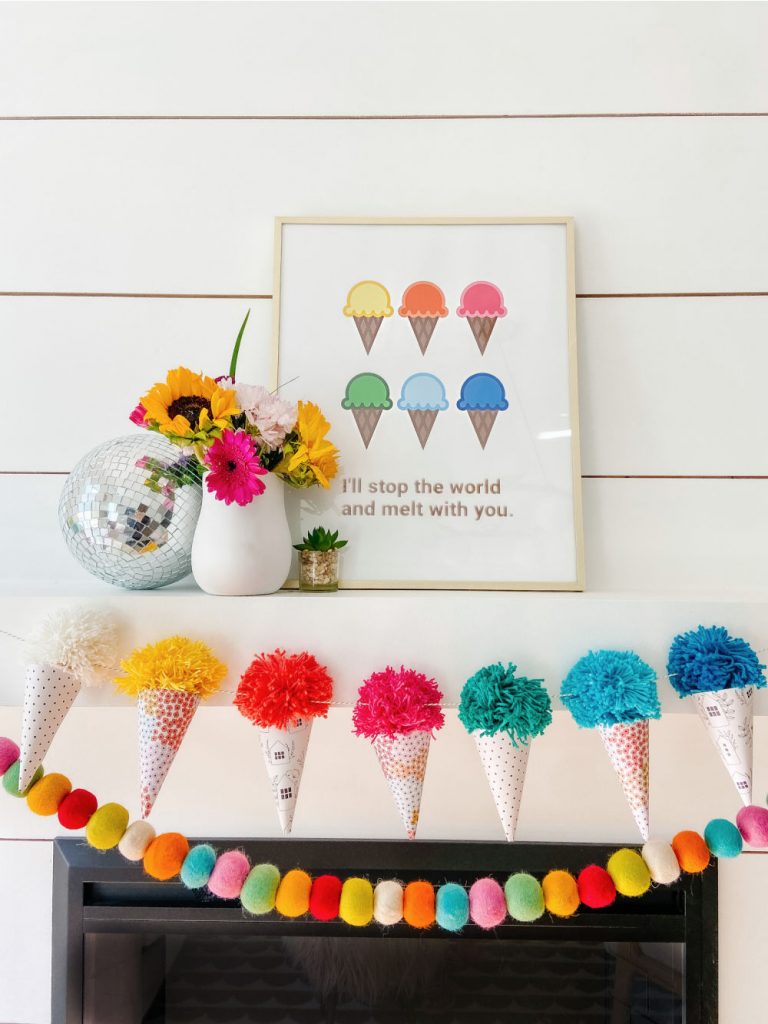
Tatertots and Jello

DIY Ice Cream Cone Garland and Free Summer Print 

This refreshing ice cream cone garland and summer print is the perfect Summer colors decor.

Thistlewood Farms

Five different Color Schemes for Christmas

Look at this wonderful summer color scheme for the holidays


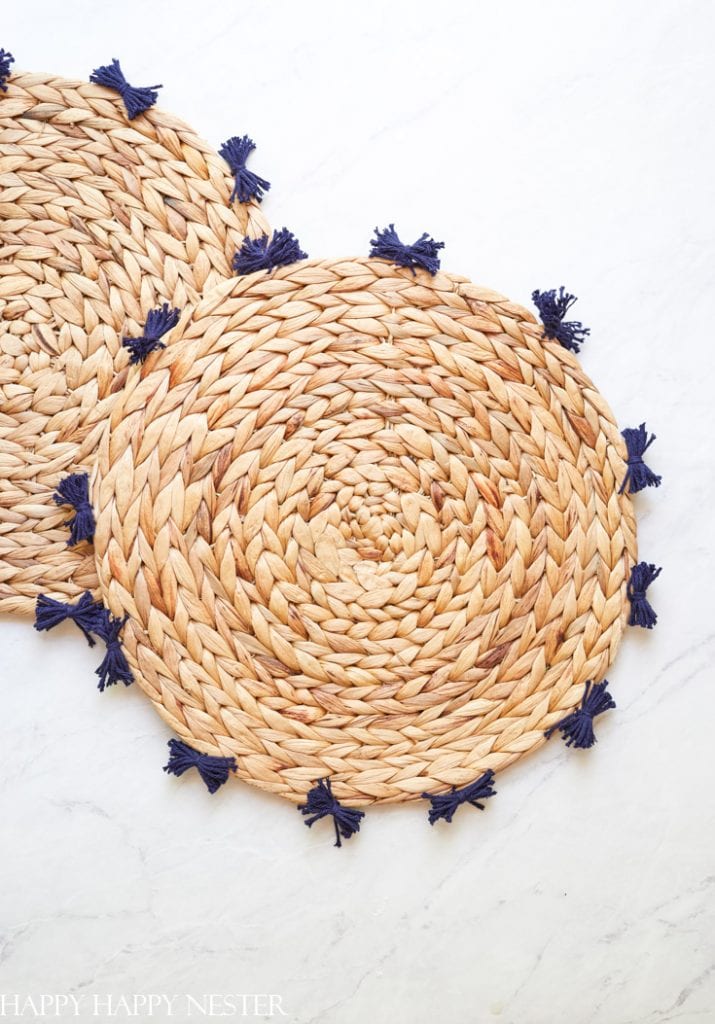
Thanks so much for stopping by to my DIY placemats post. It’s an inexpensive project with such cute results!

Cheers and happy crafting!

signature
pin it button
diy placemats
  • Author
  • Recent Posts
Janine Waite
Follow me
Janine Waite
I named my blog Happy Happy Nester because I love everything related to the home. I’ve always enjoyed decorating my surroundings. Get cozy and stay for a bit, thanks for visiting!
Janine Waite
Follow me
Latest posts by Janine Waite (see all)
  • How to Make a Tender Juicy Steak - May 8, 2025
  • My Favorite Flower Crafts - May 3, 2025
  • Easy Corkboard Placemats DIY - May 2, 2025

You May Also Like

  • outdoor table decorations for summer
    Outdoor Table Decorations for Summer
  • simpl outdoor summer table styling
    How to Design and Easy Outdoor Summer Table
  • serena & Lily bedding
    Our Master Bedroom Reveal With Serena & Lily
  • Serena-Lily-Dupes-image
    Serena and Lily Dupes

Sharing This!

  • Facebook
  • Twitter
  • Email

Reader Interactions

Leave a Reply Cancel reply

Your email address will not be published. Required fields are marked *

Recipe Rating


Sidebar

Janine the Nester

Hello from the Nester

We love everything related to home, so get cozy and stay for a bit. Thanks for visiting our blog. Learn More...

Reader Favorites

The Best Crunchy Crispy Chocolate Chip Cookie

This Italian Cream Cake has a pumpkin cream cheese frosting that makes this a winning combination. This dessert is perfect for the holidays.

Italian Cream Cake with a Twist of Pumpkin

French Apple Custard Tart with Puff Pastry

DIY Paper Flowers Tutorial (Tissue Paper)

Upcycling Tin Cans with Scrapbooking Paper

How to Make a Paper Flower Wreath DIY

Popular Categories

  • Cakes
  • Cookies
  • Dinners
  • Wreaths
  • Organizing

Join Our Newsletter

Join our mailing list to receive the latest news and updates from our team.

You have Successfully Subscribed!

AFFILIATE DISCLOSURE:
I am grateful to be of service and bring you content free of charge. In order to do this, please note that when you click links and purchase items, in most (not all) cases, I will receive a referral commission. Your support in purchasing through these links enables me to keep my design and customization prices ridiculously low and empower more people worldwide to blog with less worry and less hassle.
Happy Happy Nester is a participant in the Amazon Services LLC Associates Program, an affiliate advertising program designed to provide a means for sites to earn advertising fees by advertising and linking to amazon.com.
Thank you! :)
-Happy Happy Nester

Our Guide

Join Our Newsletter

Join our mailing list to receive the latest news and updates from our team.

You have Successfully Subscribed!

  • Facebook
  • Instagram
  • Pinterest
  • Twitter

Recipes

Appetizers
Breakfast/Brunch
Desserts
Dinners
Drinks

Crafts & Decor

DIY
Gardening
Holiday
Wreaths

About

About The Nester
Contact
Privacy Policy

Copyright © 2025 · Happy Happy Nester by Janine Waite · Privacy Policy

↑ BACK TO TOP