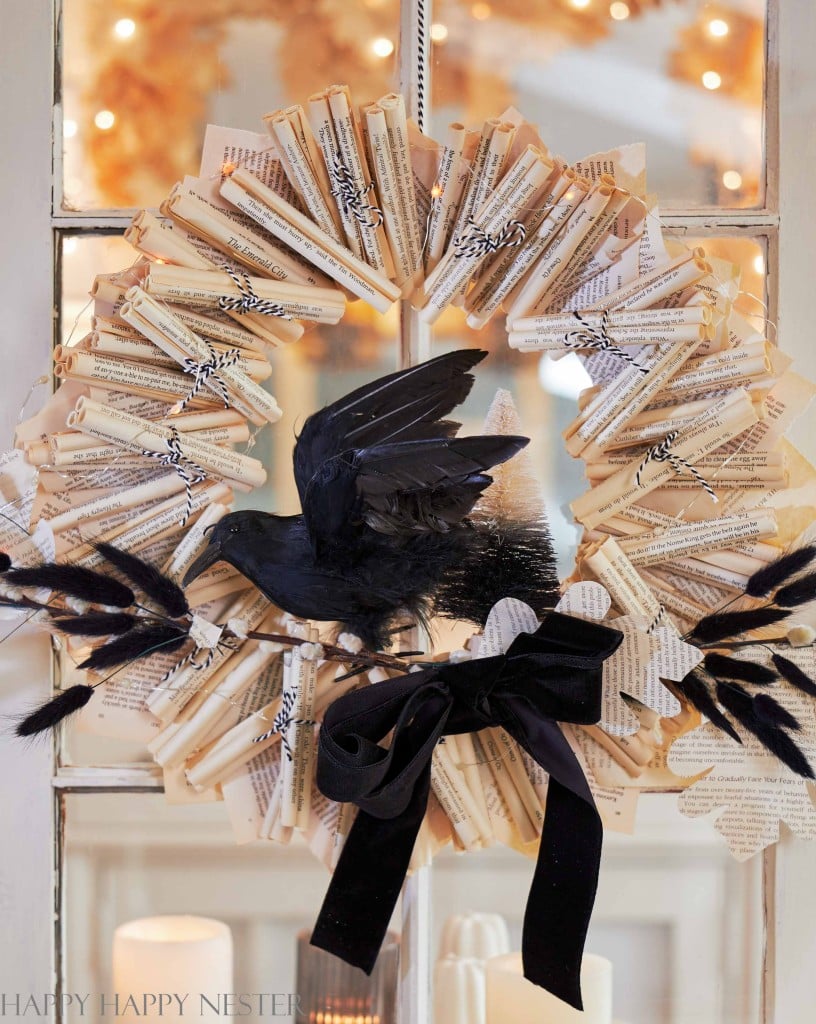
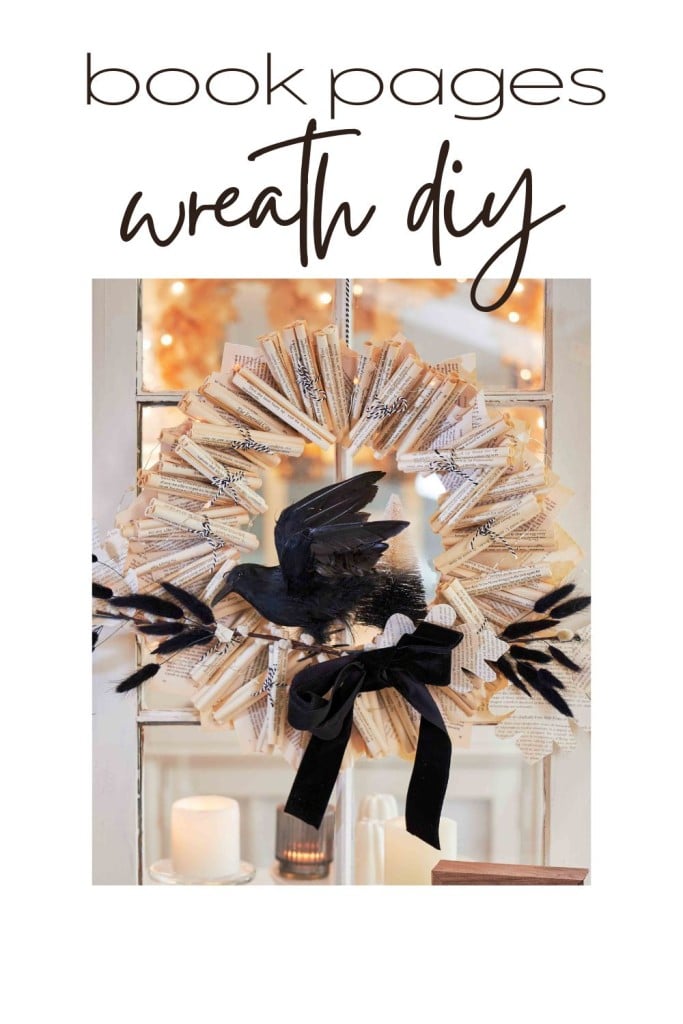
I’m really into making wreaths, and this Book Wreath DIY is so cool! This Halloween wreath is all decked out with a raven and many rolled-up pages. It’s a unique wreath. This budget-friendly paper wreath only requires a few supplies but a little time commitment to roll the book pages.
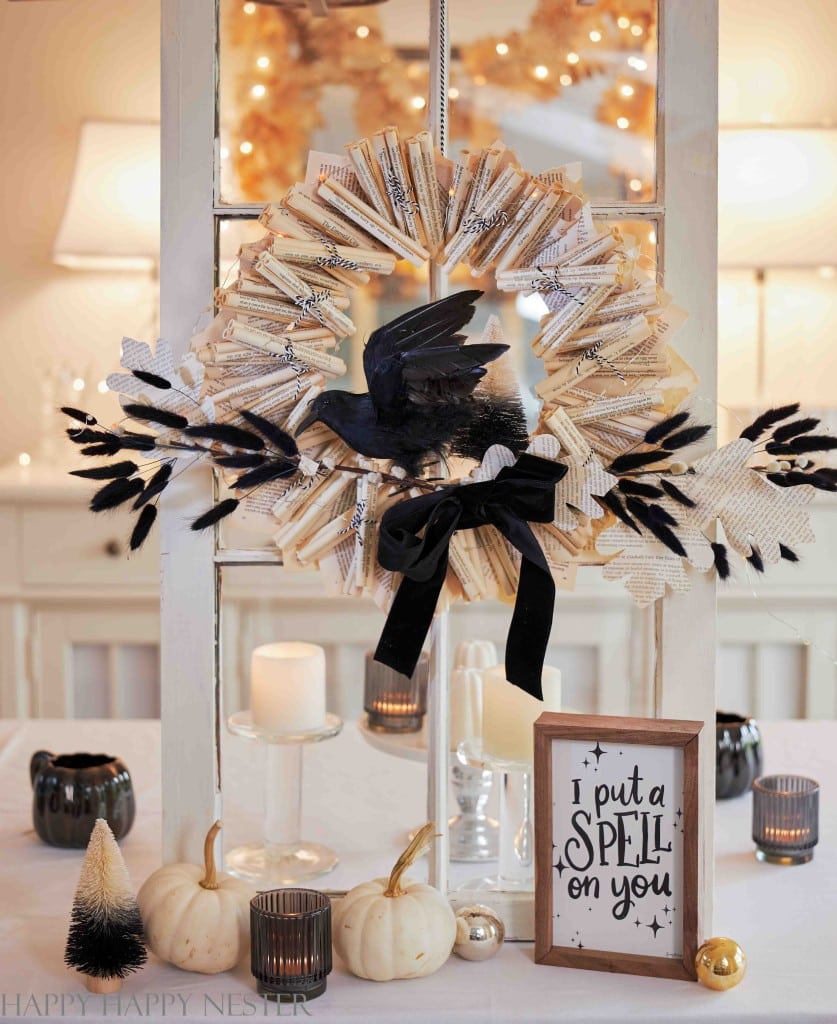
You can hang this black wreath on your front door or a wall, instantly infusing a festive Halloween vibe into your home decor.
Although this wreath looks complicated, it requires rolling book pages and gluing. I love making things out of books and paper, and here are a few other projects.
Don’t forget this post is part of a Halloween wreath blog hop. Be sure to check out my friend’s awesome wreath ideas once you’ve finished this tutorial – they’ve got some fantastic wreaths!
WHY YOU’LL LOVE THIS BOOK WREATH
- Unique Design: The wreath’s distinctive combination of rolled-up paper bundles, a raven, and dried black bunny tails adds a captivating and original touch to your decor.
- Affordability: Crafting this wreath won’t break the bank, requiring only a few inexpensive supplies.
- Versatile Placement: You can hang it on your front door or a wall, instantly elevating the festive Halloween ambiance of your home.
- Eco-Friendly Crafting: By repurposing old books for this wreath, you’re adding a unique aesthetic and contributing to eco-friendly crafting by giving new life to old materials.
A FEW BOOK WREATH TIPS
HOW TO ROLL BOOK PAGES FOR A WREATH
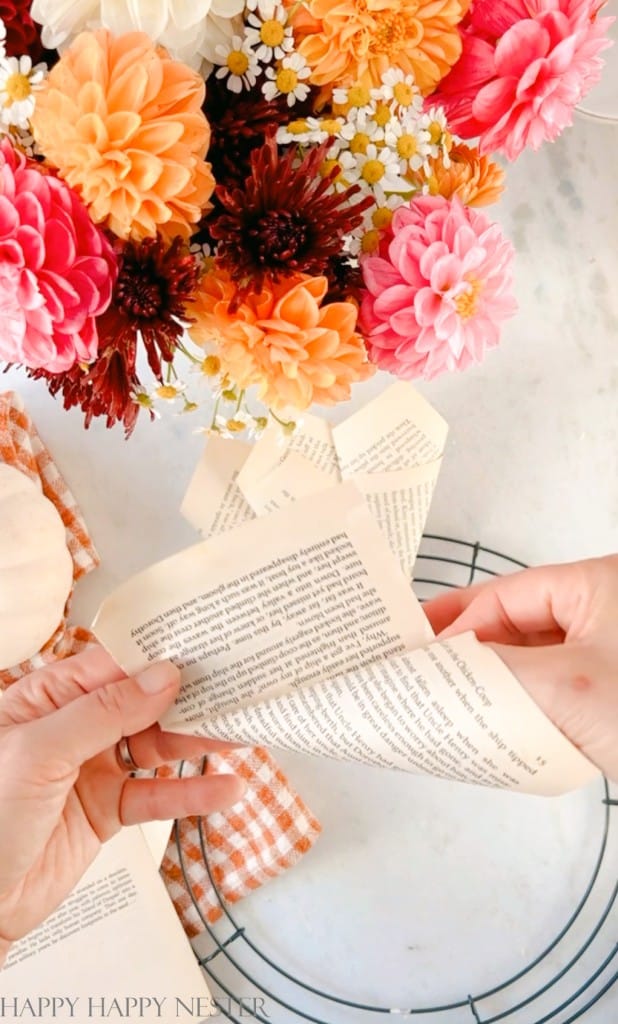
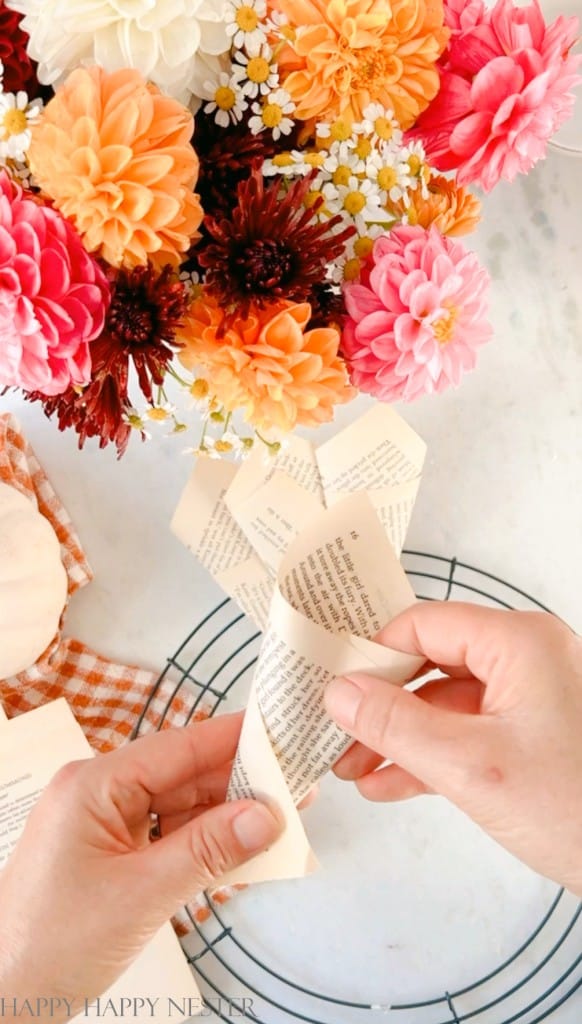
- Start with a book page and hold it diagonally from one corner to create a triangle shape.
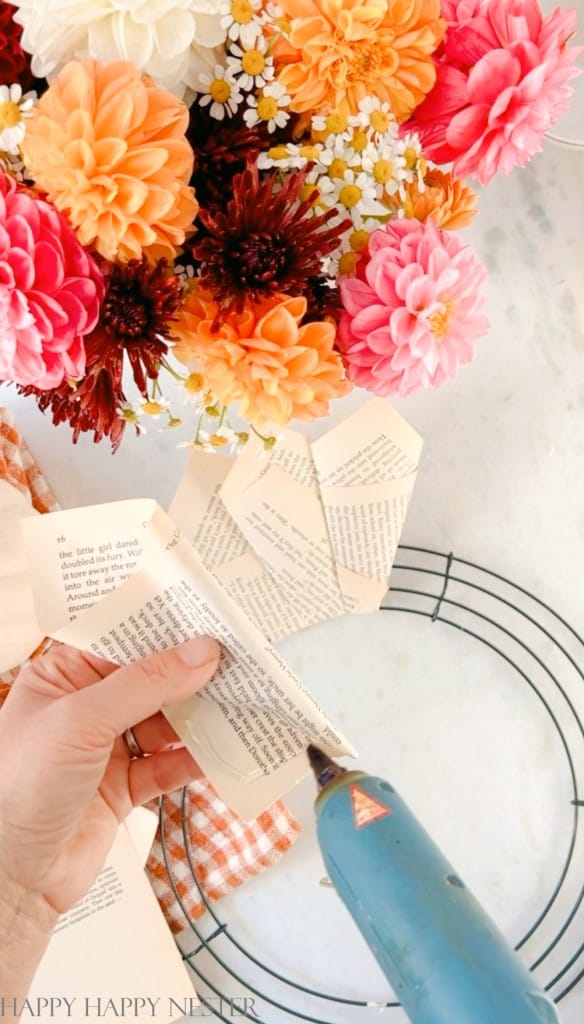
- Begin rolling the paper tightly, starting from the wide base of the triangle, and continue rolling until you reach the pointed tip.
- Apply a small dab of glue or adhesive at the tip to secure the cone shape, and hold it briefly until it sets in place.
WHAT KIND OF BOOK PAGES WORK BEST
Because I went for a smaller wreath, I found that using a paperback book was perfect – the smaller pages meant I didn’t have to do any trimming or cutting.
And when it comes to paper choice, think about whether you want your wreath to be on the lighter or darker side. Some book pages tend to yellow with time, giving your wreath a richer beige hue.
HOW TO MAKE A BOOK PAGE WREATH
As I mentioned before, creating this wreath isn’t overly challenging; it mainly requires patience as you roll the book pages into bundles.
SUPPLIES YOU’LL NEED
(Links included below)
- Book Pages: Book pages serve as the foundational material for the wreath, giving it a vintage and literary charm.
- Wire Wreath Form: The wire wreath form provides the structural support necessary to create a sturdy and well-shaped wreath. Here’s the link to the wreath that I used for my project.
- Hot Glue: Hot glue is used to securely attach the rolled-up book pages to the wreath form, ensuring they stay in place.
- Baker’s Twine: Black and white baker’s twine adds a delightful contrast, tying up bundles of book pages and enhancing the wreath’s visual appeal.
- Twig: A twig acts as a rustic accent, adding a touch of nature to the wreath’s design.
- Faux Crow: The faux crow lends a spooky and mysterious element to the wreath, perfect for Halloween decor.
- Bottle Brush Tree: A bottle brush tree brings a miniature forest vibe, offering a unique and whimsical detail to the wreath.
- Dried Black Bunny Tails: Dried black bunny tails contribute to texture and dark, haunting elegance, enhancing the wreath’s overall aesthetic.
DIRECTIONS FOR MAKING THIS WREATH
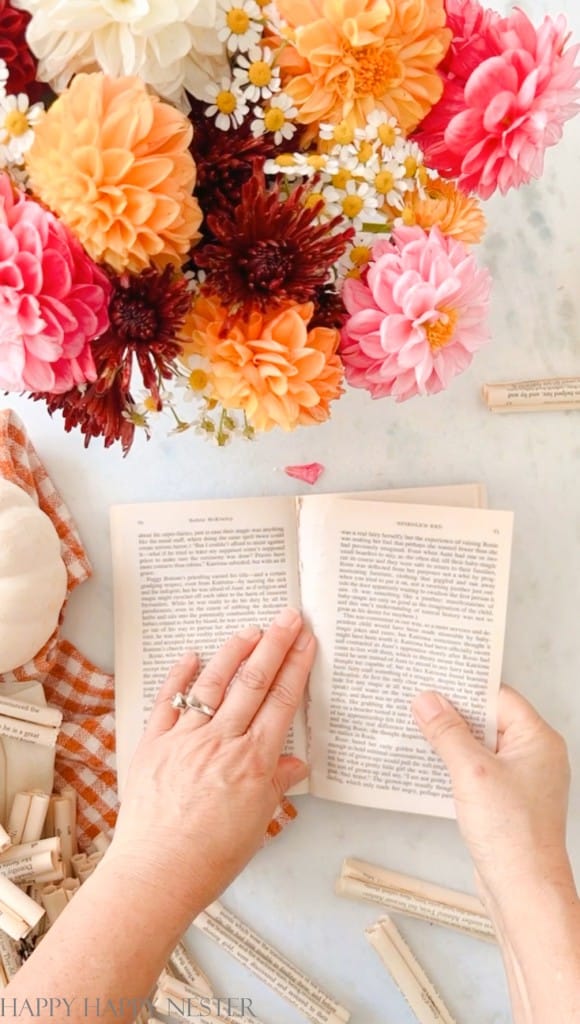
Step 1 – Remove Pages
Remove pages from your book, trying not to tear the paper.
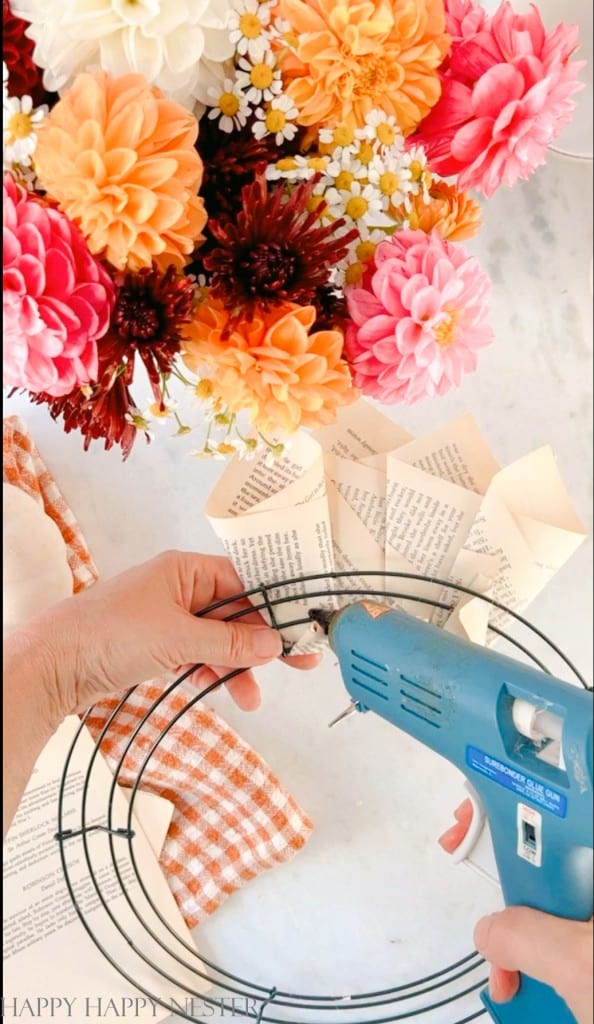
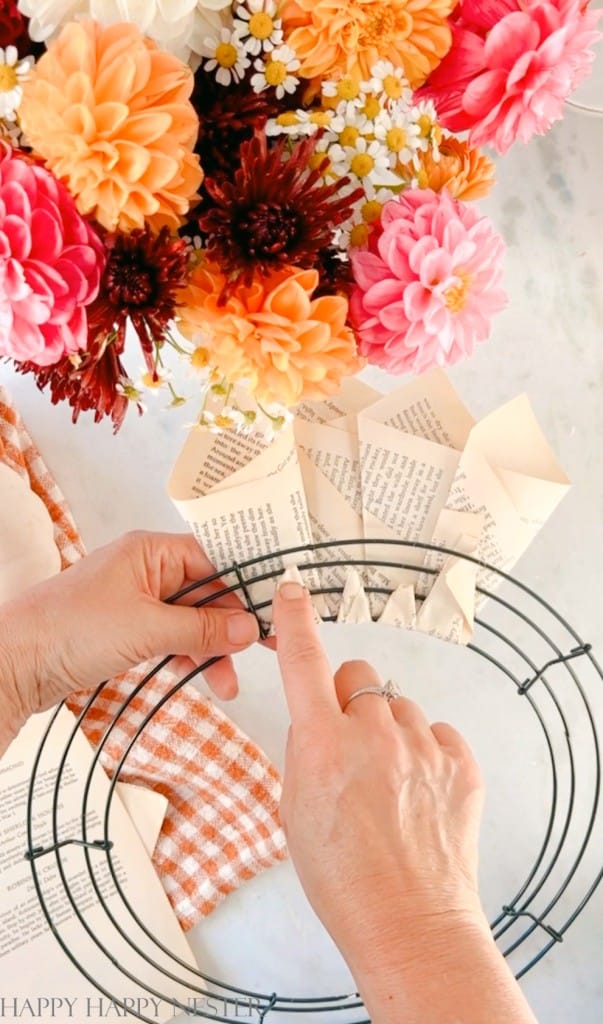
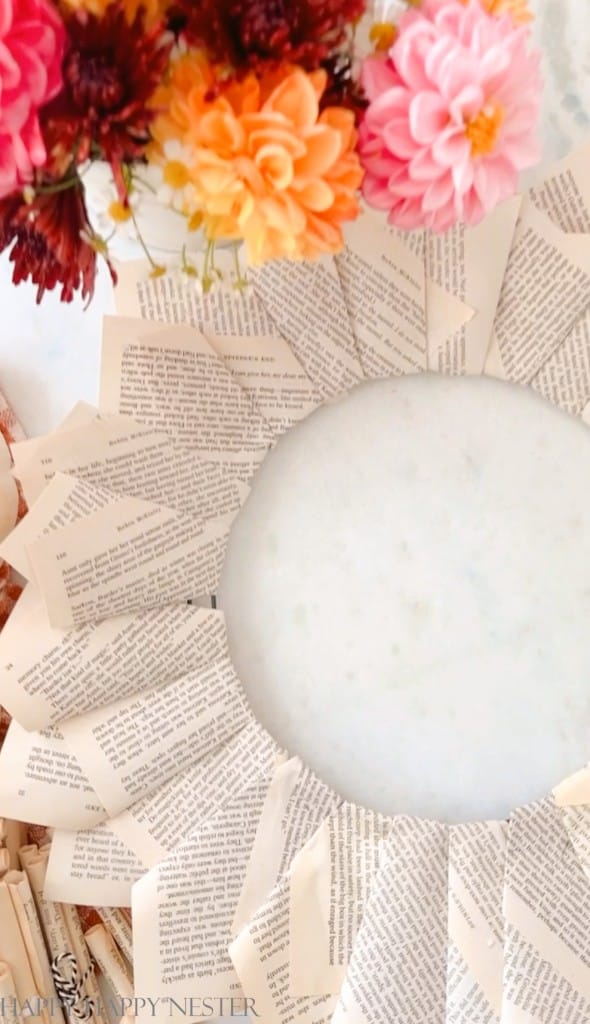
Step 2 – Cover Wire Wreath
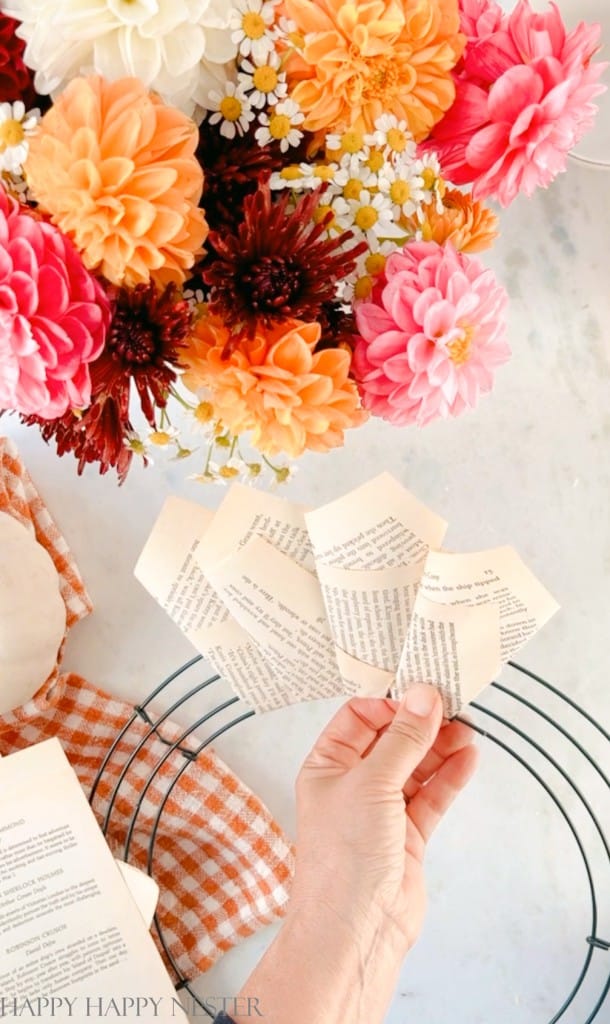
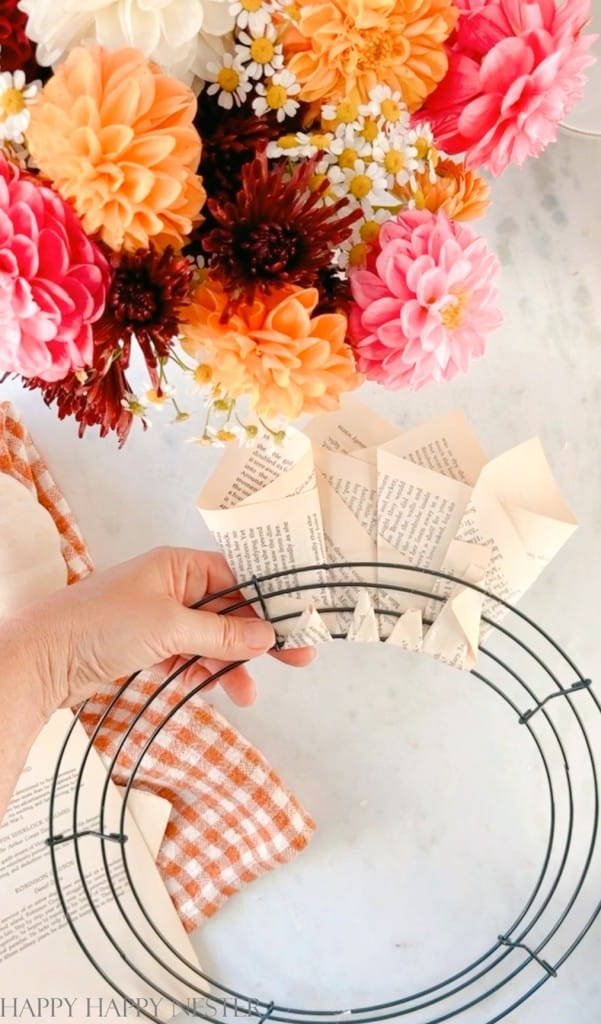
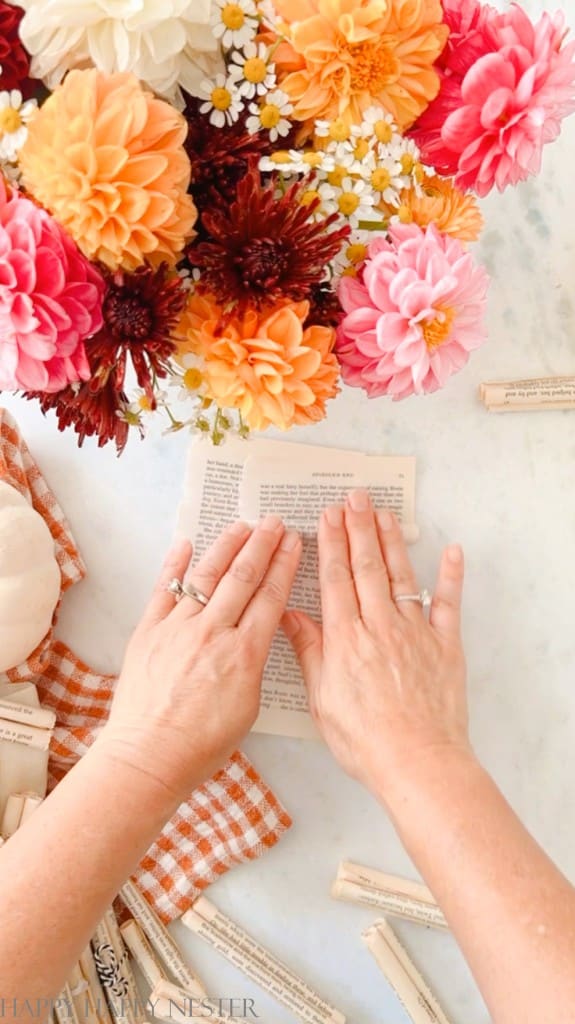
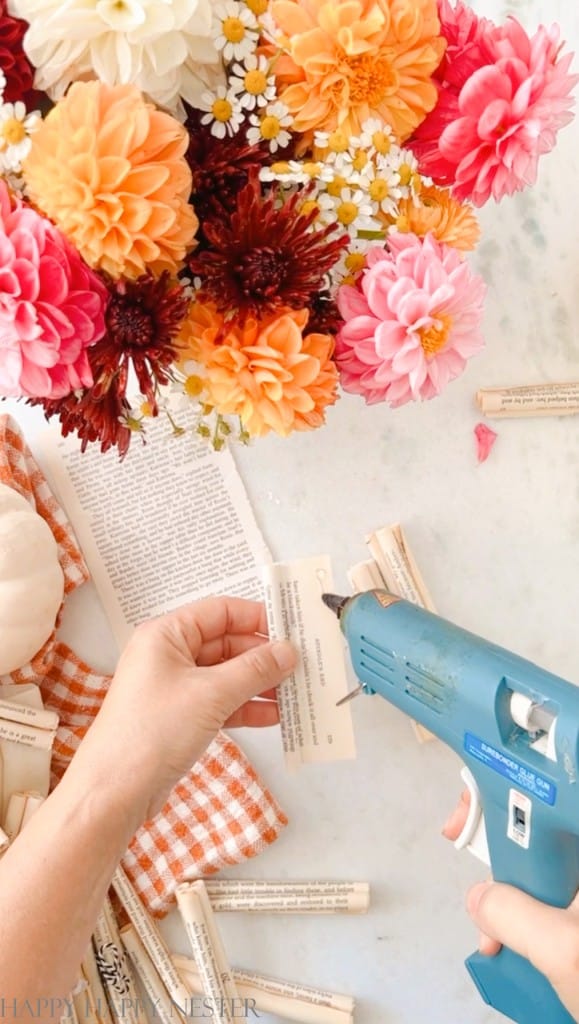
In this step, you’ll be wrapping the wire wreath with book pages. Following the cone-making technique mentioned earlier, create book paper cones, flatten them, and use glue to attach them to the wire wreath. Flip the wreath over, and secure the tip by gluing it to the backside of the cone.
Keep it going by doing the same thing again – glue the next cone onto the previous one and secure the backside with glue, too.
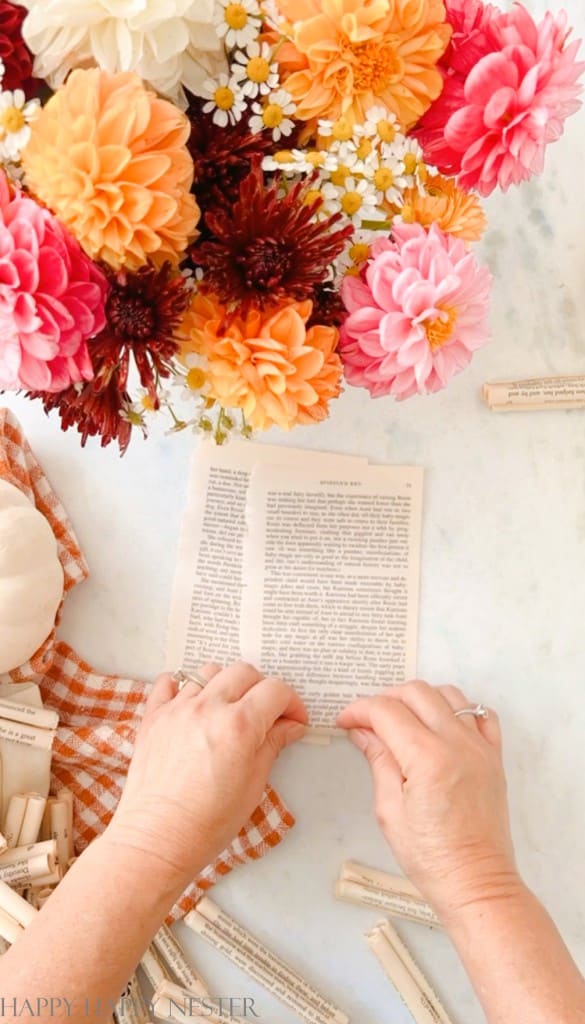
Step 3 – Make Paper Rolls
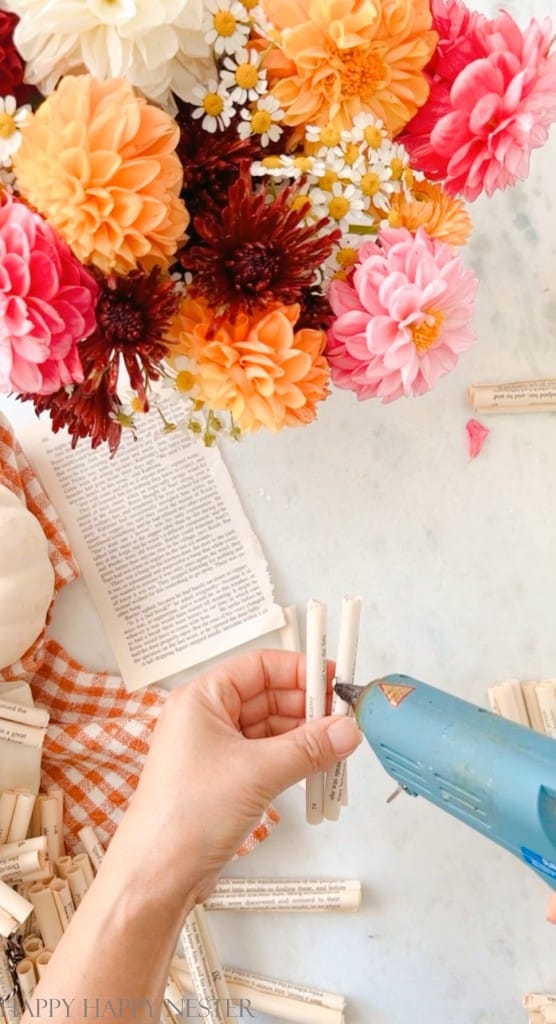
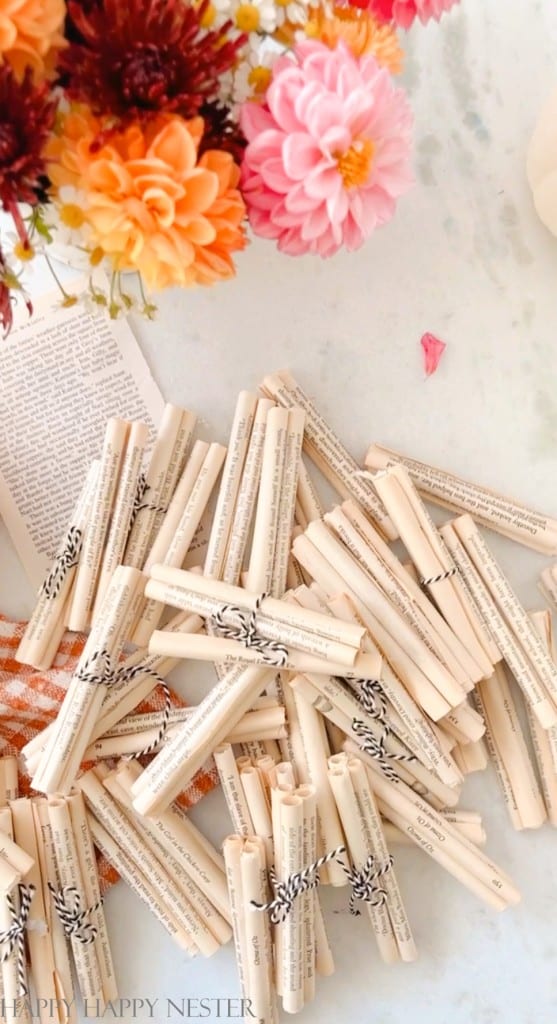
Lay the paper flat on your table with the longer side vertical, then start rolling it up and use a bit of glue at the end to secure it in position. Repeat this process until you have 135 or so rolls.
Step 4 – Make Bundles
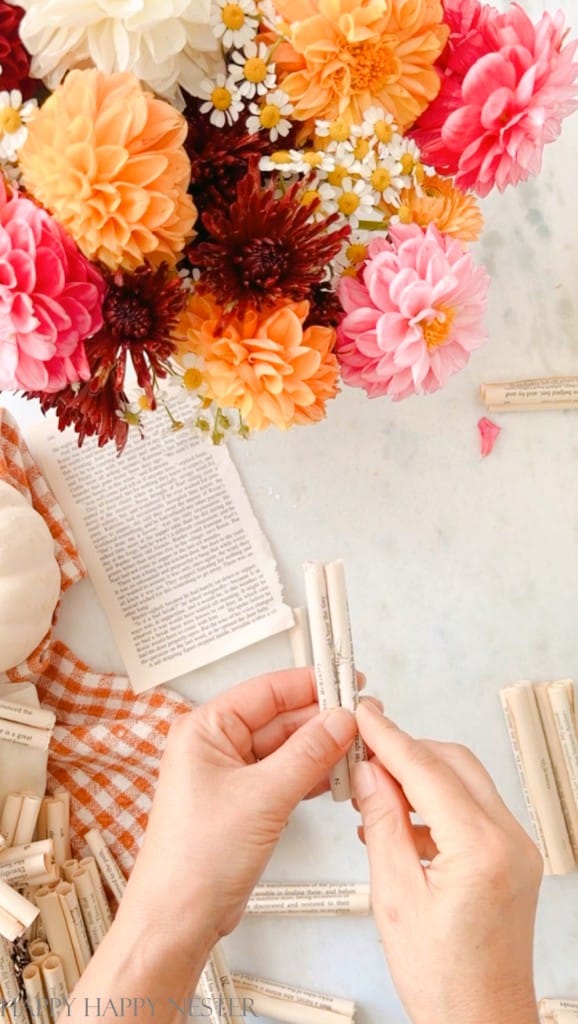
Grab three paper rolls, glue two of them together, and then cap the top with the third one, securing them in place with glue.
You have the choice to either wrap some black and white baker’s twine around your bundles or leave them as they are.
Step 5 – Attach Paper Rolls to the Wreath
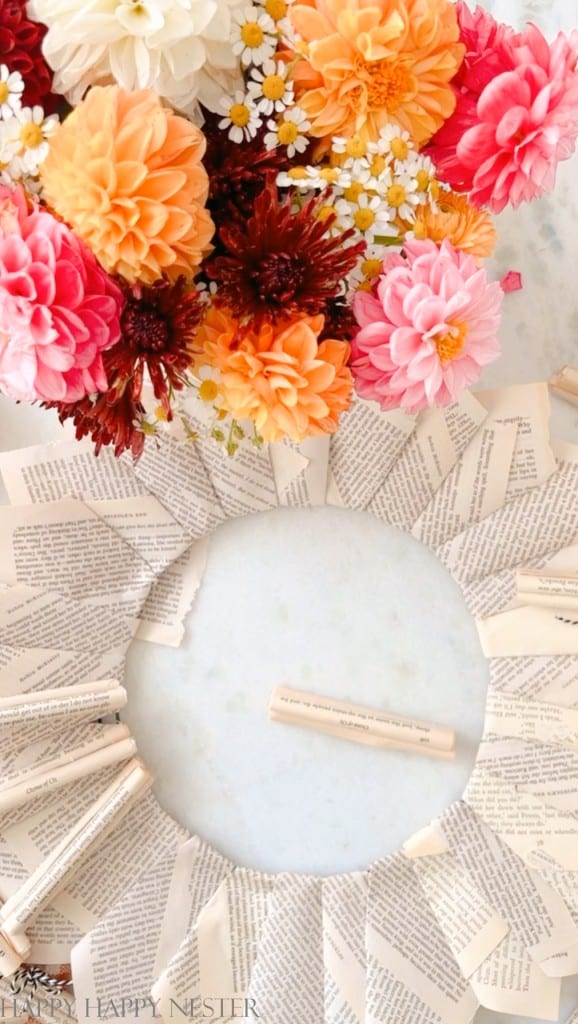
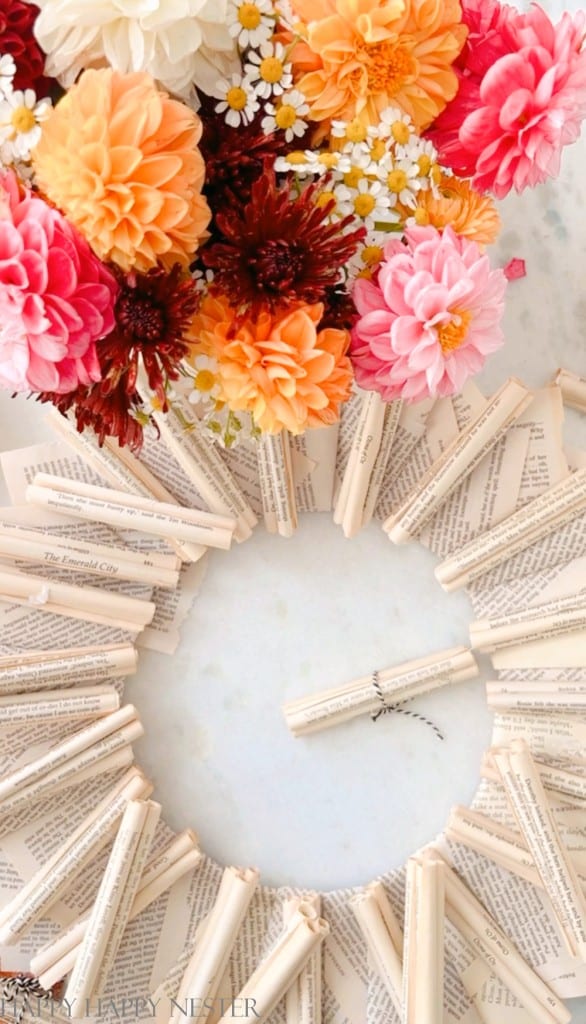
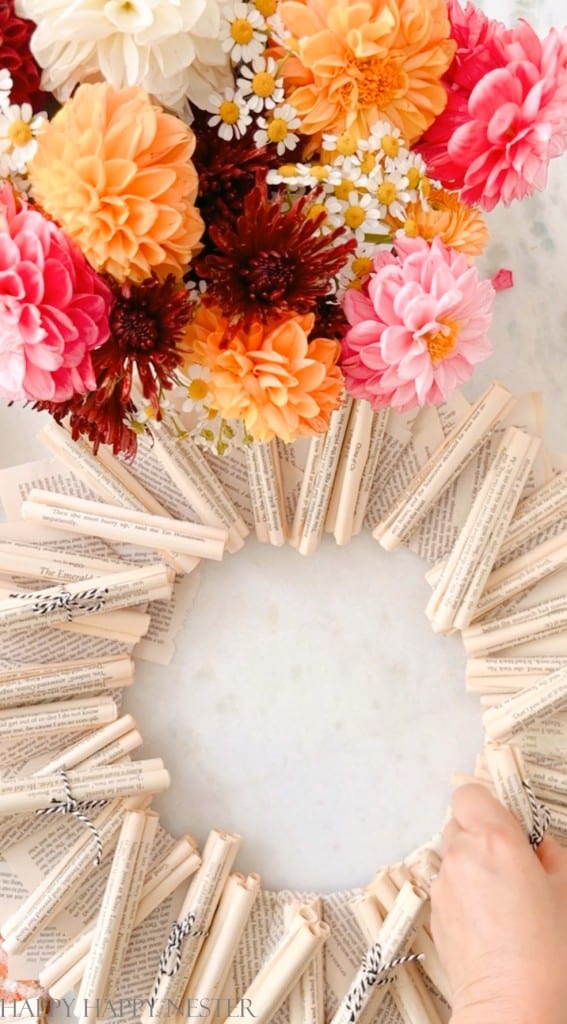
I attached a base of the paper rolls all around the wreath. Then, topped them with a few other rolls going in different directions.
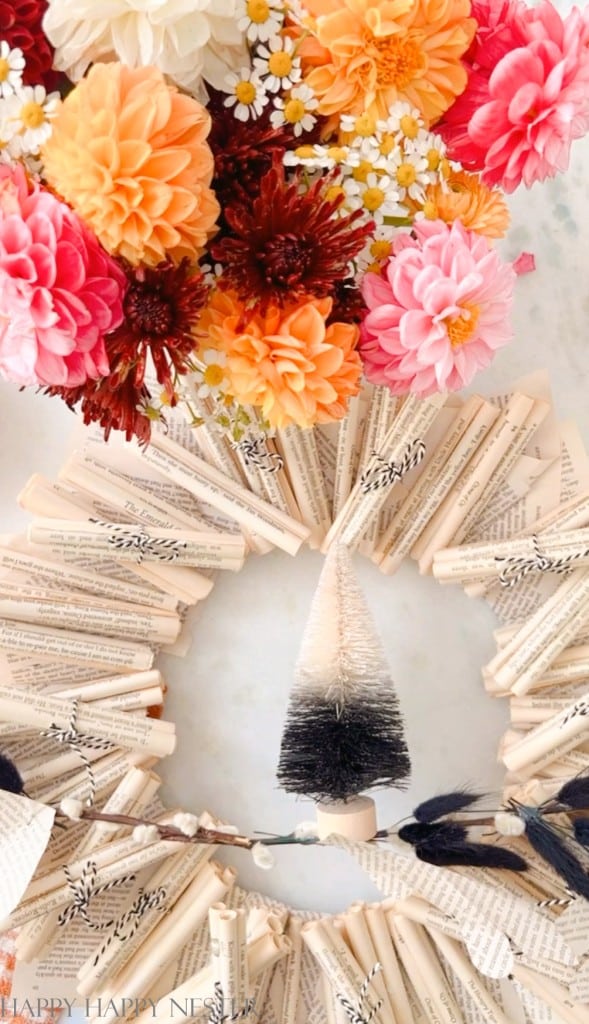
Step 6 – Attach a Branch to the Wreath (Optional)
Glue a branch to your wreath. I attached the branch by hot-gluing it to the paper rolls. I attached a bottle brush tree that way as well. And wired the faux black crow to the wreath wire form.
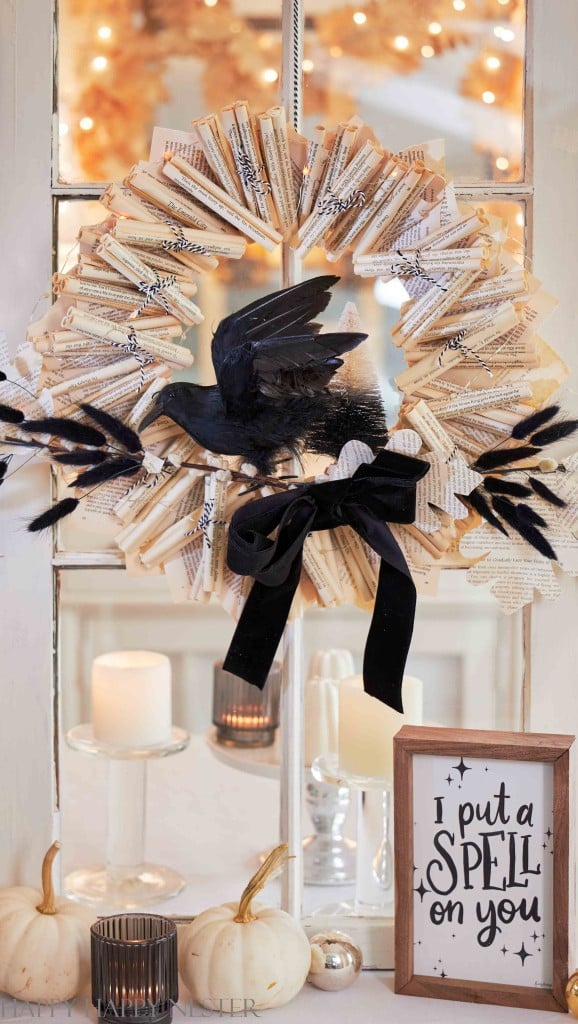
I absolutely adore this time of year with all the delightful decor that comes along with it. It truly adds that special touch to the season. I really hope you get a chance to make my book wreath and bring that cozy vibe right into your home!
Again, don’t forget to check out my friend’s Halloween Wreaths!
Cheers,

Photo Credits: MyPhotography.com
BLOGGER’S BEST HALLOWEEN WREATH IDEAS
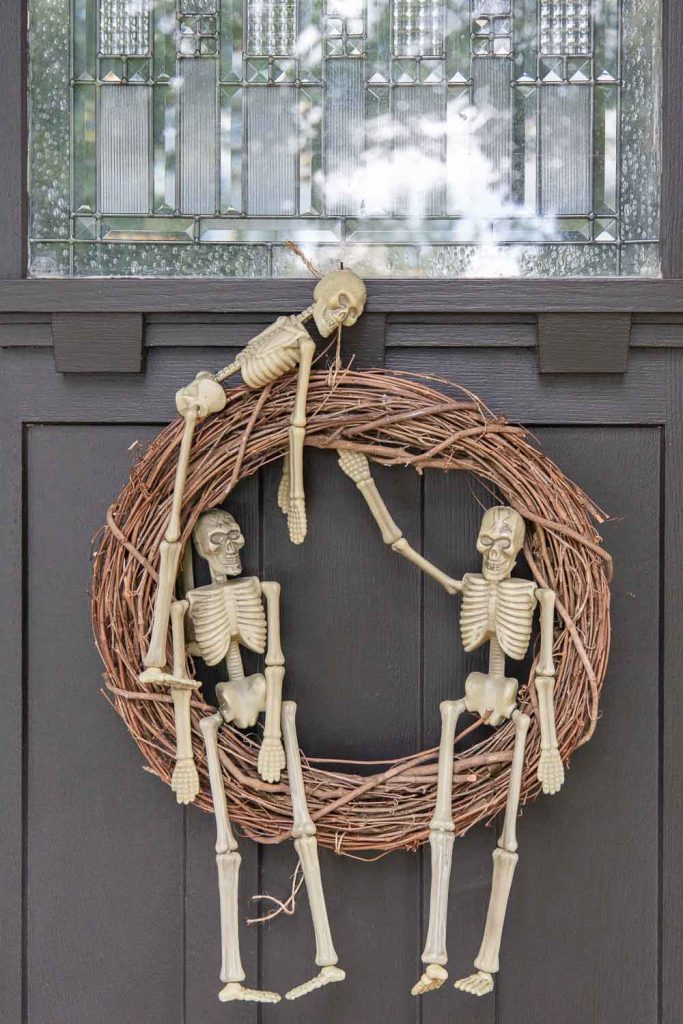
DIY Dollar Store Skeleton Wreath | Twelve on Main
How to make a Halloween wreath using dollar store skeletons! This is a quick and easy DIY wreath that anyone can make!
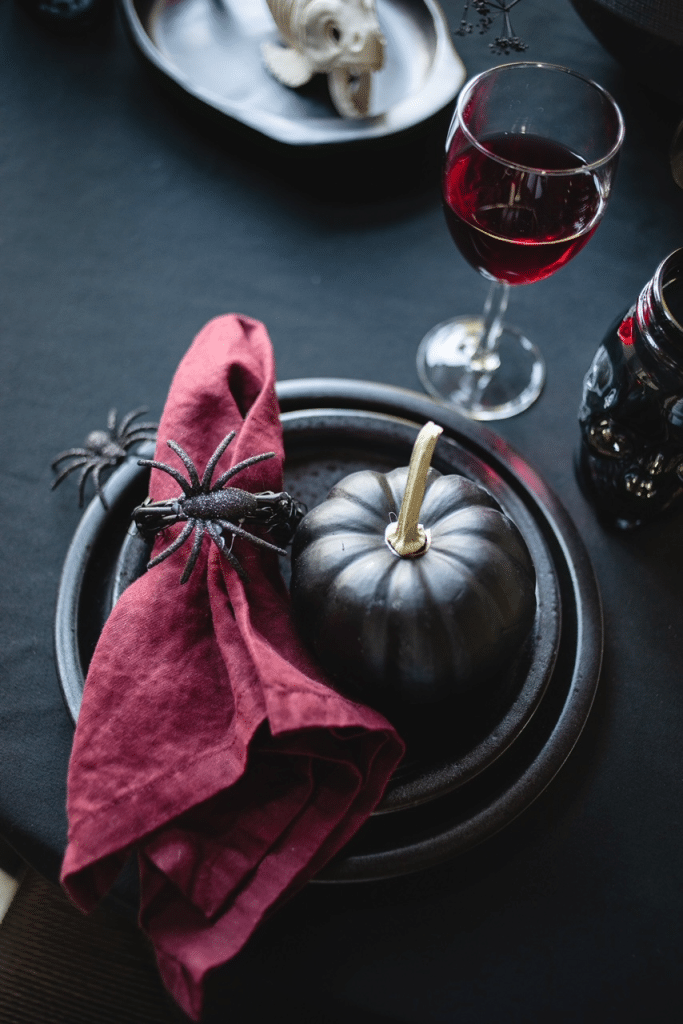
DIY Grapevine Wreath Napkin Holders for Halloween | My Sweet Savannah
Let’s make these itty bitty wreath napkin holders. All you need is 4 inexpensive items to create these for your Halloween table!
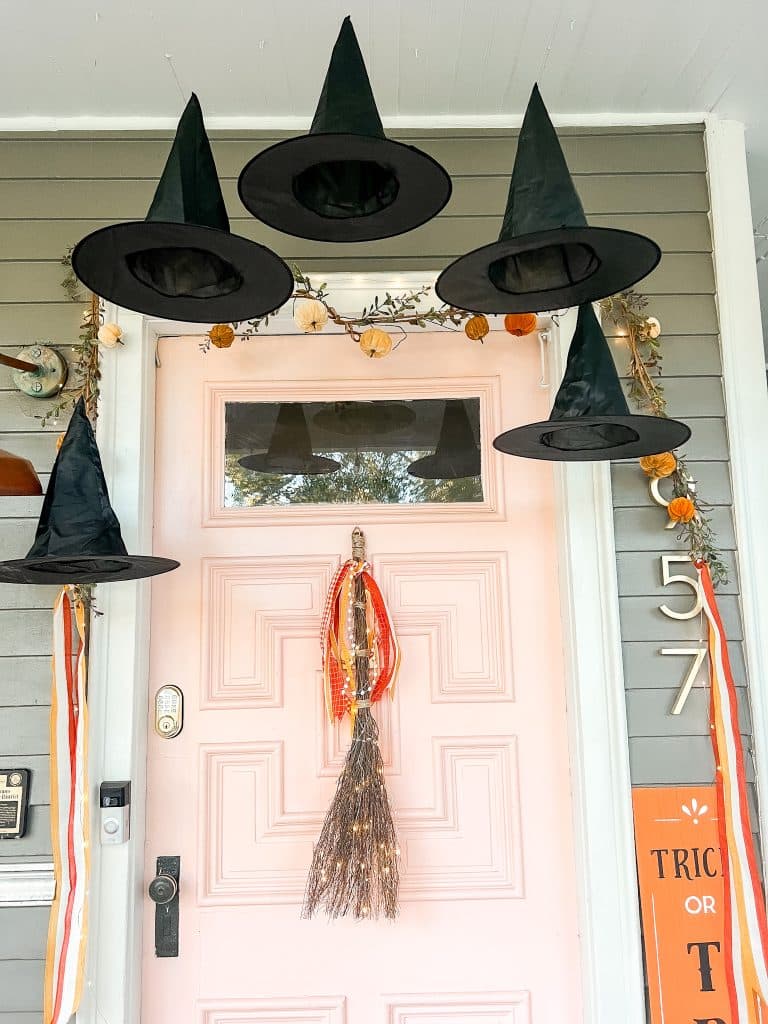
Halloween Witches Broom Wreath | Tater Tots and Jello
Cast a welcoming spell on visitors this Halloween by creating a delightful witch porch. A glowing witches broom is a whimsical wreath alternative. Battery operated shimmering lights will light the way for guests. This is a hack on the Pottery Barn version for a fraction of the price!
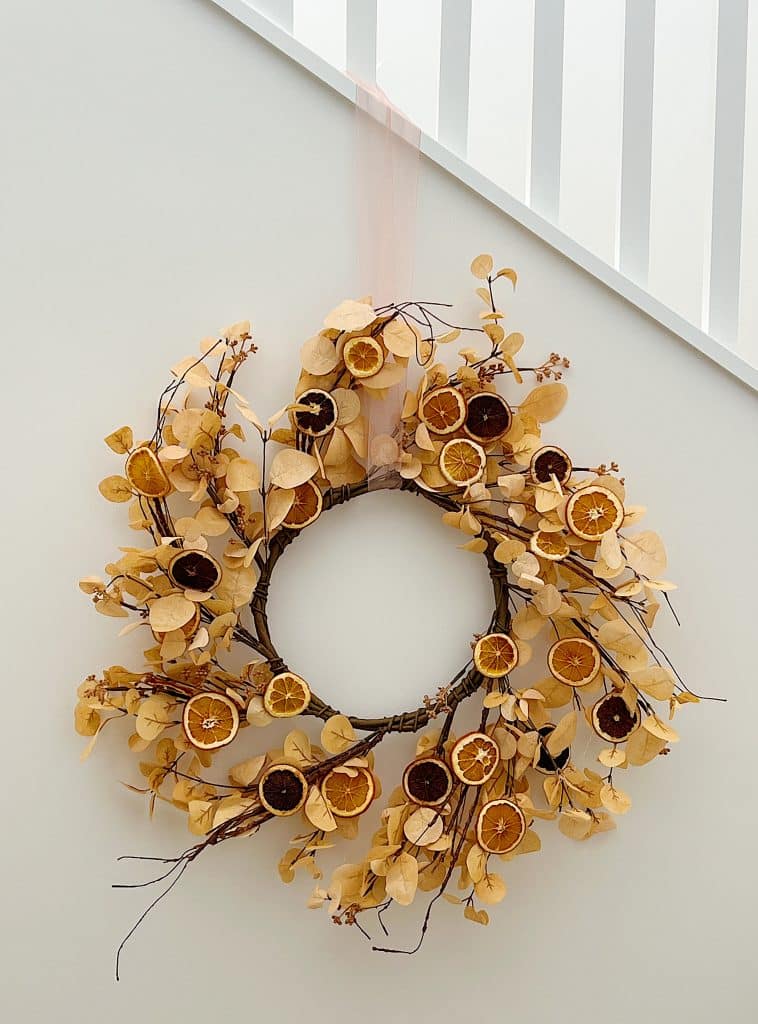
DIY Halloween Wreath Ideas | My 100 Year Old Home
I love my Halloween wreath … a timeless, elegant decoration that welcomes guests with festive charm. And it fits my style of decor.

- Outdoor Tables and Chairs - July 2, 2025
- My Favorite Floral Desserts - June 28, 2025
- Patriotic Table Decor - June 25, 2025


Melaine Thompson
I love how simple this is and I love how you have it displayed!