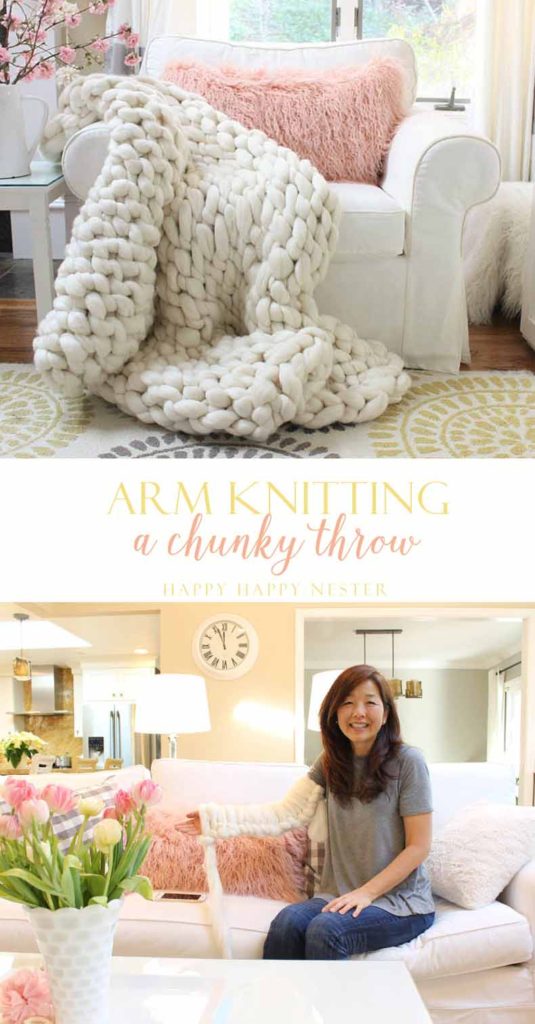
Today, let’s get started on how to arm knit a chunky wool throw. I have another post in which I share my honest experience with knitting my fist throw. My first attempt was a bit frustrating, but I hope that this post will equip you with everything you need to know to arm knit. Also, the videos (at the bottom of this post) I have gathered will definitely help alleviate most of your initial concerns.
But, if you don’t have the patience to make one of these fun arm knit throws, you can purchase one already made from Larissa at BeCozi, just make sure to use my code, JAN10 for a 10% discount on your entire purchase.
I hope this makes sense!
*this post contains affiliate links
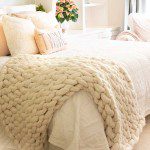
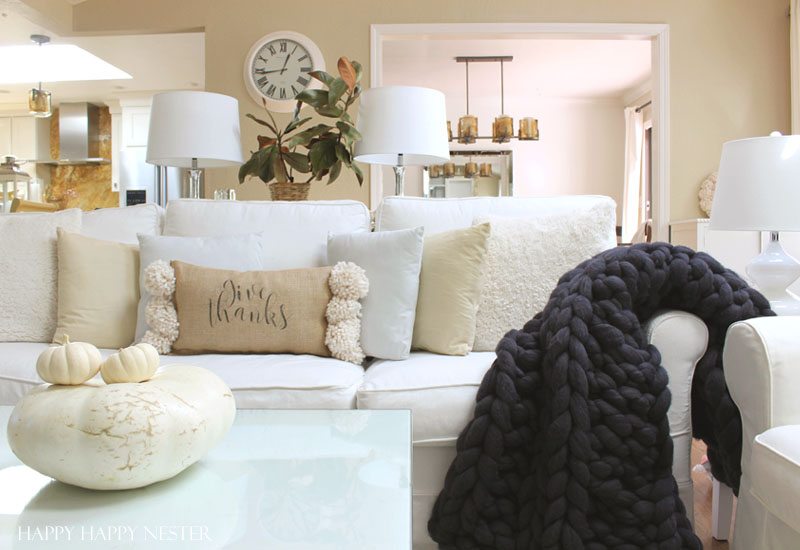
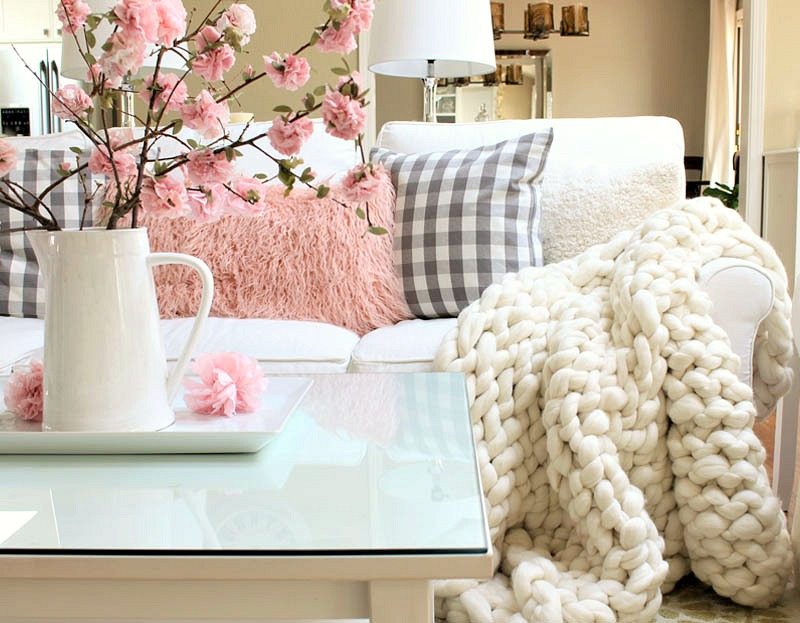
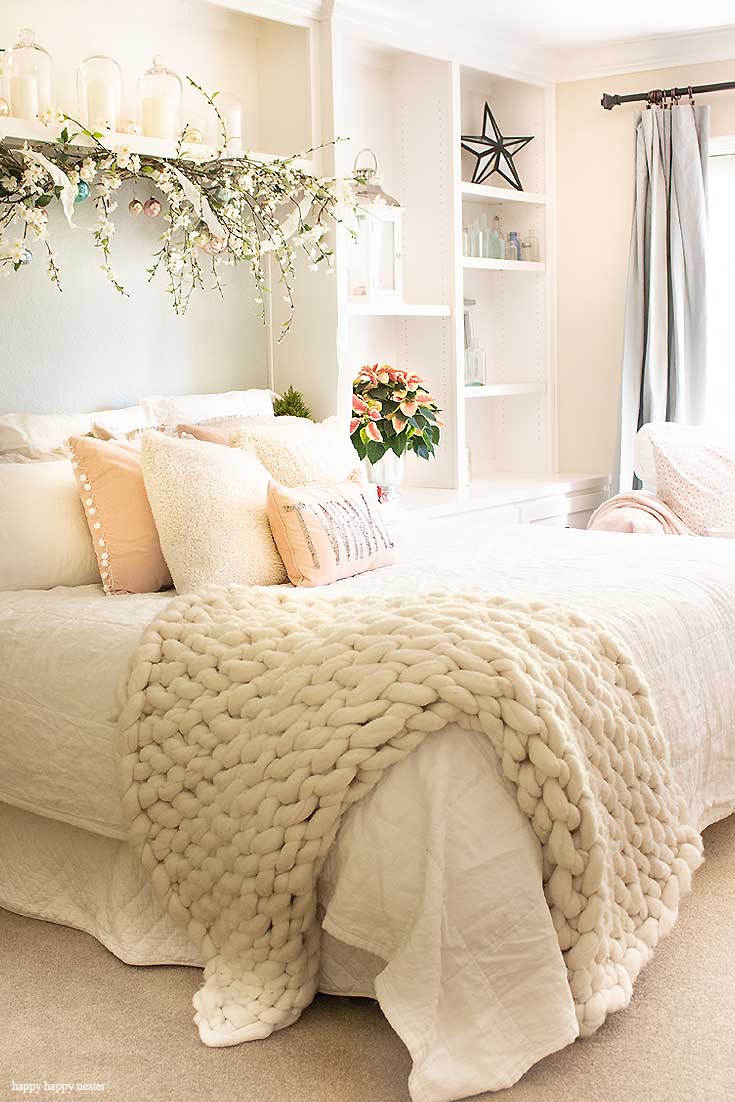
I absolutely love any kind of blanket, but these arm knitted throws are beyond amazing. They are so beautiful and make quite the statement in any room. I love that they are super warm and soft. It is almost like a soft cotton ball texture.
I was a bit intimidated by this project, but once you watch the videos below, you’ll quickly learn that there are only a few steps to making these wonderful arm knitted blankets.
![]()
_____________________________________________________________________________________________________________________________________


_____________________________________________________________________________________________________________________________________
Well, Let’s Dig Into This Arm Knitting Project
Arm Knit: Frequently Asked Questions
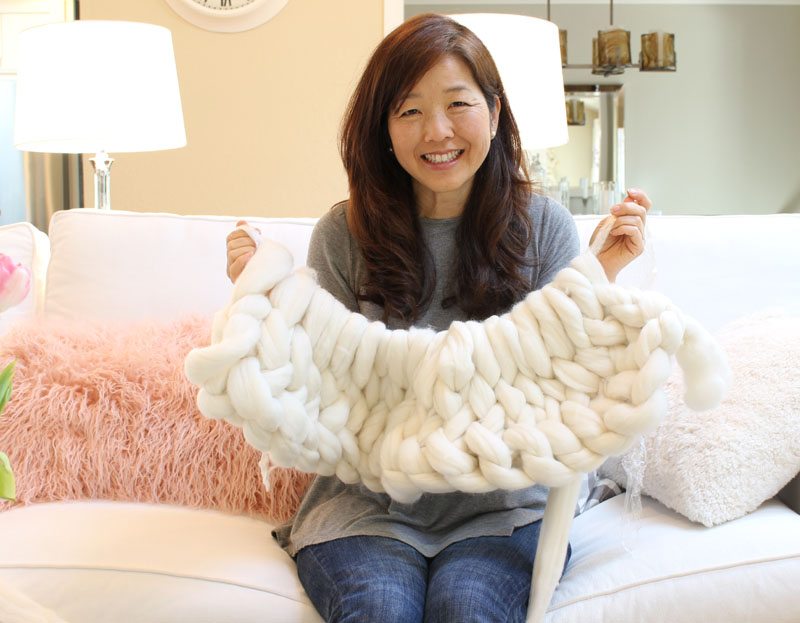
I recently broadcasted a live Instagram session while I arm knitted this blanket. What was interesting to me were the questions everyone asked. So, I thought it might be helpful to post them here on this blog post.
What is Arm Knitting?
So, arm knitting has two distinct differences to regular knitting. First, instead of using regular knitting needles, arm knitting uses your arms. Yes, you heard correct, you will be knitting with your arms. Secondly, the yarn is significantly bigger than regular yarn. And also, it is a chunky yarn made from wool.
Do You Need to Know How to Knit to Arm Knit These Blankets?
I didn’t know how to knit, and I picked up arm knitting just fine. There is a little bit of a learning curve, but once you get familiar with the three basic stitches, casting on, knitting, and binding off, it is a breeze.

Where Did You Learn to Arm Knit?
With Pinterest available to us, learning how to arm knit is so easy. I found and watched arm knitting videos. There are a few out there on the internet, but I watched my friend, Larissa from BeCozi. Her videos break the process down into a few easy steps. After watching them, you’ll be on your way to knitting these incredible chunky throws within minutes. You can view everything you need to know in the videos at the bottom of this post.
Where Do You Buy The Yarn?
My yarn is from, BeCozi who carries several colors wool yarn and they ship internationally. The yarn I used is Natural Wool, and I love it. To receive a generous discount of 10% off your whole order, make sure to use the code JAN10 when ordering.
So, on my first arm knitting post, I just bought a chunky non-wool yarn. As you can see from the post that my blanket came out rather light and not even similar to the chunky wool blanket.
How Much Does The Yarn Cost?
Depending on the color the cost is $64 for 2 pounds.
How Much Yarn Do I Need to Buy?
How much yarn you need to buy depends on the size of your project. I had 7 pounds of yarn, and my blanket turned out 45″ x 60″ which is a perfect size throw.
Also, there is some variation in size if you are a tight or loose knitter.
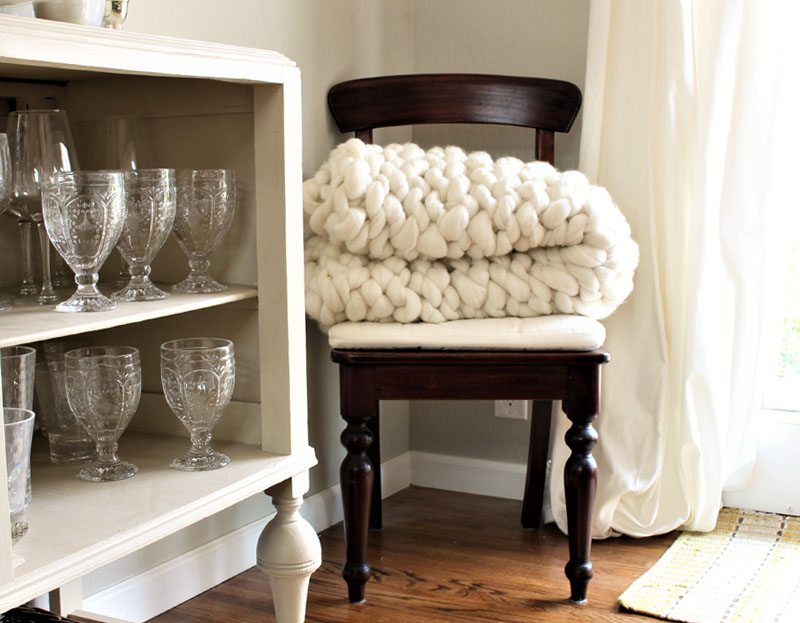
The yarns are a bit different based on the dying process. My wool is the “Natural Wool” color, and it does not go thru a dye process, and as a result, it’s pretty fluffy.
Here is helpful Chart
One Loop Infinity Scarf, 3 stitches wide – 0.5 – 0.75 pounds
Straight Scarf, 6 feet – 1 pound
Pet Beds – 2 – 4 pounds depending on size
Baby Blanket, 29×35 – 2.5 pounds
Lap Throw, 35×50 – 3.5 – 5 pounds
Large Throw, 40×60 – 7-9 pounds
Twin Bed Cover, 45×80 – 11-14 pounds
Full Bed Cover, 70×83 – 15 – 17 pounds
Queen Bed Cover, 76×88 – 19 – 21 pounds
King Bed Cover, 22 – 25 pounds
How Long Does This Project Take to Make?
So, our my first blanket took about three hours to make and probably four if you include viewing a more complicated video. This wool blanket is my second arm knit throw project, and it took about an hour and a half and about 20 minutes to unravel the skeins of yarn.
What Happens If You Need to Go to The Bathroom?
Well, I must admit, I tried to make sure I didn’t drink too much coffee or tea before starting my project. But, if nature calls, there is a simple solution.
First, make sure to get all your stitches onto one arm. Then grab a long piece of saran wrap with the arm holding all the stitches. Gently, pull off the loops off your arm and onto the plastic wrap. Every loop is transferred to it and off your arms. Then tie the two ends of saran wrap together, this prevents the stitches from slipping off.
When you start up again, just place the loops back on the same arm, and you are ready to begin where you left off. And finally, make sure the back of the blanket is facing out, and your working yarn is also.
I Don’t Think I Can Make This Blanket?
If I can do this project, then you can too. It isn’t terribly complicated, and I have supplied you with all the resources. But, if you still don’t have the confidence, here is a fun idea. Plan a girl’s night of arm knitting. Set aside a time for this great project and invite some close friends over to your home. I feel the more, the merrier and seriously, the more minds watching the videos, the better. And if you serve wine with your knitting friends, definitely drink white wine!
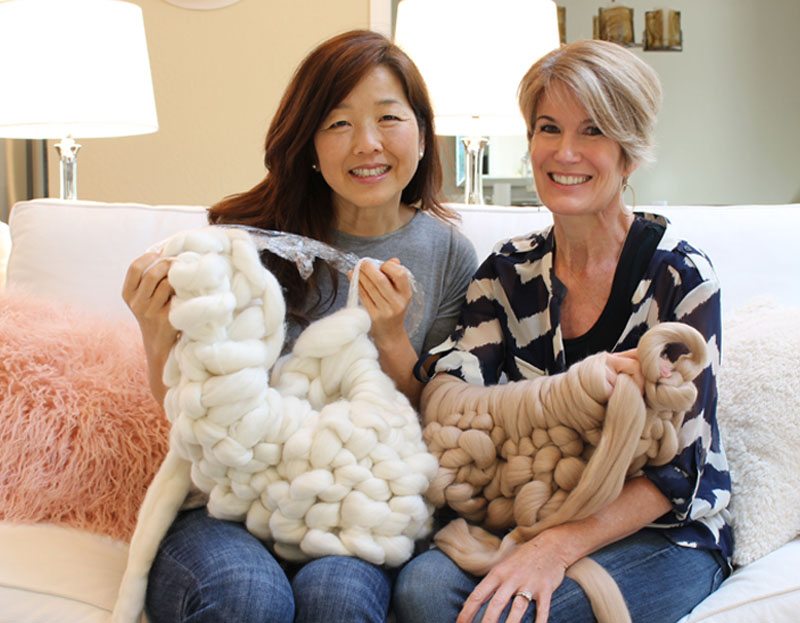
When making each of my chunky throws, I had a date with my friend, Jodie from The Design Twins. I don’t think I would’ve attempted this project without a friend encouraging me on. By the way, Jodie has more photos, and her blog post is informative and impressive!
Here’s How to Arm Knit
I have the details on how to arm knit on another post, but I will add the steps here.
Casting on Stitches and Knitting
This is by far the hardest part. I think since there is a lot of weaving of hands in and out of the yarn. I kept getting hung up on one section.
But don’t give up, since this is the toughest step. I love that this video shows how to start your knitting and also shows how to knit the blanket. All you will need to do is finish off the blanket with the second video that I show below.
And to get a throw that is 45″ x 45″ I cast on 30 stitches in the beginning.
Finishing Off Your Blanket
Well, I hope this post gets you started arm knitting your blanket for the long winter. I thoroughly enjoyed this project, and I was pleasantly surprised at how easy they are to make if you just watch the right videos. I think this post has all the information to you get you started.
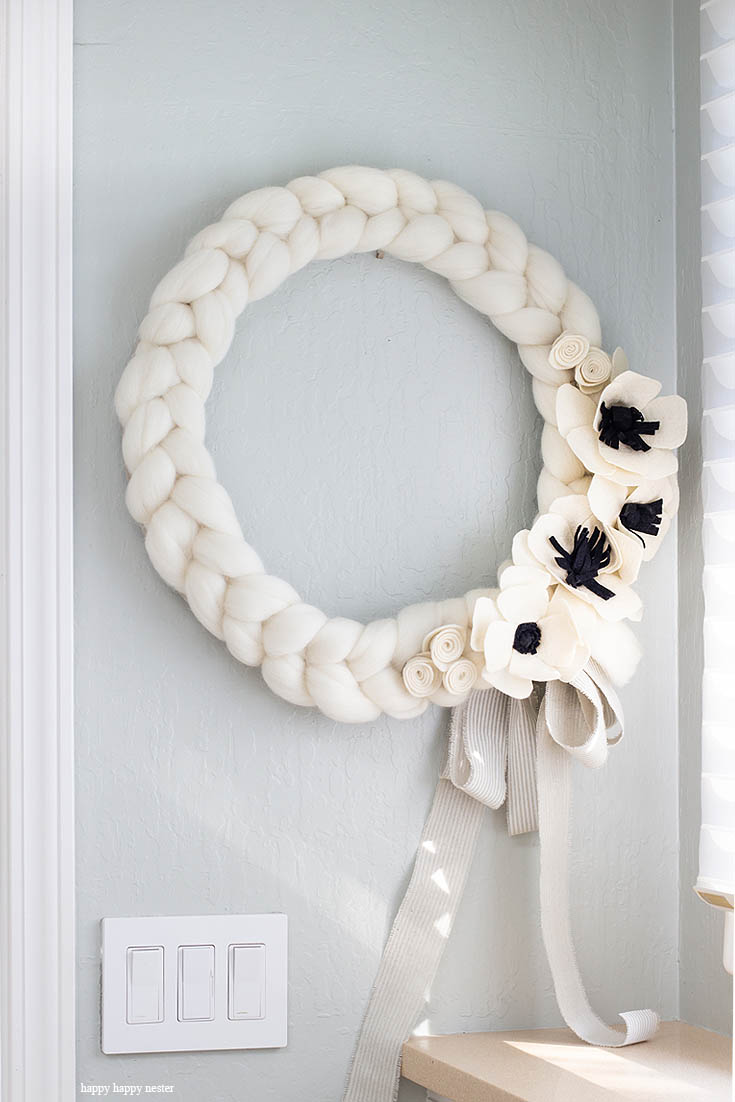
Also, if you want to try an easier arm knitting project then check out my quick and easy arm knitted wreath. It is so beautiful and I’m certain you’ll love it hanging in your home.
So, Happy Arm Knitting!
Cheers,


- Cherry Blossom Cookie Recipe - April 3, 2026
- Amazon Simple Porch Decor - April 1, 2026
- Recipes For Springtime - March 28, 2026


Loi Thai Tone on Tone
You need to make some for sale!! Chunky, cool and cozy!!! Love it, Janine. And you two look like y’all are having a blast. xoxox
L
happyhappynester
Hi Loi,
You are so nice! Yes, we had a ton of fun and now I’m addicted to these blankets! I just need to find the yarn for a good price since it only takes me about an hour to knit. I hope you are having a great New Year!
Claire
I’ve got some giant knitting needles (3ft) which I’ve knitted throws with before. So fast compared to normal sized knitting. I think next time I’ll give the arm knitting ago. Pinned for later.
happyhappynester
Hi Claire,
Yes, you need to try arm knitting. I think you’ll enjoy it since it is so unorthodox! Thanks for pinning my post!
Sam @ Raggedy Bits
Love this blanket to bits! Looks like you guys had so much fun! Sharing all over the world!! 🙂
happyhappynester
Thank you, Sam! We had a blast, sure wish you could’ve joined us!
Jodie Kammerer
Janine, I am always in awe of you! Your pictures are amazing! And the blanket turned out absolutely gorgeous! I’m so glad we got to do this together…it was like an arm-kintting reunion! And I loved reading about your personality analysis and hearing about your family. The whole post was very enjoyable to read. Thanks for sharing and for being such a great friend.
Hugs,
Jodie
happyhappynester
Hi Jodie,
Yes, we could teach a course! Wouldn’t that be fun to have a girl’s knit of knitting? Hmmmm
Lynn Schneider
Janine,
I love the throw and would love to try my “arm” at one with my daughter! I can’t do it now but do you think the coupon would be available again at a later date, perhaps next month?
Thank you,
Lynn S.
happyhappynester
Lynn,
That’s wonderful that you want to make one for your daughter. So, there will be more discounts and I’ll keep up with them and pass them along to you. I have your email so I’ll write you next month. Thanks for your visit and your interest in my post!
Angie LozonNE
Janine, you’re inspiring me to want to try this DIY project!! I enjoy all of your fun, beautiful and creative posts. Cheers to you!
happyhappynester
Angie,
I hope you have a chance to make this wonderful throw this winter. It is the best project on a long cold winter night.
Coco in the Kitchen
caddywompus
I learned a new word today and it just might be my new fav!
Love the blanket you made for me. Daisy & I steal it from each other for afternoon naps (when I can get her to take one!).
I should try to make one myself now that I have this great post of yours! Love hearing about your family, your pics the FAQs. xo
happyhappynester
Colette,
I seriously need to make you one of these fluffy wool ones. This is double the fluff and maybe you can keep it for yourself!
Toni
That turned out great, did your arms get so so tired before it was all done? I might try it one day, I saw some yarn that I just loved and it would look great.
happyhappynester
Toni,
You seriously can take breaks and place saran wrap or rope through the loops. Then when you are ready to start up again, just place your arms through it and you’re set to go. I hope you do try making this great and easy project!
Jody
I am so excited to make a throw for my sister! Can you please tell me how many stitches you cast on? Thank you!
happyhappynester
Hi Jody,
I’m super happy to hear you are arm knitting a throw for your sister! You’re so sweet to do that. I’m pretty sure I cast on around 25 stitches and my blanket is roughly 45″ x 60″ I hope this helps. Let me know how your turns out.
Jolene
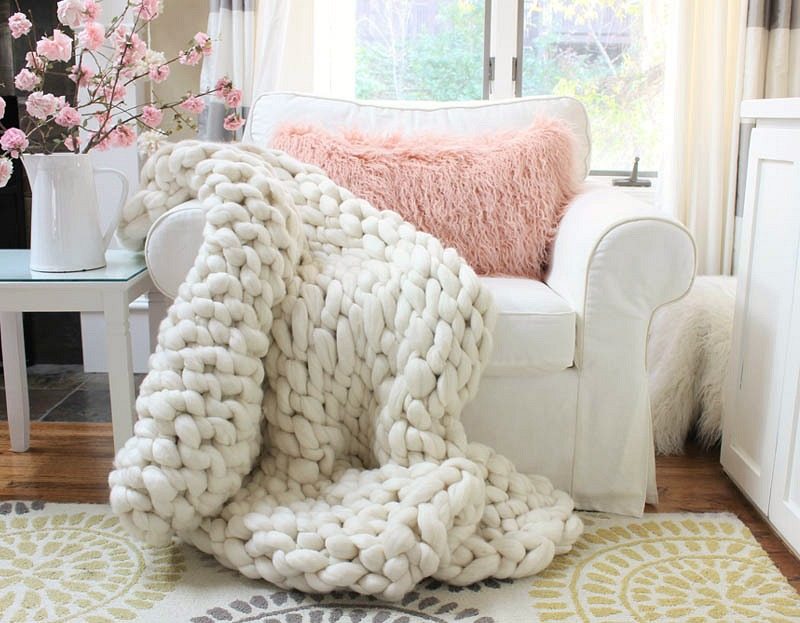
Where did you get your peach/blush pillow? I love it and your throw!
happyhappynester
Hi Jolene,
I made my pink faux fur pillow. I bought the material at Joann Fabrics. I didn’t add a zipper, I closed up the pillow. I’m planning on writing another post on this project. So, stay tuned.
sherry
Janine, It sounds like we came from the same home. My mom came from a family that sewed, knitted, embroidery and all things crafty. My dad was a king of hack also. I am determined to knit one of these throws this year and yours is beautiful!
happyhappynester
Sherry,
That is way too funny about our parents, I guess opposites attract! I hope you do make this throw, it looks daunting but it is one of the easiest and fun projects that I have made. Make a date with a friend and you will both have fun and have gorgeous blankets!
Carolann
Oh how I love this blanket! I’m itching to making one. I love the color you chose too. It looks like so much fun and a relaxing project too. I have to get the courage up and just do it! Love, love, love it! Everything you post is always so amazing!
happyhappynester
Carolann,
You’re so clever that I think you can easily make this! I possibly might make another one this winter, so I’ll let you know when I do a live broadcast.
Gill Harris
Hi all
I love this throw, I would like to make one each for my 4 daughters for xmas, if I cast on 25 stitches like you did, how many rows would I do.
many thanks
Gill x
happyhappynester
I love our arm knitted blanket. I made it a while ago, but I just counted and it looks like I might have knitted 20-24 rows. I hope this helps. It is a fun and easy throw to make and your daughters will be so happy with this beautiful gift! Happy knitting!
Jules
Hello!
I love this blanket and I love how you shared resources, videos and tips to faq. I have 2 follow up questions: 1) I can see how one could make the throw size but how do you go about creating say a king size blanket? I know my arms aren’t that long! Lol…maybe a 7’2″ basketball player could do that but not me. 😉 I know there’s obviously a way to do it but I’m at a loss. 2) (and the most important question) Back in March in your comments, you said you would be making a post on how to make the beautiful Faux Fur Pillow which is in most of your pics. I just absolutely LOVE LOVE LOVE that pillow and I am just biting the bullet waiting for that DIY. I did check all of your posts (which took a while because I literally pinned most of them!! Lol) but I did not find it. Am I just a total ditz and missed it or are you in the process of creating this post? If the latter is the case, I’m hoping we can see it soon. I can think of several people that I would love to gift this for Christmas. My bff’s would go nuts for these!!
Thanks so much!
PS– I just love your decorating and writing style.
happyhappynester
Hi Jules,
I love your comment and the only answer in regards to making a king size blanket is to make it without your arms. So, in January, Jodie and I are going to attempt making another blanket via another method that doesn’t use your arms. It appears just as easy as the arm knitting method, but we won’t be limited to the length of our short arms! So, stay tuned.
Ah, and yes, I had mentioned that I would post a DIY of my pink furry pillow. I’m super sorry that I didn’t get it up on the blog. I’ll try to get that done in January. I have so many holiday tours and I get easily distracted. I hope you can forgive me?!!! If you are in hurry to make it, email me and I’ll let you know how the directions! [email protected]
Happy Holidays!
Janine
PS: I love to hear feedback on my blog! It makes me happy to know that I’m connecting with my readers. 🙂
Saanvi
This is so cute! Tried this and was delighted by the results! If anyone lives in the UK I would suggest going to b and q to get your wool as it is cheap but good quality. Thanks for sharing this and I’m writing this just as I finished making one for my mum as she loves it so much! Perfect for the chilly weather. Already sharing this to all of my friends❤️
happyhappynester
Thanks so much for your nice comment! So, glad you made one for your mum! So, is the B and Q a craft store? It looks like there is a hardware store called the B&Q? Enjoy your blanket, they are the best!
Ro Pettiner
Love your blog! You have the most beautiful pages I’ve seen and your info on chunky blankeys is very helpful! Arm knitting here I come! Thank you.
happyhappynester
Ah, hooray! I hope to make another blanket with a different twist, so stay tuned for a future blog post!