Photo: My Photography
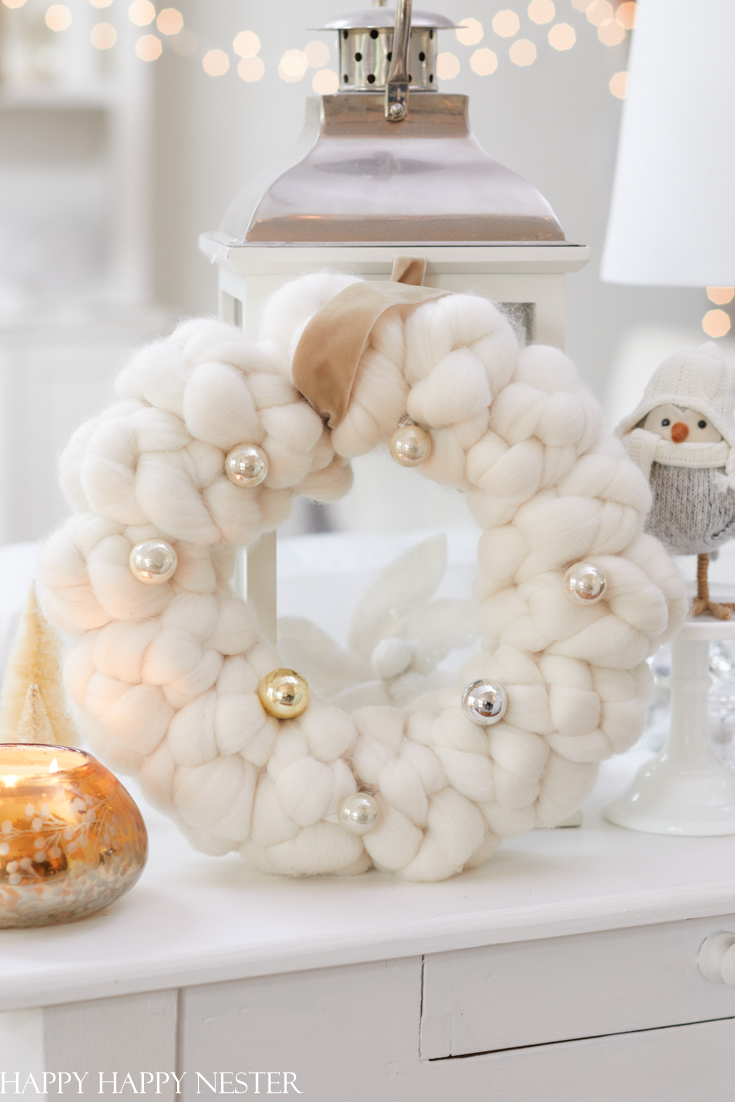
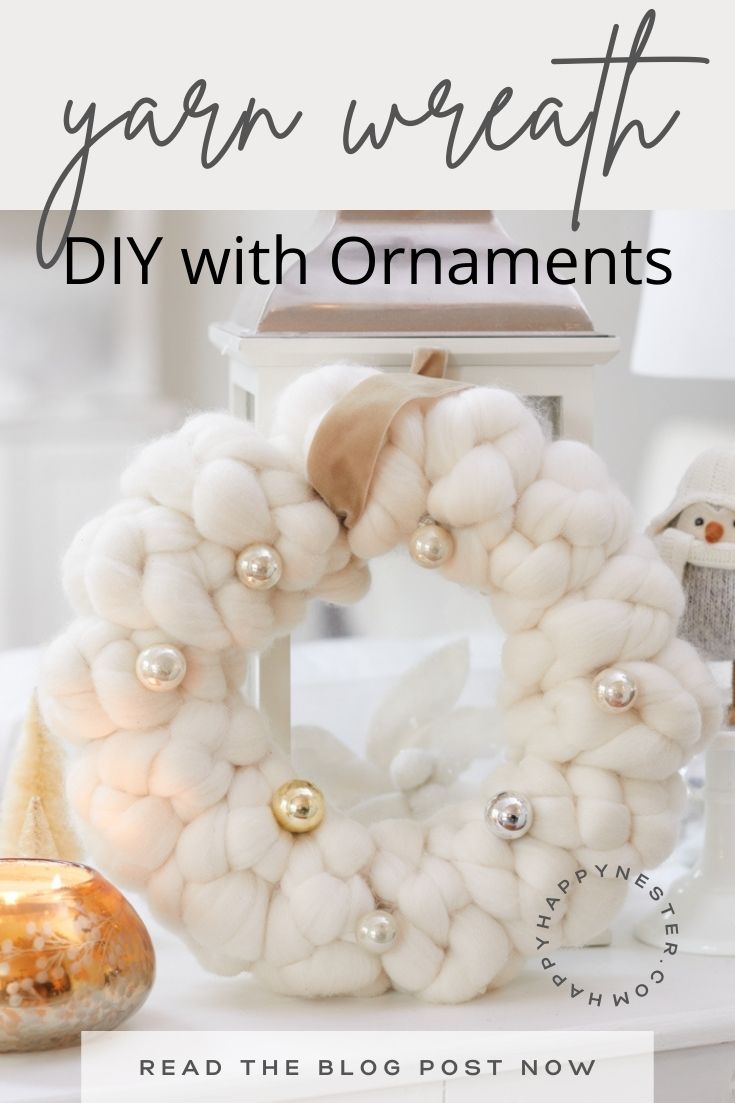
I made this pretty wreath last year and decided to add some cute mini vintage ornaments. I like the little bit of sparkle for the holidays. You’ll love this project since it’s so simple to make.
To be honest, I didn’t time myself, and it might be more like a 15-minute wreath.
As you know, I have many chunky wool projects over here on the blog. And today, I’m going to add more to my simple yet elegant wreath!
As I said, I love the white chunky wool yarn. If you like it too but don’t have the interest or energy to create an arm-knitted blanket, making a wreath is the next best thing. The soft wool has a comfy huggable style that warms a room.
I’m not much of a knitter, so I thought it might be fun to take a little overview of a few interesting facts about this beautiful yarn.
*The following post contains affiliate links
What is this chunky wool?
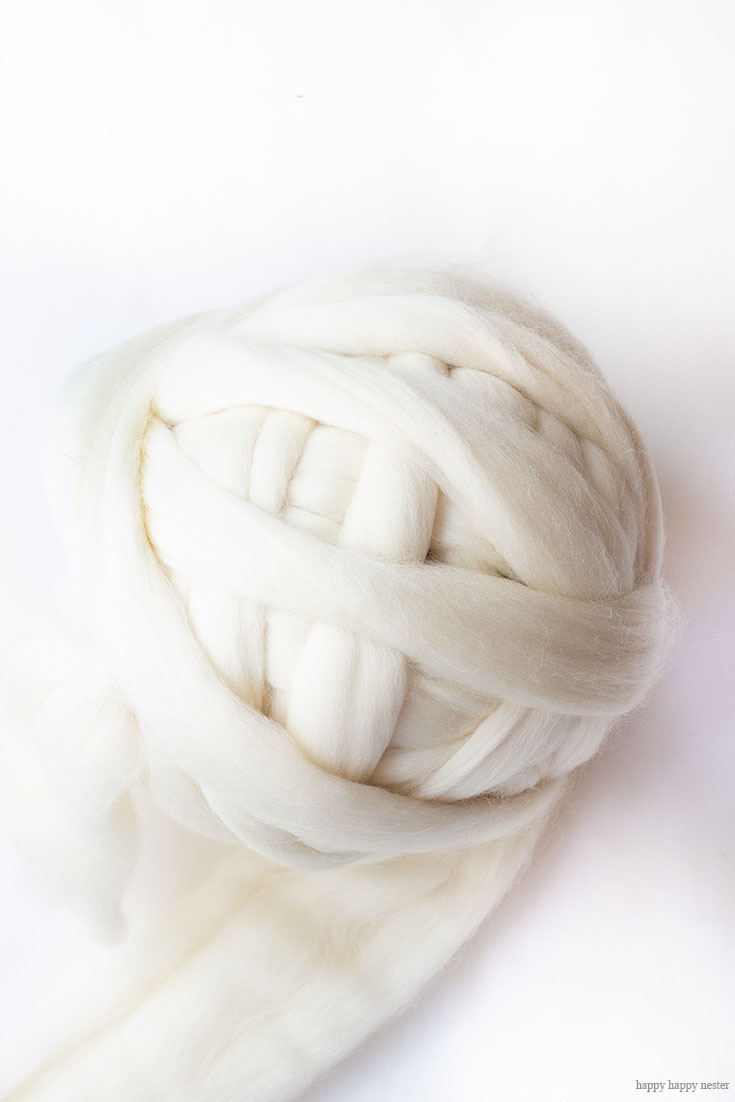
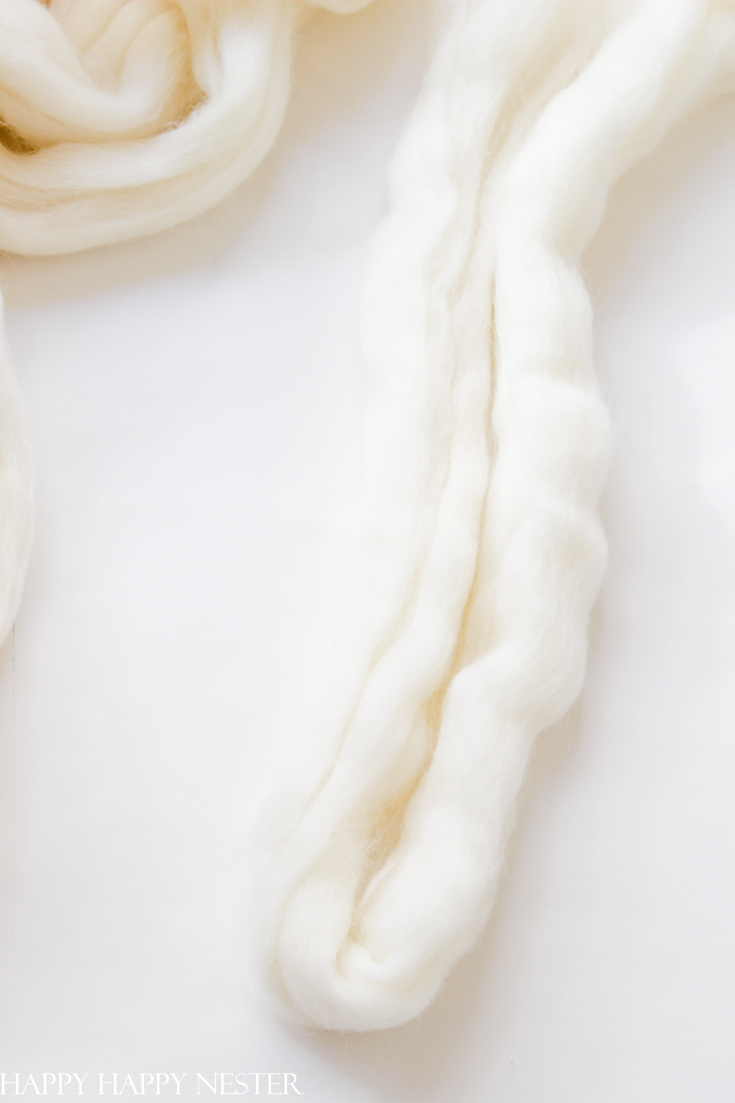
Most people refer to this soft yard as chunky wool, but its official term is roving in the knitting circles. It is unspun wool fibers that are ready to be made into yarn. So, you can say that the fibers aren’t twisted like spun yarn. For the more official definition, here is what Wikipedia says,
A roving is a long and narrow bundle of fiber. … Rovings are produced during the process of making spun yarn from wool fleece, raw cotton, or other fibres. Their main use is as fibre prepared for spinning, but they may also be used for specialised kinds of knitting or other textile arts.
What are the different types of Roving?
It appears that there is a long list of this style of yarn, and I’ll touch on a few that you probably will come to use.
Merino – This yarn comes from the Merino sheep. These sheep’s origin is up for debate, and some claim Spain, and others claim Morroco. Nonetheless, it is a soft and delicate yarn that’s made in the United States. The Merino sheep first appeared in the state of Vermont in 1802.
Shetland Wool – Similar to Merino yarn, Shetland yarn comes from the Shetland sheep. And these sheep originated in the Shetland Isles of Scotland, and this yarn comes in a wide array of colors.
Where to buy Chunky Wool Yarn
There are a lot of shops that sell this lovely yarn. A long time ago, I remembered visiting a local yarn shop and asking if they carried this thick yarn, and the ladies behind the counter had no idea about this type of yarn. Boy, have times changed. Now you can find it everywhere. If you need some help figuring out where to buy your yarn, I work with Larissa at BeCozi, and she offers a 10% discount on your whole order if you use the code JAN10.
What If I Don’t Want to Make One But Would Like to Buy a Wreath?
Although I have never seen a wreath as I designed, there are beautiful ones over Etsy. If you love this wreath but don’t have the time or interest to make one, here is a link to similar wreaths you can buy.
Yarn Wreath DIY With Ornaments Tutorial
Supplies
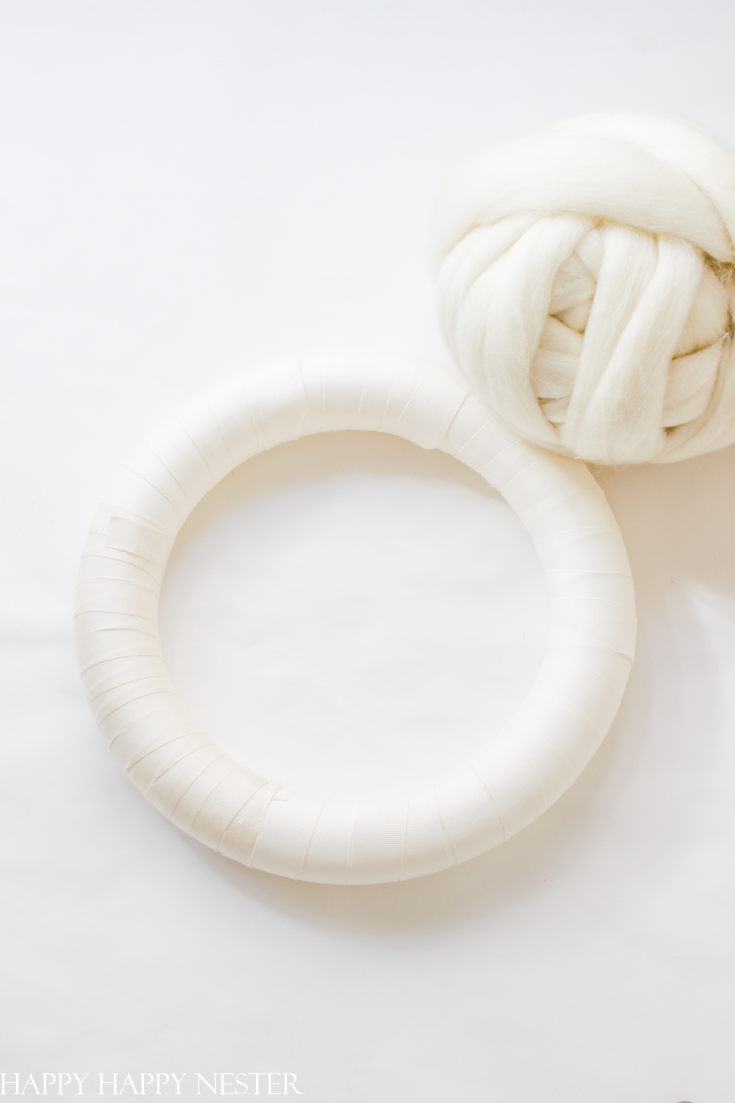
1/2 pound of Merino Wool (use code JAN10 to get a 10% on your whole order)
White Wreath (11.7-inch x 2 inches)
Sewing Pins or Glue Gun (optional)
Ribbon (optional)
Yarn Wreath DIY With Ornaments
Instructions:
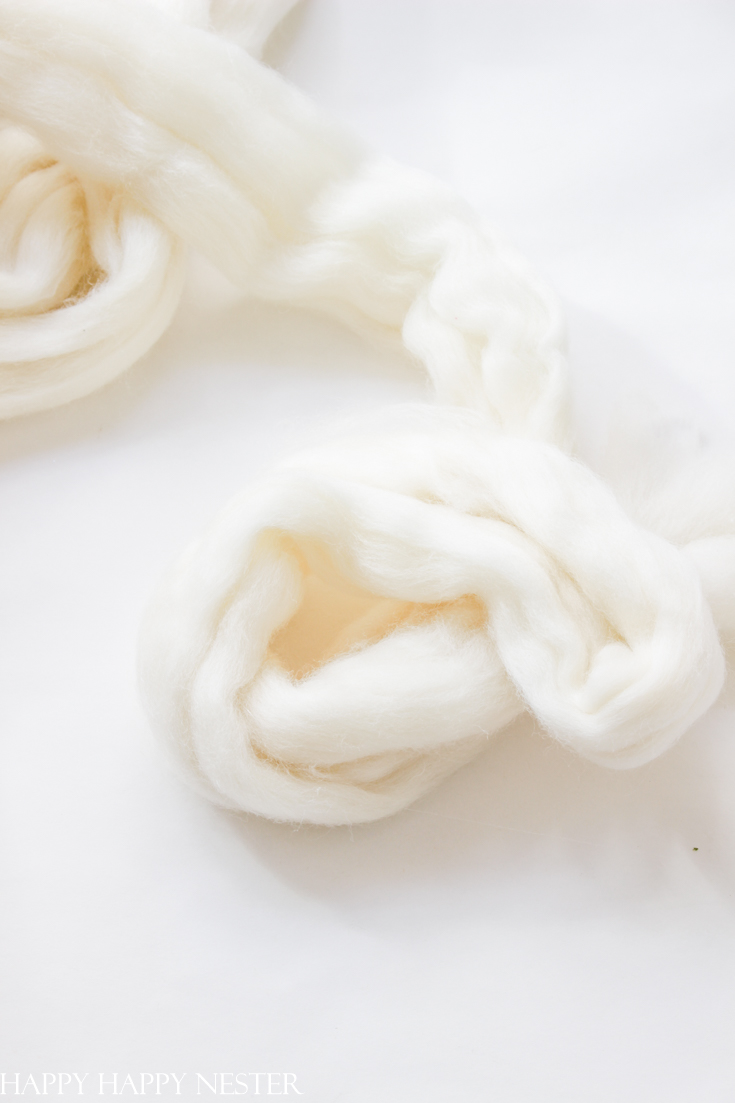
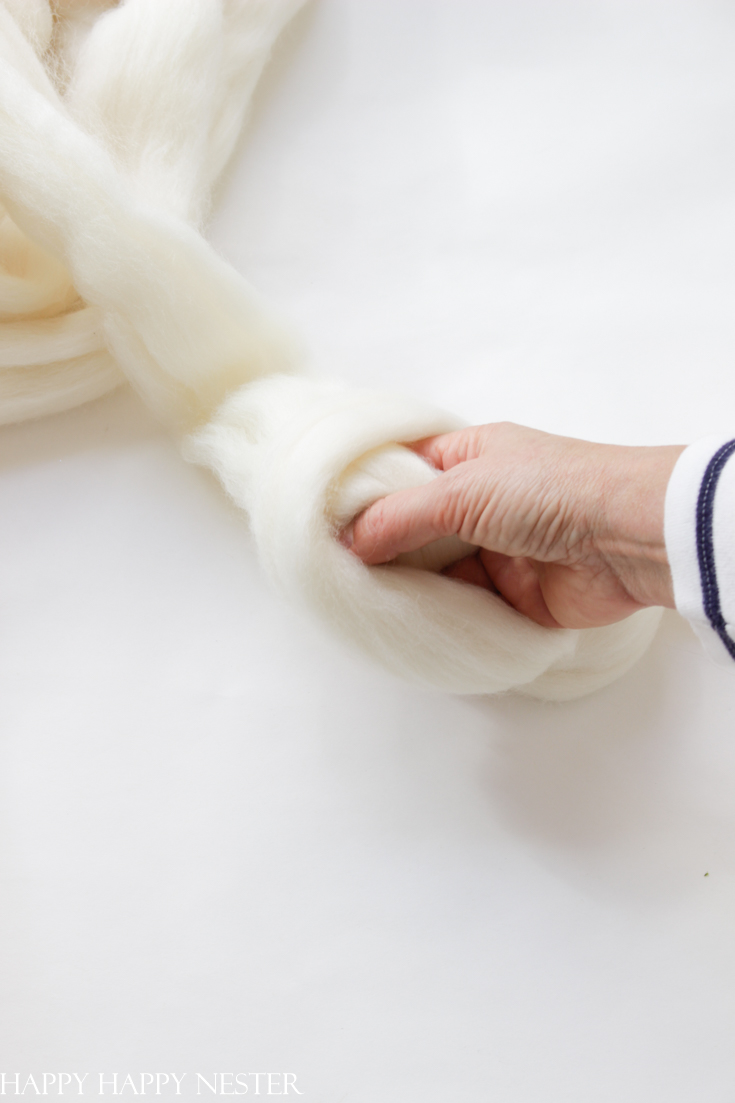
Step 1 – Make a Knot
Take the end and double the yarn and wrap it over the other yarn. Then pull the end through the loop to make a knot.
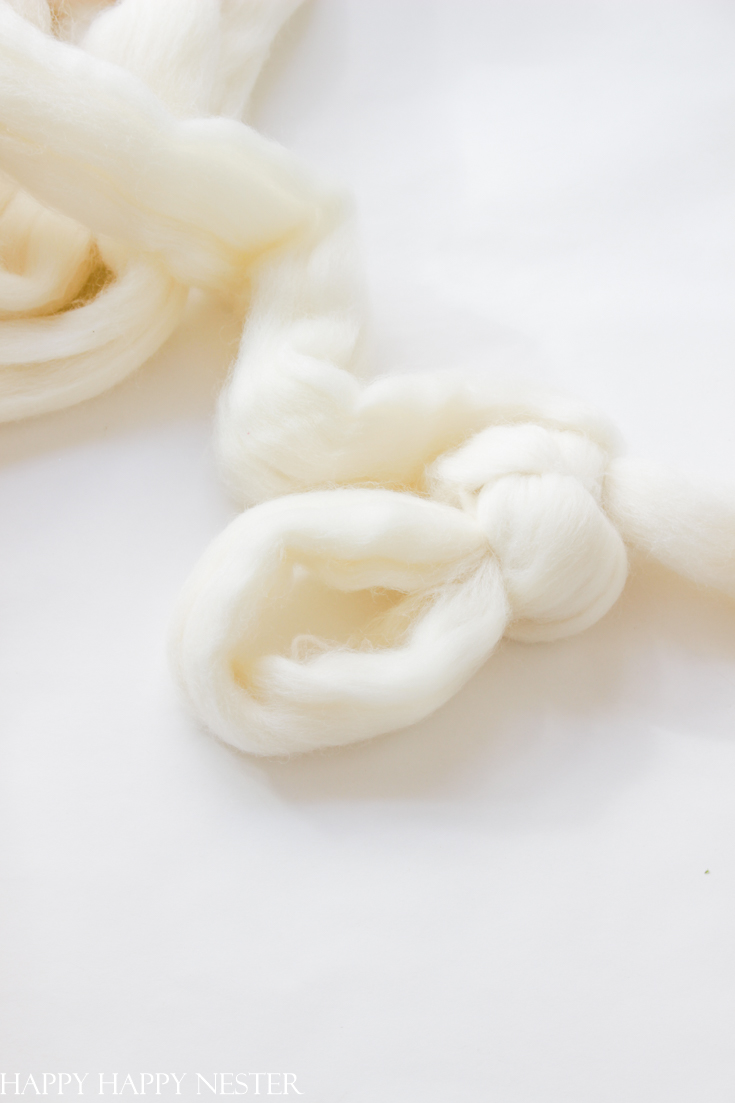
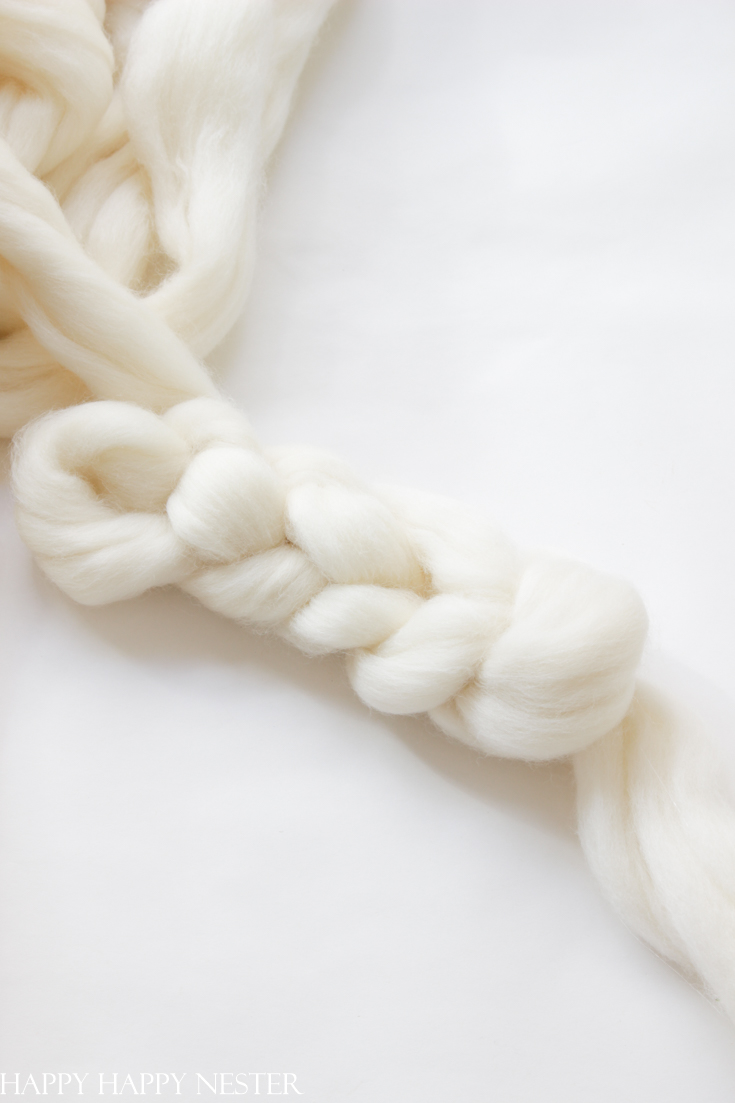
Step 2 – Make a Chain
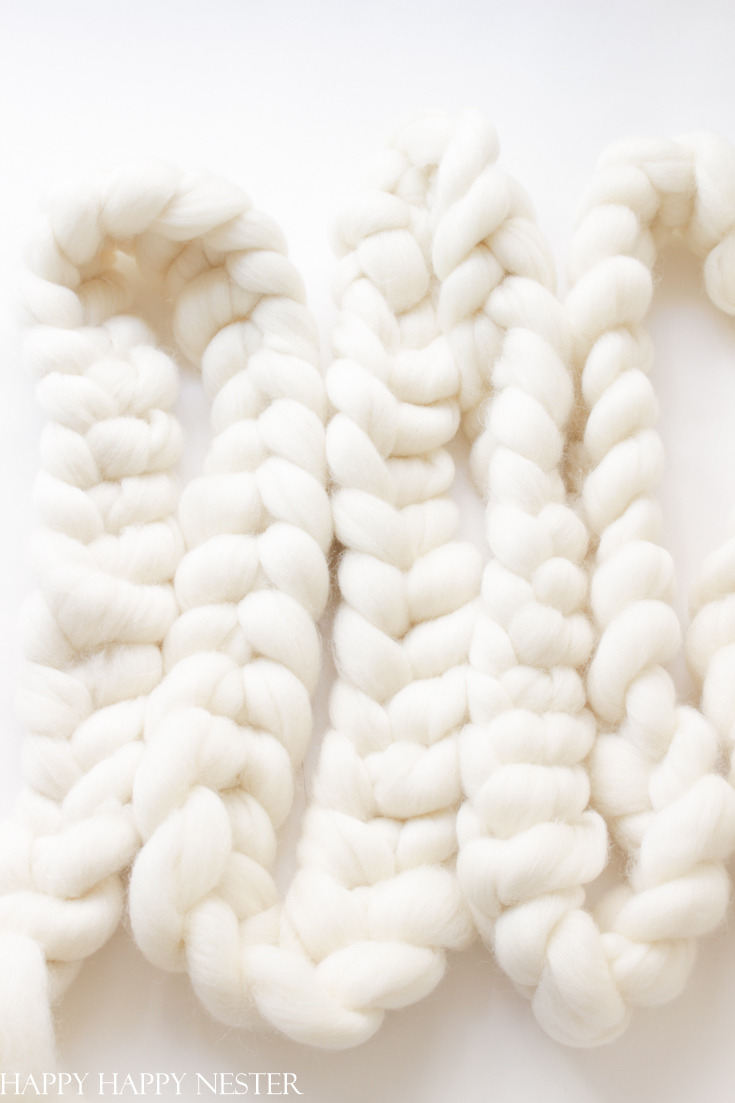
Now place your hand through the loop and grab the yarn. Bring it through the loop and cinch it up to make a stitch. Repeat this with your new loop. I show how to do this step in the video post above. Continue hand knitting until you have about 20 feet of chain. This should be enough to cover your 12-inch wreath.
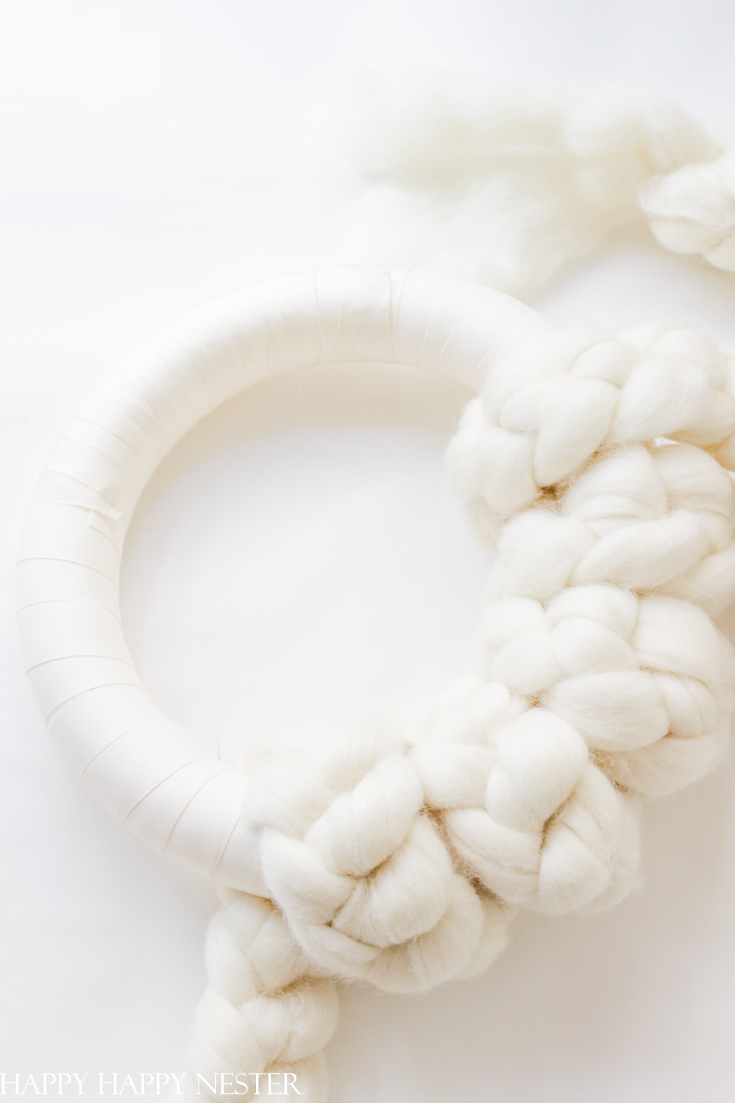
Step 3 – Wrap the Wreath
Take your long knitted chain and begin wrapping it around the wreath form. I like mine tight, so I pulled it as tight as I could. Make sure to have the ends finished in the back of the wreath. I weaved and knotted the ends in the back. You can glue it if you like.
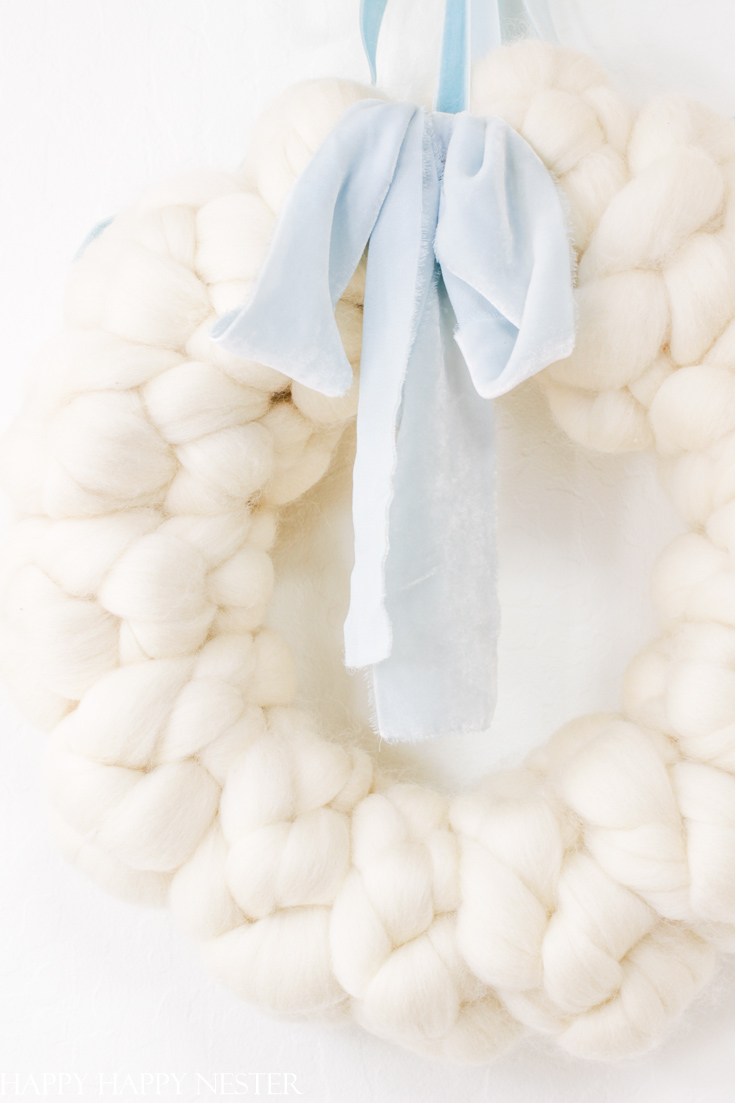
Step 4 – Place a Ribbon and Decorate the Wreath
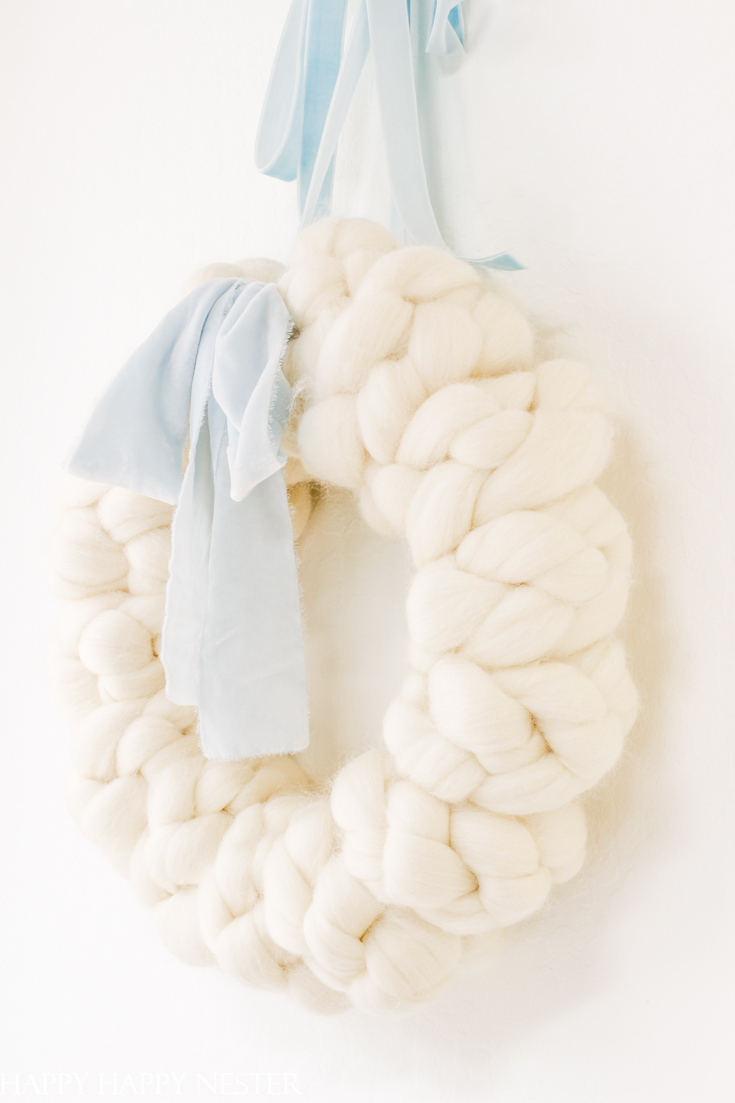
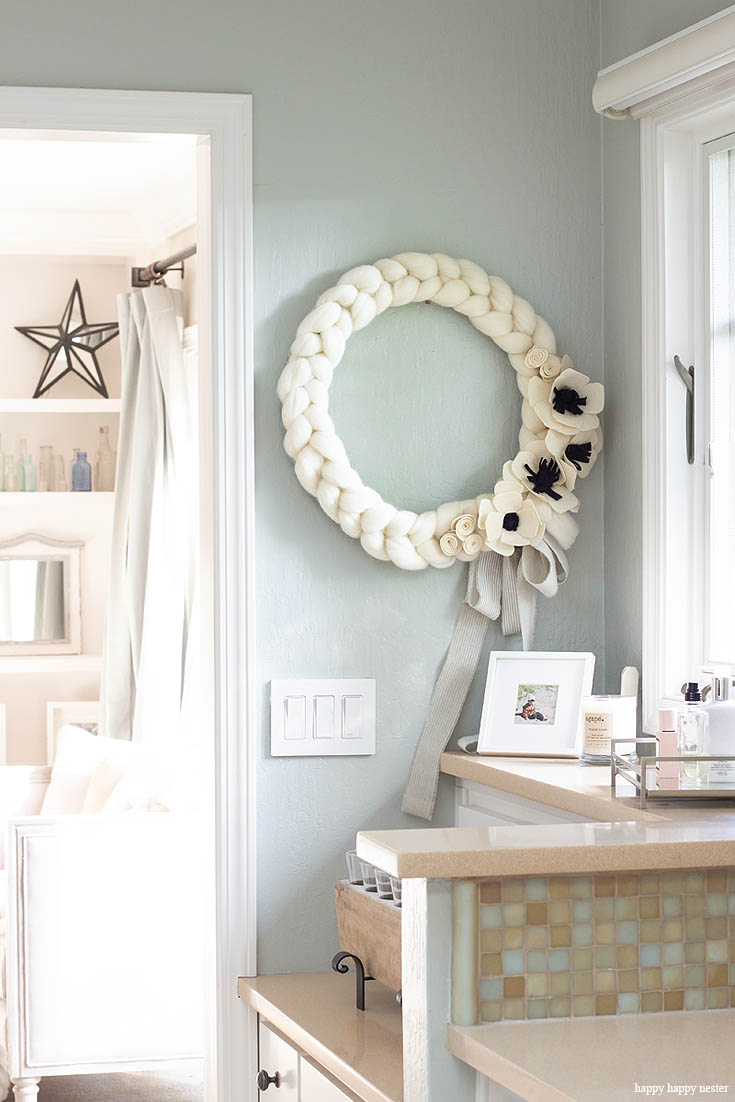
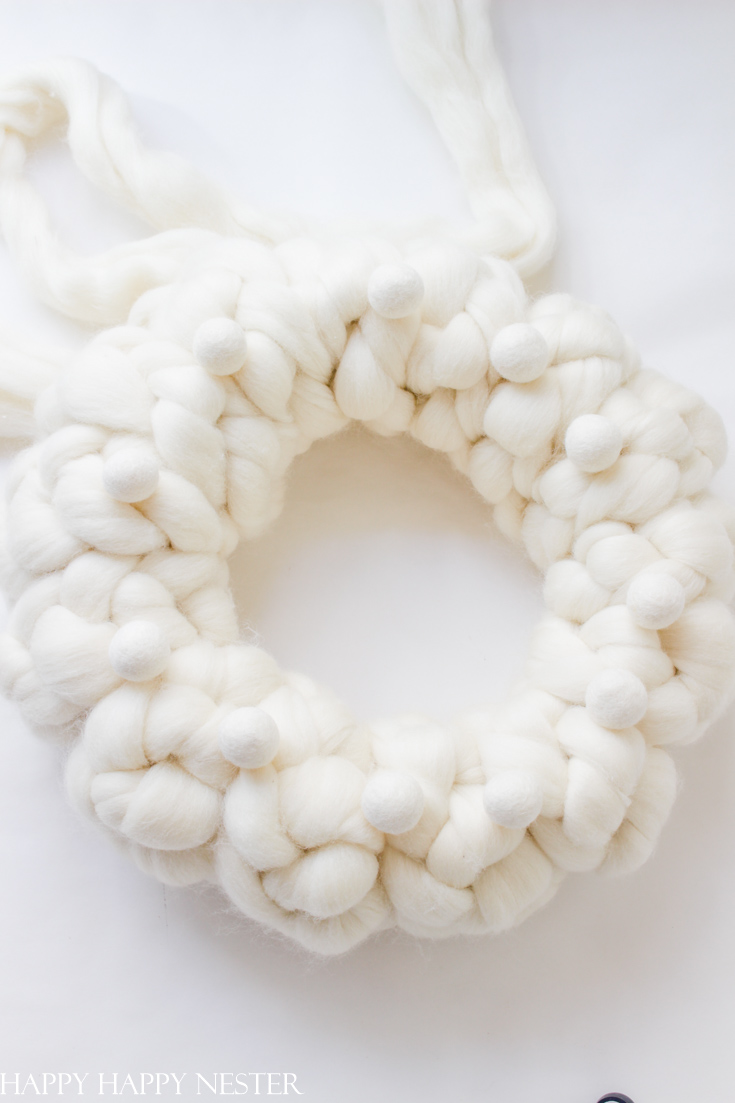
I initially placed wool balls on my wreath, and my family’s opinion was that they liked it without the extra balls. So, I kept a pretty plain wreath. If you want, add felt flowers, wool balls, and whatever you like to your winter wreath.
Photo: My Photography
Step 5 – Attach Mini Ornaments
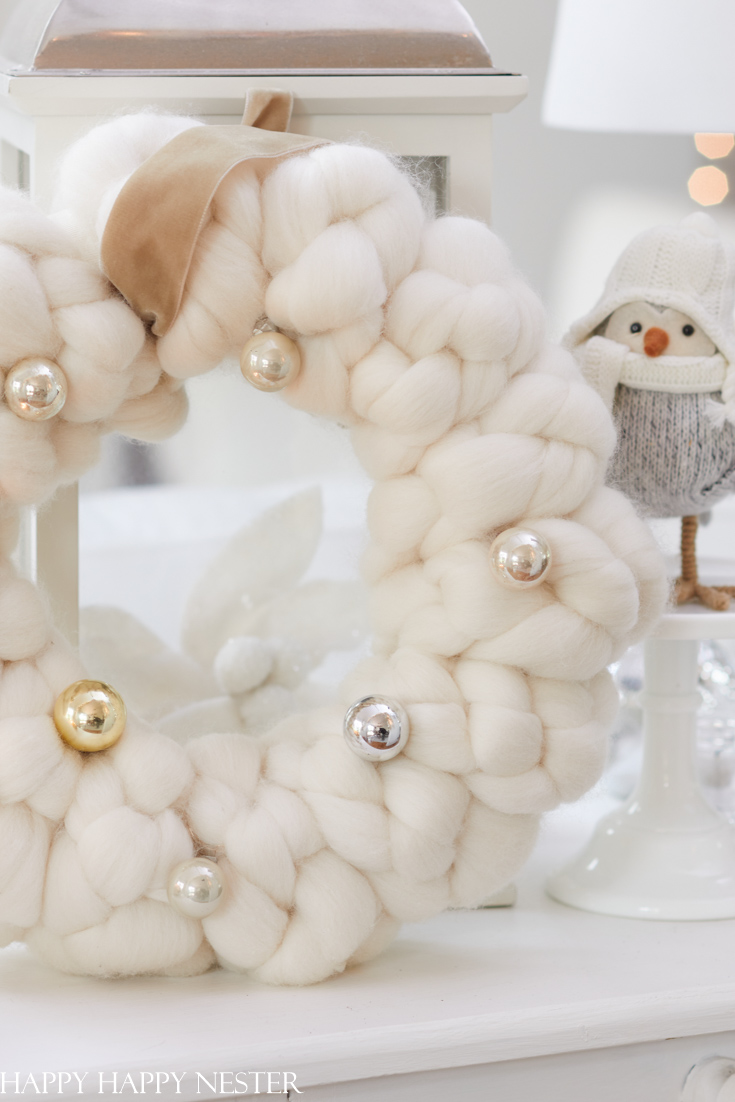
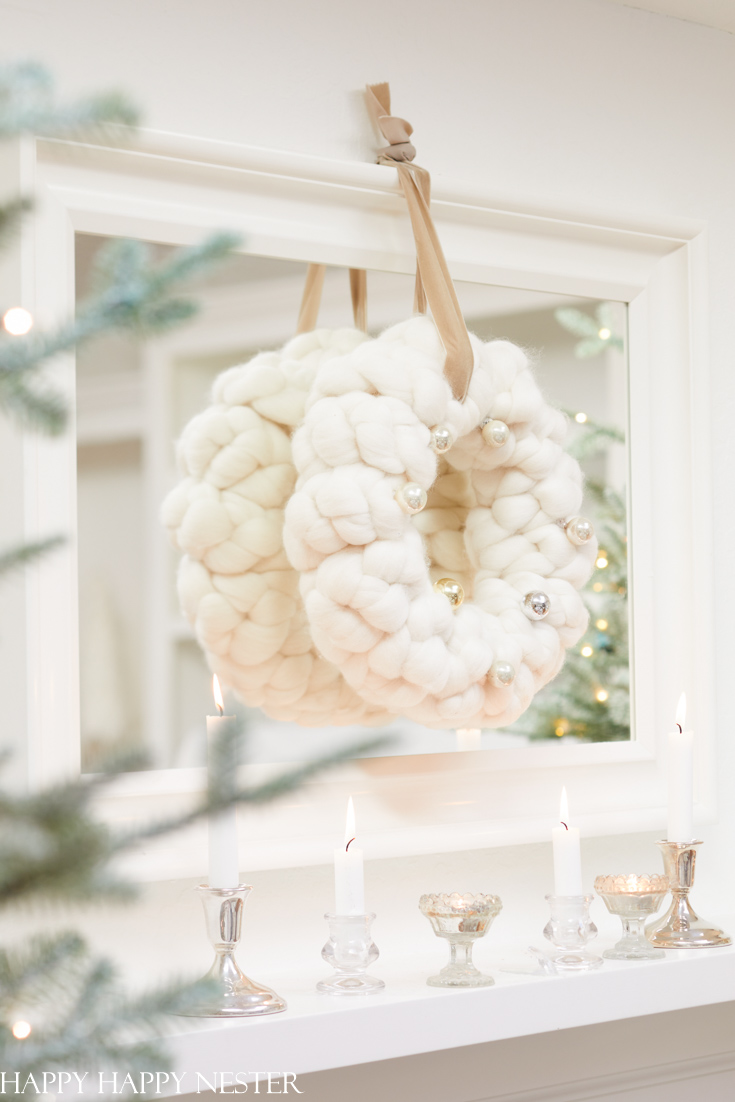
And here are my latest changes to this wreath! I love the shiny vintage ornaments that add a fun little twinkle to the wreath. You can use a hot glue gun to attach the ornaments, or you can wrap a wire around the ornament and then thread it through the yarn. I did this since I like to use this wreath year-round and add different accents for the seasons. This wreath is so classic and perfect to keep out all year round.
Photo: My Photography
I have a wall devoted to all my wreaths, and I love to have them on hand when I change our decor for the seasons.
But, this yarn wreath DIY with ornaments has become one of my all-time favorites. I like that it is so simple to make and yet looks complicated. The soft, comfy coziness makes me smile, and it is like a warm hug to your home environment!
Cheers,
- My Favorite Cakes - July 5, 2025
- Outdoor Tables and Chairs - July 2, 2025
- My Favorite Floral Desserts - June 28, 2025






Leave a Reply