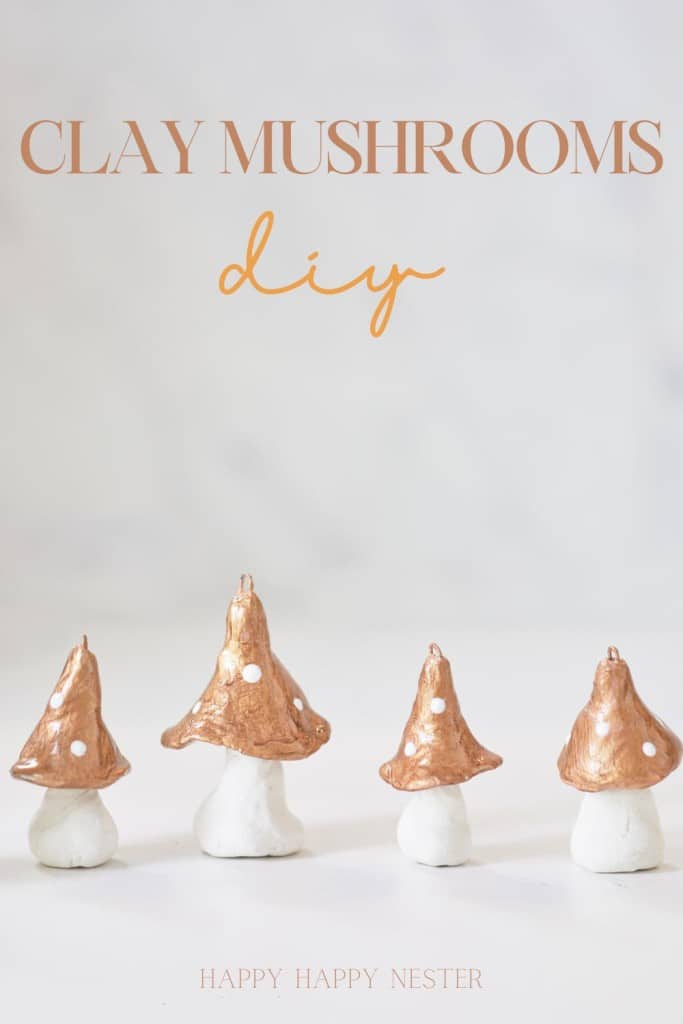
Let’s jump right into the enchanting world of Clay Mushrooms DIY using nothing more than a pack of air dry Crayola clay and creativity. Let’s turn the clay into delightful creations.
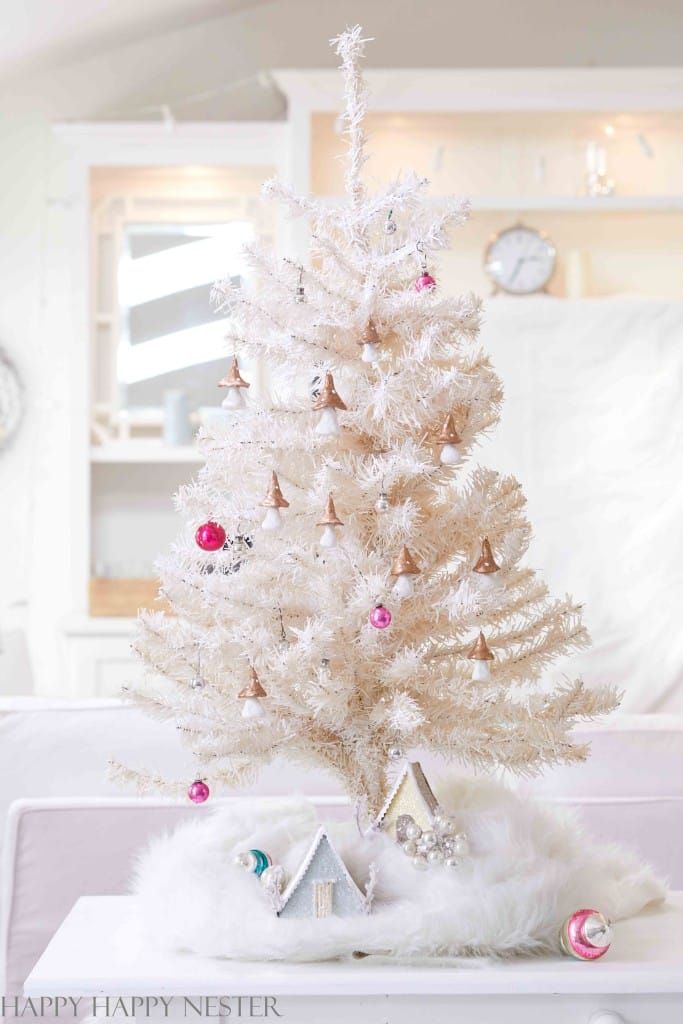
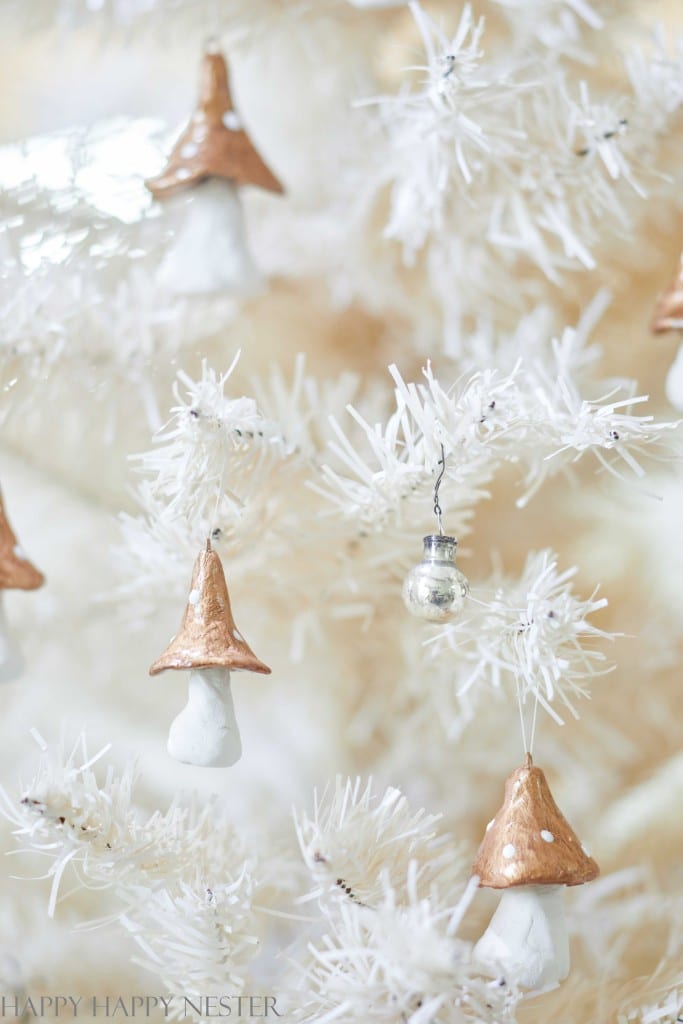
These cute clay mushrooms are quickly turned into dainty ornaments that add a whimsical touch to your Christmas tree. Their rustic charm will surely bring a smile and a sprinkle of woodland magic to your festive decor.
Introduction to DIY Clay Crafts
The Joy of Handmade Clay Creations
Crafting with clay is not just a relaxing hobby; it’s a way to express creativity and make unique home decor. Whether you’re a beginner, molding, shaping, and painting clay into charming mushroom figurines is a fun experience. These whimsical creations can add a touch of nature and fantasy to any space.
Benefits of Crafting with Natural Clay Textures
Clay is such a fabulous material because you can make almost anything out of it! Plus, working with clay is a great way to reduce stress. It’s super satisfying to see a shapeless blob of clay turn into a work you created with your hands.
Choosing Your Clay: A Guide to Crafting Materials
Comparing Polymer Clay and Air Dry Clay Options
Selecting the correct type of clay is crucial for your project. Polymer clay is versatile and can be baked in your home oven, creating a durable finished product.
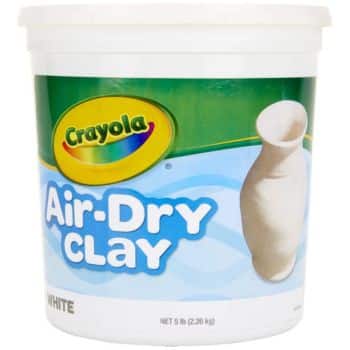
On the other hand, air-dry clay doesn’t require baking and is an excellent option for simple projects, especially with children. This is the type of clay I chose for this mushroom project. It’s simple to work with and requires no baking.
Eco-friendly Crafting with Homemade Clay Recipes
For environmentally-conscious people, homemade clay recipes can be a perfect choice. These can be made with everyday household items and are biodegradable, offering an eco-friendly alternative to commercial clays.
The Basics of Oven-bake Clay and Kiln Baked Clay Pieces
Understanding the basics of oven-bake and kiln-baked clay will help you ensure the longevity of your creations. Oven-bake clay pieces are convenient for at-home crafters, while kiln-baking, used for ceramics, can create professional-quality works.
Tools and Supplies You’ll Need
Essential Crafting Supplies for Clay Projects
Gather all necessary tools and supplies before diving into your clay mushroom project. This includes your clay of choice and work surface. Having everything at hand will streamline the crafting process.
Creative Additions: Molds and Textures for Fantasy Clay Designs
To give your clay mushrooms character, consider using molds to shape them or texture tools to create intricate patterns on the cap and stem. These small details can turn a simple mushroom into a fantastical object that looks like it belongs in a fairy garden.
Step-by-Step Clay Mushroom Tutorial
Supplies You’ll Need
- Air Dry Clay: Air dry clay is wonderfully pliable and perfect for molding your mushroom ornaments without the fuss of a kiln.
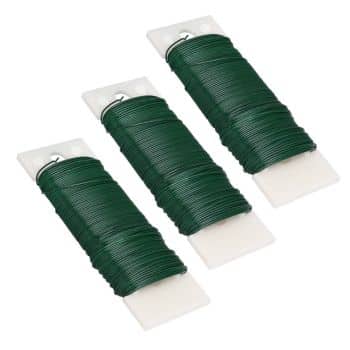
- Wire: A bit of wire twisted into a loop becomes the ideal hook, ensuring your mushroom ornaments can hang from the tree.
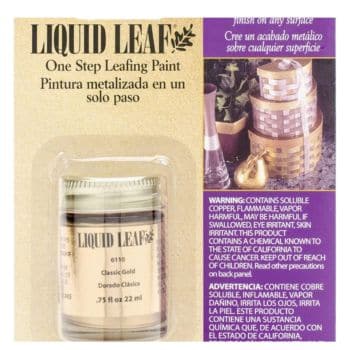
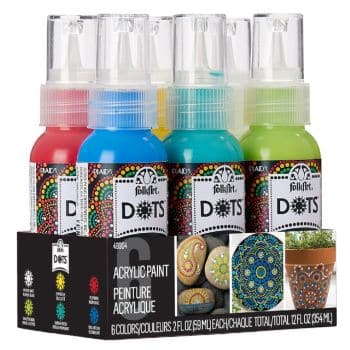
- Gold Leaf Paint: Use gold leaf paint for that touch of festive shimmer; it’s like fairy dust for your clay creations, making them glint and sparkle under the holiday lights.
- Paint Brush: Use a paintbrush to add gold to your mushrooms, transforming them from a plain to a natural color.
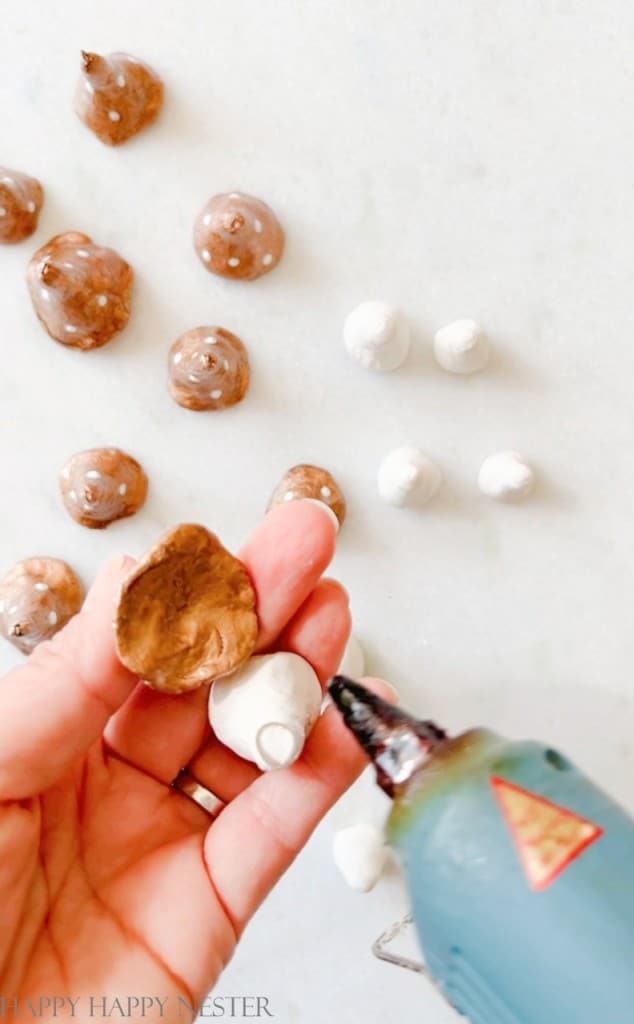
- Glue: You can try a glue gun to affix the mushroom caps to the stems. But I love a more permanent glue, Crafters Pick.
- White Paint: White paint with a tip to make dots will give your mushrooms those speckled caps that twinkle amidst the pine needles.
- Thread: Strong yet almost invisible, the thread is the secret to hanging your ornaments, creating the illusion of tiny mushrooms floating through your Christmas tree branches.

Sculpting Clay Mushrooms: A Step-by-Step Guide
Creating clay mushrooms begins with conditioning your clay. Once it’s malleable, form the base and stem and sculpt the cap. I chose not to attach the pieces, but you can use a slip-and-score technique or a bit of liquid clay as an adhesive.
Step 1 – Shaping Your Mushroom Sculptures
Focus on the overall shape first, forming a sturdy base and a smooth, pointy cap. Keep the proportions in mind to ensure your mushroom appears correctly. I made a cone shape and then placed my knuckles in the bottom to form a cavity for the stem to sit into.
Step 2 – Adding a Wire Hook to Your Mushroom Ornament
I trimmed a small piece of wire and formed in a hook and embedded it on the top of the clay. I ended up molding the clay around the wire to secure it down.
Step 3 – Adding Artisan Details to Your Clay Mushrooms
If you like, you can use sculpting tools to add details like gills beneath the cap and texture to the stem. This will give your mushrooms a lifelike appearance and unique personality.
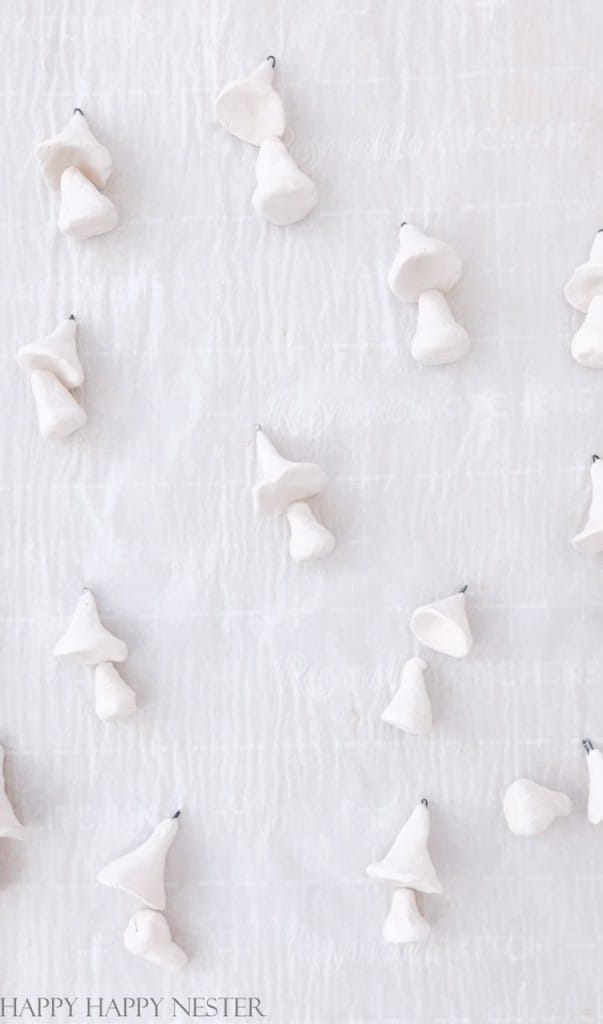
Step 4 – Dry Mushroom Pieces
This Crayola clay is only to be air-dried. Crayola mentions strongly that you should not dry it in the oven. Unlike other air-dried clay, it can catch fire in the oven. Place your clay pieces in a sunny, warm spot that won’t take long to dry.
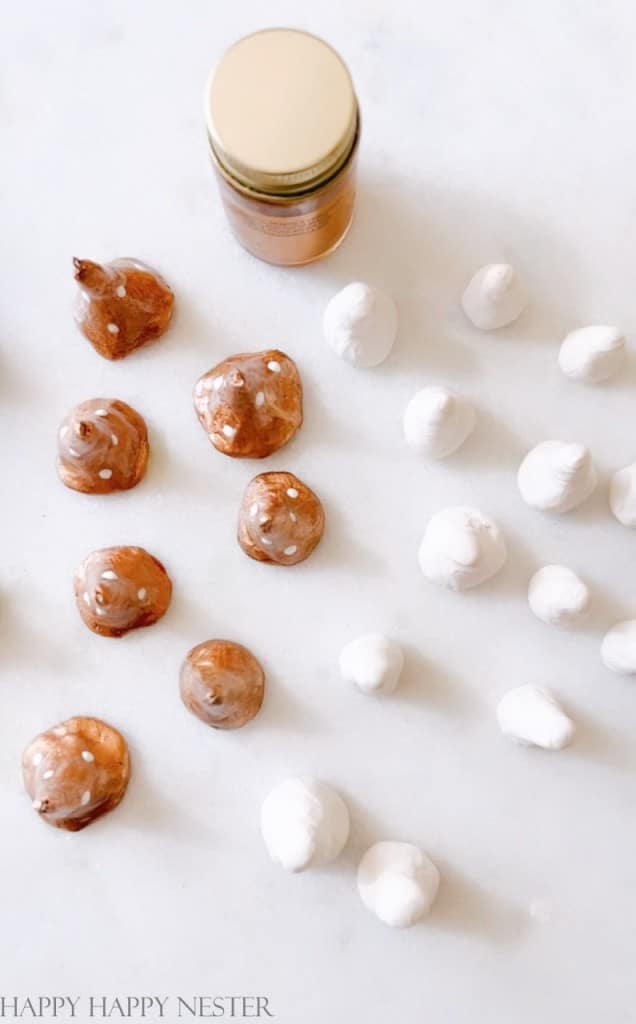
Step 5 – Painting and Glazing Techniques
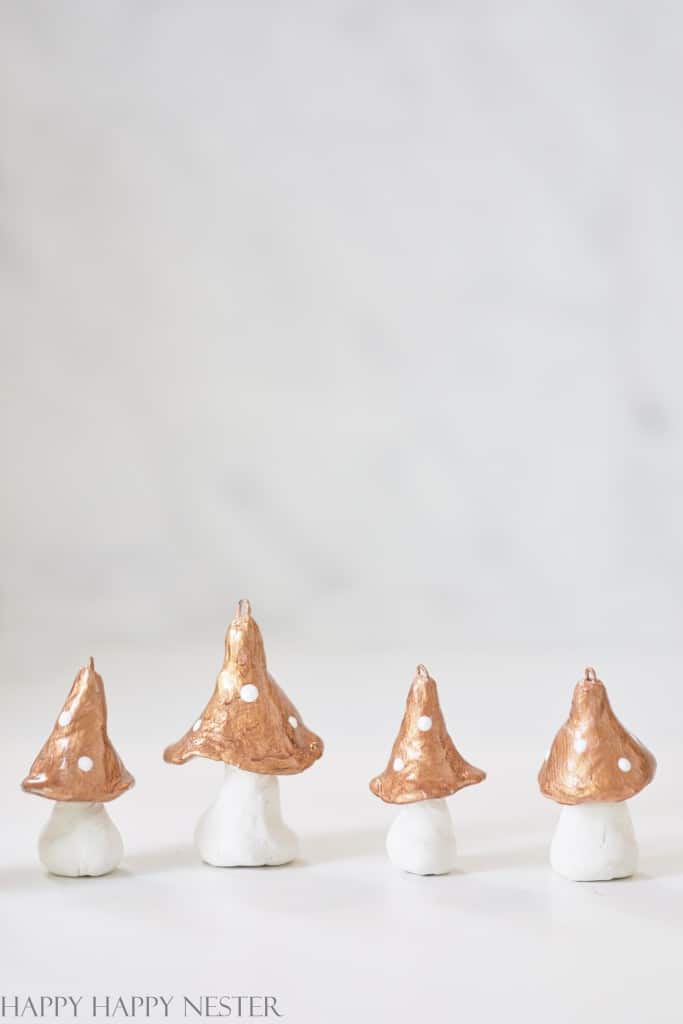
After your clay mushrooms have air-dried, it’s time to color them. I painted my mushroom caps with gold leaf paint, which has a glossy surface that makes it look ceramic. You can seal your mushroom stems with a glaze to protect them from moisture and wear.
Step 6 – Glue Your Mushroom
On my first attempt, I used a hot glue gun. But, some did fall apart. So, I used my favorite glue, Crafters Pick. I recommend this glue instead for this project. I still would treat them as fragile.
Step 7 – Customizing Colors for Your Mushroom Sculptures
I used gold close to realistic mushrooms, but you can get creative with fantastical hues. Layering different colors can add depth and realism to your piece.
Step 8 – Finishing Touches: Glazing Your Clay Art
A clear glaze will seal the paint and give your mushrooms a glossy or matte finish, depending on your preference. This step is crucial for outdoor decorations to withstand the elements.
Step 9 – Thread a String Through the Hook
I used sewing thread and made a loop and then hung it on the tree.
Creative Ideas and Inspirations
Themed Craft Ideas: From Fairy Gardens to Seasonal Crafts
Use your clay mushrooms in various themes, from enchanting fairy gardens to seasonal fall tablescapes. These versatile pieces can be tailored to any setting or occasion.
Incorporating Mushroom Crafts into Gardening Decoration
Clay mushrooms are perfect for adding a whimsical touch to your garden. They can nestle among plants or stand alone as eye-catching features.
Crafting Techniques for Varied Skill Levels
Whether you’re a novice or an expert, there are techniques and styles to match your skill level. Start with simple shapes and advance to more complex sculptures with practice.
Decorating with Your DIY Clay Mushrooms
Home Decor DIY: Styling Rooms with Your Crafts
These DIY mushrooms can be a charming addition to any room. Use them as a centerpiece, display them on shelves, or integrate them into plant pots for an earthy aesthetic.
Handmade Clay Crafts as Personalized Gifts
A set of handmade clay mushrooms can serve as a heartfelt gift, perfect for housewarmings, birthdays, or as a gesture to gardening enthusiasts.
Troubleshooting Common Clay Crafting Challenges
Tips for Beginners Working with Sculpture Clay
If you’re new to clay crafting, start with simple projects and gradually move to more intricate designs. Don’t be afraid to make mistakes—they’re often the best learning tools.
Solving Issues with Non-toxic Clay Options and Durability
- Understanding the properties of non-toxic clays, such as air-dry varieties, can help you create durable pieces. Seal and protect your creations to ensure they last.
Taking Your Clay Mushroom Craft Further
Advanced Crafting Techniques for Clay Enthusiasts
For those looking to expand their skills, explore advanced techniques such as carving, texturing, and mixing clay types for varied effects.
I’ve been getting my hands into clay and cement crafting these days, and I’ve got to say, they’re a lot friendlier than they look. There’s something pretty cozy about getting to know these materials, shaping them into something new.
I’m crossing my fingers you’re into this clay mushrooms DIY. It’s been a blast sharing my crafty adventure with you!
And hey, if you’re in the mood to keep those creative vibes flowing, check out these holiday ornament projects I’ve lined up for you.
Cheers and Happy Crafting!

Photo Credits: MyPhotography.com


- Meringue Cookies Recipe - March 20, 2026
- Bathroom Accessories from Amazon - March 18, 2026
- Fluffy Japanese Pancake Recipe (Souffle) - March 16, 2026


Leave a Reply