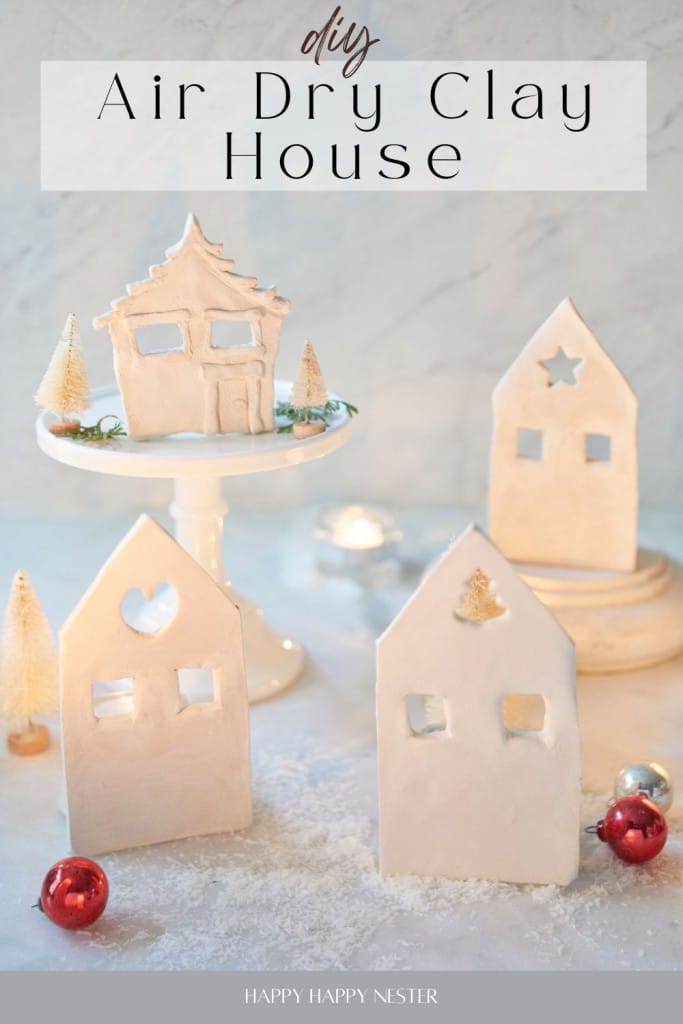
Making a cute Air Dry Clay House is a fun and creative way to brighten your Christmas decor! This clay is super easy to use, so it’s perfect for everyone—whether crafting with kids or hanging out with friends. You can create all sorts of adorable little houses that can be used as candle votives, making them fantastic for holiday decorations or gifts for loved ones. So grab your clay and have a wonderful time making these fun candle votives!
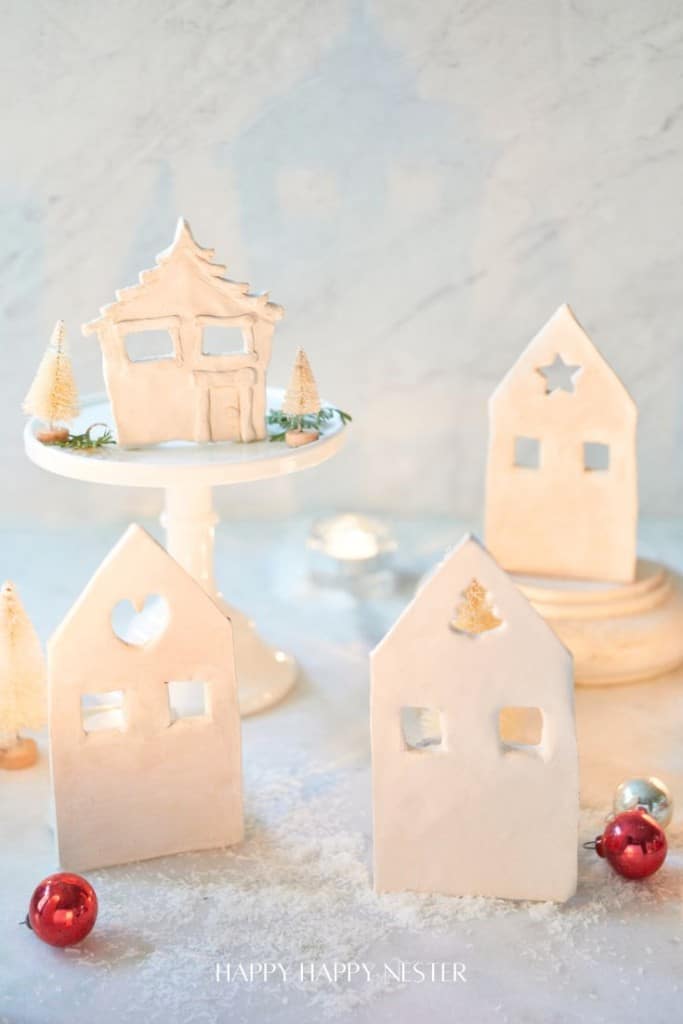
This is a super fun and easy holiday craft that everyone in the family can join in on! Get everyone together and start shaping and decorating your air-dried clay houses. It’s a great way to hang out, have some laughs, and make some special memories. Plus, each person can put their spin on their house, turning them into unique decorations that you can enjoy year after year!
Before we jump into this fun clay project, I want to give a shout-out to my friends who have teamed up with me to share their holiday projects as well. Be sure to check them out at the end of this DIY post!
If you don’t have any artistic skills, don’t worry! I’ve got a simple solution for how to make air-dry clay houses that anyone can follow. If you’ve made sugar cookies before and know how to roll dough with a rolling pin, you’re already set to create these charming candle votives! With just a few easy steps, you’ll be crafting adorable little houses in no time, perfect for adding a warm glow to your holiday decor!
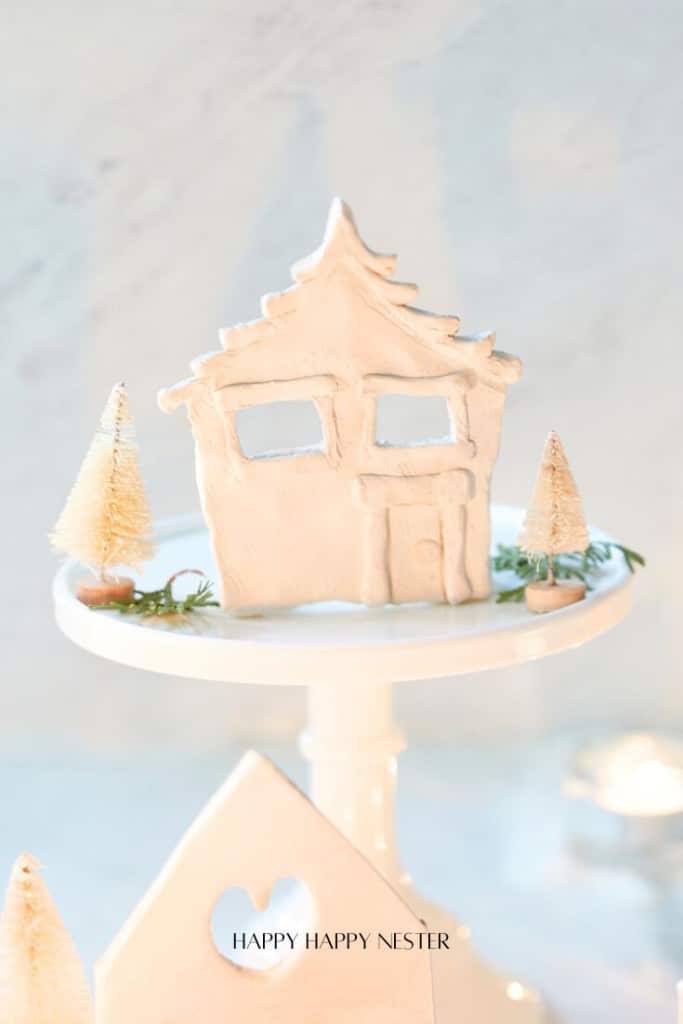
What are air-dry clay and baked clay?
Crayola makes an air-dry clay. It is a fun and lightweight crafting material that hardens just by sitting out in the air, so you don’t need to worry about baking it. But if you want the kind that you bake you’ll want to try Sculpey,
Sculpey is a well-known brand of polymer clay that stays soft until you pop it in the oven to bake, letting you create detailed and sturdy pieces. Both are perfect for anyone looking to get crafty, whether you’re a beginner or a pro!
Either one of these types of craft clays will work for this project.
Clay Houses DIY
Supplies You’ll Need
Gingerbread House Cookie Cutters
Knife
Tea Light Candles and Holders
How to Make Air-Dried Clay Tea Holders
Step 1 – Roll Out Clay
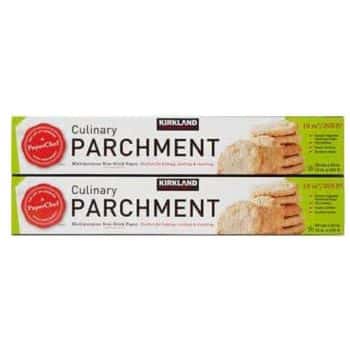
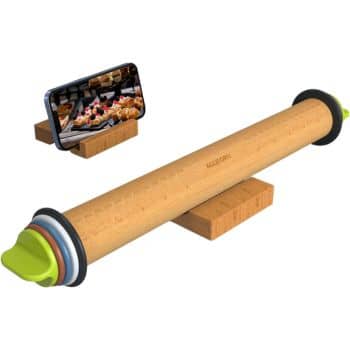
Start by taking a chunk of air-dried clay and kneading it until it’s soft and pliable. Then, roll it out on a clean, flat surface (covered with parchment paper) to about 1/4 inch thick.
Step 2 – Cut Out House Shapes
Use gingerbread cookie cutters to cut out the shapes of your houses. You’ll only need the face of the house, not the sides unless you want a whole gingerbread house. To smooth out the shapes, dip your fingers in water and gently smooth the edges.
Step 3 – Make the Standing Triangle
To make your house stand upright, take the square piece you used for cutting out windows or a door and cut a diagonal line from one corner to the opposite corner to create a triangle. This triangle will serve as the support piece you’ll attach to the bottom of the house.
Step 4 – Allow to Dry
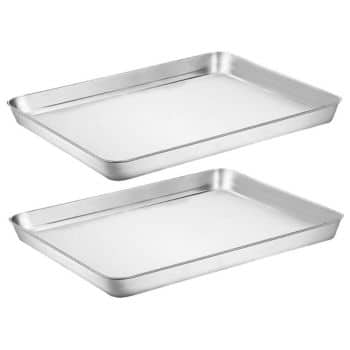
Place all your pieces on a baking tray that is lined with parchment paper. Let your clay houses dry completely according to the manufacturer’s instructions. Depending on the thickness, this usually takes about 24 to 48 hours.
Step 5 – Paint and Decorate
Once dry, you can paint your houses with acrylic paint and add other decorations. Consider using a sealant for added protection.
Step 6 – Add Details
Use small tools or fingers to add details like windows, doors, or other decorations. You can also use cookie cutters to make fun shapes.
Step 7 – Attach the Pieces
Carefully attach triangle pieces to the back of the house along the edges, using a little Gorilla Glue to help bond them. I placed two stands on each back bottom edge.
Step 8 – Place the Candle
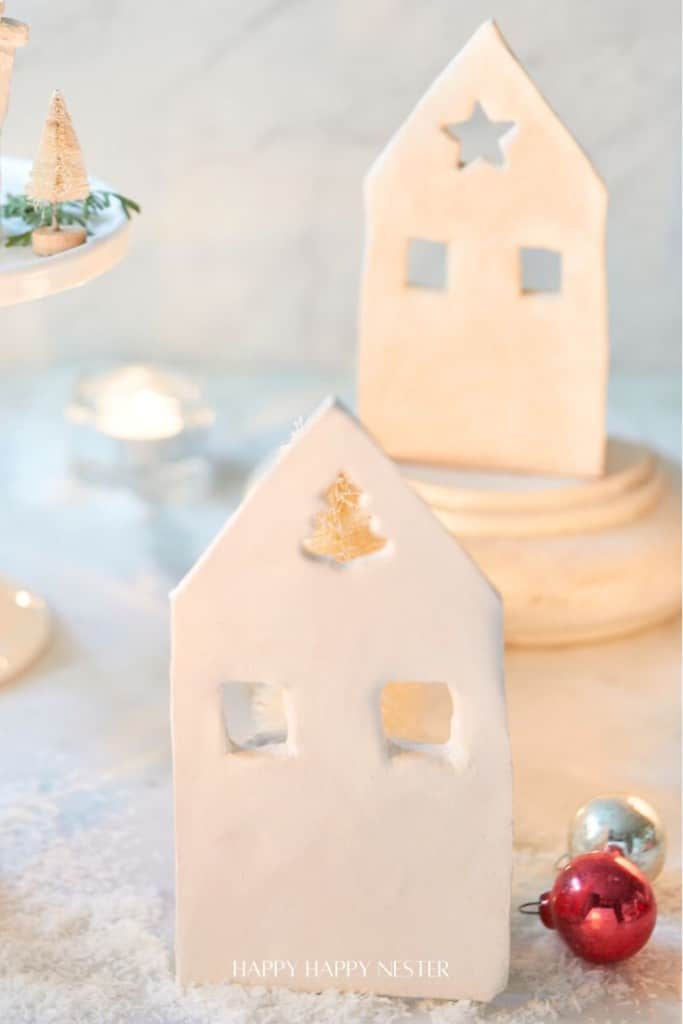
After everything is dry and decorated, place a small candle or LED tea light behind your clay house to create a warm, glowing effect.

If you liked this project, make sure to check out my other projects:
I hope this fun air dry clay house project keeps you and your family busy making a whole village of candle votive holders!
Thanks for stopping by!
Happy Crafting,

Photo Credits: MyPhotography.com
Blogger’s Best DIY Holiday Crafts
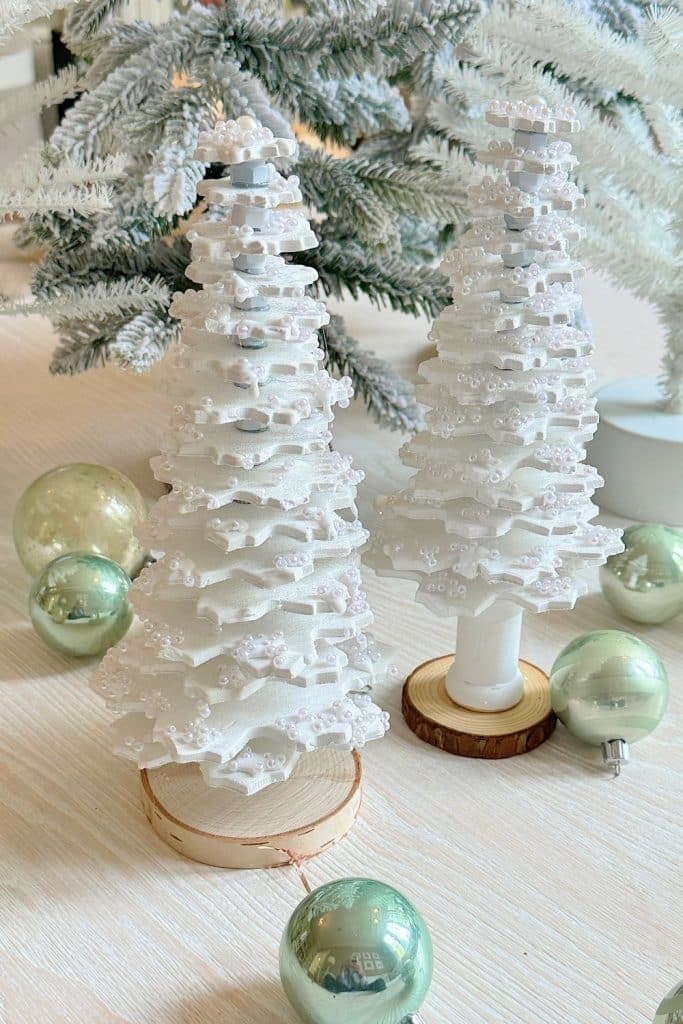
DIY Table Top Christmas Trees | My 100 Year Old Home
If you love holiday crafting, here’s a creative and elegant project: Table top Christmas Trees made from clay using a cookie cutter set.
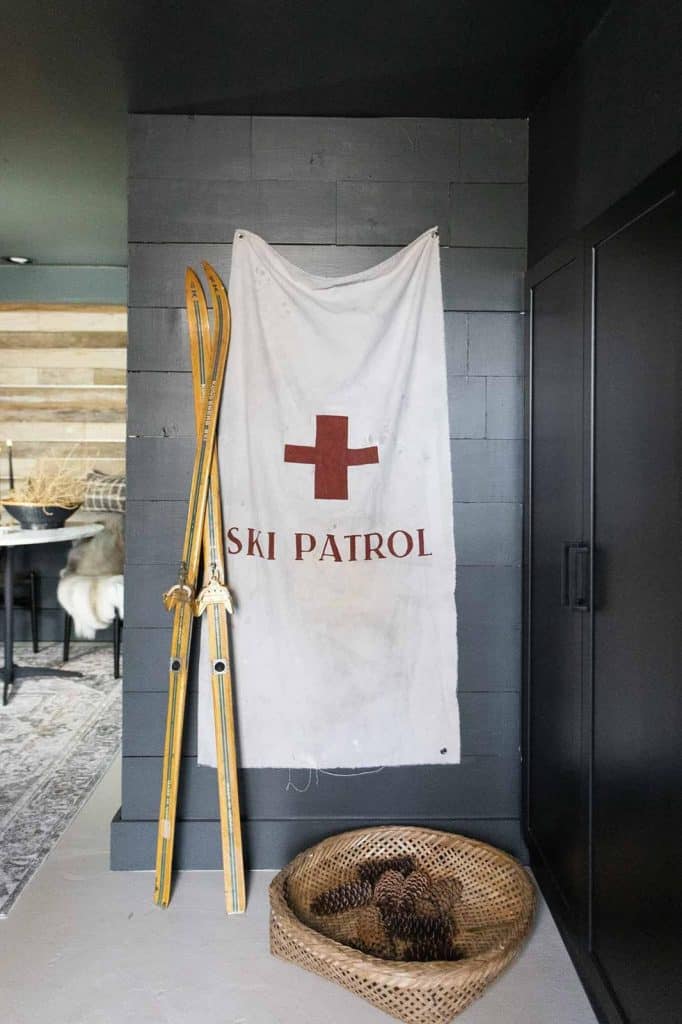
DIY Winter Decor: Ski Patrol Sign from an Old Dropcloth | My Sweet Savannah
Transform your space this winter with a DIY Ski Patrol sign! Using an old dropcloth, I painted a red cross and “Ski Patrol” for a rustic, festive look. With the addition of grommets for easy hanging, this simple yet charming decoration is perfect for adding a touch of winter whimsy to your home.
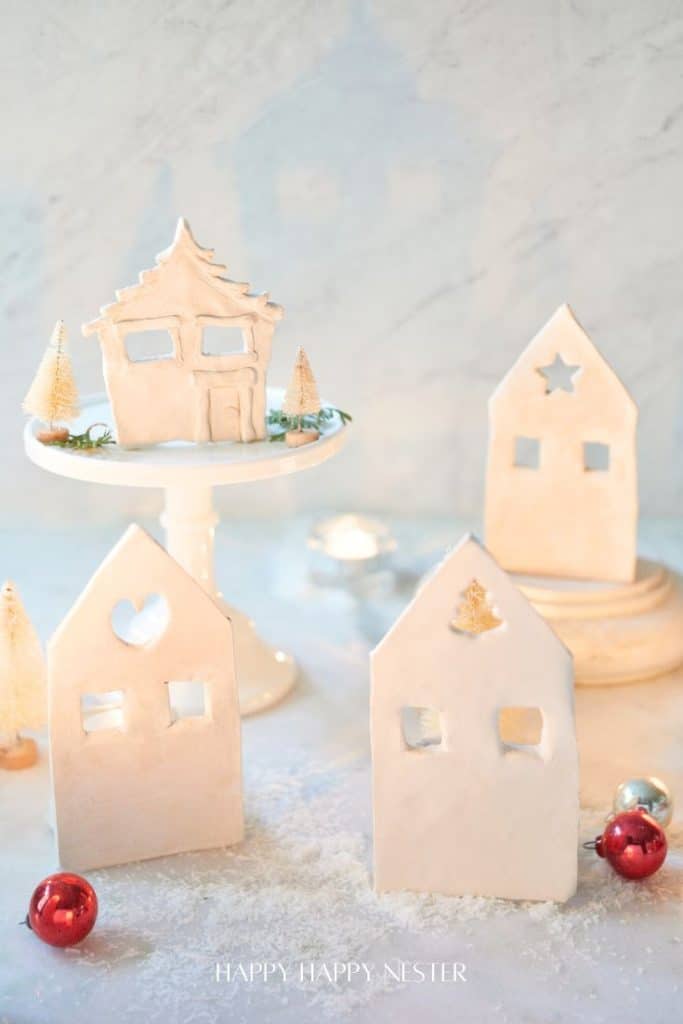
Air Dry Clay House | Happy Happy Nester
Making a cute air-dried clay house is such a fun and creative way to brighten up your Christmas decor! This clay is super easy to use, so it’s perfect for everyone—whether you’re crafting with kids or hanging out with friends. You can create all sorts of adorable little houses that can be used as candle votives, making them fantastic for holiday decorations or as gifts for loved ones. So grab your clay and have a wonderful time making these fun candle votives!
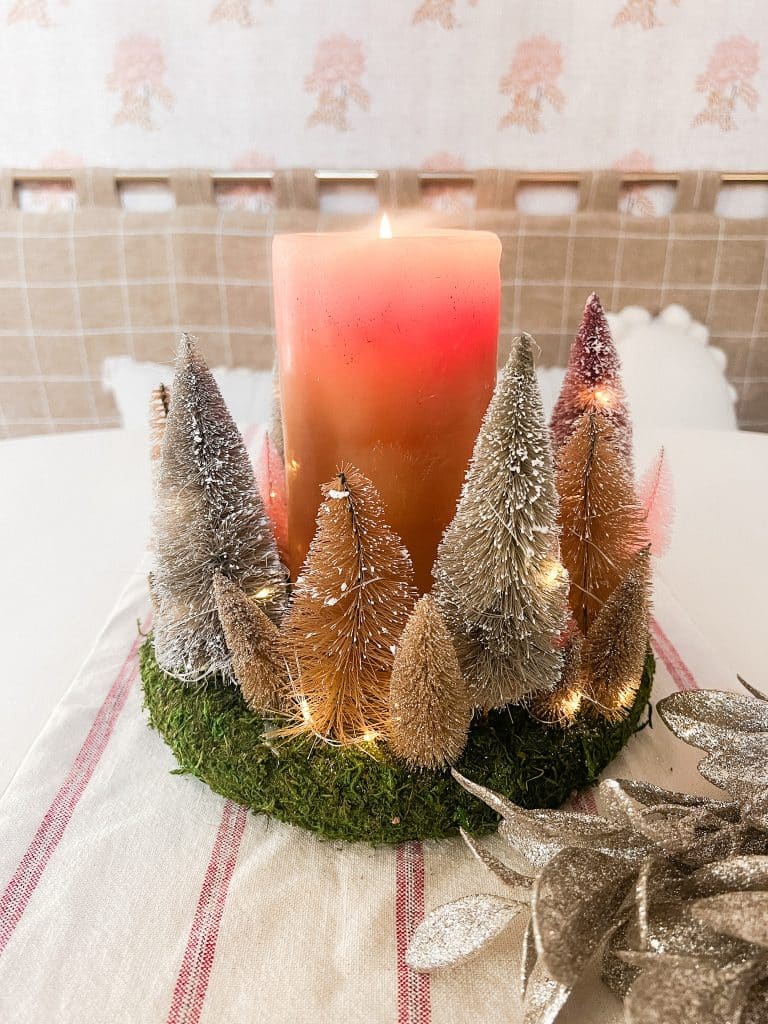
Cozy Dollar Store Christmas Centerpiece | Tatertots and Jello
Create a Terrain-inspired holiday centerpiece on a budget with dollar store finds! This DIY project combines bottle brush trees and a moss-covered wreath form, giving a high-end look without breaking the bank. Battery operated lights glow along with a candle in the center for a cozy addition to the holiday season.

Upgrade Dollar Store Garland | Craftberry Bush
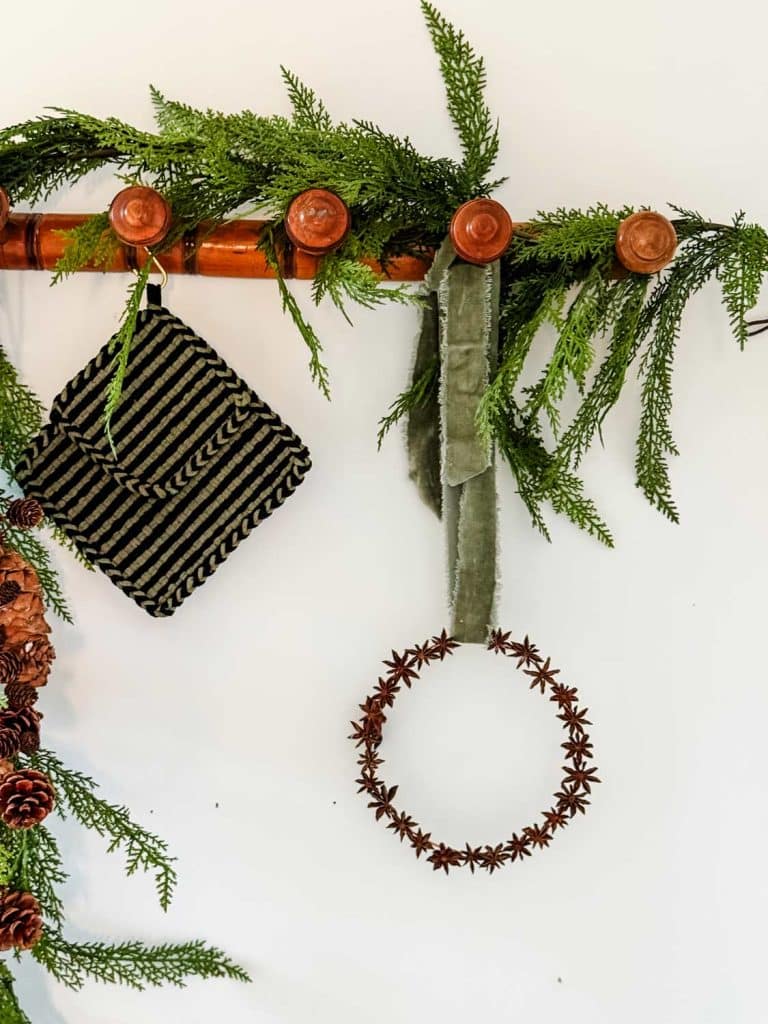
Make a Simple Star Anise Wreath | Most Lovely Things
Make a simple wreath made of star anise pods to hang in your holiday kitchen.

- My Favorite Cakes - July 5, 2025
- Outdoor Tables and Chairs - July 2, 2025
- My Favorite Floral Desserts - June 28, 2025







Leave a Reply