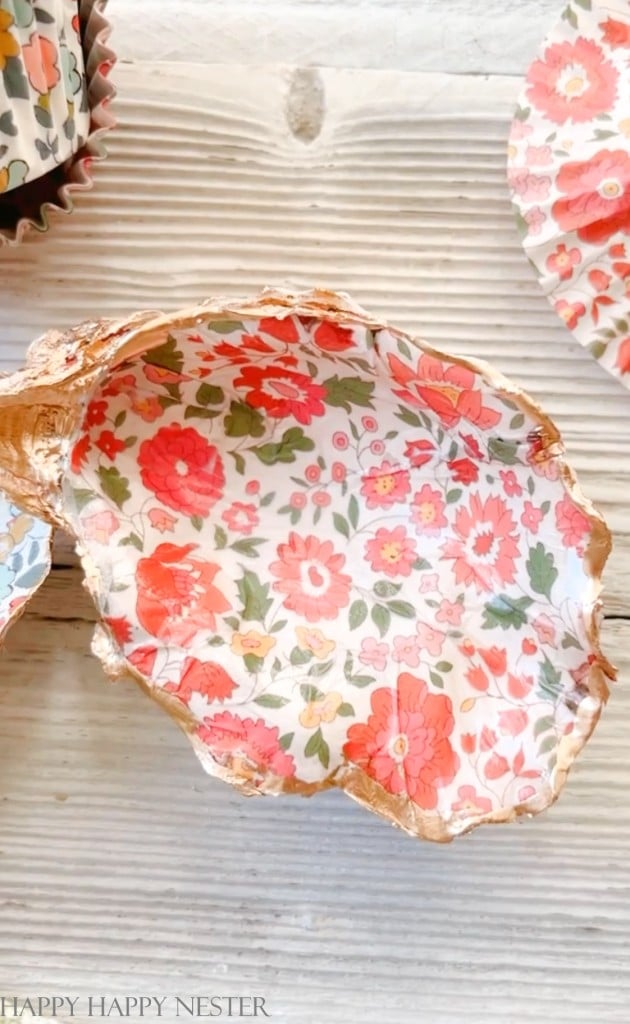
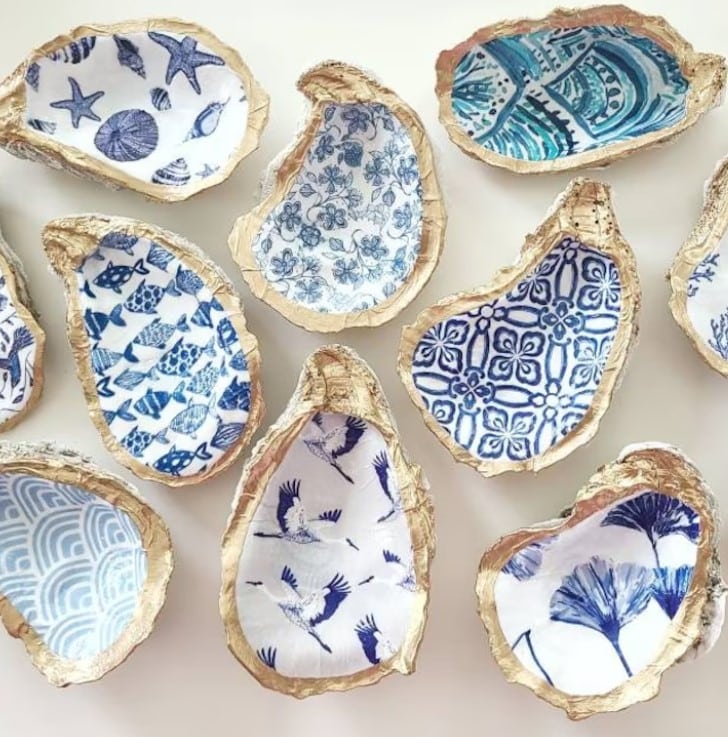
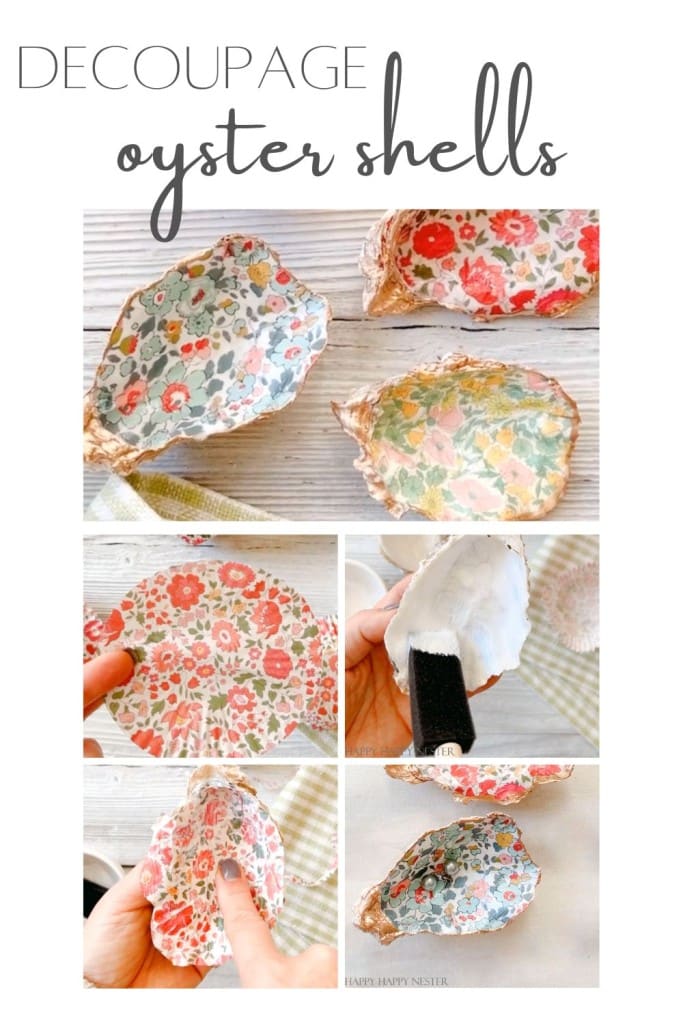
These cute trinket shells are fun to create and just as fun to give as gifts. I bought one of these Decoupage Oyster Shells and tried making this easy craft. This simple decoupage project only requires a few supplies, Modge Podge, oyster shells, paper, and bleach. I guess Anthropologie sold these shells in their stores a while ago.
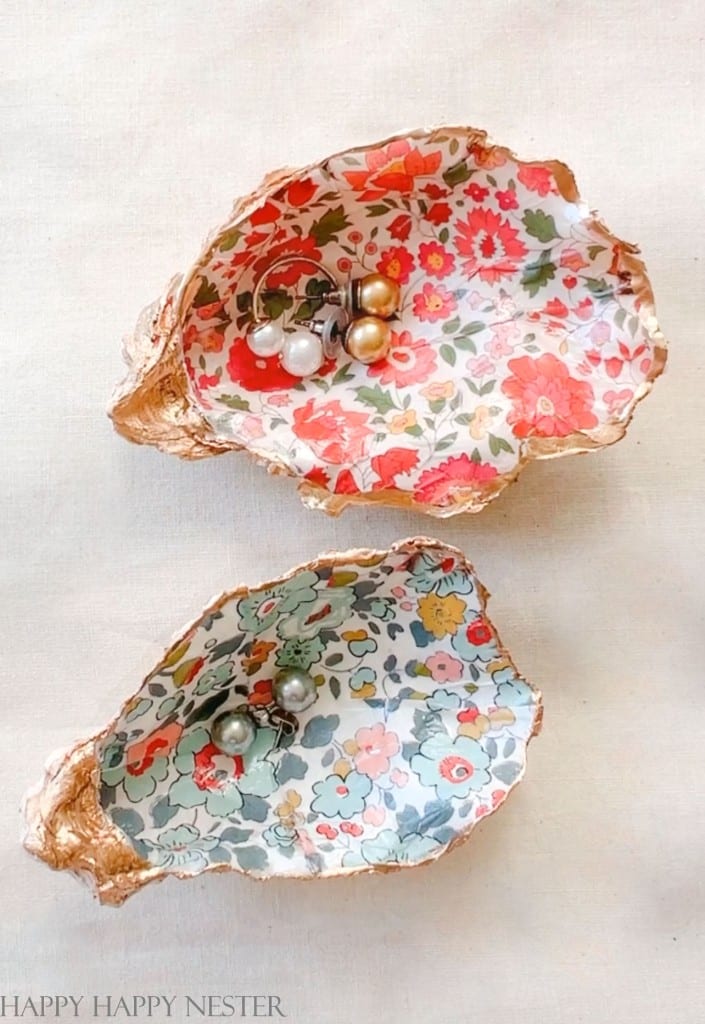
These pretty shell dishes make the cutest gifts for friends. I’m so excited to share this craft with you!
If you like making crafts, I’ve got many spring projects. Here is a list of some that I think you might enjoy trying.

I had the funniest scenario when it came to buying my oyster shells. I found my BBQ Oysters at our local Whole Foods grocery store. The fish guy asked me if I wanted them shucked, and I said that would be great. He shouldn’t have shucked them since they are closed so tightly.
Also, he delivered the shucked oysters on a half-shell. I was only interested in the shells, so I would have loved the other half he threw away in the trash.
I wanted to buy more oysters on my second trip to Whole Foods! Well, they sold out right from under our noses. I was so sad, and I guess the fish guy could tell I was disappointed. So, he offered me some dead oysters since he knew that was all I wanted.
Once I got home, I steamed them, and they quickly opened up! Hooray, I now have a ton of oyster shells to make a lot of jewelry dishes for friends!
The moral of this story, ask for any shells that might be kicking around the fish department. But, if you buy them, make sure to steam them rather than shucking them and eating them raw. If you like them raw, have the fish guy shuck them for you!
Ok, now let’s get this fun craft started!
How to Make Decoupage Oyster Shells
Supplies:
- Oyster shells
- white acrylic paint
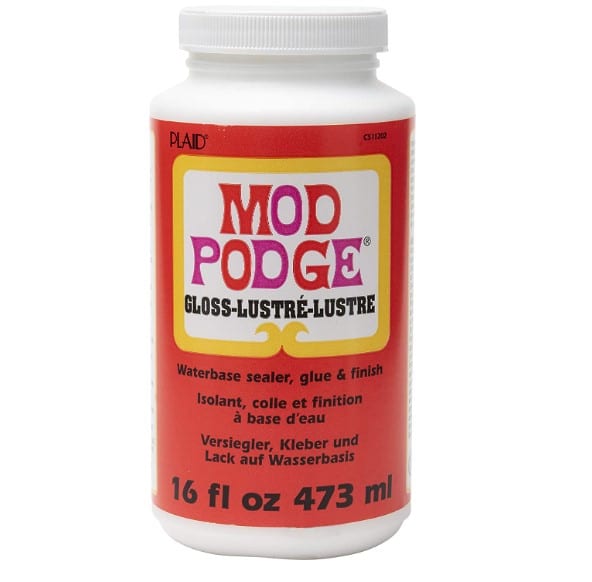
- Mod Podge (glossy or matte)
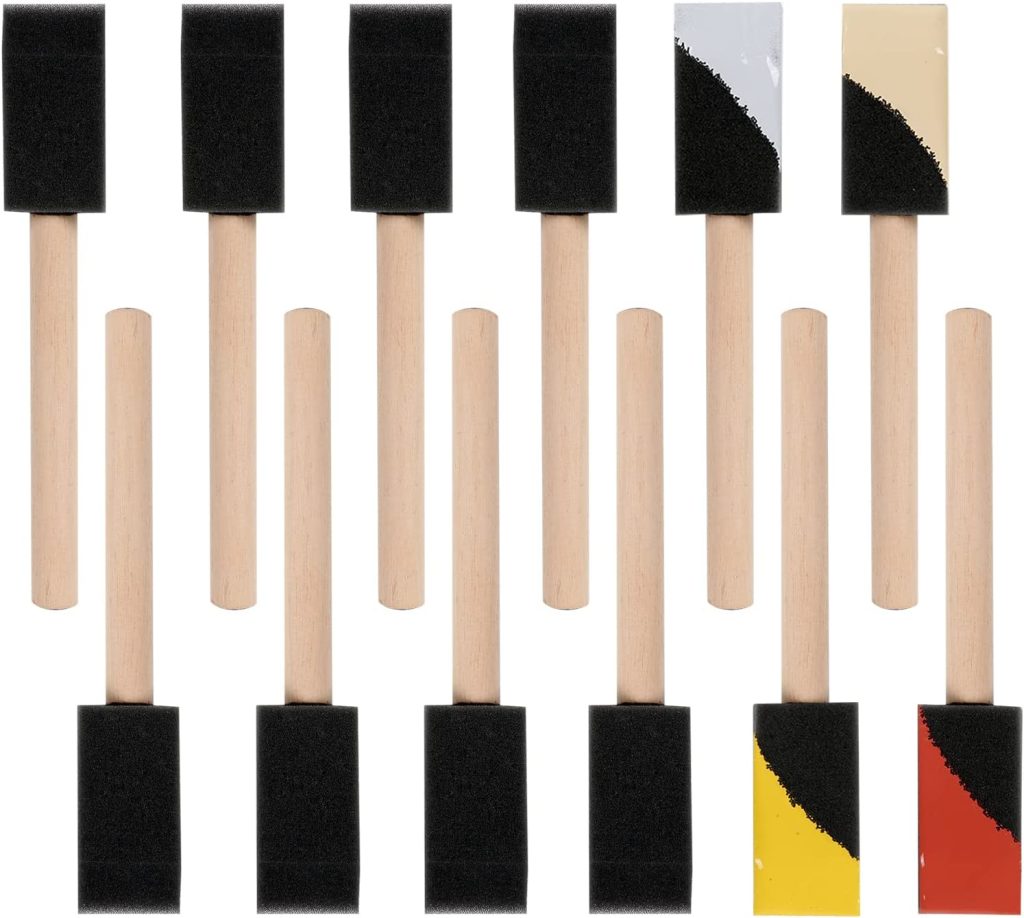
- foam paint brush
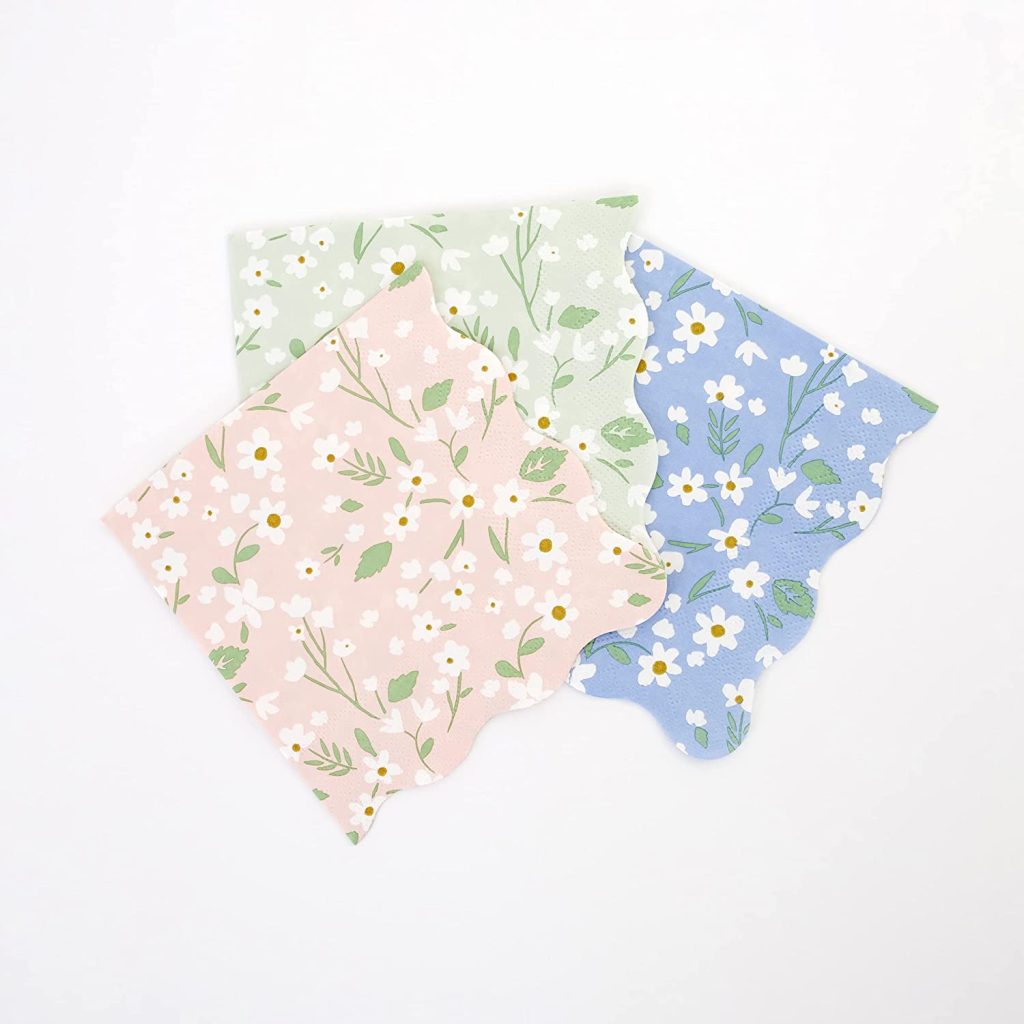
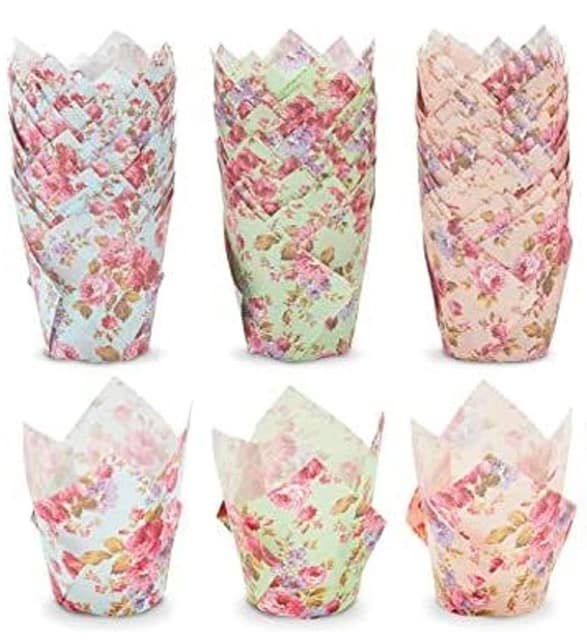
- paper cupcake liners* or napkins
- scissor
- gold paint
- Qtips or fine brush
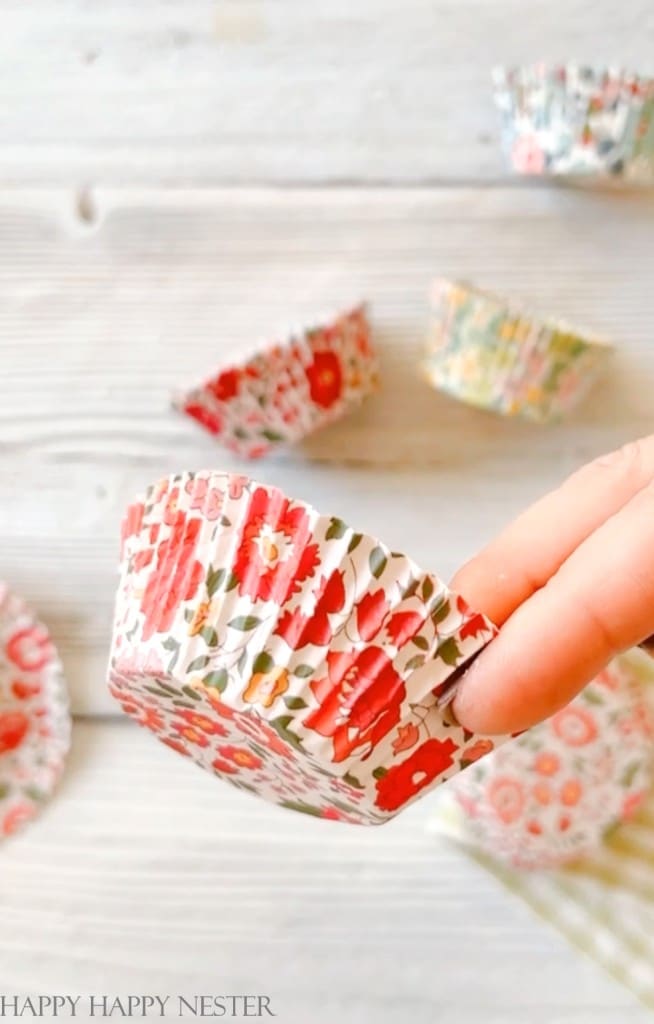
*Unfortunately, they no longer sell the Liberty of London cupcake liners. You can try eBay and Etsy for these liners.
Instructions:
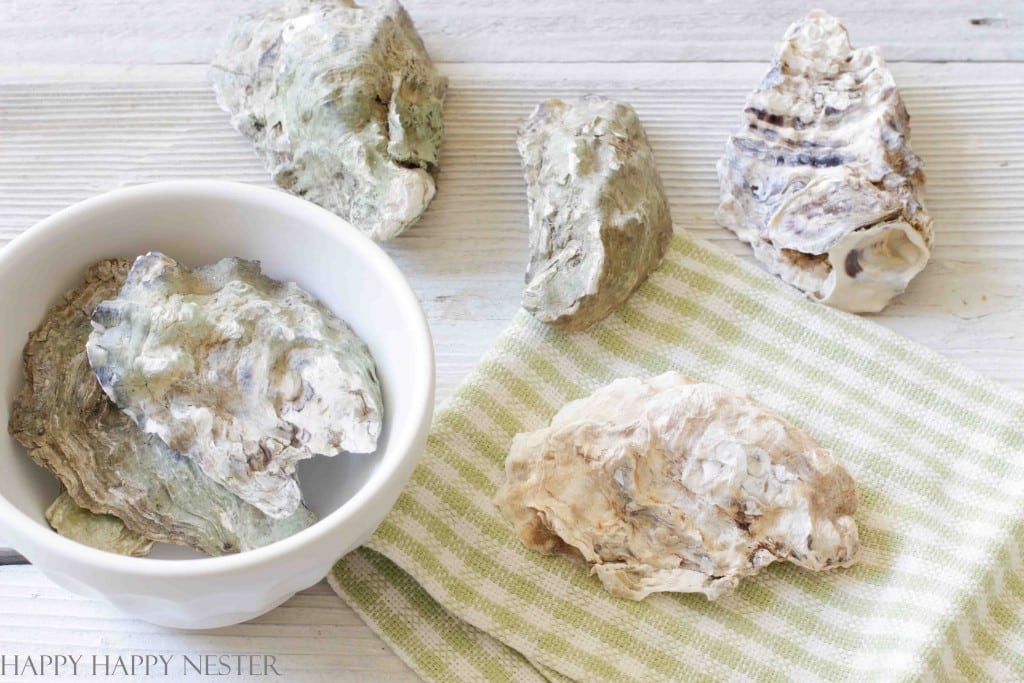
Step 1 – Bleach Shells
The shells in the bowl and the ones on the top are before bleaching. My shells were a bit green and dark. The one on the green gingham towel was bleached and so much lighter. So to get them light and clean-looking, I soaked them in bleach. I diluted the bleach a tiny bit with water, but it mostly was a bleach solution.
Place bleach in a solid plastic bucket and place shells in the solution with the outer surface of the shell pointing up. I found out you want to place this way in the bucket so that you can view the bleaching shells without turning them over.Allow the shells to soak until the outer shell lightens to the color you like.
Once shells are bleached, rinse and dry thoroughly before the next step.
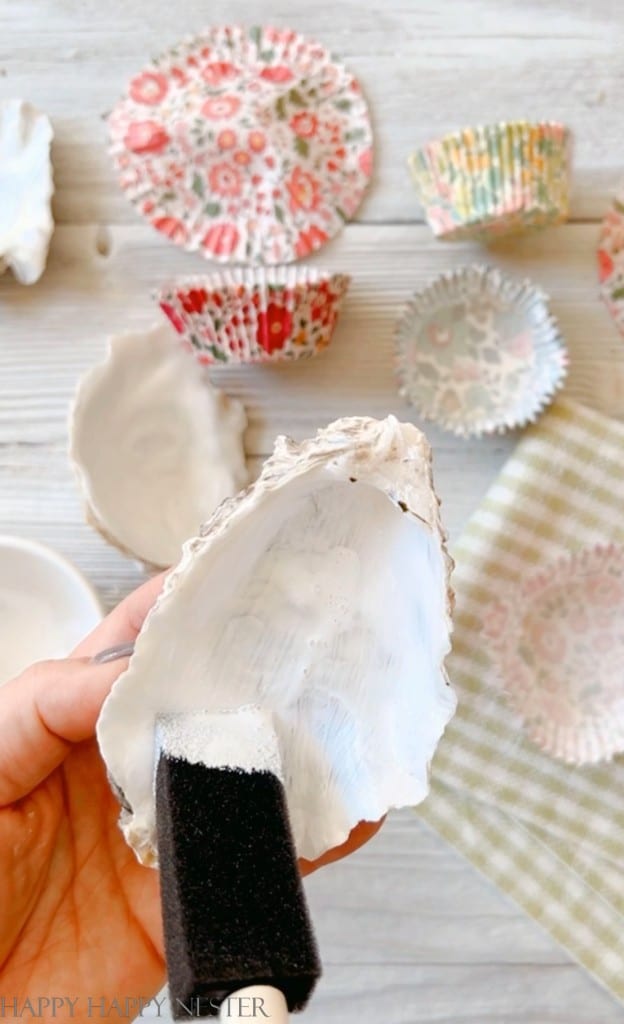
Step 2 – Paint the Interior of the Shells
The inside of my shells had dark spots, and I didn’t want them to show through the paper. So, I painted two coats of white acrylic paint. Before painting the second coat, allow it to dry. I placed my oyster shells near our heating vents. You can also blow dry them to dry if you like. Just make sure not to have the dryer in a hot setting.
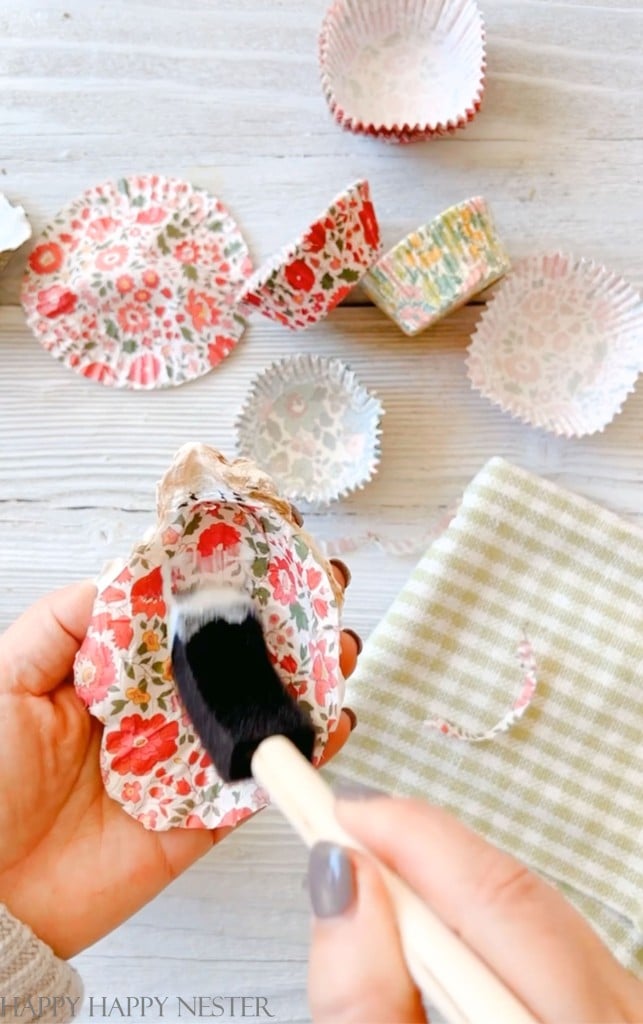
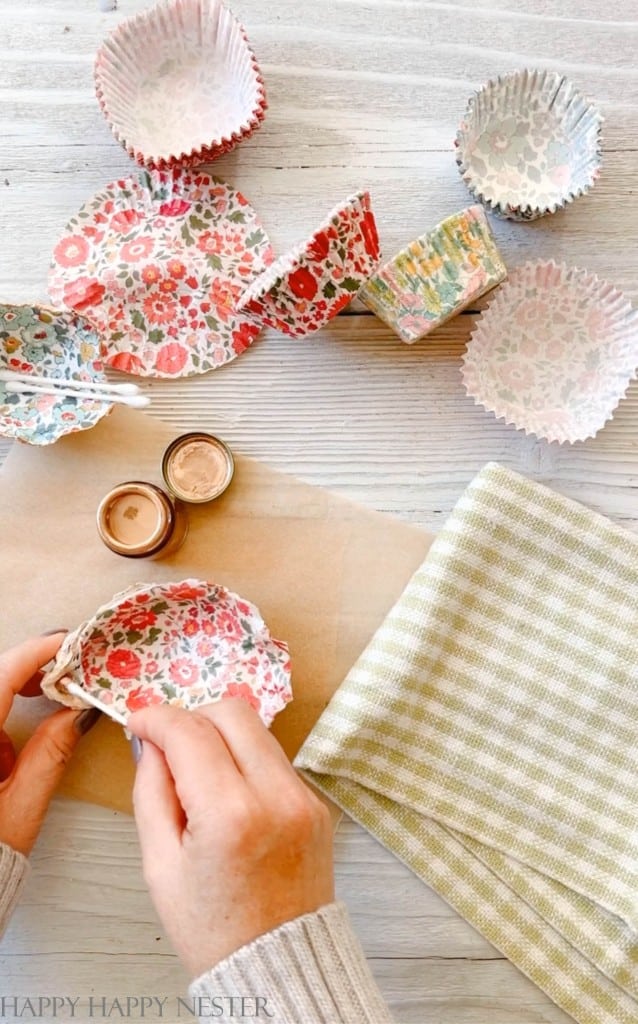
Step 3 – Decoupage Interior Shell
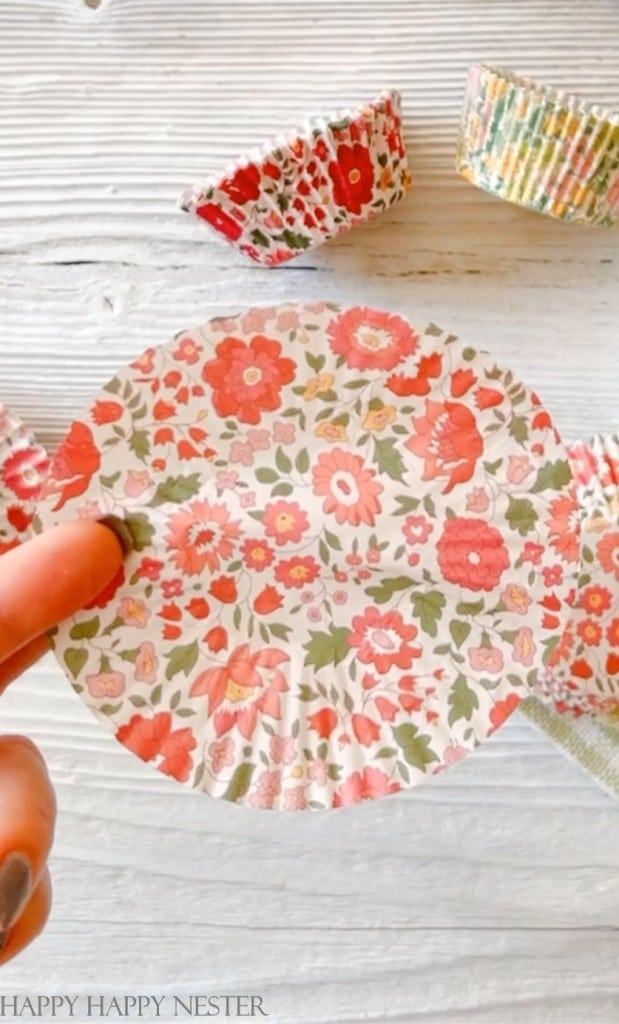
Flatten and cut out a piece of your paper more significant than your shell’s. Don’t try and get it exactly the size of the shell since we will trim off the excess later.
Coat the interior of your shell with a layer of Modge Podge.
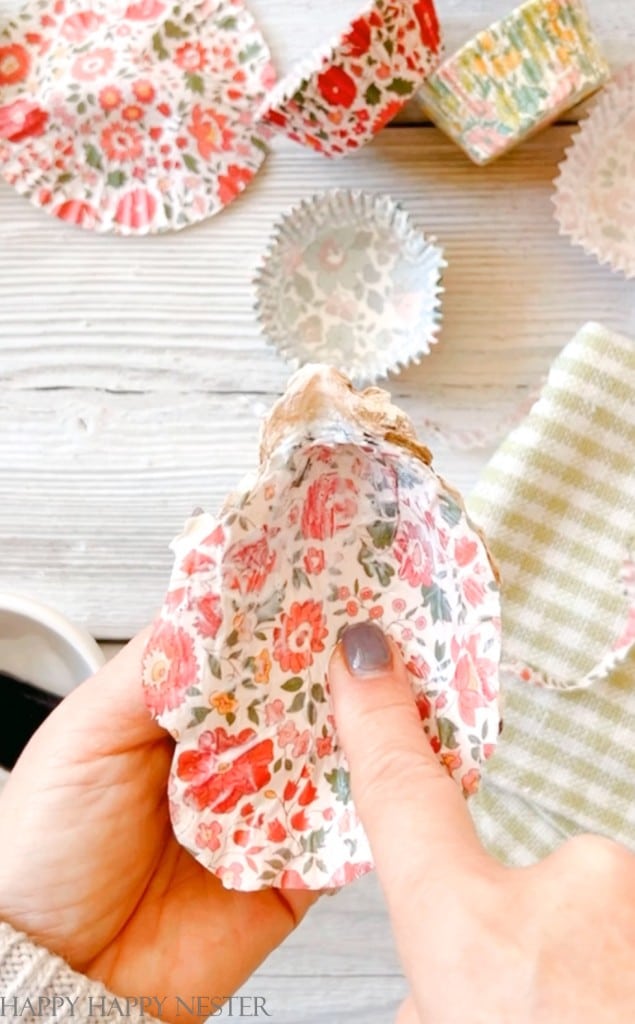
Place and mold the paper into the shell. Make sure to fit the paper into every nook and cranny.
Once the paper is in place, paint another coat of Modge Podge onto the paper.
Use your finger to smooth out wrinkles. Don’t worry about the wrinkles. They dry and look fine later.
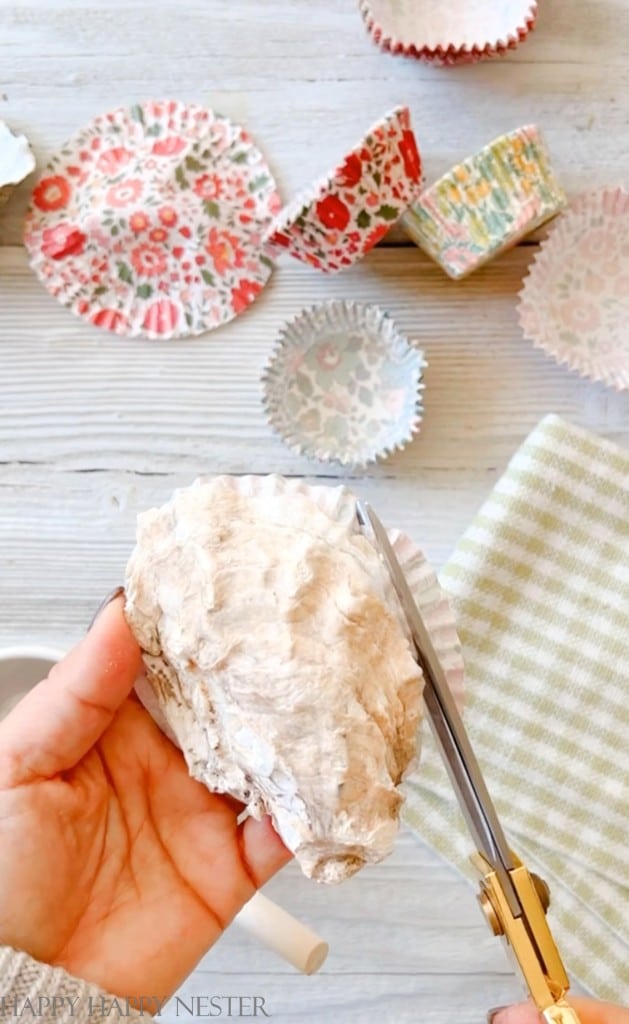
Step 4 – Trim Edges of Paper
Turn the shell over and trim off the excess paper. That is fine if you add more Modge Podge to the edges.
Allow the shell to dry.
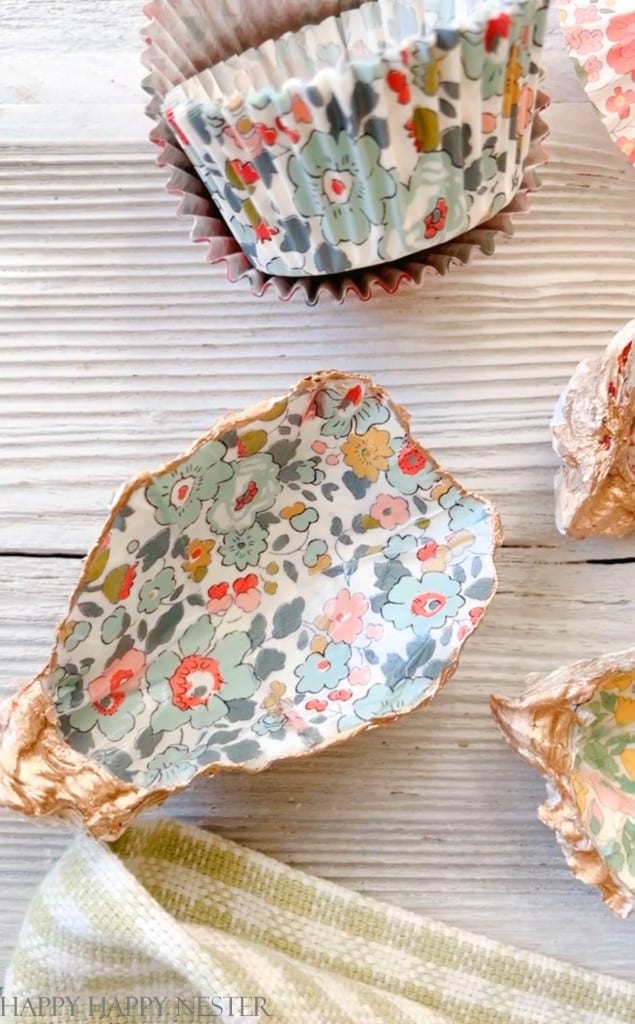
Step 5 – Paint the Outer Rim of the Shell
I love gold metallic paint. I painted mine with Qtips. Paint just a fine line around the edge, and also paint the hinge where the shell is attached to the other shell.
I found metallic paint bled into the paper if the paper wasn’t dry before painting. So I highly suggest you wait for the decoupage to dry before painting.
Some Tips on Decoupaging
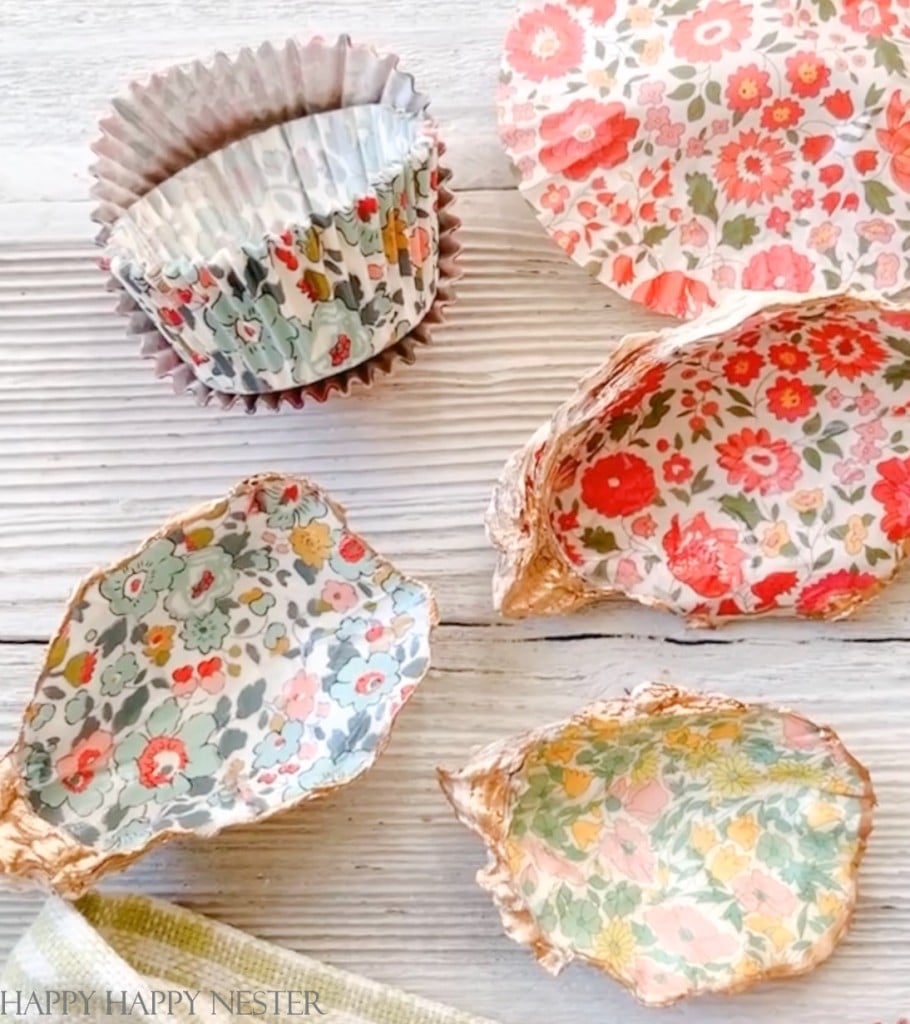
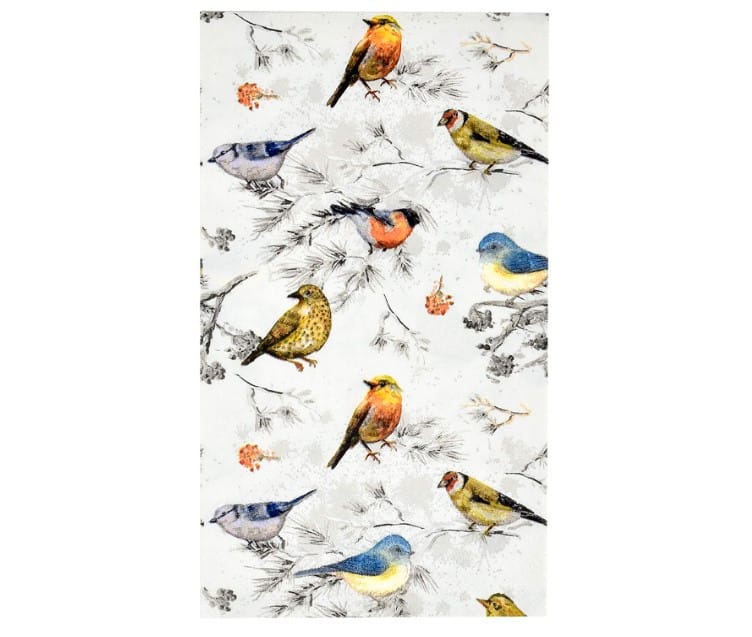
The Best Paper
Since paper napkins and cupcake liners are made to get wet, they are the best choice for decoupaging. My Liberty of London cupcake liners were the perfect size for my oyster shells.
You’ll need to remove the top layer from the bottom layer when using paper napkins. Yes, napkins have two layers of paper, and if you don’t remove the bottom layer, you’ll only attach that layer to the shell.
Can I Use Tissue Paper?
I tried using the standard solid-colored tissue paper and noticed the dye ran. So, if you want to use tissue paper, just cut off a piece, wet it with water, and place it on a white piece. The white paper will show you if the color bleeds.
Which Oyster Shells to Use
I wanted a big jewelry dish, so I went for the BBQ Oyster variety. Any oyster shell works. But the smaller oysters will work perfectly.
How Do I Get the Shells to Open?
You’ll have to steam the oysters. I placed mine in a pot of water. I used about two inches of water and brought it to a boil. I put the oysters in the pot and cooked them until they opened. My husband dined on the oysters and loved this little appetizer.


I hope I answered all your questions and that you have about this project. And it would be great if you have a chance to make these cute decoupage oyster shells!
Happy Crafting!


- Irish Soda Bread Recipe (with Buttermilk) - March 26, 2026
- Outdoor & Indoor Faux Flowers from Amazon - March 25, 2026
- Meringue Cookies Recipe - March 20, 2026


Leave a Reply