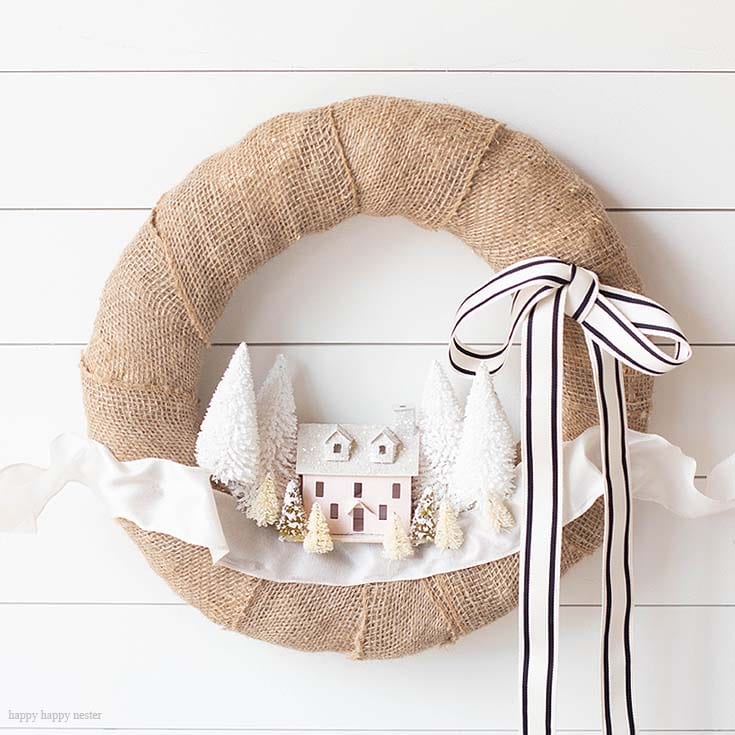
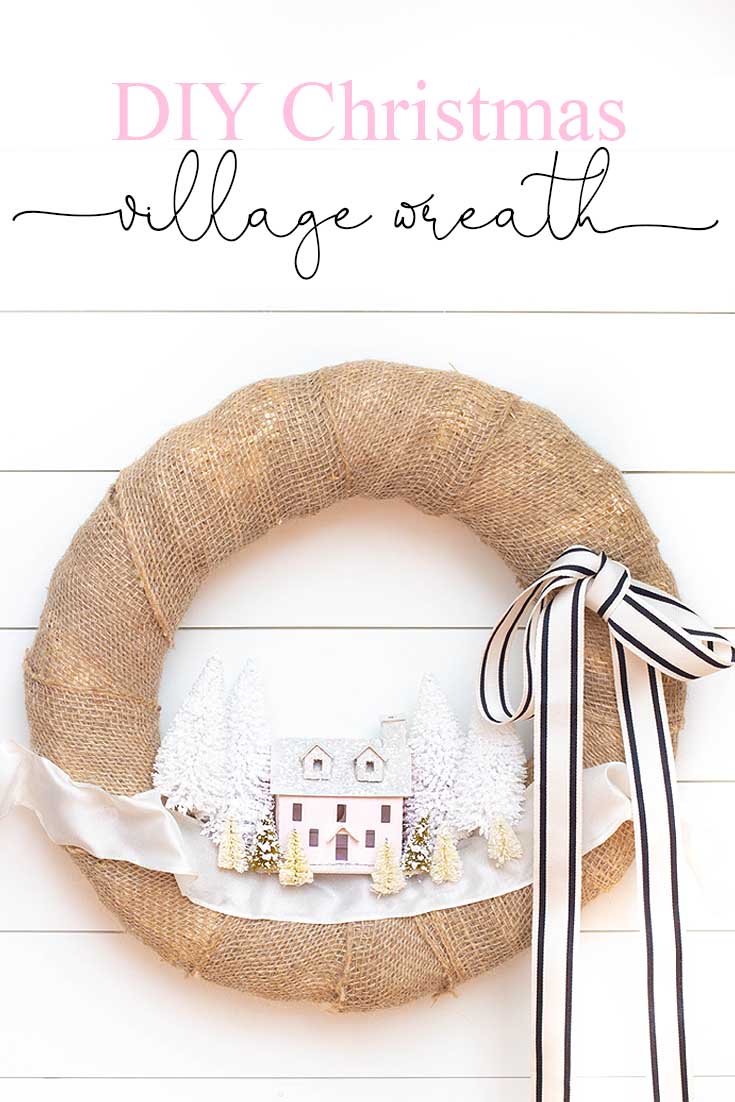
This DIY Christmas Village Wreath was inspired by Martha Stewart’s Magic Village Themed Christmas Wreath. Have you seen her incredible wreath from a couple of years ago? Well, I fell in love with it the minute I saw it on the Martha Stewart’s Living Magazine cover.
So, recently I set out to make a similar wreath, but of course, my wreath went on its own little adventure. The results are what you see here in this post.
*The following post contains affiliate links
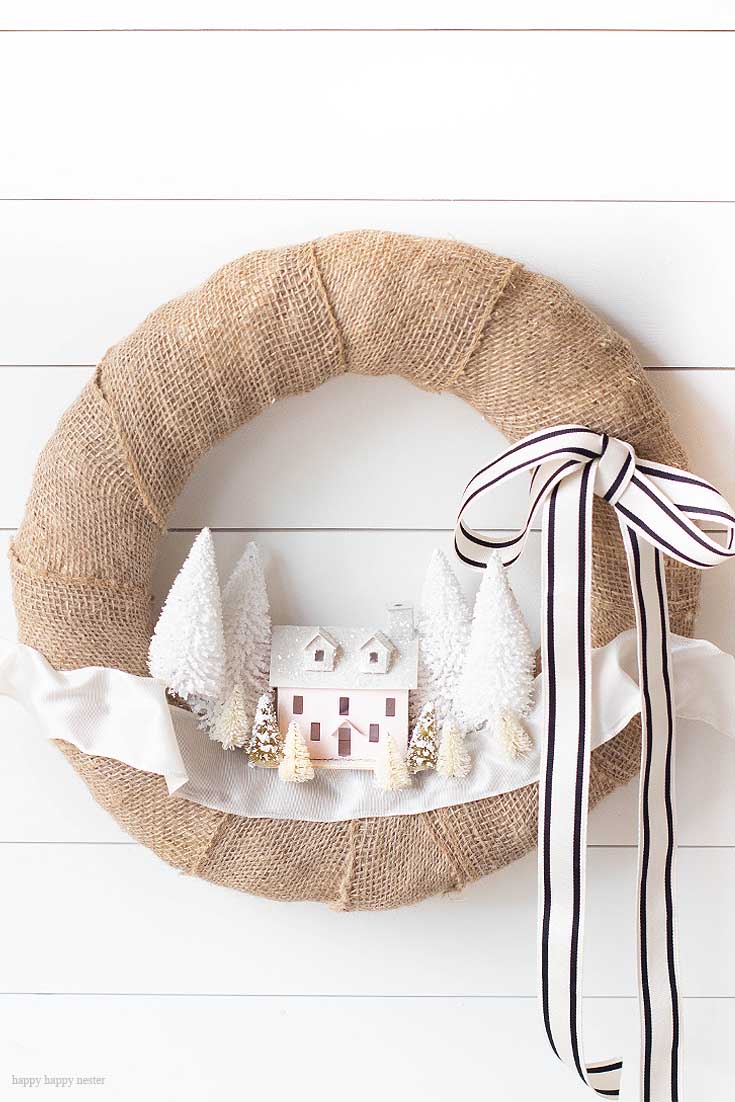
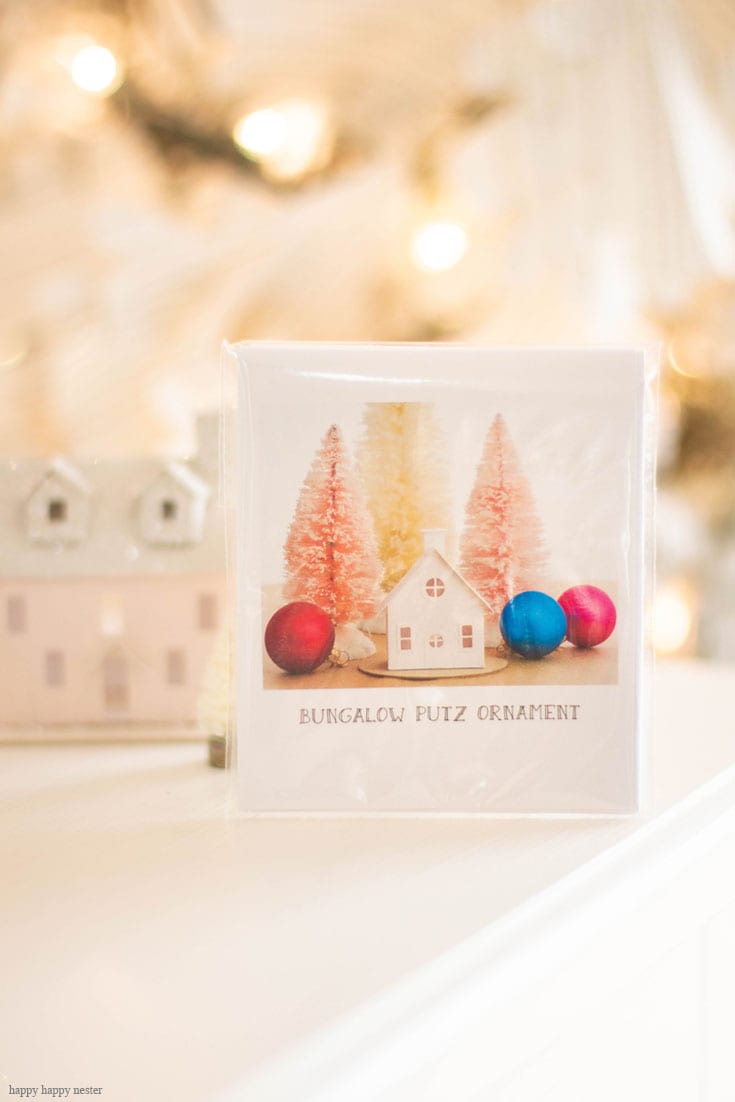
I love any project utilizing paper and mini villages, so when I found these cute Putz houses, my brain kicked into gear. It was the perfect holiday craft.
My friend Ashley and I wanted to make these houses together, so we quickly hopped over to Etsy and found some kits. So, you might be wondering why we decided to make them and not buy the store bought ones? Well, we wanted the experience of making them. Also, we didn’t want them too big, since they had to fit on our wreaths. And you know me, I’m never satisfied with the store-bought decor, and I envisioned my own colored houses.
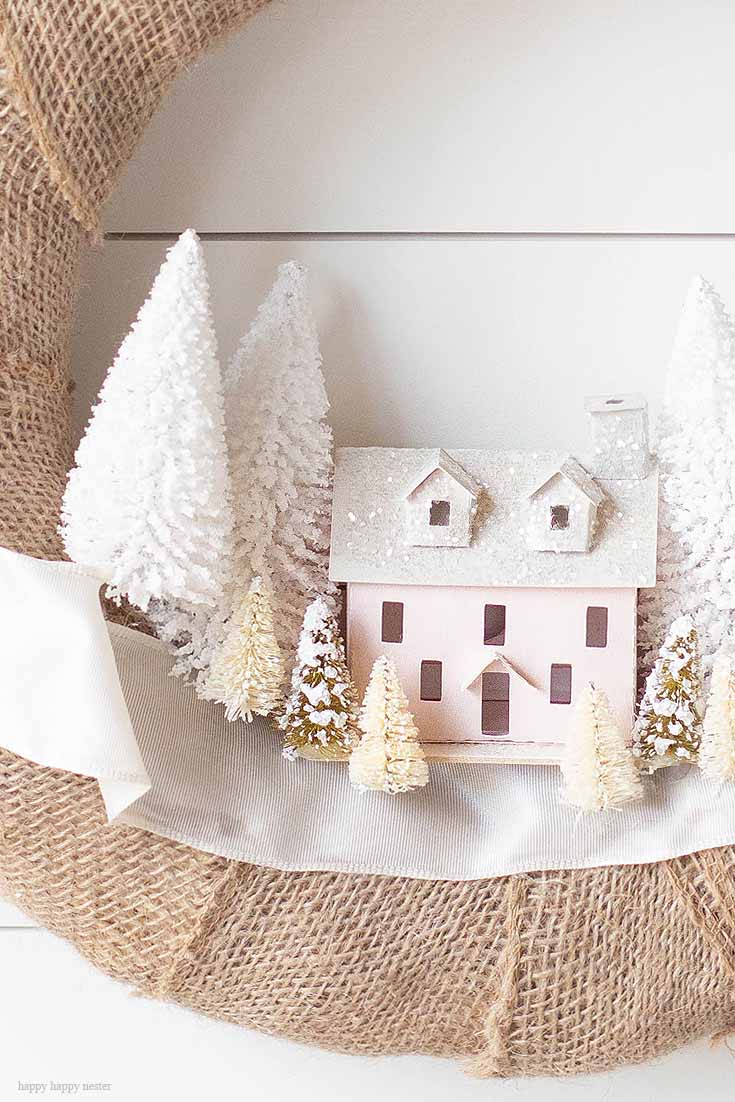
Yes, the pink color you see is one that I mixed myself.
In a week or so, come on back to the blog, because I plan to create a video showing how to make these adorable paper houses.
Ok, I’ll answer a few questions you may have.
1. What is a Putz Mini House?
This DIY Christmas village wreath uses these cute houses, and they are replicas of the Putz houses. The tradition of decorative Christmas villages started as a holiday tradition with Pennsylvania Dutch. The term is rooted in the German verb putzen which means “to clean” or “to decorate.” Initially, they were nativity scenes that were placed under the Christmas tree, but in the early 19th century they could be found on the mantel, side tables and just about anywhere in a holiday home.
2. How Do You Make Christmas Village Houses?
The set of houses that I bought on Etsy came with thorough instructions. You make the base and then add everything as you move up the house. So, I made mine two different ways. The instructions say to gesso every piece of the house so that it reinforces the house. I did this, and yes, it did make it a bit stiffer. But, if you are in a hurry, you can just put it together and carefully paint the house afterward. I must say that you have to have a steady hand and good watercolor brush so that you can accurately paint the various parts. I’ll have another blog post following this one on how to make these adorable houses.
3. Can You Make This Wreath With Store-Bought Mini Houses?
The mini house instructions are bit daunting, so if you don’t feel up to the task, you can buy some houses already made online. The key is that whatever you buy they can’t be too big otherwise they won’t fit on the wreath. The bases to the miniature houses can be substantial.
Well, let’s get this show on the road.
DIY Christmas Village Wreath
Supplies
1 Putz Village , 1 Mini House or Mini House
14-inch straw wreath covered with burlap
4 White bottle brush trees (4 inches), 6 inch White flocked bottle brush trees
4 Small white bottle brush trees, make sure to choose them when buying your mini house kits on Etsy.
Instructions
1. Build Your Putz House
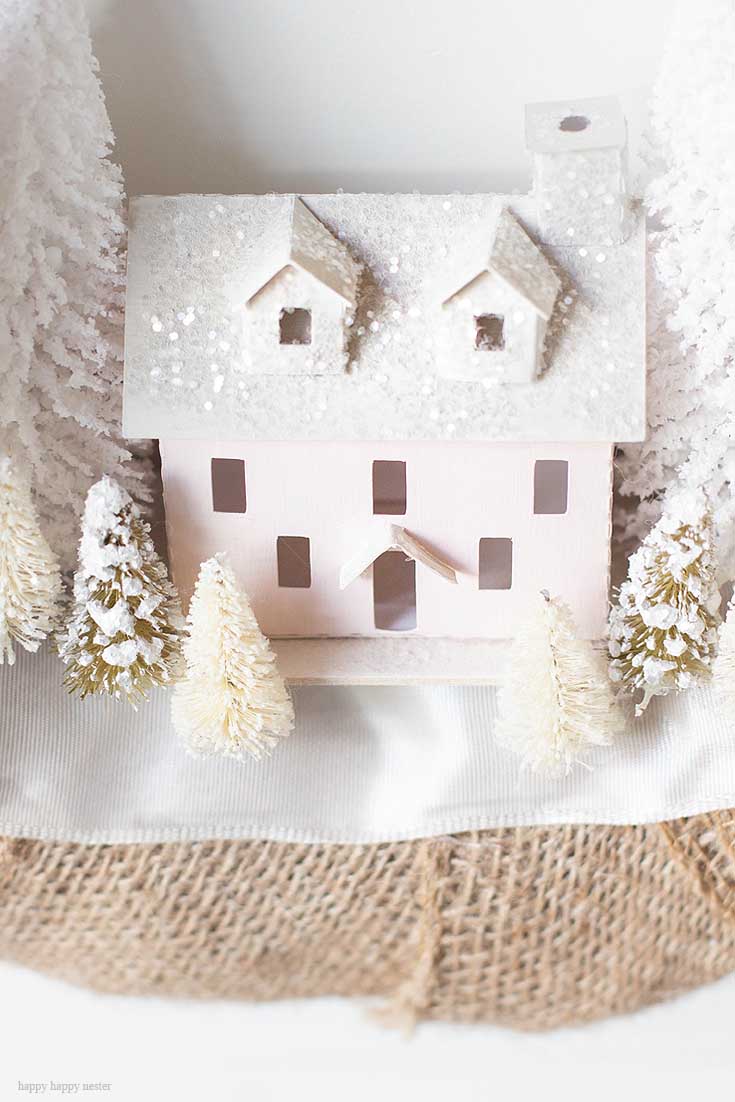
If you choose to make your own, you’ll be happy that you only have to make one for this DIY Christmas wreath project. Also, have fun with the colors and try and match the color of your holiday decor. Additionally, I probably should mention that I trimmed the base of the house down so that it would fit on my wreath. You also could choose not to attach a base.
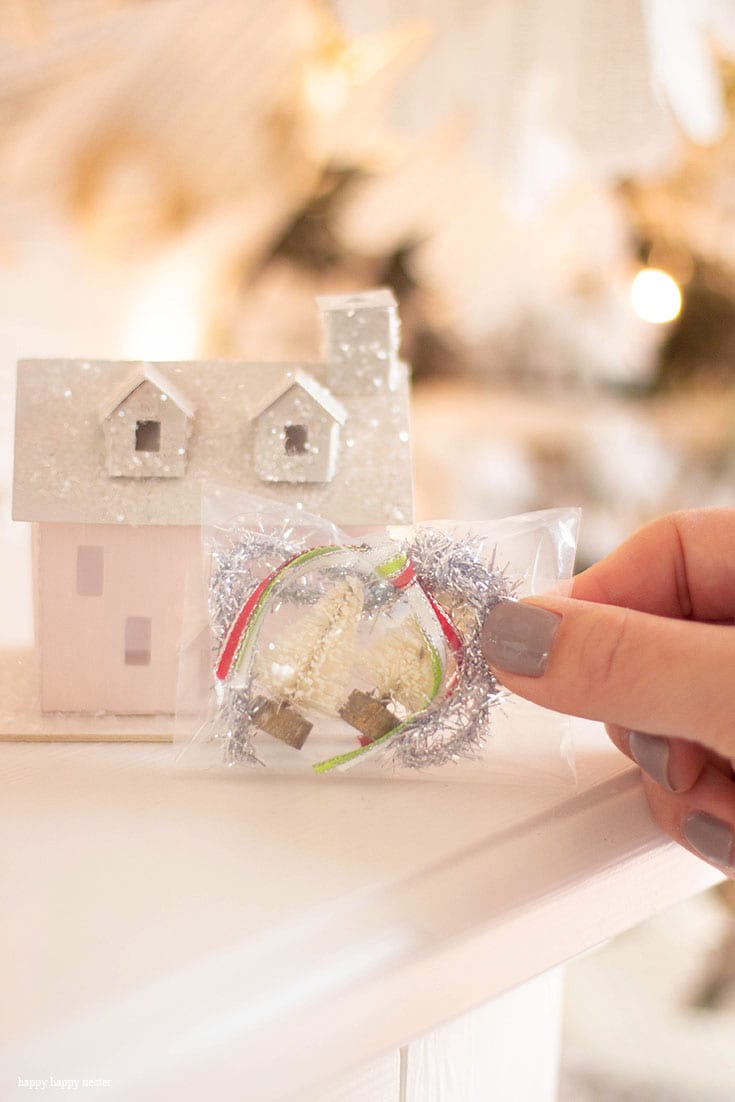
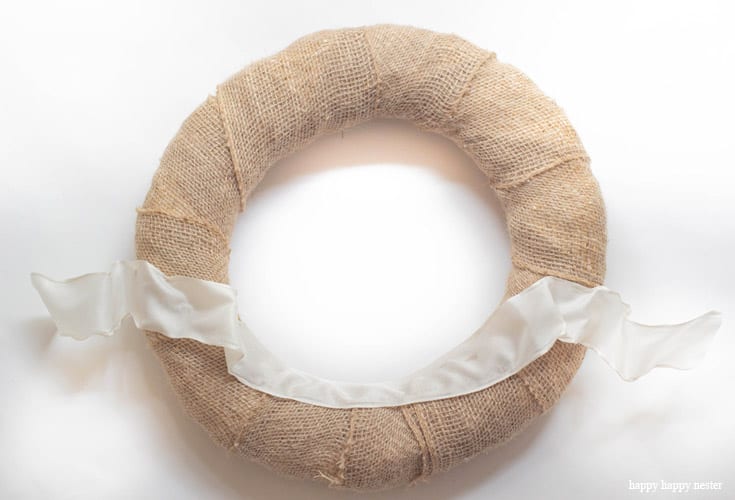
2. Add Cream Ribbon to the Wreath as Shown in the Photo
I folded the ribbon and glued it to the wreath to stay in place. This ribbon has a wired frame so it will form to any shape. I wanted the cream ribbon to look like snow and also have the appearance of a banner.
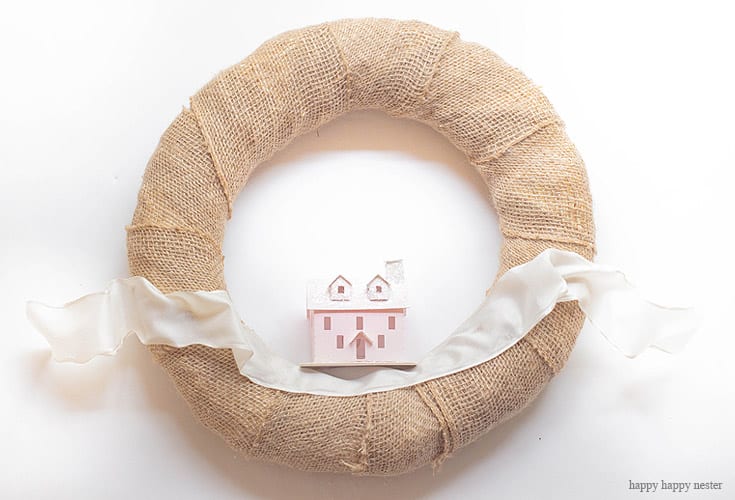
3. Place Your Mini House at the Bottom of the Wreath
Now using your glue gun, glue the house in place. Note you can set your house back a bit since this wreath is a couple of inches deep.
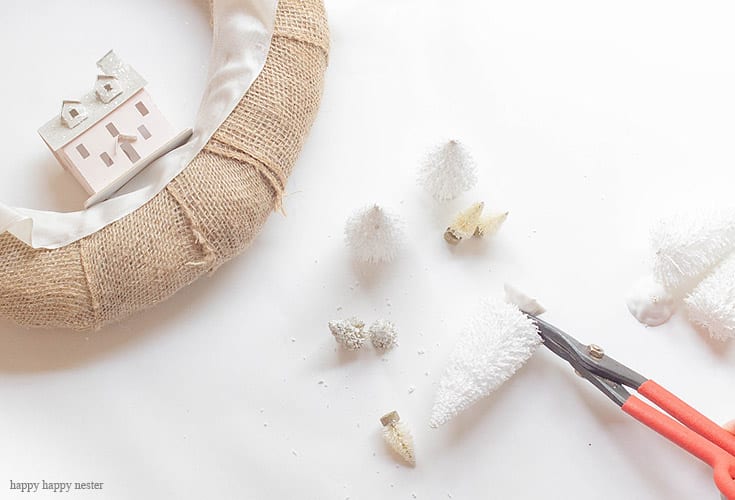
4. Trim the Bases Off the Trees with Wire Cutters
I like the trees without the base since it looks more natural when arranged on the wreath. Ok, hang in there you are in the final stretch of my DIY Christmas village wreath tutorial.
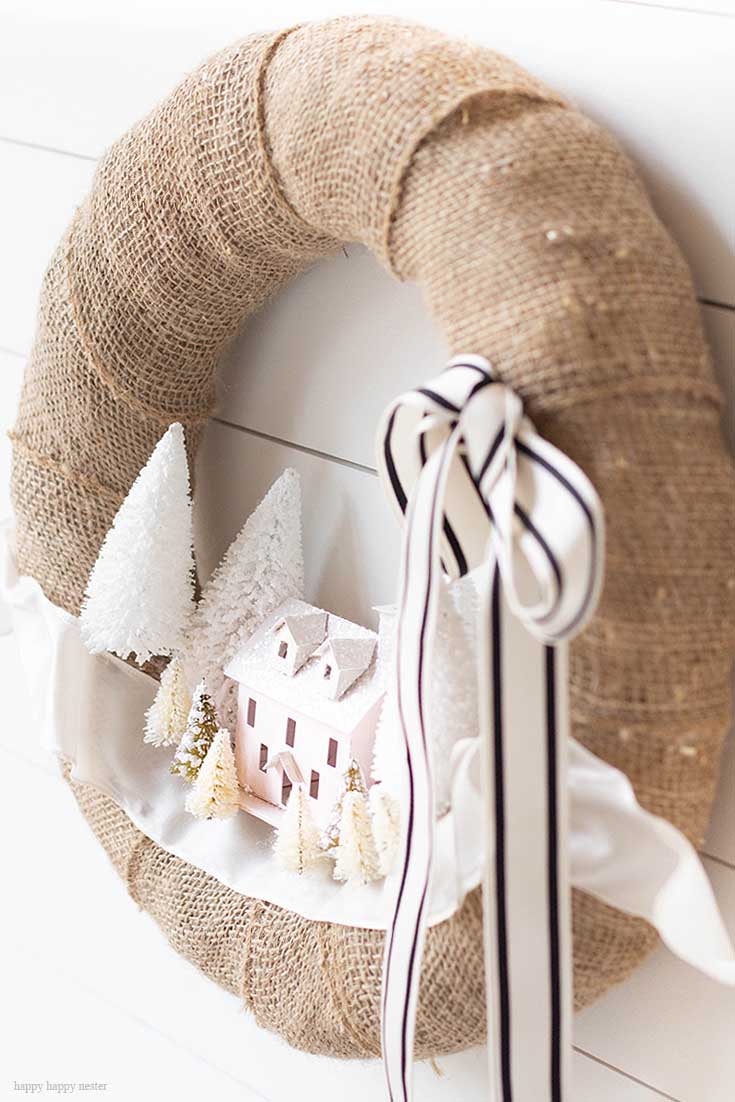
5. Arrange Your Trees Around the House
And don’t be afraid to stack your trees. When I glued some trees to the wreath, I pushed the bottle brush branches up so that the side that was against the rounded inside of the wreath formed to the wreath. Take a look at the above photo and can you see how the tree to the right is flush with the sides of the wreath. I hope this makes sense.
6. Make a Bow
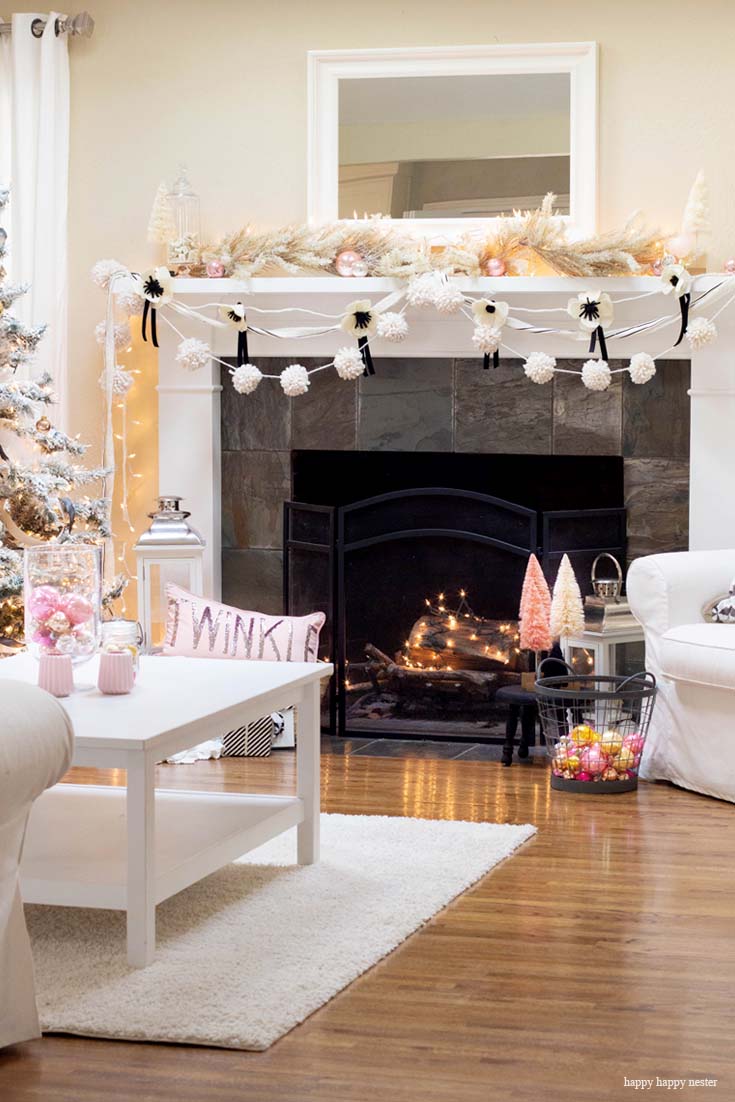
Make a bow with the black and white ribbon and if desired keep the end somewhat long. I like how the black and white ribbon tails add a lovely accent of color. I love that I could tie in this color since I’m using it throughout my holiday decor. Yes, my wreath is a nice addition to my Black and White Cottage Christmas Mantel.
Before you leave, take a look at some other great posts!
- Merry and Bright Holiday Gift Tags Printable
- Homemade Hot Chocolate Mix with a Gift Tag
- Black and White Cottage Christmas Mantel
- Delicious Almond Cookie Recipe
Thank you so much for your visit and I hope you liked this DIY Christmas Village Wreath. I love these little mini houses, and I’m confident I’ll be making more of them soon. I’m on a blog post role and I hope you like all my latest posts. Drop me a comment or subscribe to my newsletter so you don’t miss out.
Happy crafting and decorating!
Cheers,
- Heart Shaped Brownies Recipe - February 13, 2026
- Framed Artwork from Amazon - February 12, 2026
- Chocolate Covered Quinoa Recipe - February 5, 2026




Coco in the Kitchen
I love your cream & pink decorations! Such a refreshing change from the old red & green.
I got a bunch of LED putz houses last year from Joann to make a wreath and haven’t done anything with them.
You’ve got me thinking I should get going!