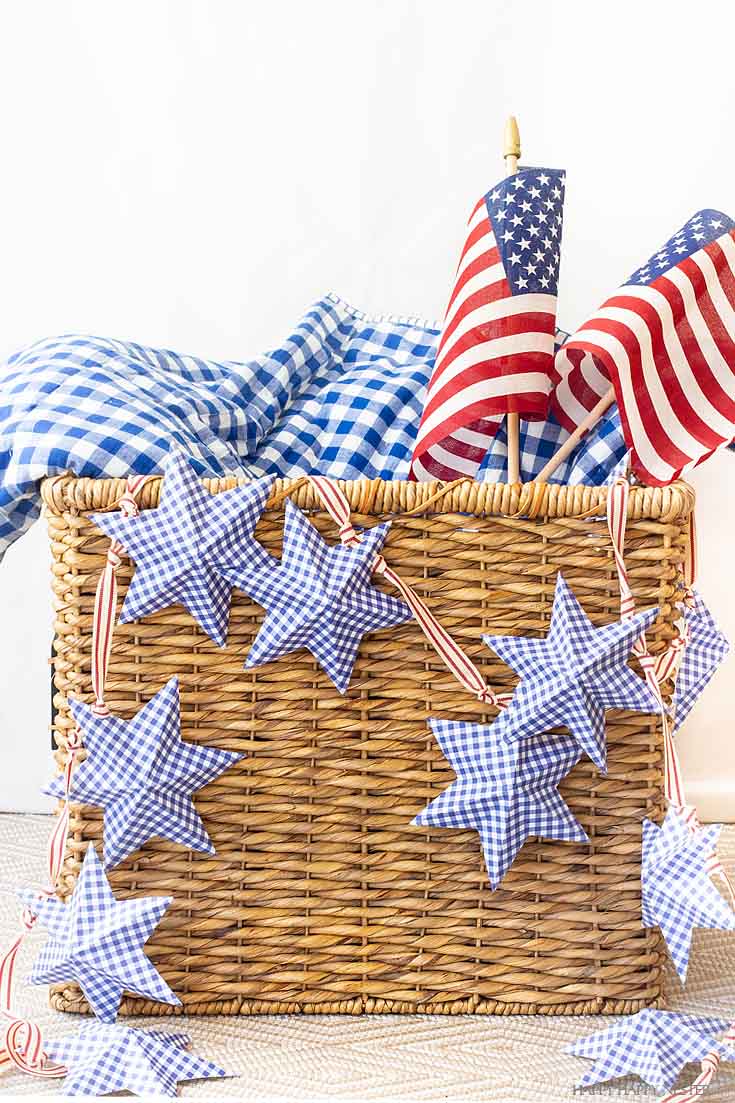
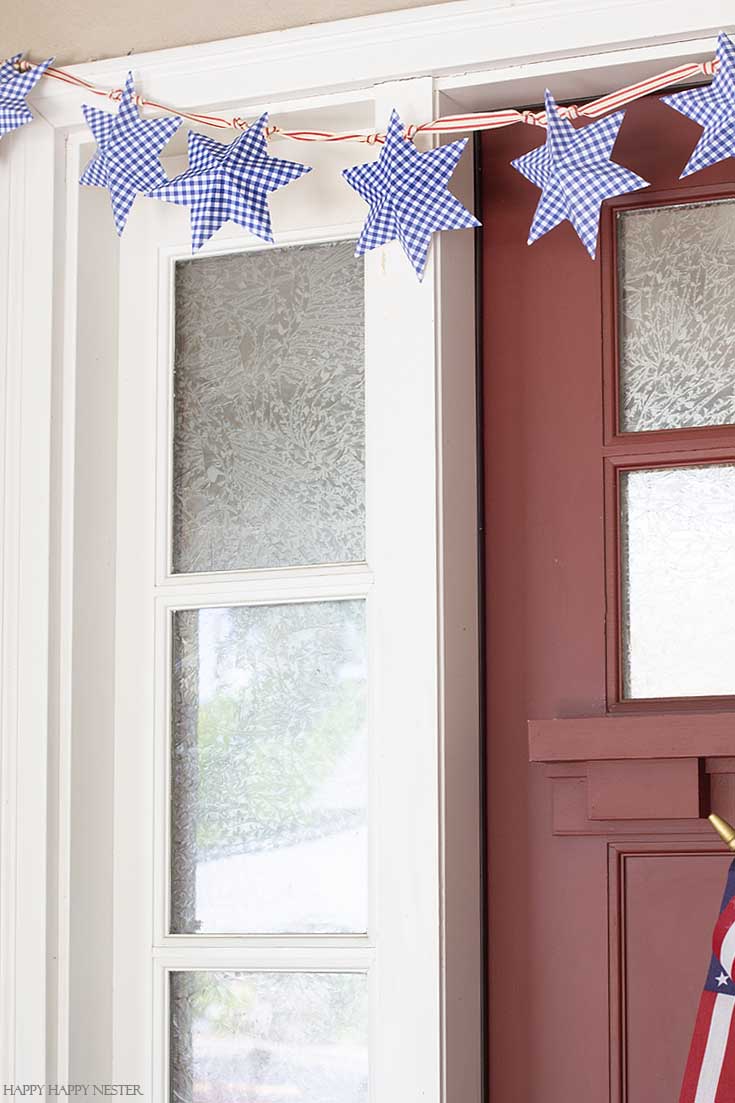
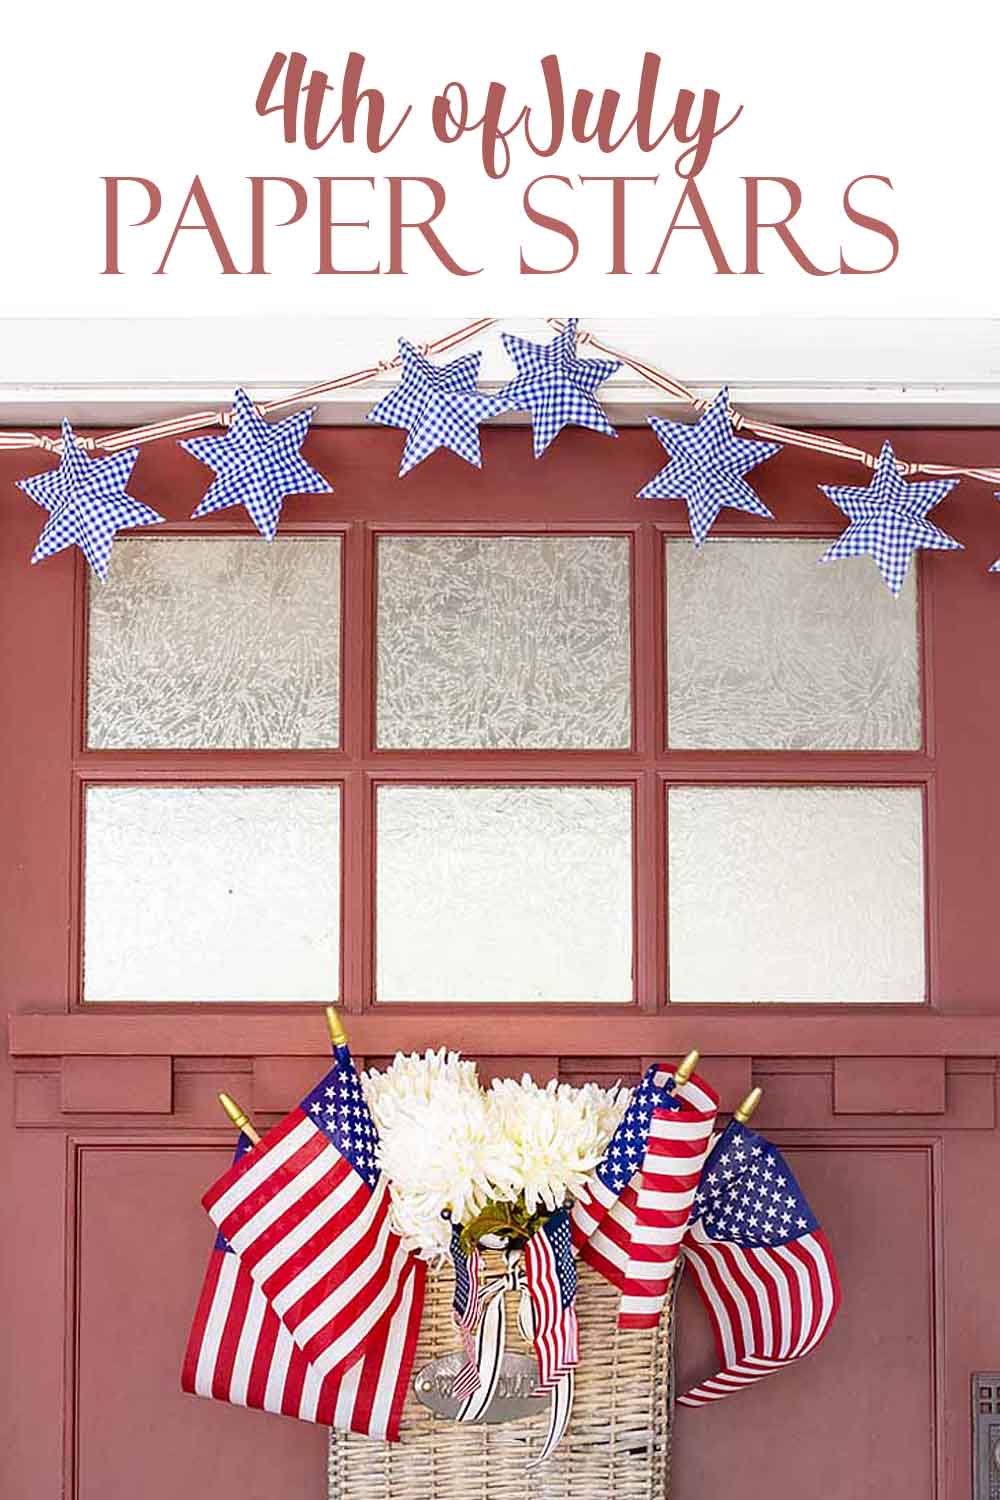
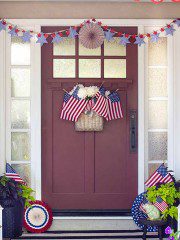
I usually don’t decorate much for the 4th of July, but I decided to make this DIY Paper Stars for the 4th of July Garland this year. This festive craft is a simple paper project, and it will dress up any door or wall for the holidays.
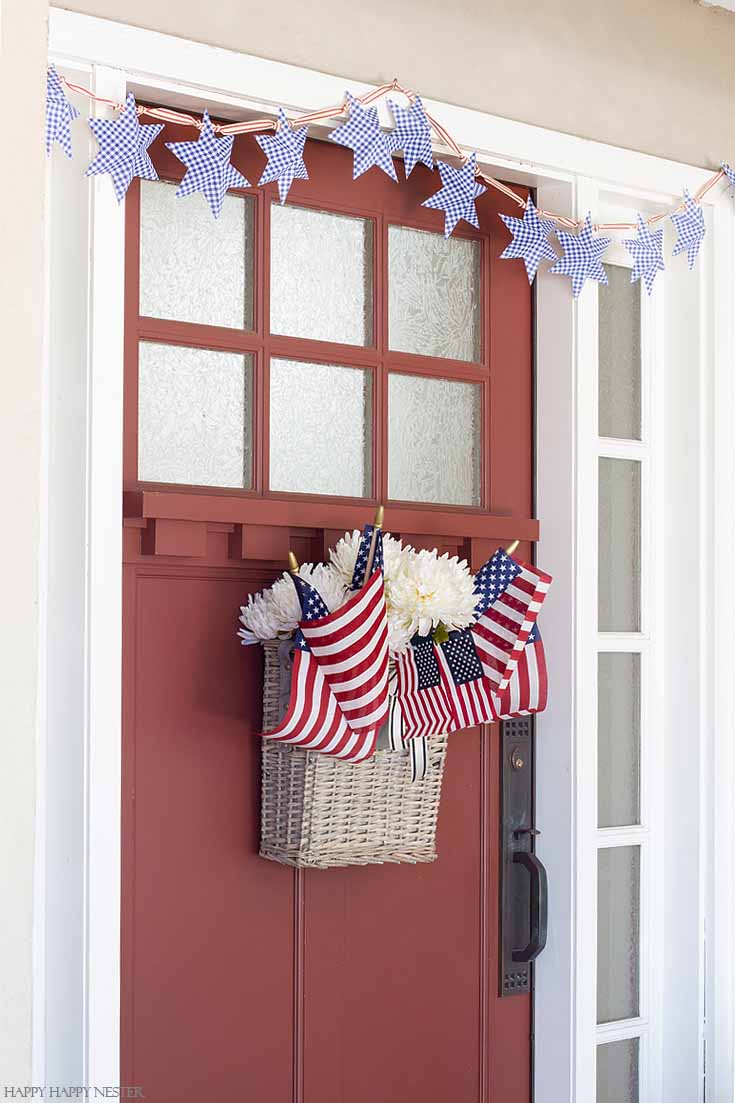
Are you ready for the Fourth of July?
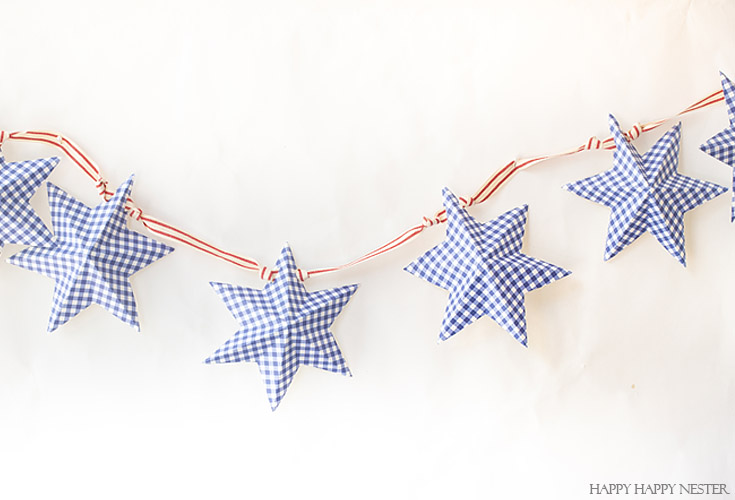
Since it is a busy time of year for our family, I wanted to come up with a project that isn’t too difficult to make. So, for this paper project, all you have to do is print, cut, fold, thread the ribbon, and you have a patriotic garland ready for the Fourth of July.
*The following post contains affiliate links
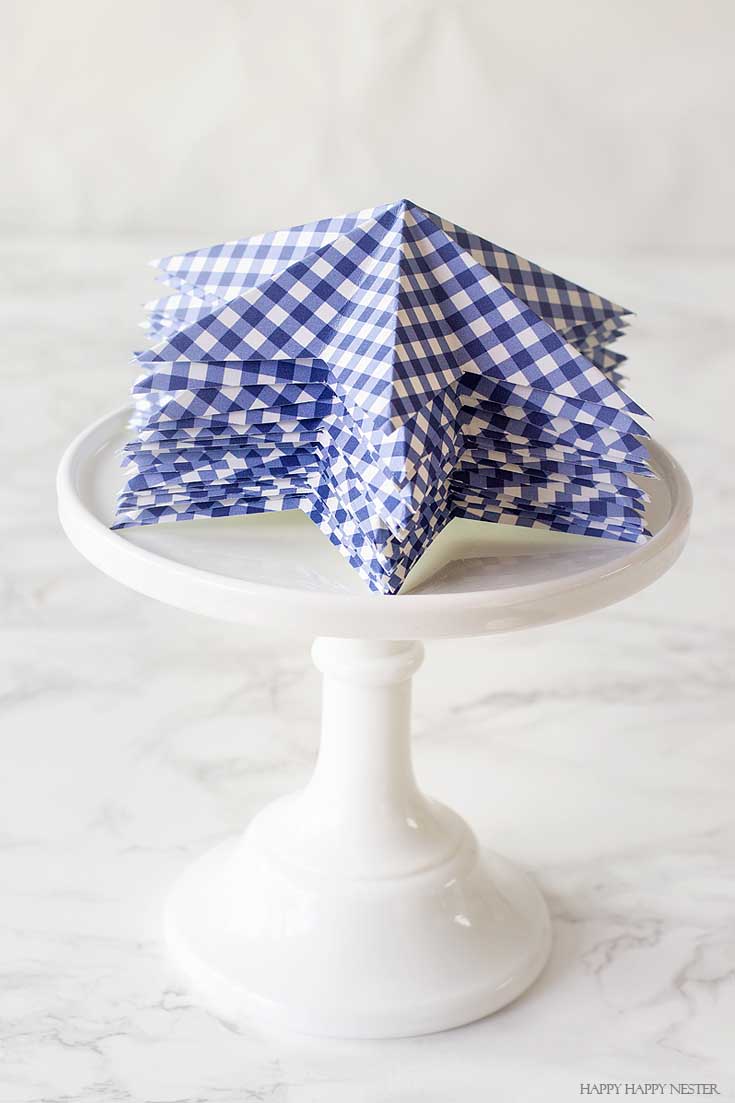
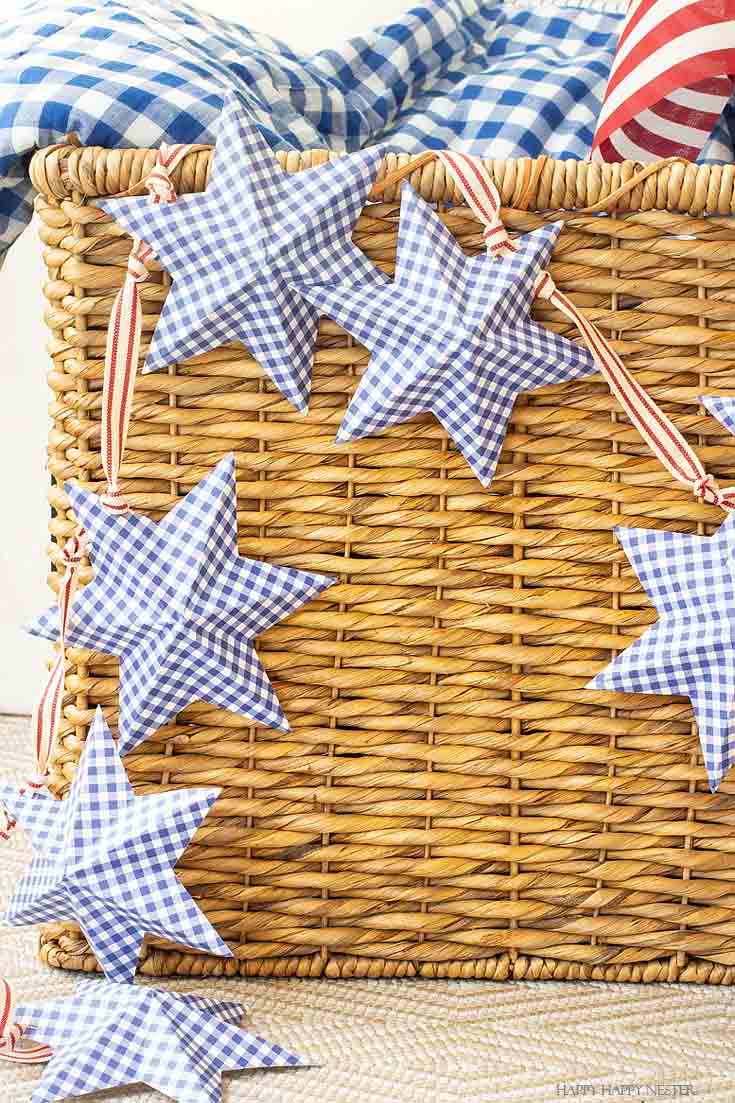
So, as a kid, I loved origami and anything to do with paper. Well, I still love paper projects (check out my other leaf garland DIY), and this DIY paper star for the 4th of July is right up my alley. Just a few folds and you have a three-dimensional paper star ready to make into a cute garland.
DIY Paper Stars for 4th of July Garland
Paper Star Garland Supplies
Star Printable (please fill out the form below to receive your free Star Printable)
Red ticking ribbon (here are some other options: red and white stripe ribbon, stars, and stripe ribbon)
Download the Star Printable here:
Instructions:
I’m posting the tutorial a little differently this time. Instead of showing how to make this easy star garland, I share my tutorial in a video. I’ve been playing around with video production, and I thought it would be fun to make one for this project. I hope you don’t mind. So, start the video below, and you’ll be on your way to creating this 4th of July garland.
A few little notes about this DIY project.
Folding the star to get the creases can be a bit confusing. The folds in the space between the points look like valleys, and the folds from point to point appear like mountains.
Here is the 4th of July Video Tutorial
The most challenging part of this DIY paper stars for the 4th of July garland is the threading and knotting of the ribbon. I did measure and space in between the stars, and that was a bit time-consuming. The knots are optional, but I felt it needed that little bit of interest, and also, the stars aren’t apt to move around.
I’m confident I freaked out my neighbors again since the 4th of July isn’t for another month. Oh well, the stores like Target are carrying 4th of July decor, so I’m not alone on my holiday decorating. I could think of it this way, and I will enjoy the holidays a little longer than everyone else.
If you are starting to plan like me for the Fourth of July, maybe you need some recipe ideas?
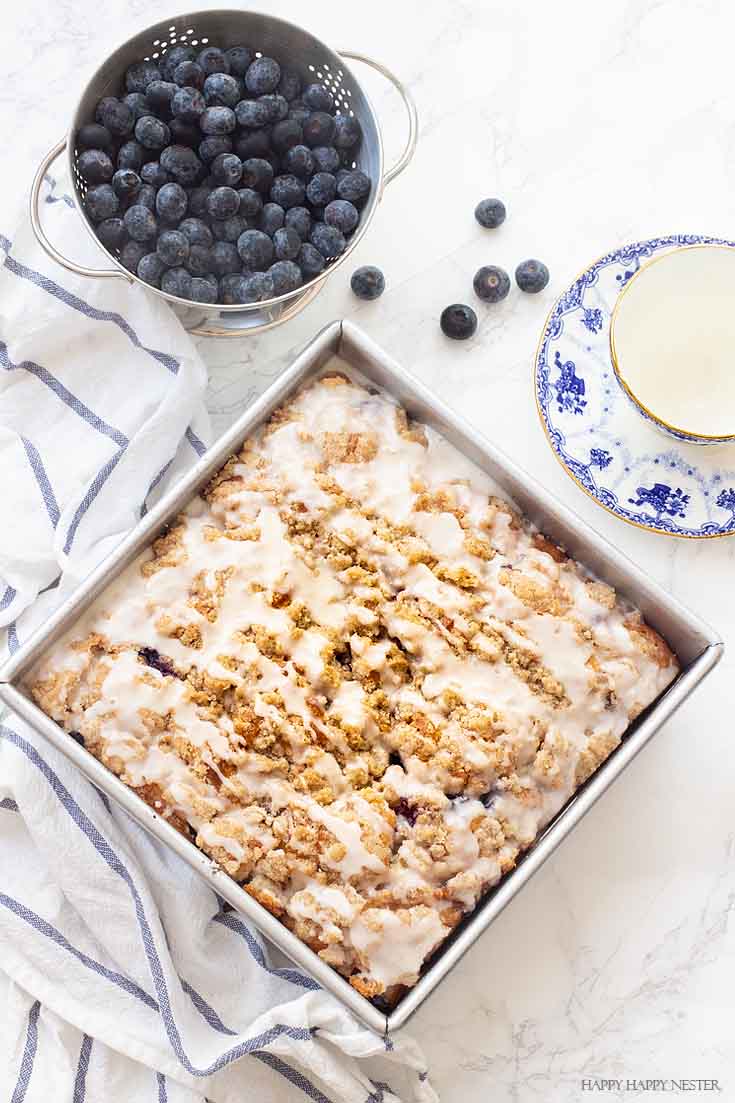
This Blueberry Buckle recipe is a perfect summer dessert and so easy to make. Gosh, seeing this photo makes me want to bake it right now!
Ok, back to my DIY paper stars for the 4th of July garland post.
I know that you can buy an inexpensive garland at Target, but I wanted to make something that would match my front porch and had a little bit of charm. I’m never happy with the store-bought items. My friends laugh that I always look at something in the stores and say, “I can make that!” But, as long as I have this need to create, I will share my projects over here.
Enjoy your summer, and this DIY paper stars for the 4th of July garland project. I hope to post a few more 4th of July projects this year, so make sure to come back. In the meantime, have a lovely weekend and happy crafting!
Cheers,
More Great 4th of July Projects!
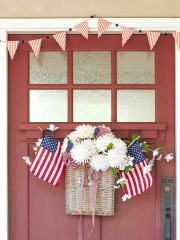
Fourth of July Flag and Flower Wreath.
- My Favorite Cleaning Items from Amazon - January 28, 2026
- Machine Washable Rugs - January 21, 2026
- Pink Crafts for Adults - January 17, 2026





Lois
I am not seeing the link to the video
happyhappynester
Hello Lois,
The video is linked. I would try going to the blog in a different browser and see if that works 🙂
Rebecca Payne
Awesome! Thank you for sharing.
happyhappynester
Hello Rebecca,
Thanks for checking out this post. Enjoy your weekend 🙂
Renee
I love your content but when I try to Pin It to my Pinterest board I don’t see a button, am I doing something wrong?
happyhappynester
Hello Renee,
Place your mouse over the image and there should be a “P” in the top left corner which will allow you to pin. Click on the “P” and you will be able to pin. I hope that helps 🙂