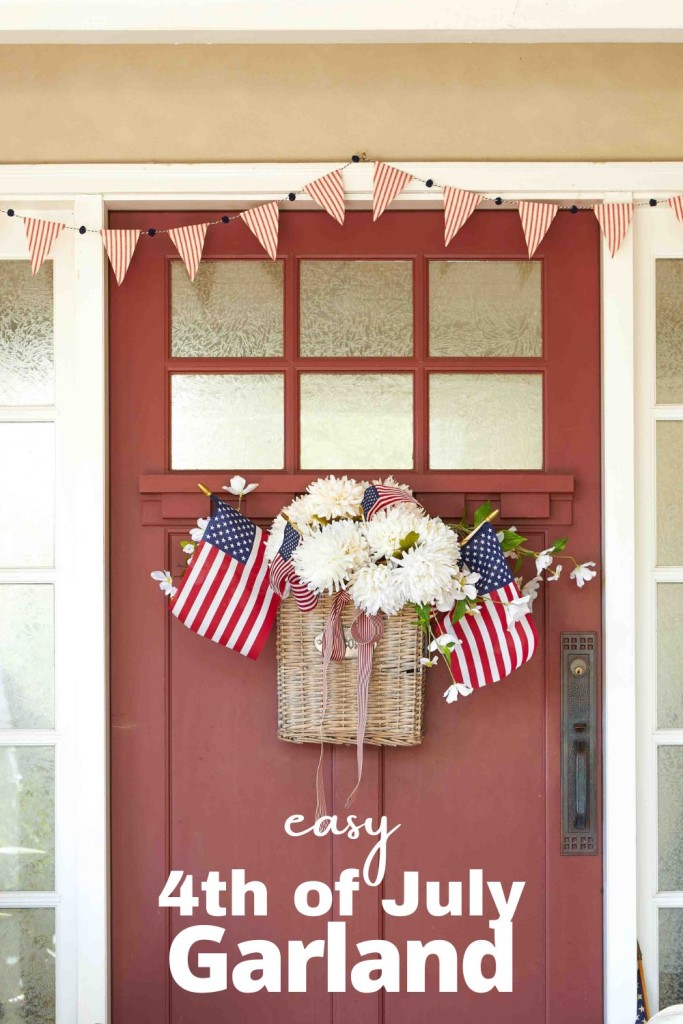
This Easy 4th of July Garland is super easy to make, and there is no sewing involved in this DIY project. It’s a fun patriotic decoration that you can add to your front porch, mantel, bookshelf, or wall.
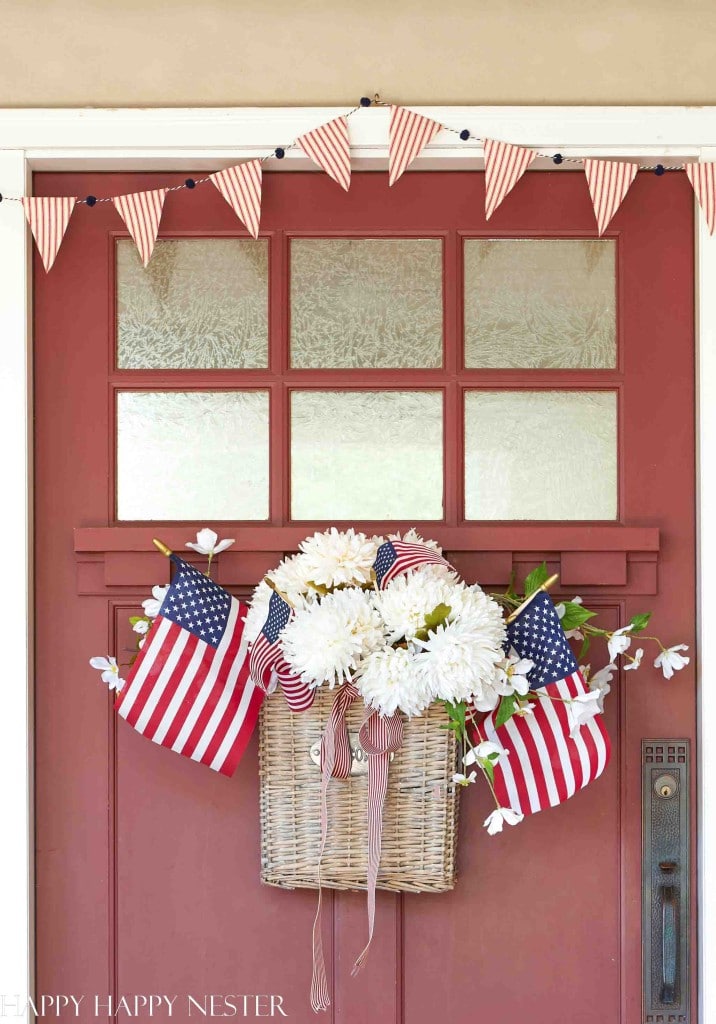
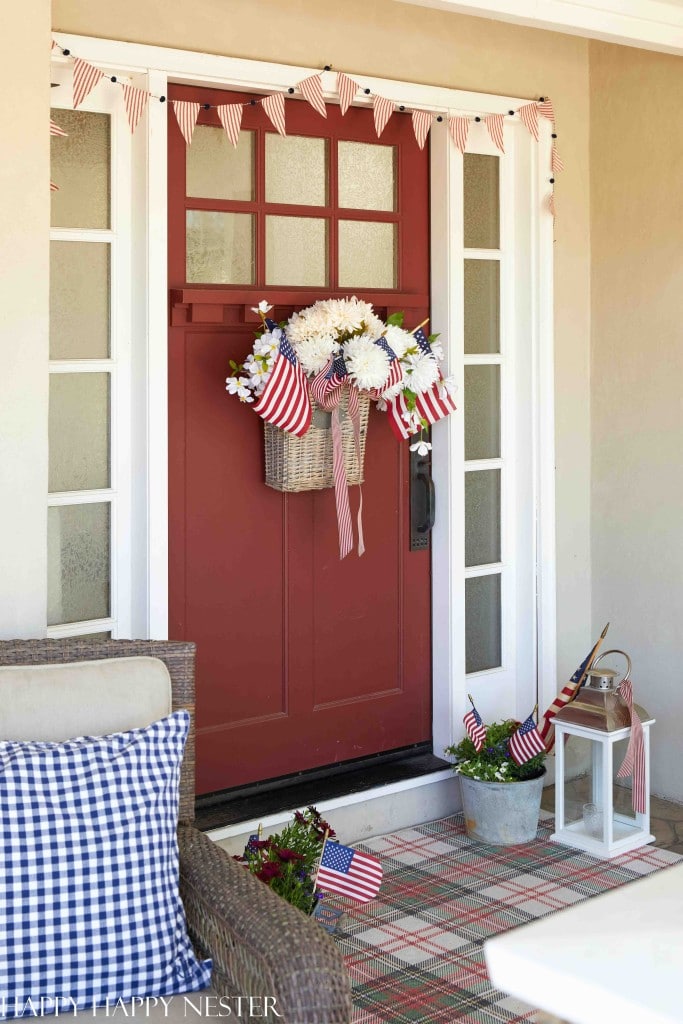
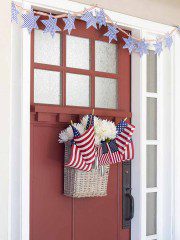
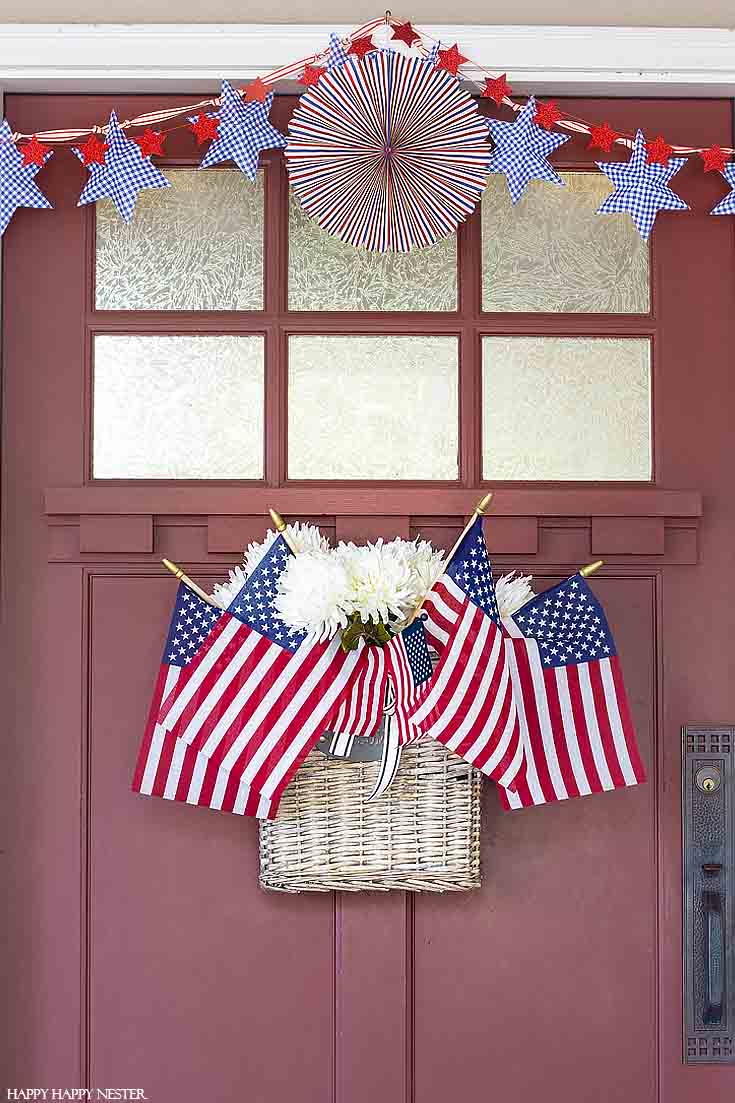
This time of year is void of holidays, so it’s fun to decorate for the 4th of July. The Fourth would not be complete without me decorating my fire engine red front door. This striped garland is so simple to make and pretty inexpensive to boot.
Before we continue the DIY, let’s look at some other patriotic projects.
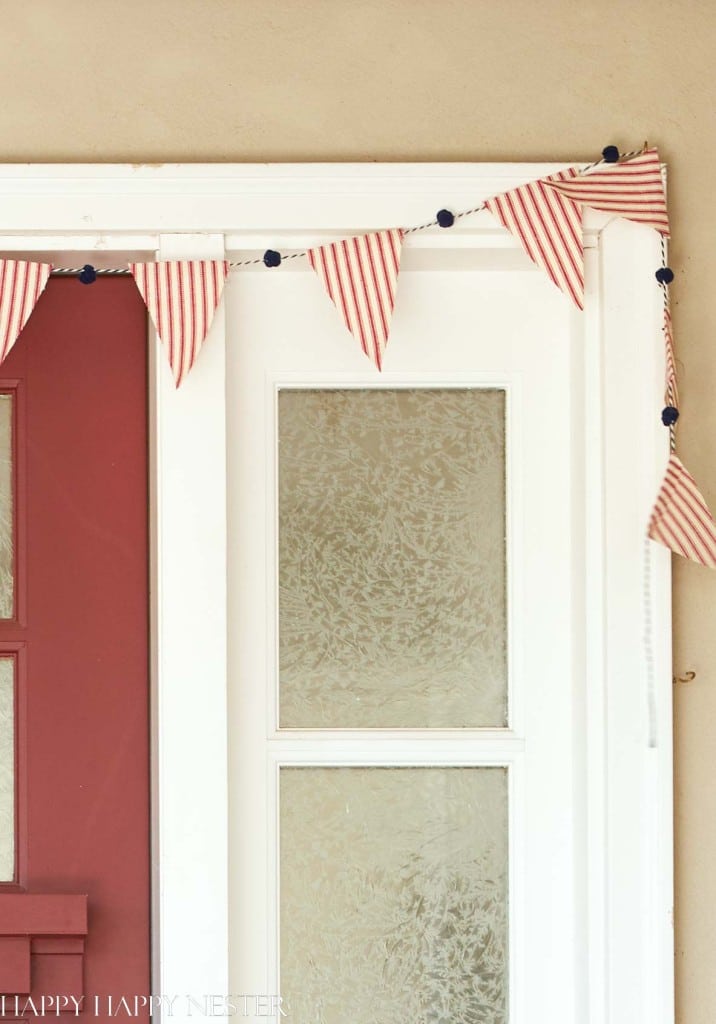

The other day, I was shopping at Homegoods and spied a cute fabric garland and almost bought it. Then I got to thinking, that I should make my own since it’s so simple. So, I ordered my fabric online and then got busy making this garland.
Of course, I love how it turned out. And you know, I probably should make more to decorate our two porch windows. My work is never done around here. 🙂
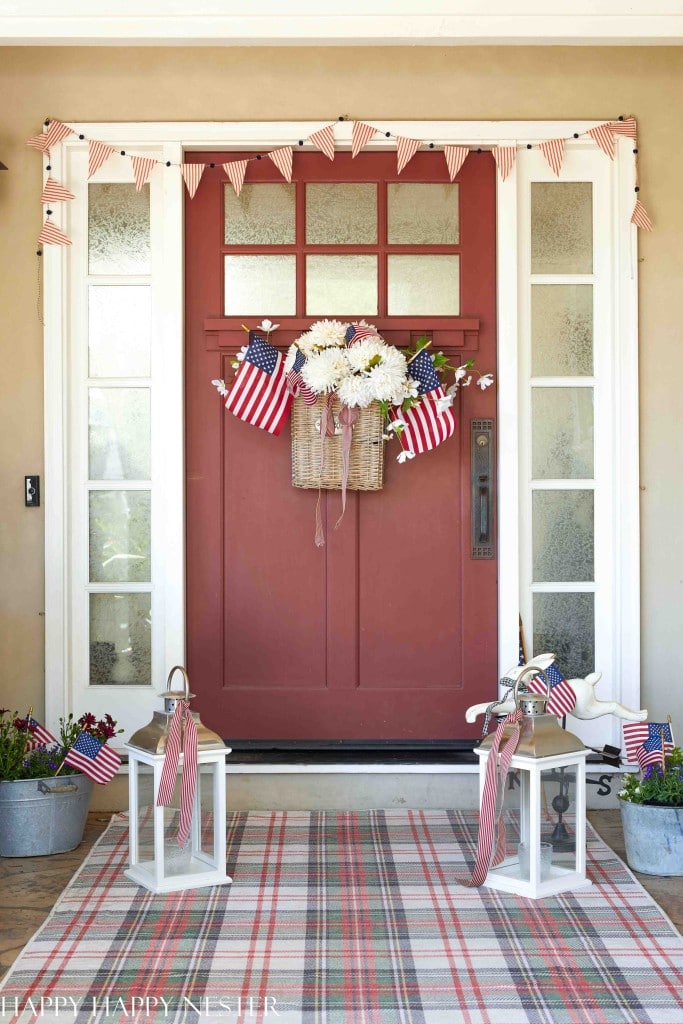
Now my porch is starting to shape up and looking quite patriotic. I love how my holiday rug worked well for the 4th of July. I guess my lazy decorating style has its advantages!
Btw, this rug is one of those washable rugs. It has weathered so nice and so I haven’t had to wash it yet. I’ll let you know how that turns out when I finally get to cleaning my rug.
Ok, now off to make the garland.
Easy 4th of July Garland
Supplies You’ll Need to Make This Garland
1/4 yard red stripe ticking material (I bought mine online and had to order a yard)
iron
Directions on How to Make the Garland
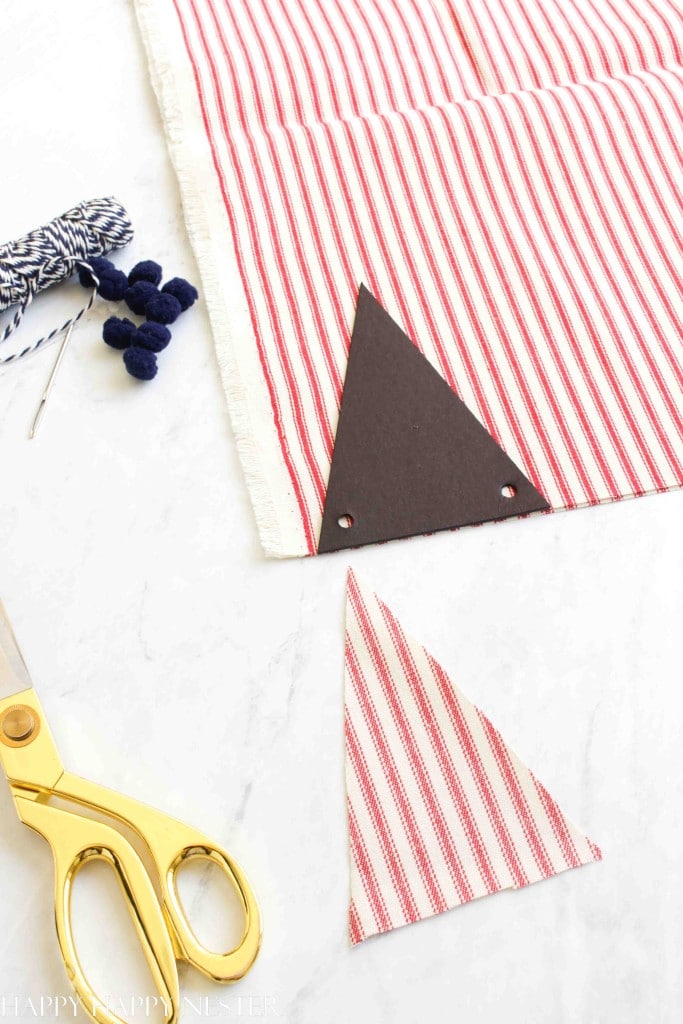
Step 1 – Cut Out Fabric Triangles
I used a triangle template that I had in my studio. You can make a triangle template with some cardstock paper. (my triangle top edge is 4 1/2″ and the two sides 5 3/4″ long)
Step 2 – Trim Pom Poms
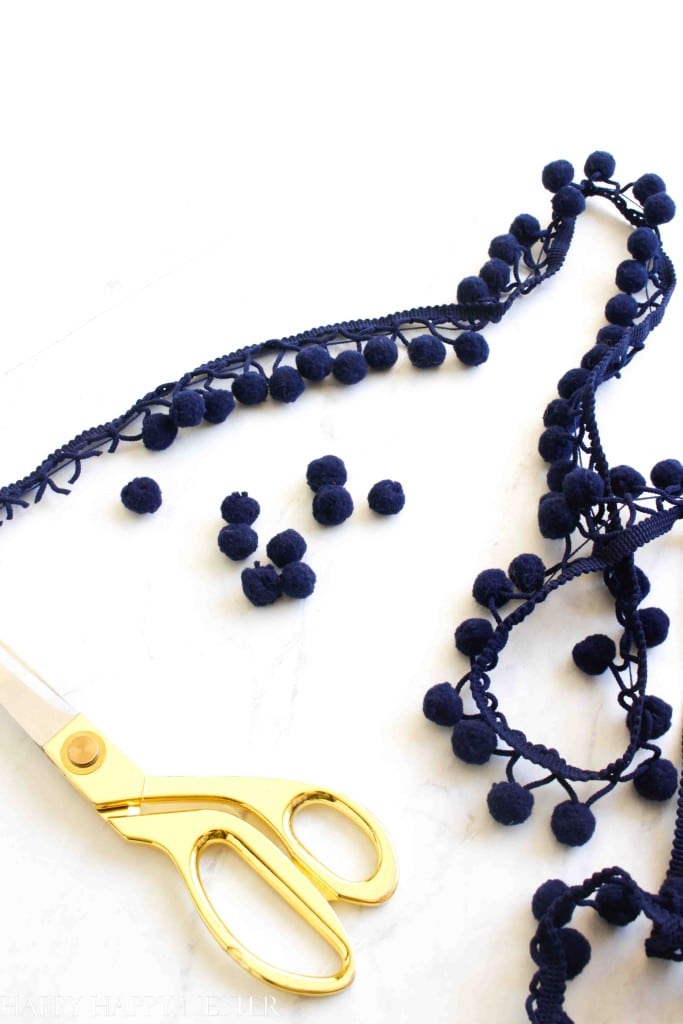
I bought this trim with pom-poms and intended to sew it on the garland. But the design changed, and I cut off the pom-poms instead.
Step 3 – Thread Pom Poms
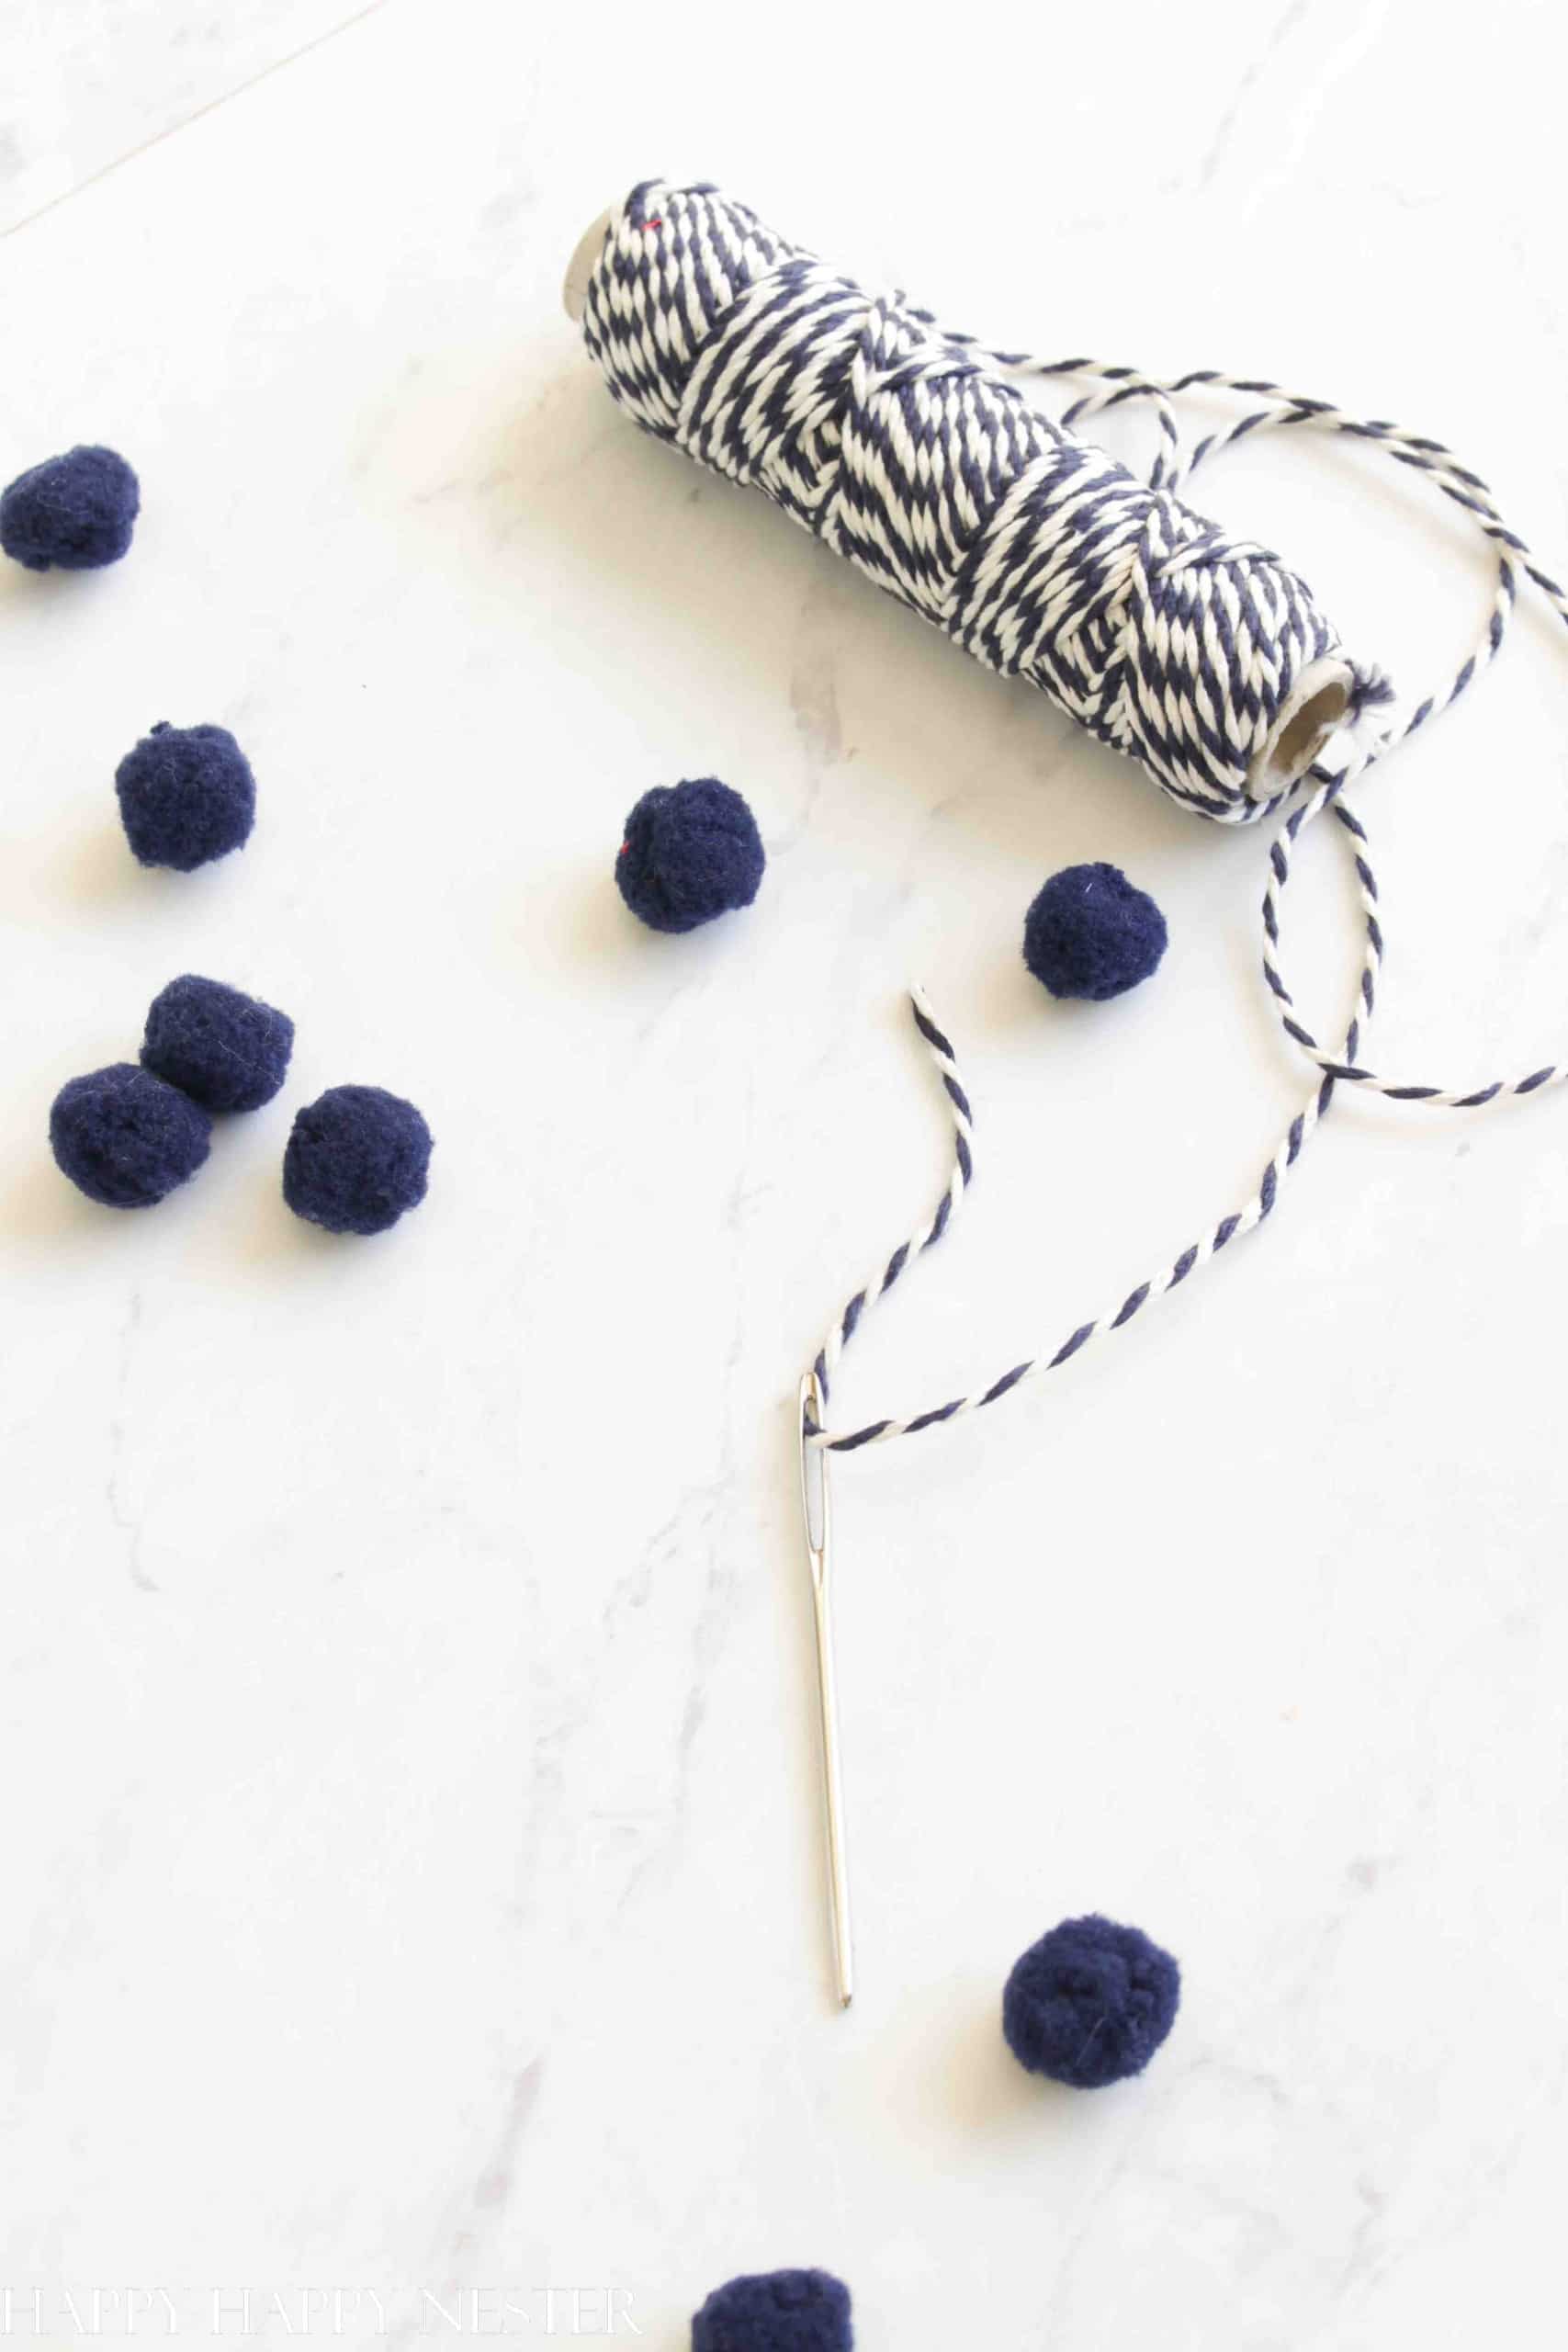
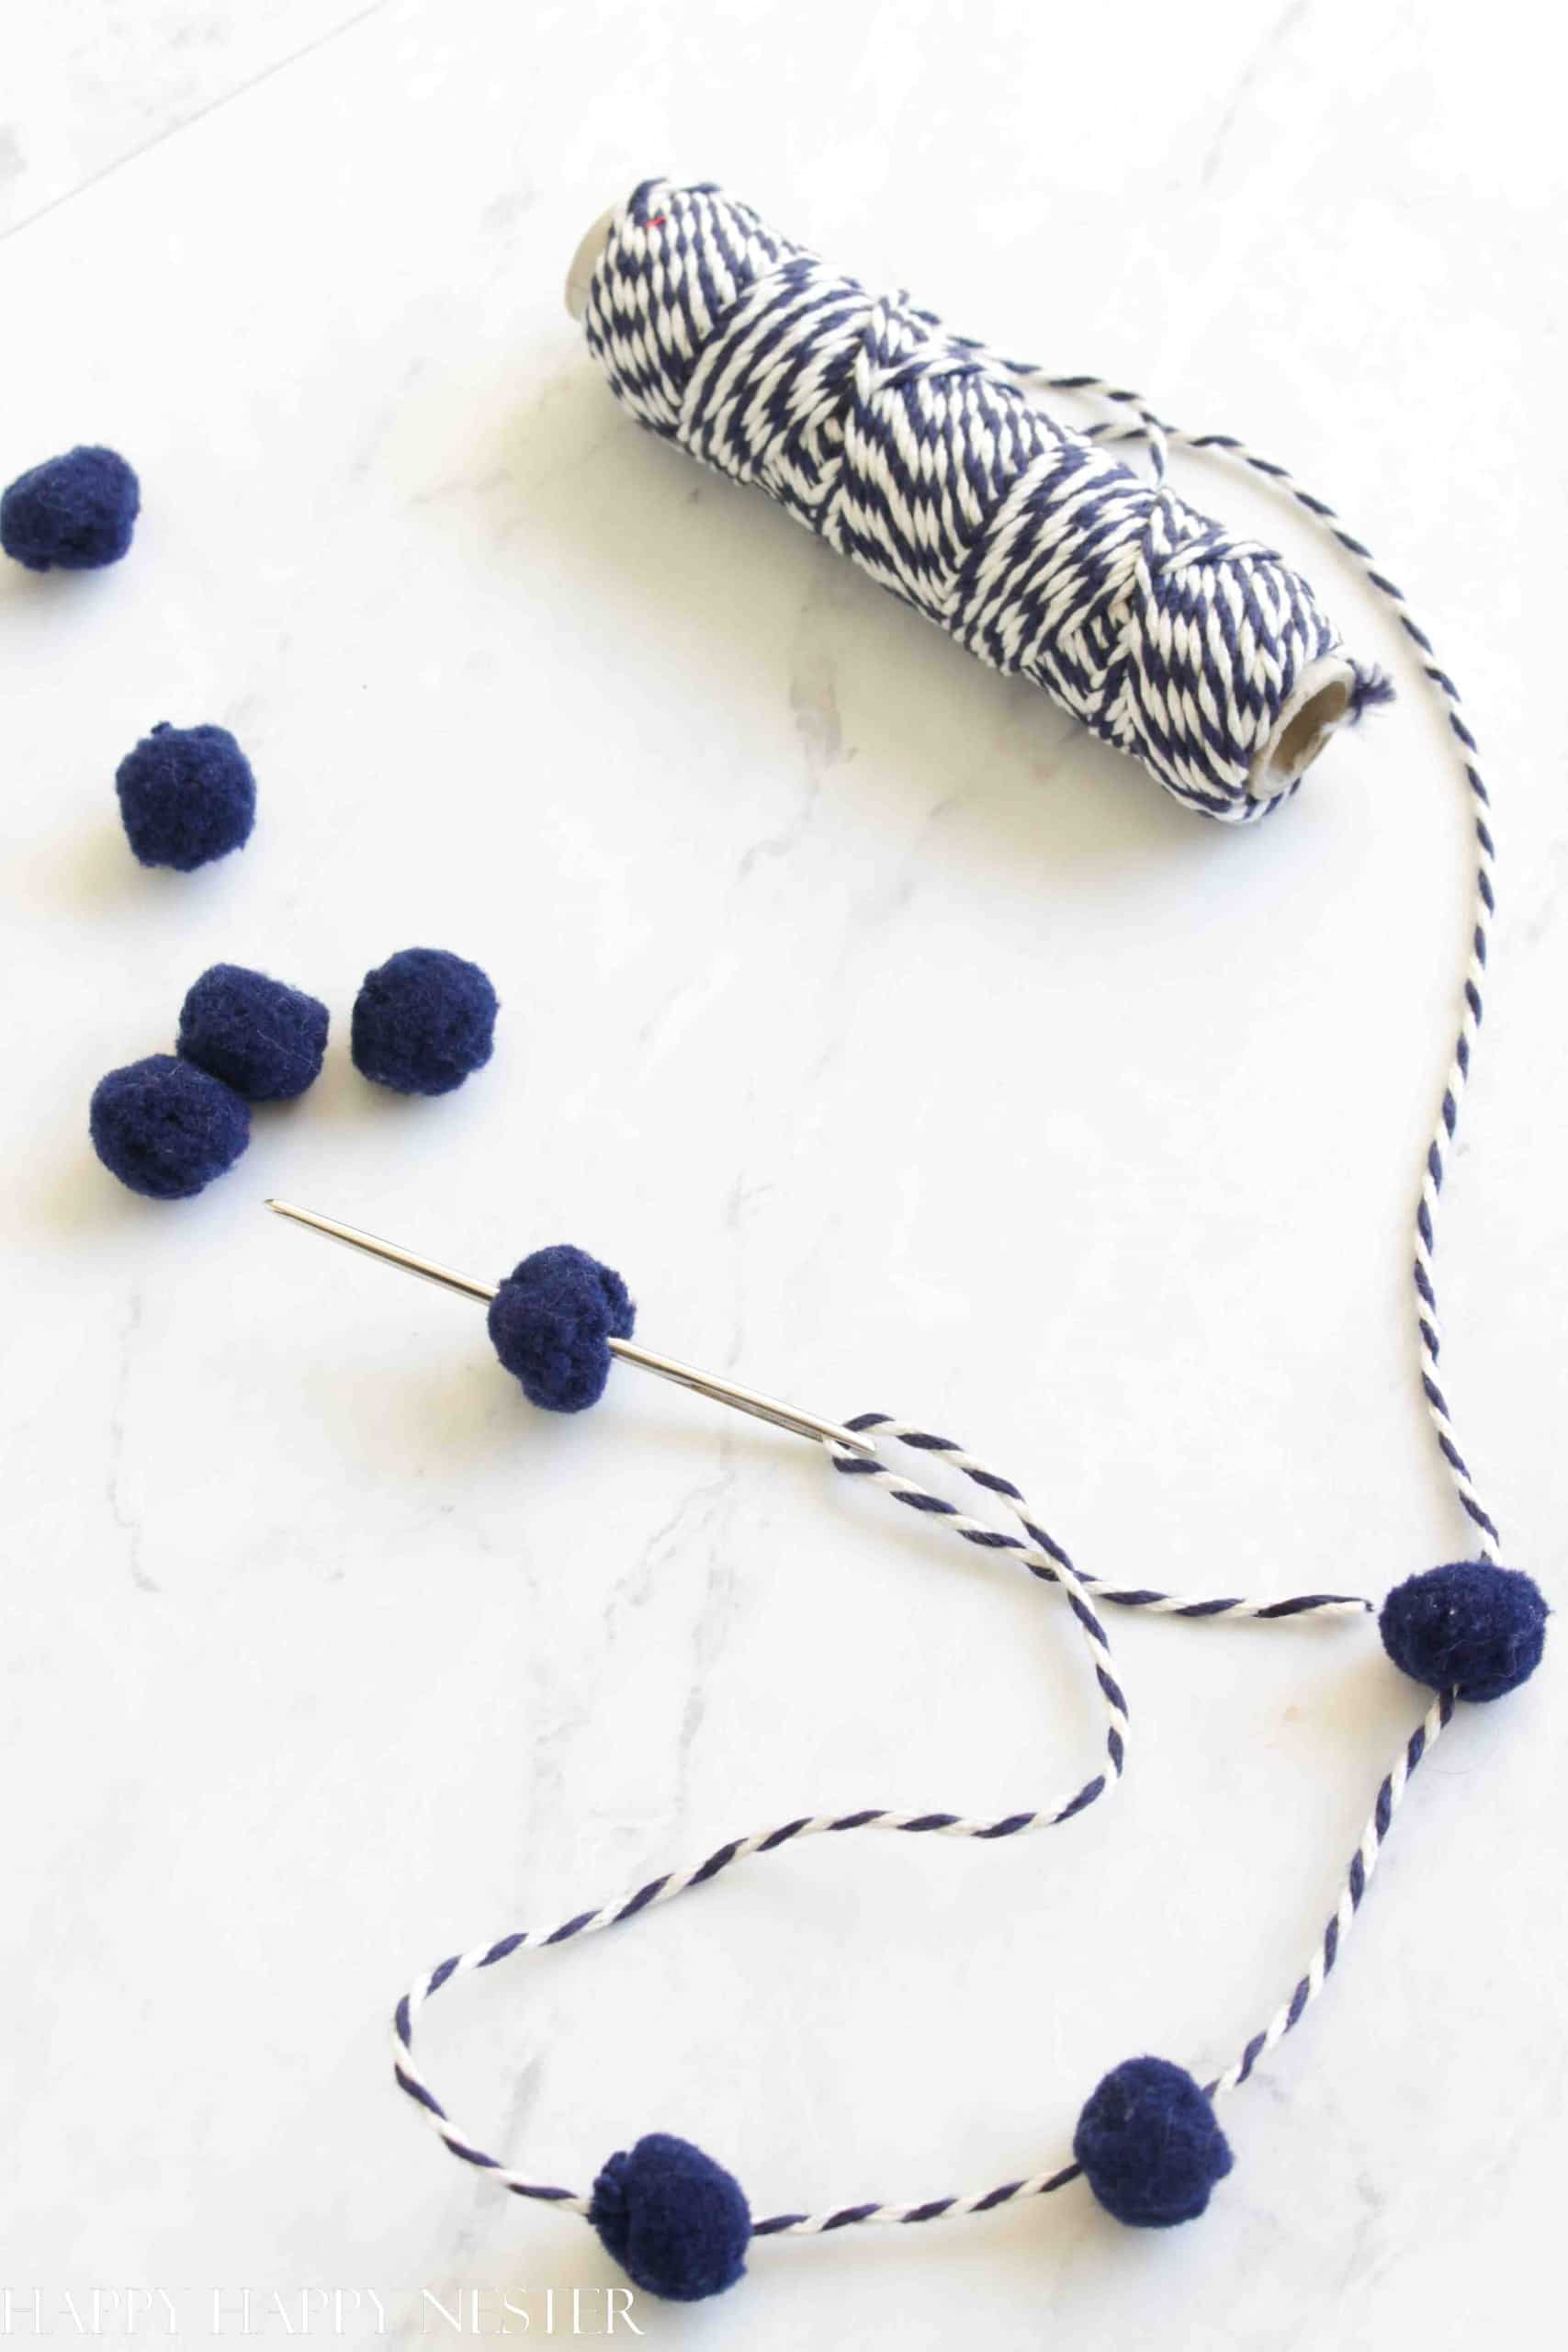
Use a craft needle with a giant hole to thread the baker’s twine. With the needle, poke it through the middle of the pom-pom. If you plan to have 14 banners, you’ll thread 28 pom poms.
Step 4 – Iron Banners
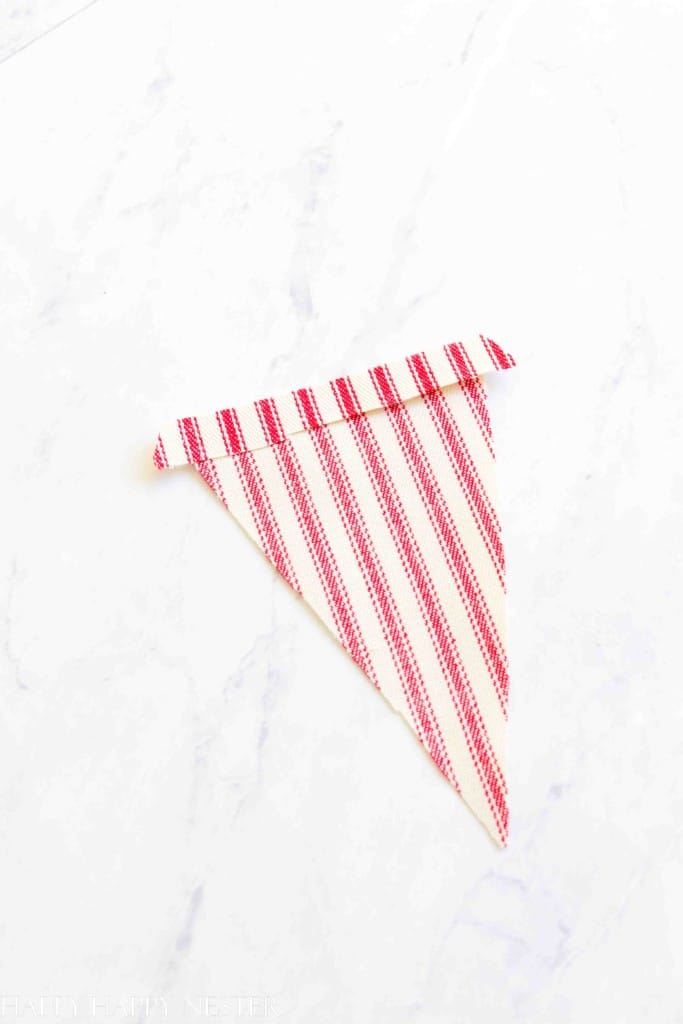
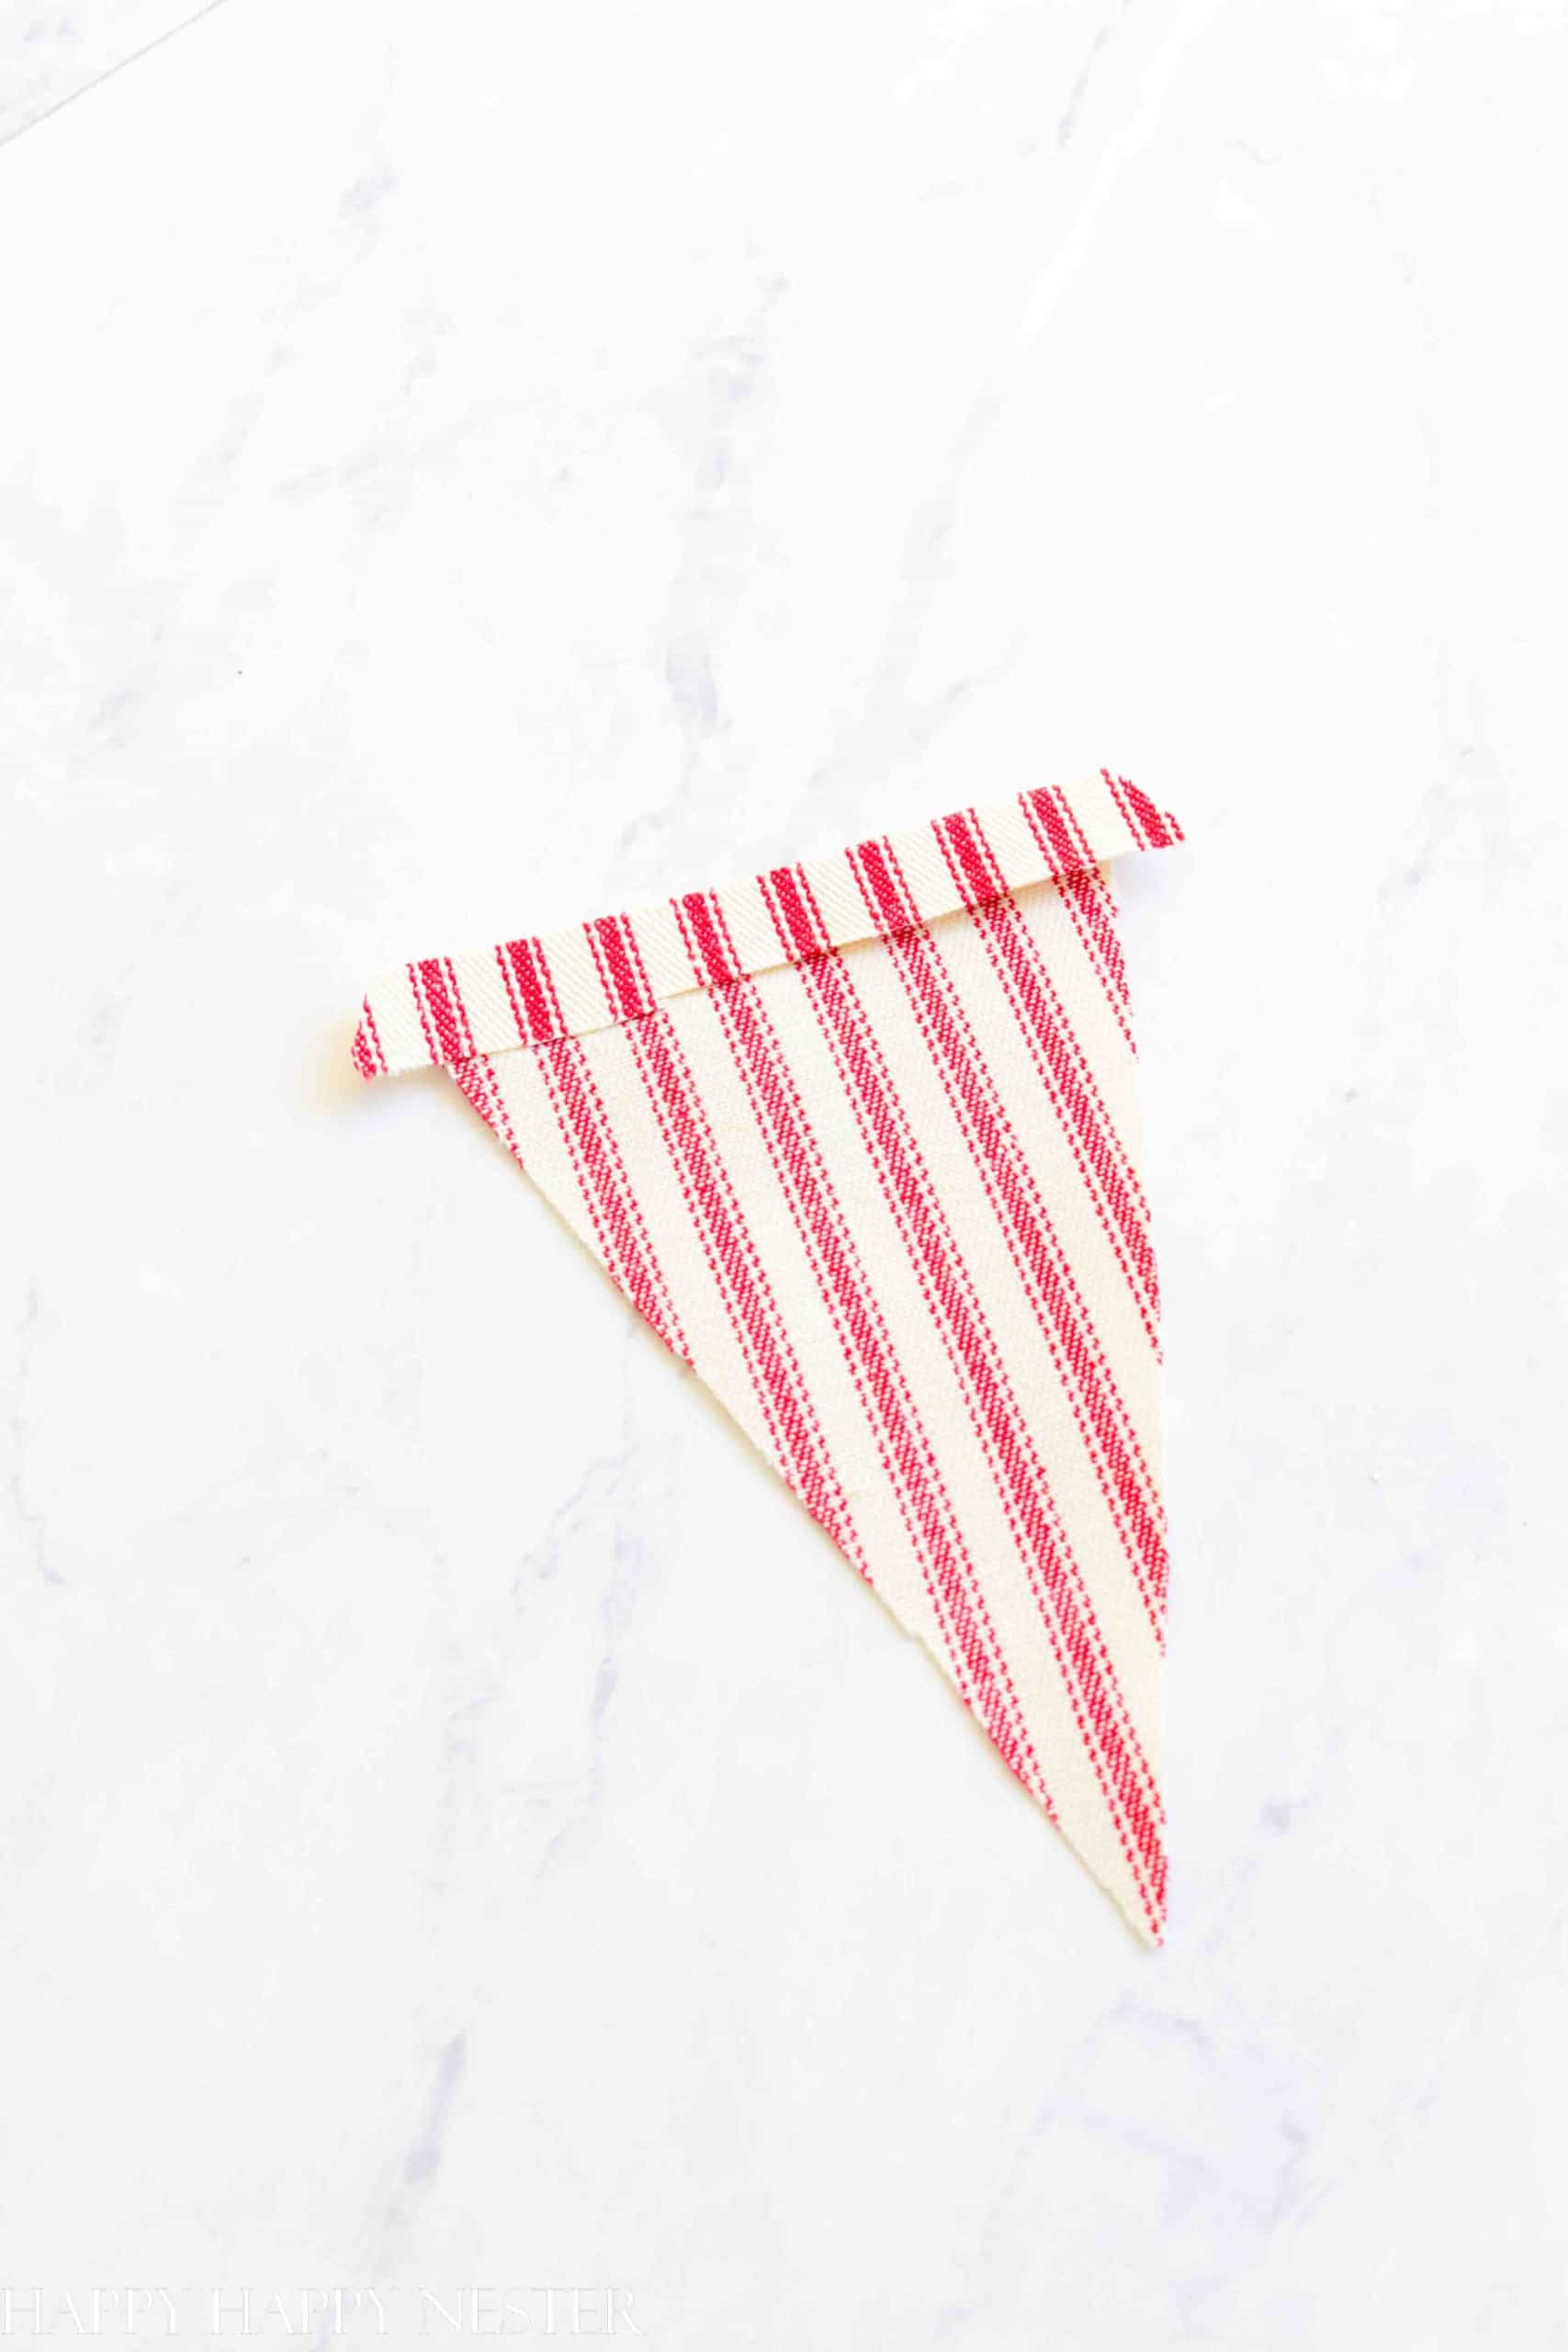
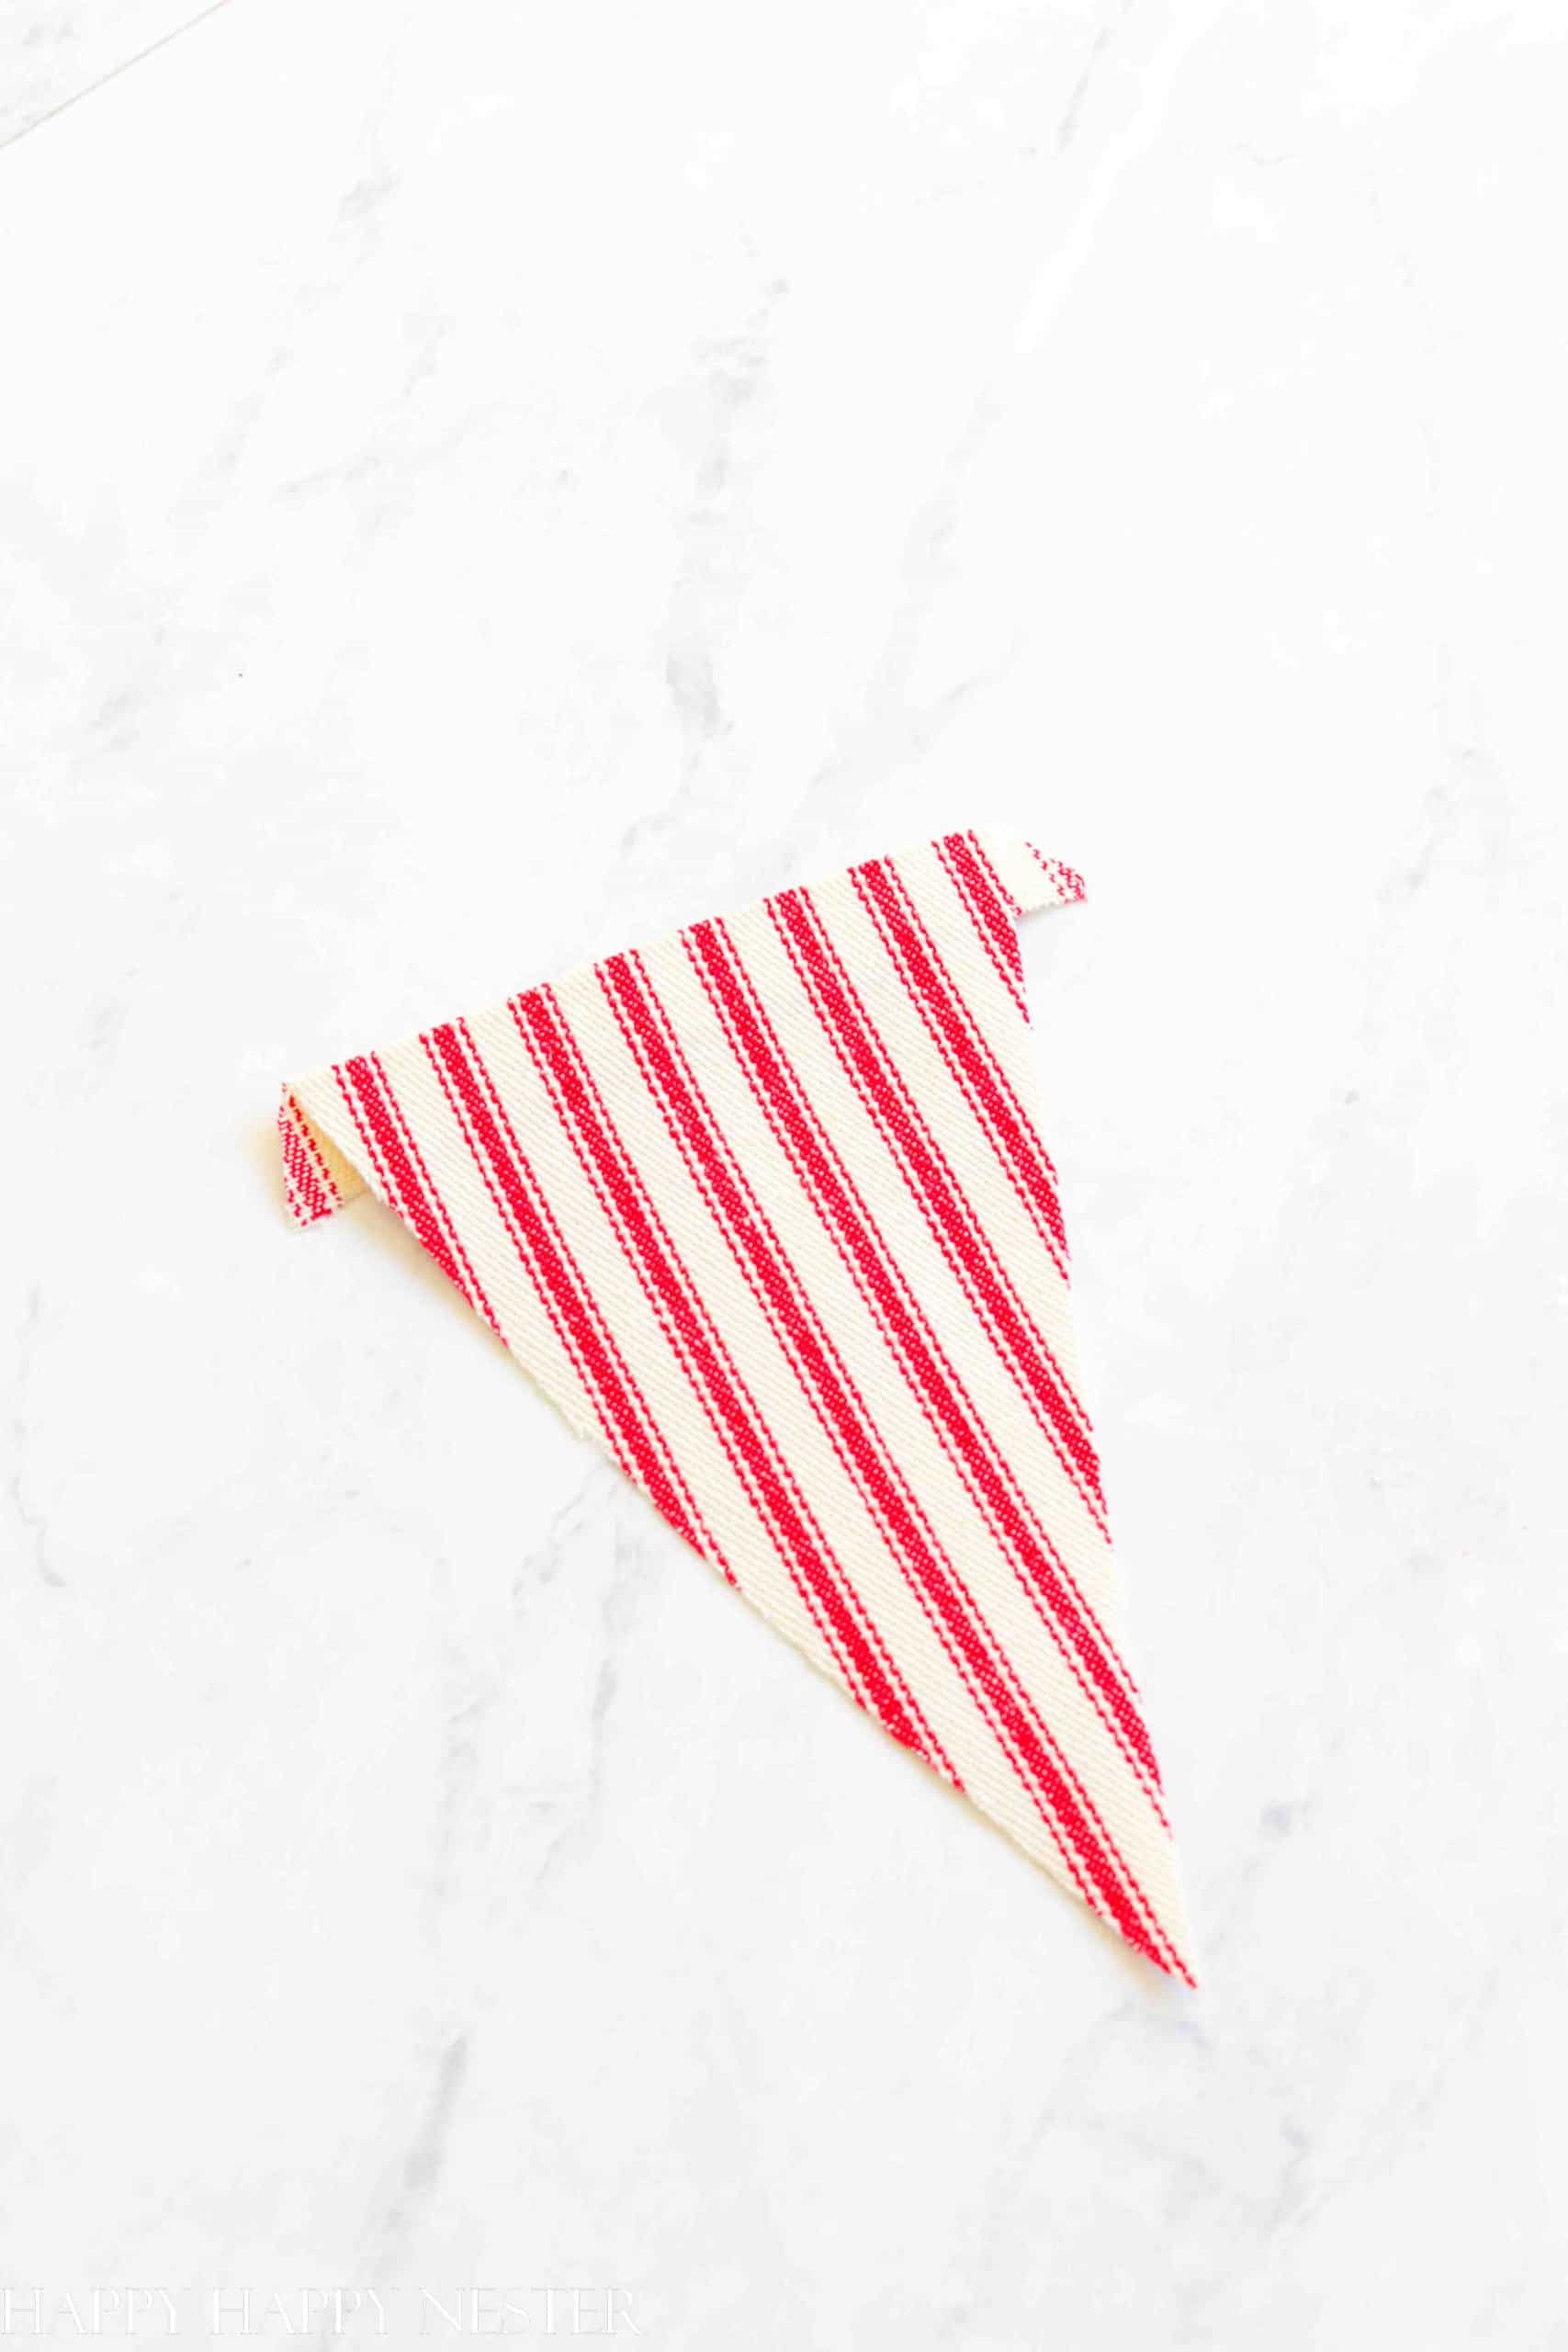
I folded the top of the banners down about a 1/2 inch. Then I ironed the crease. I pressed the hot iron on the fabric for a bit so that the fold was stiff. If you like, you can use fabric starch.
Step 5 – Trim Banner Ends
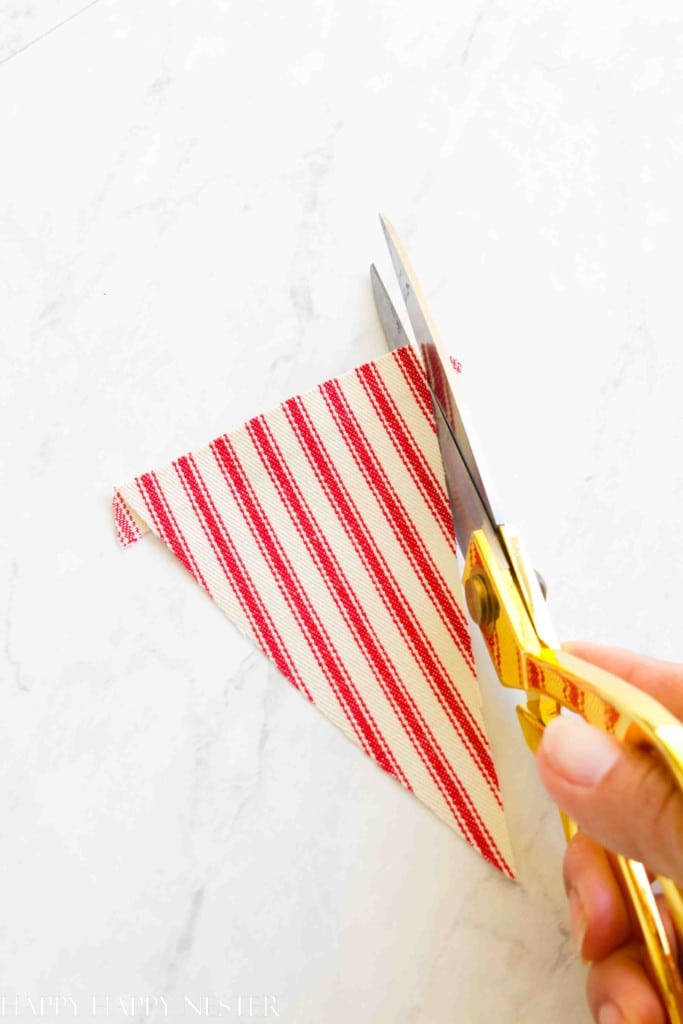
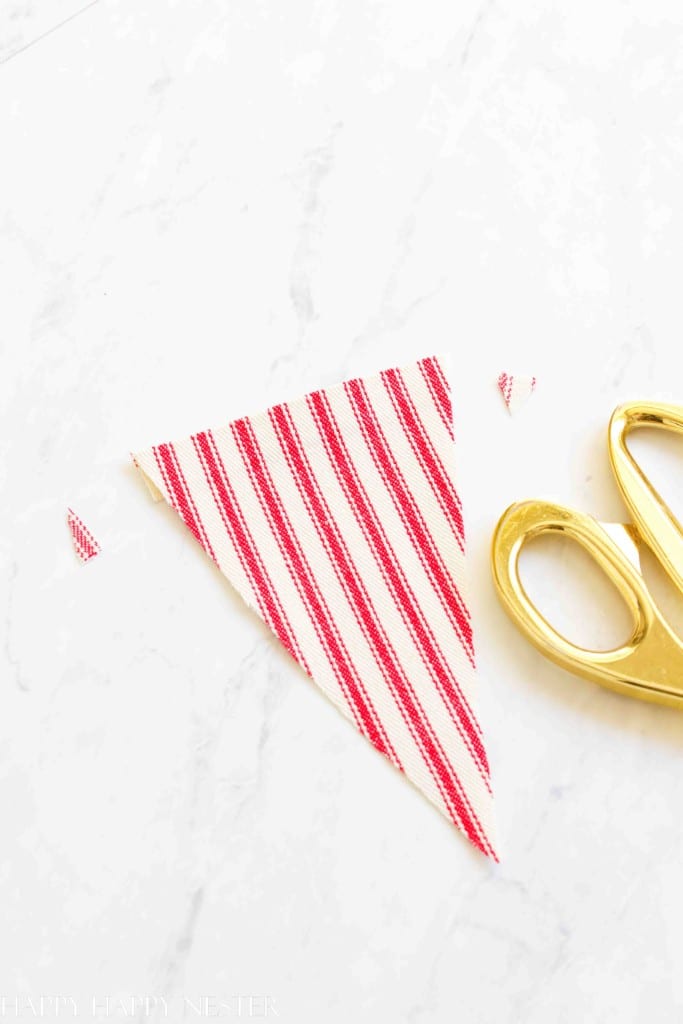
Once you create the 1/2 inch seam, the corners will extend beyond the banner photographed in the first picture. Trim off the excess with your scissors.
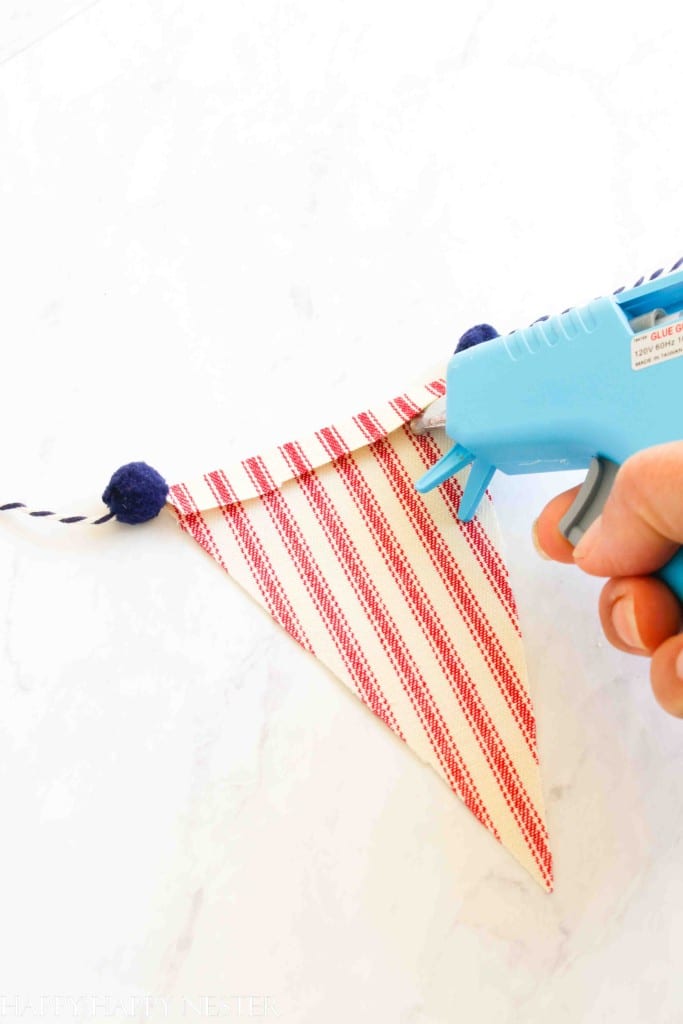
Step 6 – Glue Fabric
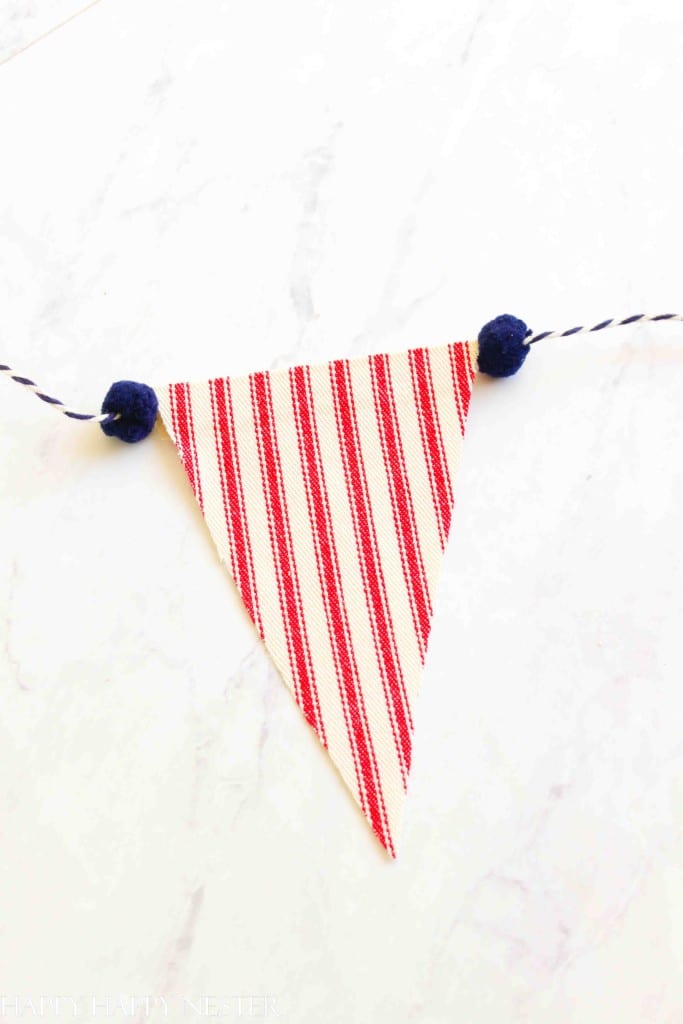
Place the banner on the baker’s twine. Position it so that there is a pom-pom on each side of it. You’ll want to work from one end when securing the banners on the twine.
Turn over the banner, so the backside of the fabric faces up. Take your glue gun and glue down the seam.
You can glue the pom-poms in place next to the banner.
I hope you and your family have a safe and wonderful Fourth of July. We all need something to celebrate these past years. Life is tough, and we must grasp the good times and enjoy them.
Happy Crafting, my dear friends!
Cheers,


- My Favorite Cakes - July 5, 2025
- Outdoor Tables and Chairs - July 2, 2025
- My Favorite Floral Desserts - June 28, 2025

Leave a Reply