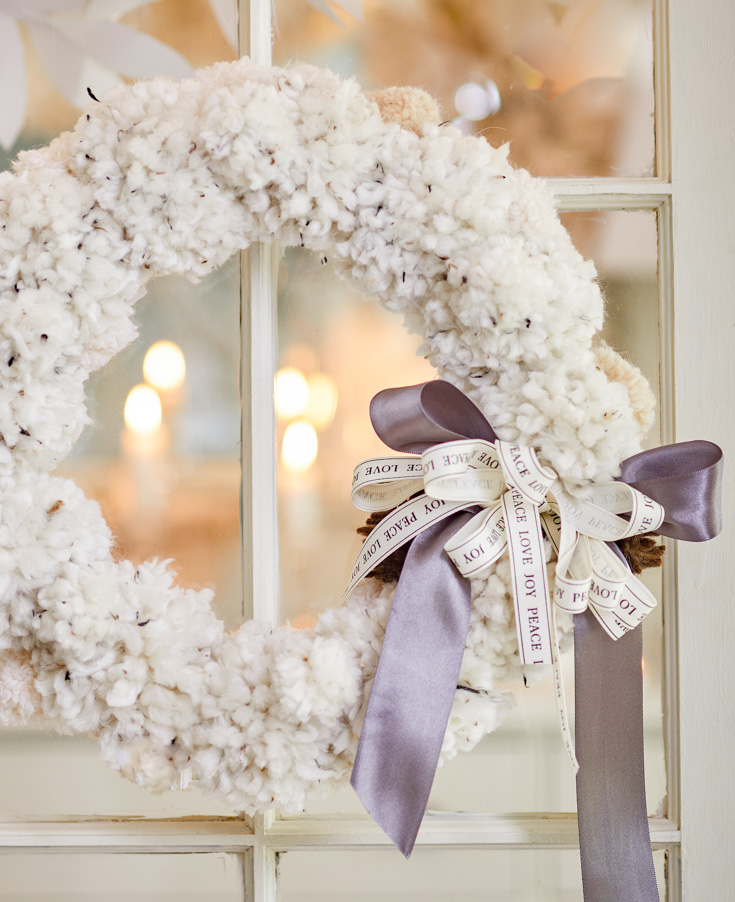
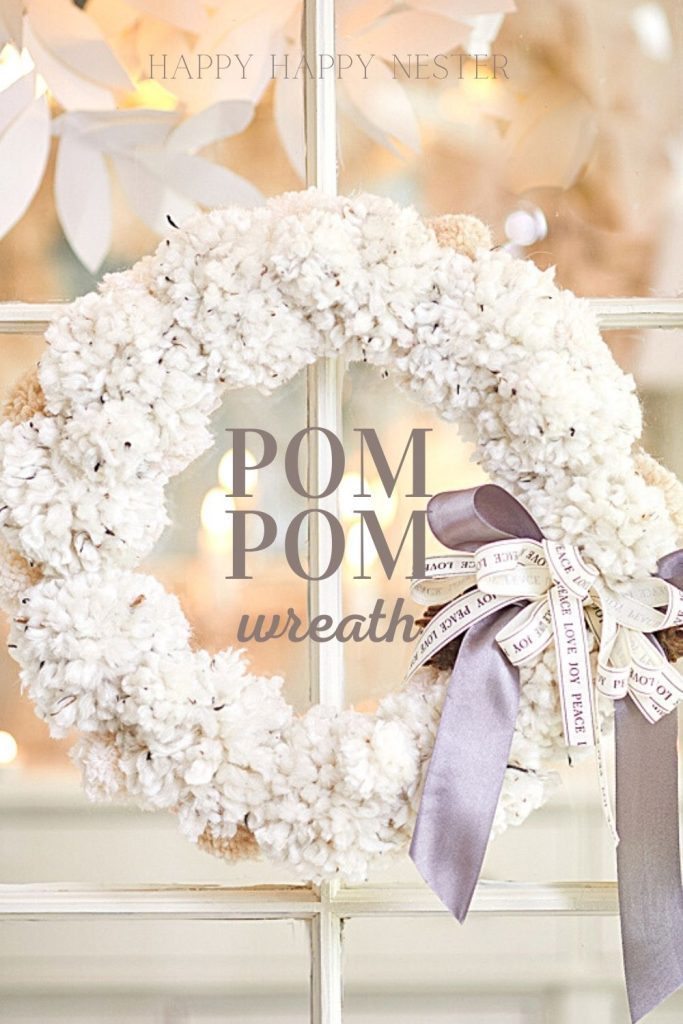
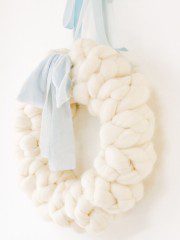
This winter everything is coming up pom-poms. Today, I’m sharing with you an Easy Pom-Pom Wreath DIY! Pom poms are super easy to make and no special equipment is required. Make your wreath any size that fits your home.
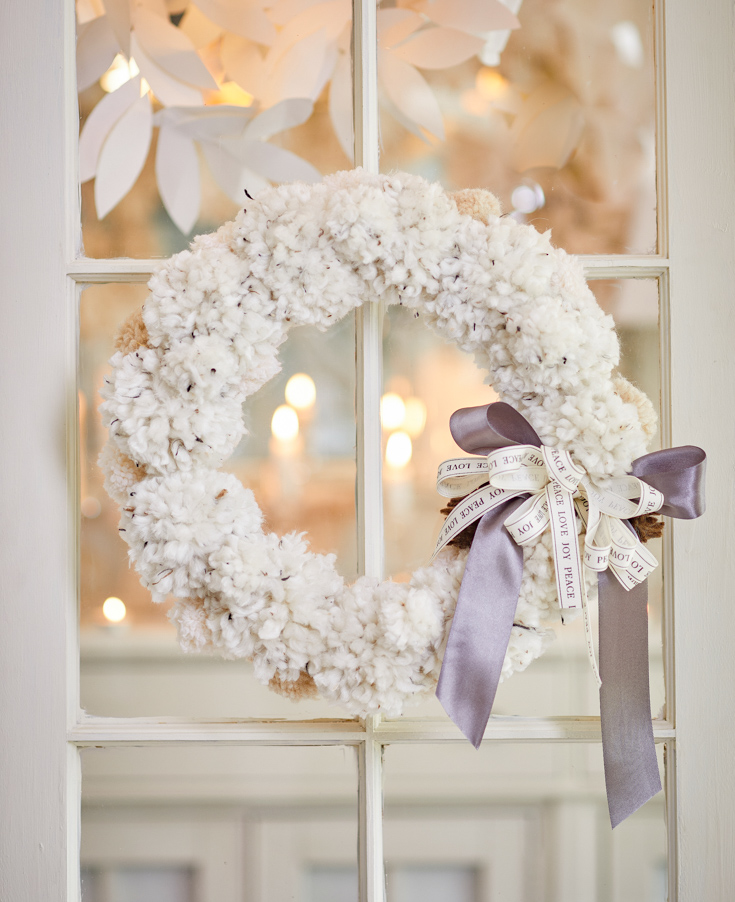
A fluffy yarn pom-pom wreath is always welcomed in my home. It’s a perfect winter wreath but can be used year-round. Add extra decor accents if you want to add color.
Among all the wreaths that I’ve created over the years, this one is one of the easiest to make. And boy, have made quite a few wreaths!
Take a look at a few:
On top of how simple this wreath is, I especially like that it’s pretty inexpensive to make as well. You can buy some new yarn, or use whatever you have in storage.
Of course, if you make a neutral wreath then it will go well with most home decor and holidays.

If you like pom-poms, I recently made a pom pom garland. Yes, pom poms are popping up everywhere in our home lately. I guess my love for circles, polka dots have now expanded to pom-poms!
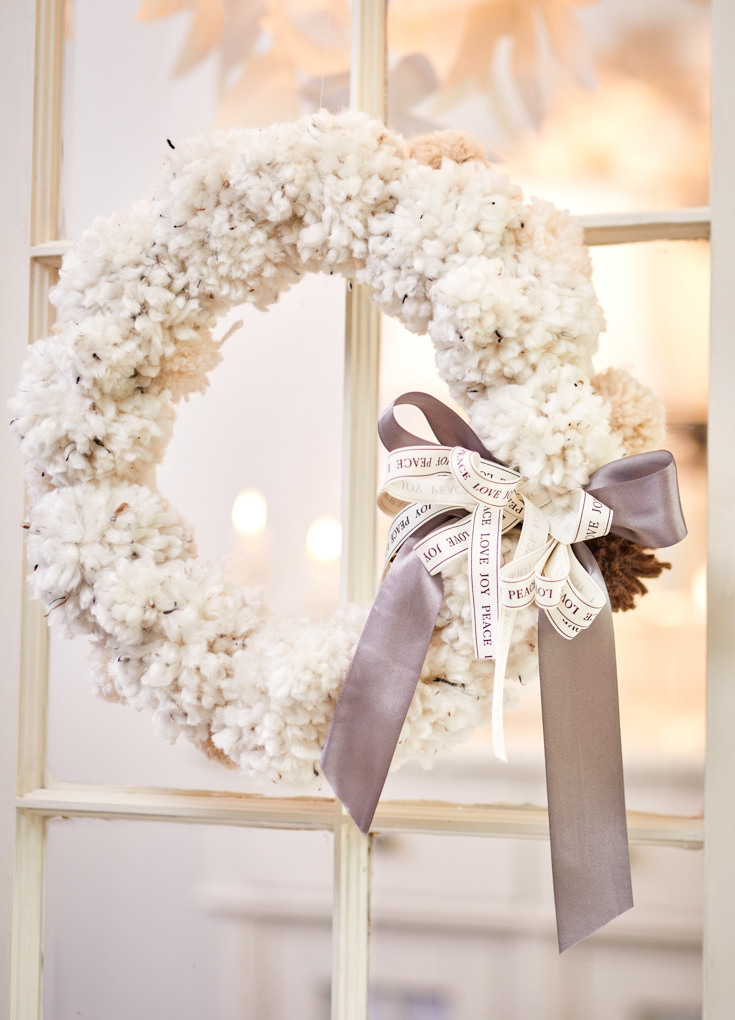
Pom-Pom Supplies
1 skein of yarn (I bought this one from Hobby Lobby)
hot glue gun
ribbon (grey, ribbon with writing)
Directions for Making a Pom-Pom
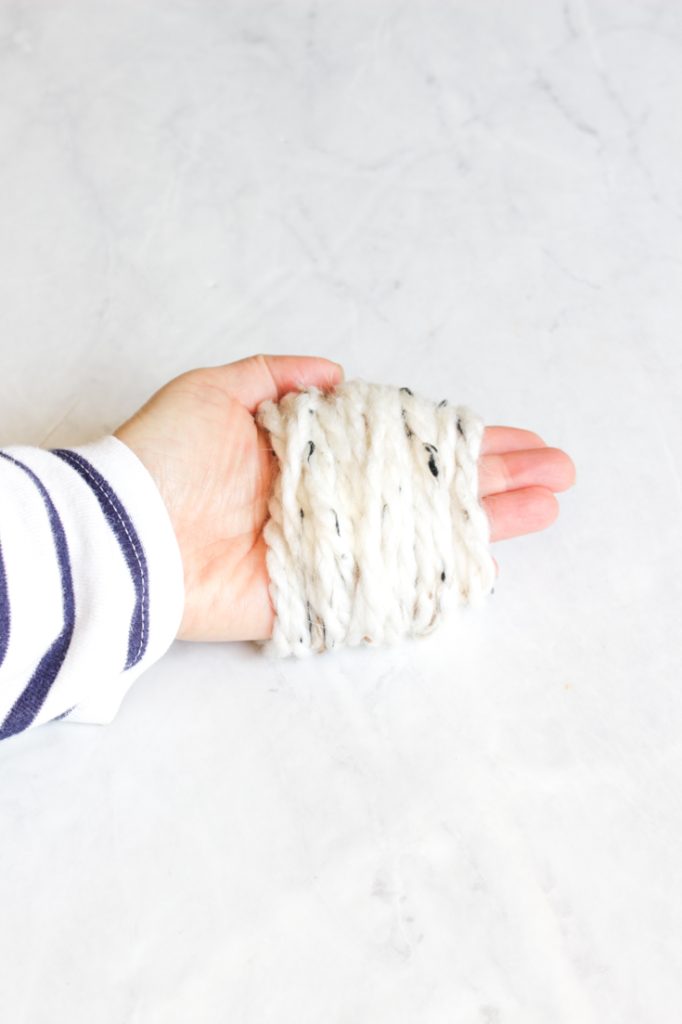
Step 1 – Wrap Yarn
Find the end of your yarn and begin wrapping it around your fingers. I wrapped the yarn 30 times around four of my fingers. If you want a thicker pom-pom, wrap it more than 40 times.
Also, note that you’ll have to wrap it more instead of thicker yarn if you have thin yarn.
You’ll make a total of 12 pom-poms that are about four inches in size.


Step 2 – Tie The Pom-Pom
Carefully take the yarn off your hand and place it on the table. As shown in the above photo, trim an additional piece of string, tie it tightly in the middle of the loops, and tie a knot. I double-knotted my pom-pom.


Step 3 – Cut Yarn
Once you tie the pom-pom, you’ll have two loops. Take your scissors, place a blade inside a loop, and cut the yarn. Continue cutting the row of loops and then do the same with the other loop.
Check the yarn and trim all the loops that you may have missed.
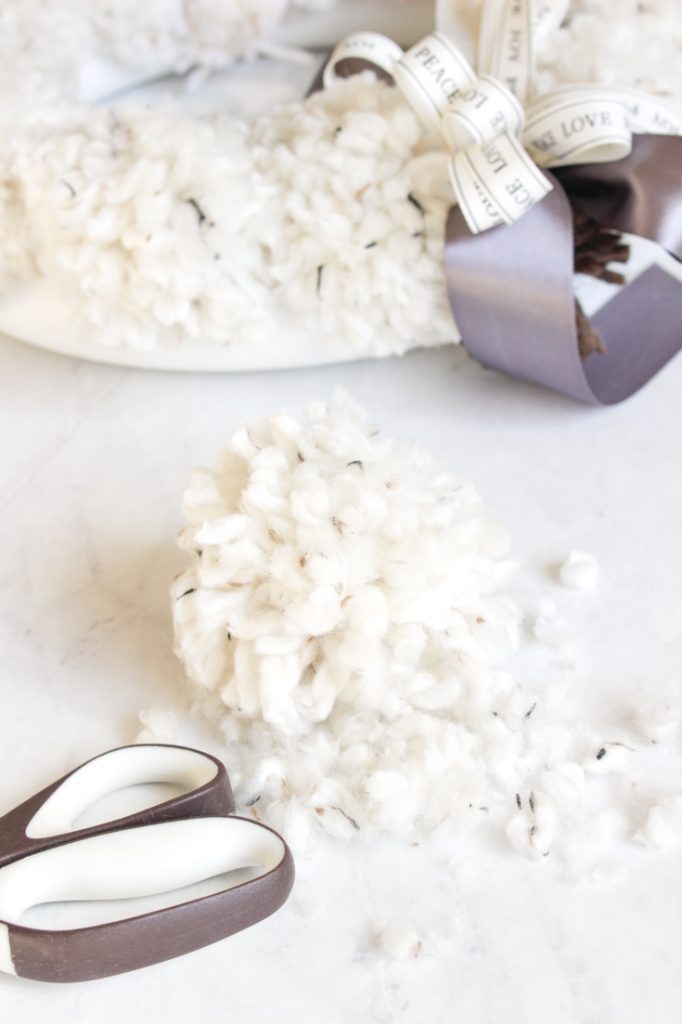
Step 4 – Trim Pom-Pom
Trim the ends of the pom-pom with your scissors. Keep turning your pom-pom to make sure you see all the ends of the yarn.
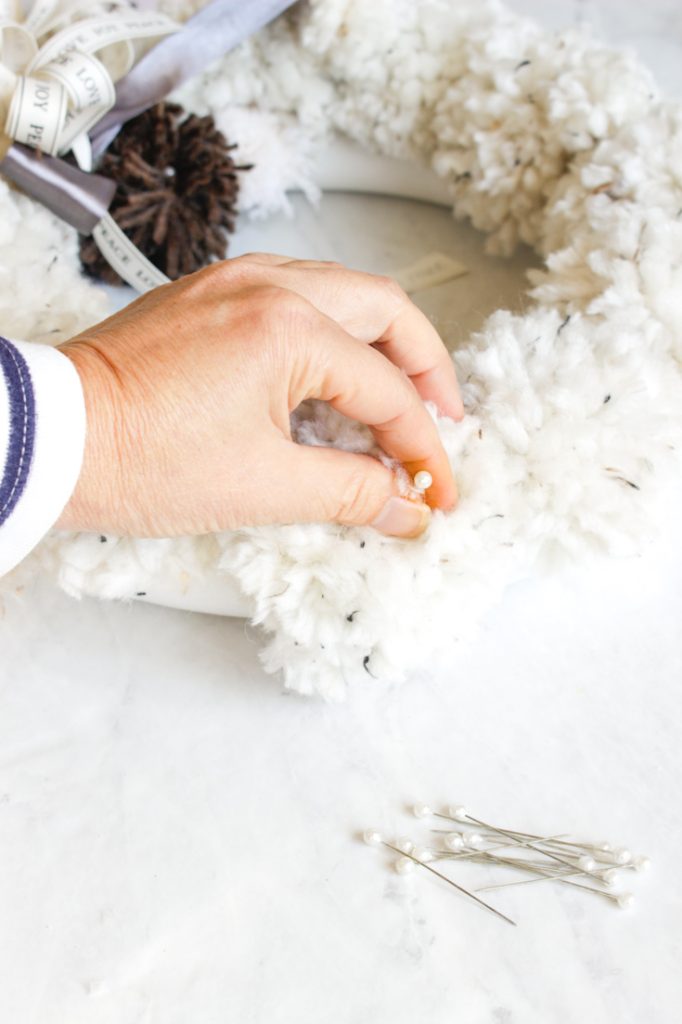
Step 5 – Attach Pom-Poms to Wreath
You can hot glue your pom-pom to your wreath form. I like attaching them with a long pearl pin. It’s easy to stick the pin right through the pom-pom and onto the foam wreath. If you happen to need the pom-poms for another project, you can easily take them off and use them.
Just a note, if you have little ones in your home, the pins could be a bit dangerous. I would hot glue the pom-poms to the wreath if you have little children or pets.
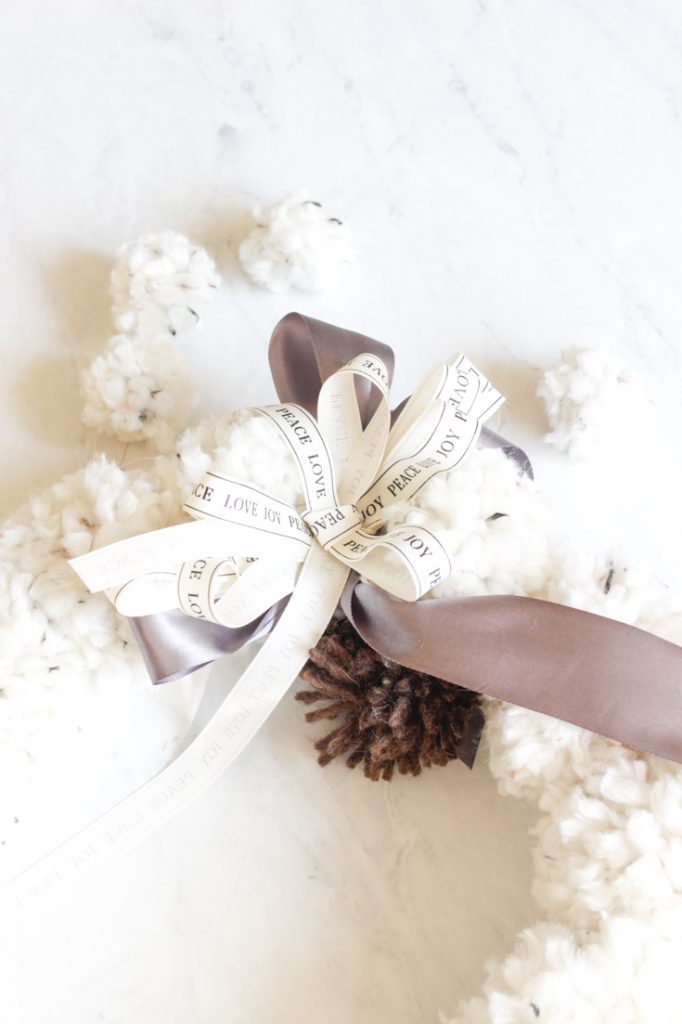
Step 6 – Attach a Bow
I made a multi-looped blow and then placed a simple grey bow behind it. I then positioned it on my wreath and attached it with a pearl pin.
A Few Last Minute Tips About Pom Poms
The Yarn
The thicker the yarn the fluffier the pom-pom. Also the thicker the yarn, the less yarn you’ll need to use for the pom-pom.
Also a bulky yarn most likely make a fuzzier pom-pom too. I love to use wool blend yarn, but for this project, the yarn I used is mostly acrylic.
How to Get a Full Pom-Pom
So, besides using a bulky yarn, if you use more yarn and wrap more loops onto your hand then your pom-pom will be full and fluffy. Also, the more you trim and make a tighter pom-pom, then the fuller it will be. When you make your pom-pom make it bigger than you want and so when you trim it you’ll end up with the right size pom-pom.
How to Keep the Pom-Poms From Falling Apart
The key to a stable pom-pom is to tie the loops as tightly as you can. Also, double tie them together so that it will secure your pom-pom.
Brush Your Pom-Pom
Some people do brush their pom-poms to make it fluffier. I may try this in the future. So to brush the pom-pom make sure it’s securely tight. Then take a bristle brush and start to gently brush the fibers of yarn. Make sure to open up the pom-pom a bit so you can brush from inside out. The more you brush the fluffier the pom-pom will get. After brushing then you can trim up the loose ends.
Pom-pom wreaths are seriously so cute. So I hope you have a chance to make one this year!
Thanks for stopping by to this pom-pom wreath DIY!
Have a wonderful day!
Cheers,


- Spring Doormats from Walmart - February 18, 2026
- Heart Shaped Brownies Recipe - February 13, 2026
- Framed Artwork from Amazon - February 12, 2026


Leave a Reply