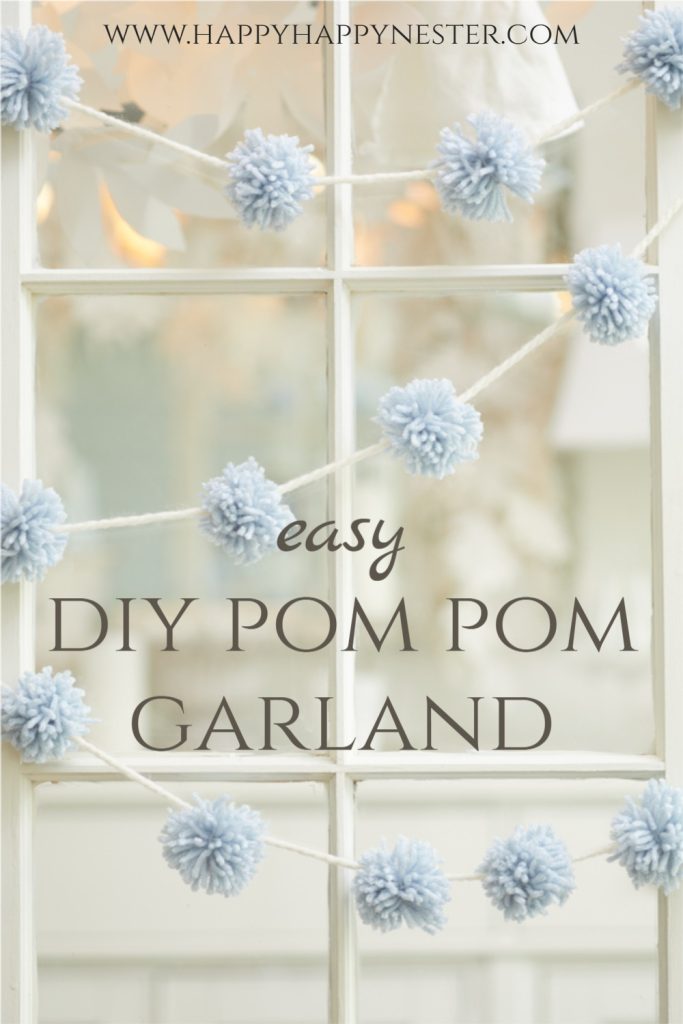
Decorate a mantel, window, bookcase with a garland for a significant impact. Then, learn to make your decor with this DIY Pom Pom Garland tutorial. Create your yarn garland in any color or size for any home decor style. And the cool part about this home decor is that it’s so inexpensive to create.
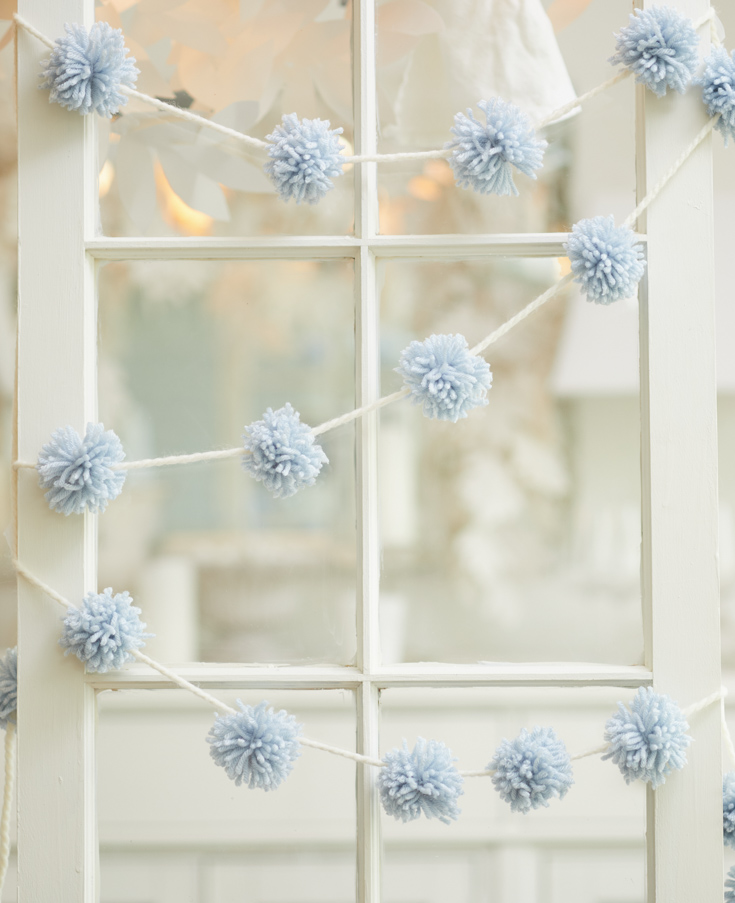
I love pom-pom garlands since they’re so easy to make, and I can match my seasonal home decor. These garlands also warm up a space with a playful twist.
I have quite a few garlands that you might enjoy making:

If you look closely at most of my home photos, there is usually a white pom-pom garland draped on a mantel or a bookshelf. It’s easy to dress up a space in any accent color.
This project is simple to make, and the only investment involved is one skein of yarn and a little bit of time.
But before I dig into the tutorial, this blog post is part of a Blogger’s Best Series – Winter Decor Ideas blog hop. You can view my friend’s winter homes down at the bottom of this post.
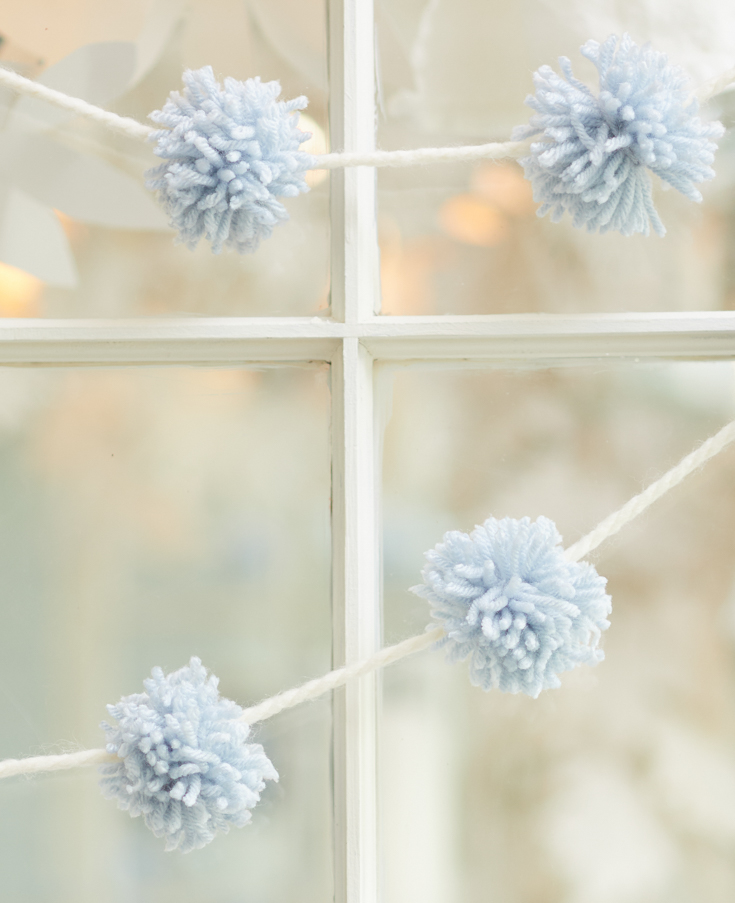
DIY Pom-Pom Garlands
I’m always decorating and crafting my home for all the seasons, if you know me. And now that the Christmas decor is back in storage, I’m embracing our spacious and neutral living room.
Every winter, I turn to light blues for decor. There is something serene and calming about the combination of white, blue, and a splash of green.
And this January, I decided to make a pom-pom garland to add a bit of color to our living room. And yes, I already have a white one, so light blue is my latest project that I’m sharing.
Let’s dig into some Frequently Asked Questions
How many pom-poms do you need to make a garland?
So depending on how long you want to make your garland will determine how many pom-poms you’ll need to make. Another factor is how big you make your pom-poms will affect how many you need to make. For this project, here is my breakdown.
How do you attach pom-poms to a string?
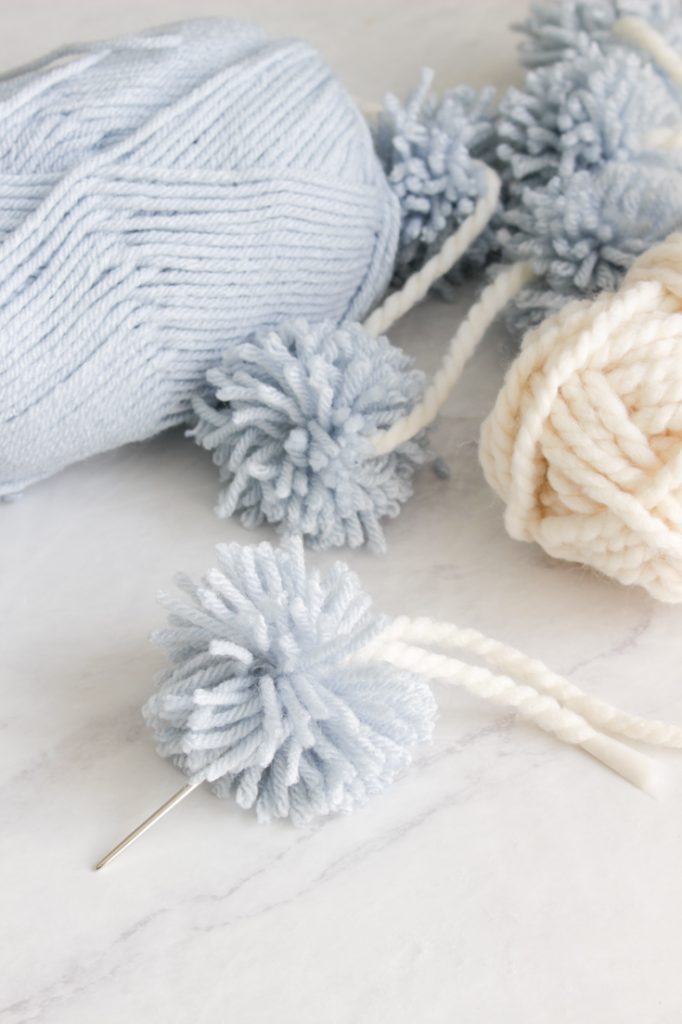
I attached my pom-pom with a complementary yarn. Next, I used a crafting needle that I threaded with yarn. Then I went through the middle of each pom-pom and strung all of them to make my garland.
What kind of thread do you use to make a pom-pom garland?
I used yarn, but the skies are the limit, and you can use string, yarn, thread, and ribbon to attach your pom-poms.
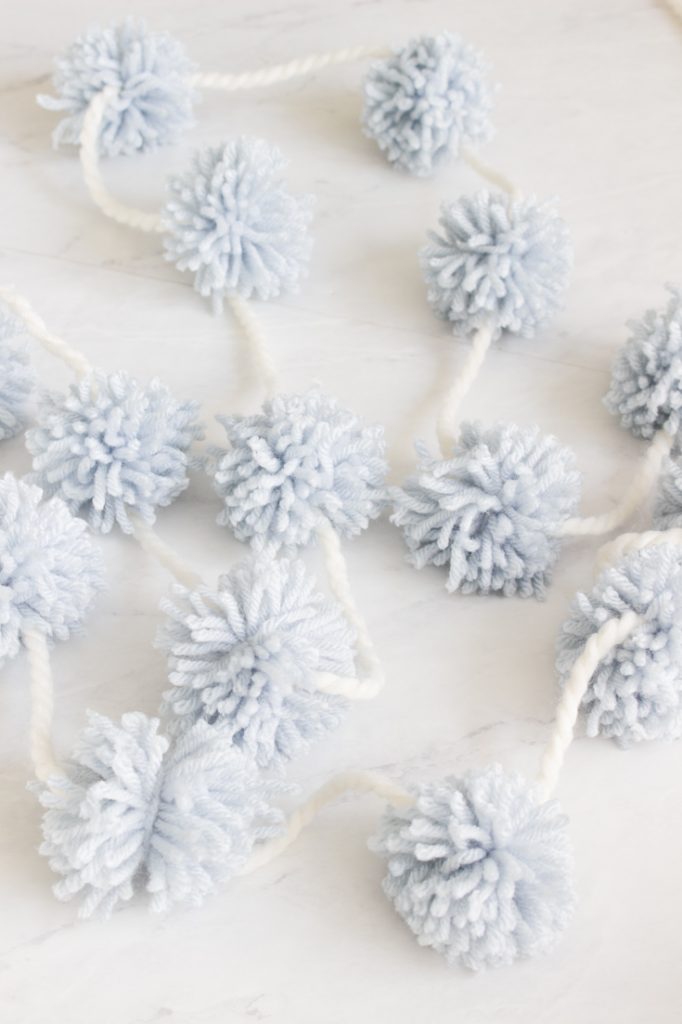
Pom Pom Garland Information
| Length of Garland | Number of Pom Poms | How Much Yarn |
| 1 ft | 3 | 1 Skein (170 yards) |
| 2 ft | 4 – 5 | 1 Skein |
| 3 ft | 5 – 6 | 1 Skein |
| 4 ft | 7 – 9 | 1 Skein |
| 5 ft | 10 – 11 | 1 Skein |
| 6 ft | 12 – 13 | 1 Skein |
| 7 ft | 14 – 15 | 1 Skein |
| 8 ft | 16 – 18 | 1 Skein |
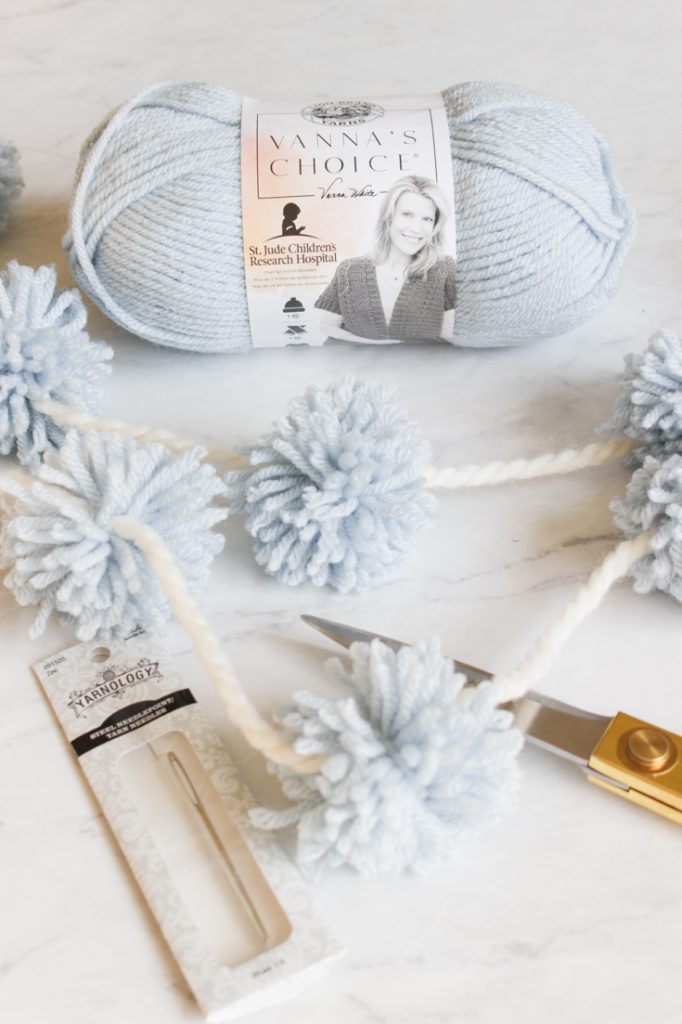
How to Make Pom Pom Garlands
*The following post contains affiliate links
Supplies You’ll Need:
I made about an 8-10 ft garland and made 16 pom-poms
1-2 skeins of yarn ( I used 1 skein of blue for the pom-poms and 1 skein of cream for the base)
1 craft needle (I used a needle with a large eyehole)
Directions:
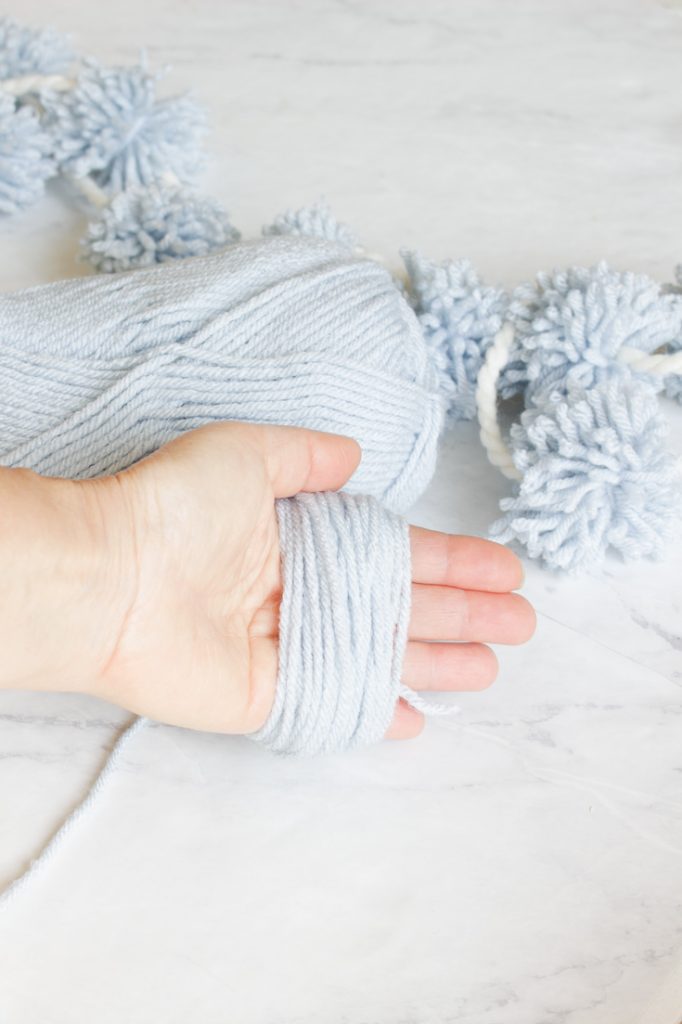
Step 1 – Wrap Yarn
Find the end of your yarn and begin wrapping it around your fingers. I wrapped the yarn fifty times around four of my fingers. If you want a thicker pom-pom, wrap it more than 50 times.
Also, note that you’ll have to wrap it more instead of thicker yarn if you have thin yarn.


Step 2 – Tie The Pom-Pom
Carefully take the yarn off your hand and place it on the table. As shown in the above photo, trim an additional piece of string, tie it tightly in the middle of the loops, and tie a knot. I double-knotted my pom-pom.
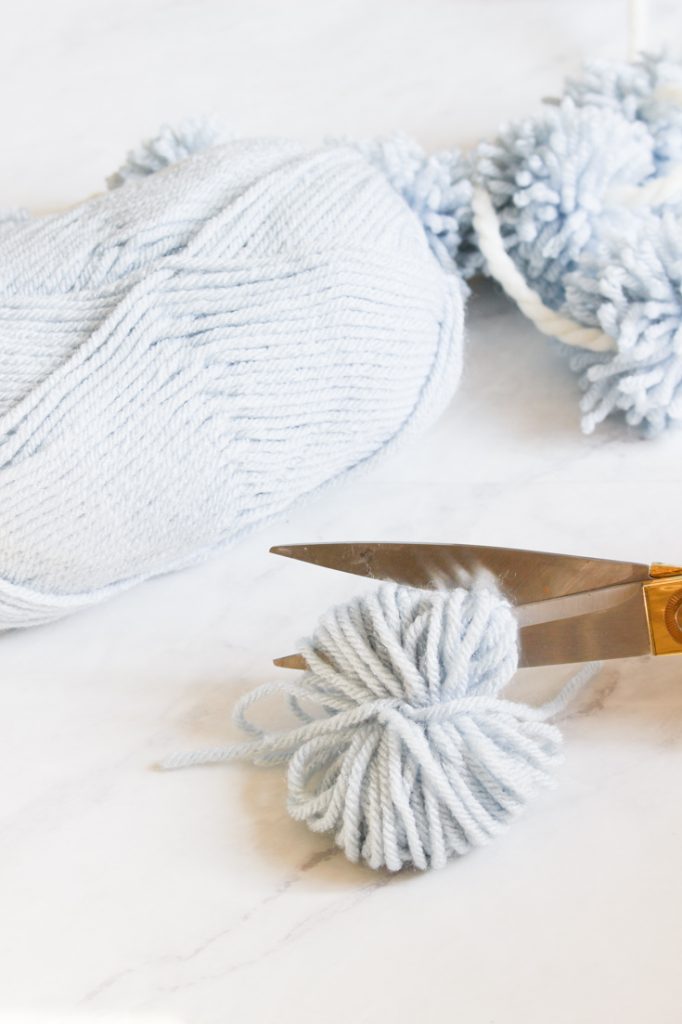
Step 3 – Cut Yarn
Once you tie the pom-pom, you’ll have two loops. Take your scissors, place a blade inside a loop, and cut the yarn. Continue cutting the row of loops and then do the same with the other loop.
Check the yarn and trim all the loops that you may have missed.
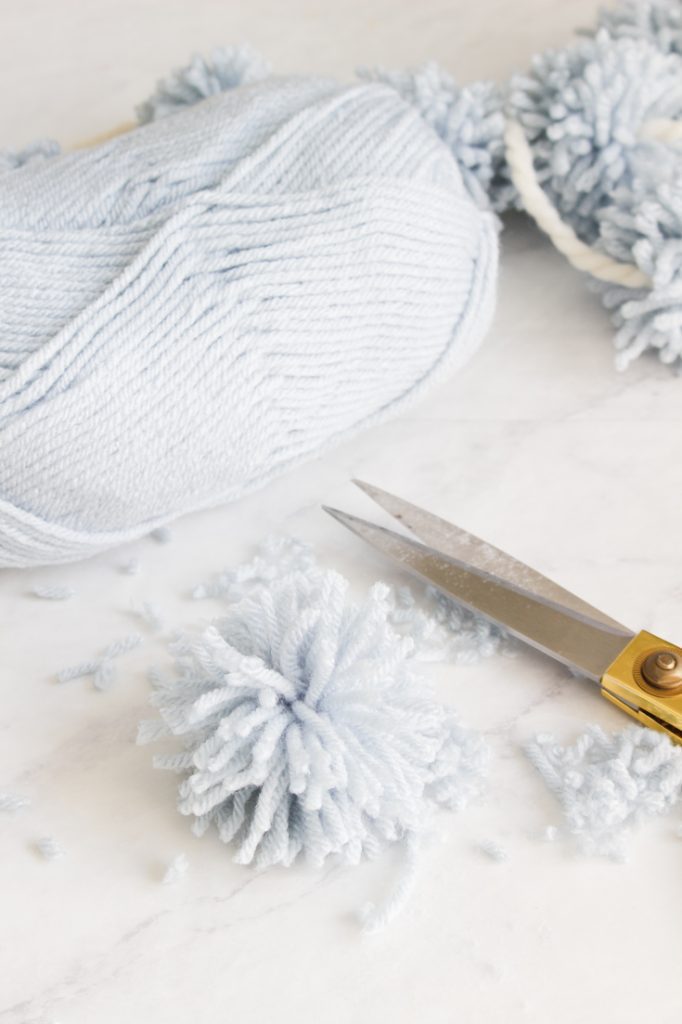
Step 4 – Trim Pom-Pom
Trim the ends of the pom-pom with your scissors. Keep turning your pom-pom to make sure you see all the ends of the yarn.
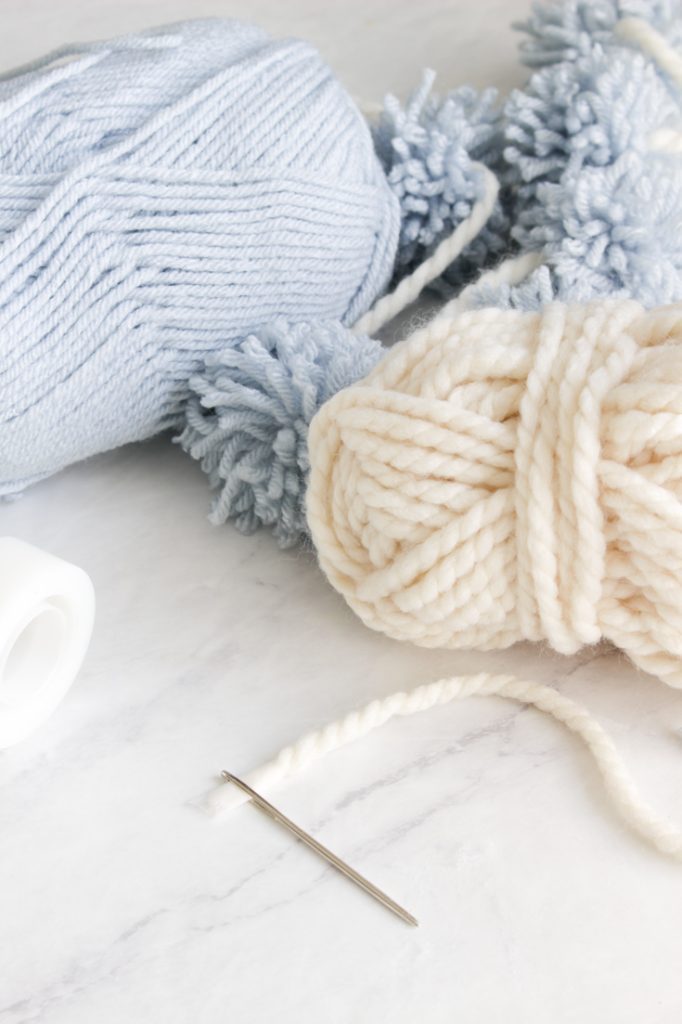
Step 5 – Thread Craft Needle
If you’re using a thick yarn as the base of your garland, you’ll want to attach a piece of tape to the end. First, flatten the taped yarn so that it will easily slide through the hole of the needle’s eye once you’ve threaded the yarn trim off the taped part.
Keep the extra yarn kind of short so that less yarn needs to go through the pom-poms.
Step 6 – Thread Pom-Poms
You’ll notice that your pom-pom has two parts divided by the yarn that ties them together. You’ll want to thread your needle and yarn through the middle section, where you tied it together. If you don’t thread it there, the pom-pom is not attached and will fall off.
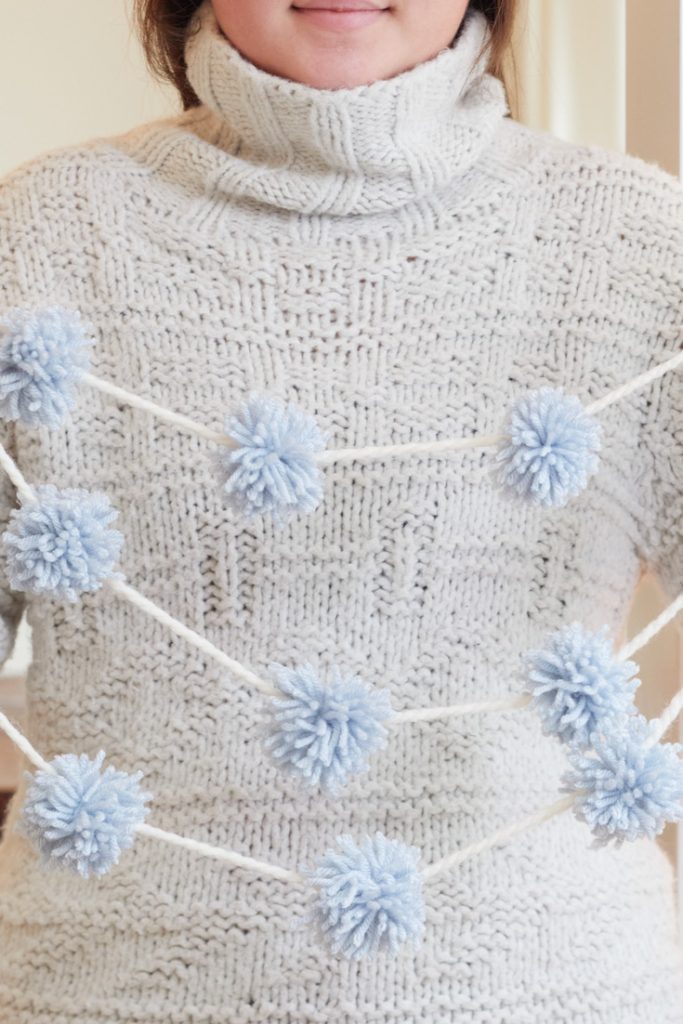
And you’re done making your garland. Once you’re familiar with my DIY pom-pom garland tutorial, branch out and make your garland the length you like and whatever color you want.
Garlands are the easy way to add color to a room. I have quite a few in my studio ready to use for decorating projects.
Thanks for joining me, and make sure to check out my friend’s winter projects!
Cheers,

Blogger’s Best Series – Winter Decor Ideas

Gold Ruffled Rimmed Bowl DIY // Craftberry Bush
Winter Decorating Ideas to Warm up Your Home // Maison de Cinq
Inspiring Winter Decor Ideas for Your Home // Just Destiny
Winter Farmhouse Living Room Decor // My 100 Year Old Home
3 Simple Winter Decor Vignettes You Can Make This Season // Robyn’s French Nest
How to Make Your Home Cozy for Winter // Pasha Is Home
Winter Decor Ideas // My Sweet Savannah
How To Decorate Your Home In January // Modern Glam
Cozy Winter Decorating Ideas // Tatertots & Jello
Effortless Winter Decor Ideas // Twelve On Main
Cozy Traditional Winter Decorating Ideas // The Happy Housie

- Banana Bread Recipe Using Oil - October 20, 2024
- Fall Dessert Recipes - October 19, 2024
- Pinecone Brownies - October 18, 2024




Donna
Fun idea and easy enough for me. Thanks.
happyhappynester
Donna,
This garland is so so easy and I love how cute it looks!
Pasha
What a fun decor idea Janine!!! I love the pretty blue color too 💙!
Thank you for having me on this fun hop too!
xoxo- Pasha
happyhappynester
Hey Pasha! Thanks so much for your kindness my friend 🙂 Have a great day!