This Easy Spring Tulip Wreath is a 30-minute craft project. Choose whatever color faux tulips you like and attach them to a foam wreath form. I’ll show you how to make this spring wreath with step-by-step instructions.
You can make this bright and colorful wreath for your front door, wall, or mantel. It’s the perfect spring accent for refreshing your home.
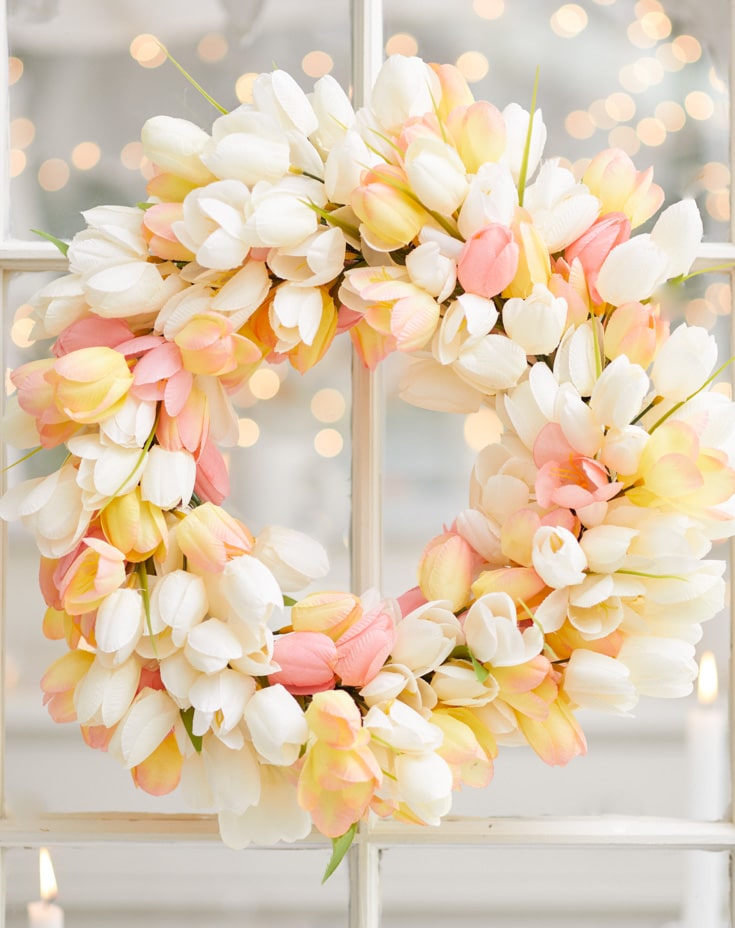
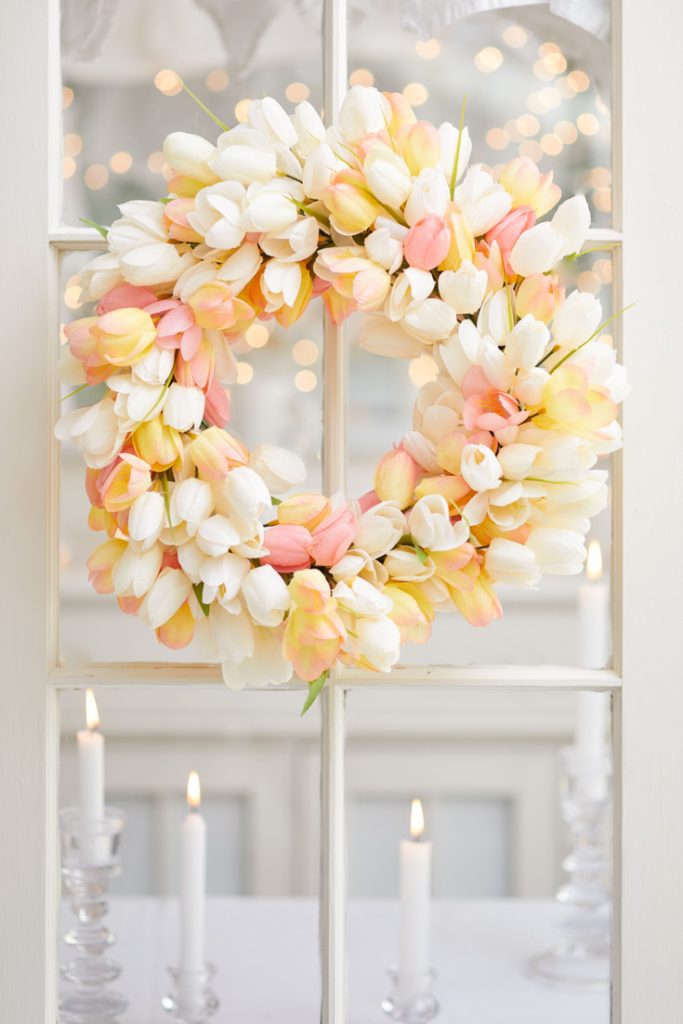
I love the color combination of yellow/orange and pink. It reminds me of a half and half orange creamsicle ice cream. And I love it in my recent spring wreath, it is soothing and yet refreshing.
I love wreaths!
If you love wreaths as much as I do, then here are a few easy wreaths you might want to create. And boy, do I have a lot of them over here. I keep them in storage to have them ready for each season.
This post is a part of a blog hop of spring wreaths. You can view their beautiful wreaths at the bottom of this post.

If you’re wondering where to find the tulips, you can find them at most craft stores. And the best time to buy them is to catch them on sale. I’m always lucky to pay only $1.99 per tulip bunch.
For this project, you’ll want about 12 bunches of tulips.
*The following post contains affiliate links
How to Make an Easy Spring Tulip Wreath
A little note about my tulips. The bunches have a variety of colors ranging from yellow, orange, light pink, and dark pink. I did choose to use everything but the dark pink tulips. I like the lighter colors.
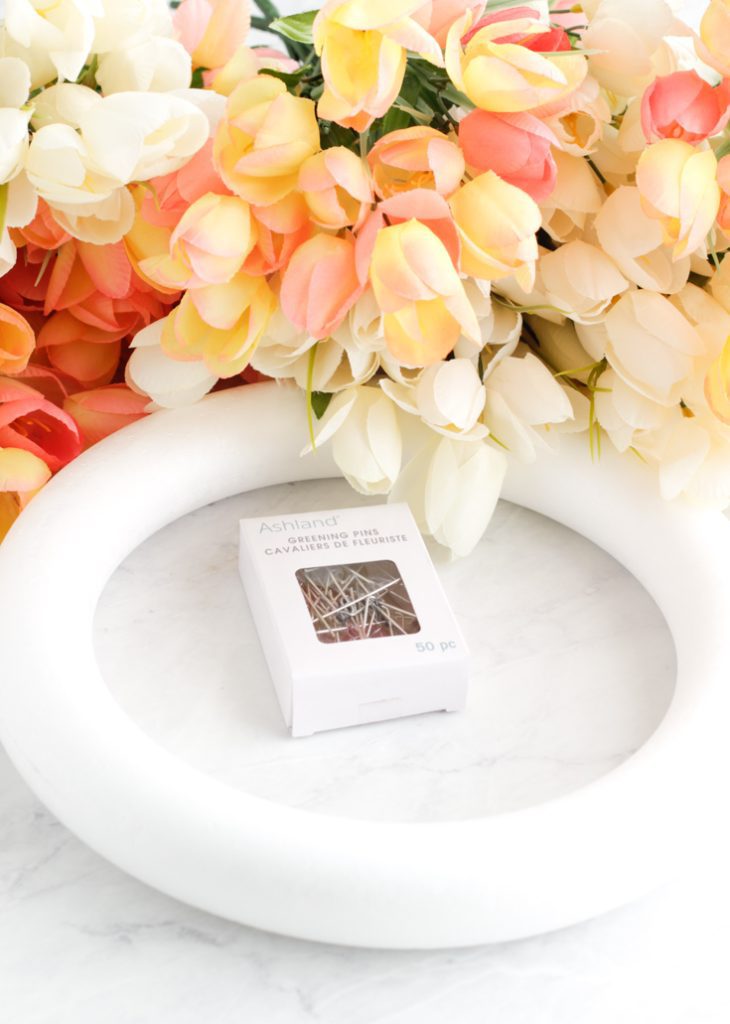
Supplies for Flower Wreath
12 Bunches of faux tulips ( I used 7 white bunches and 5 variegated bunches)
Tulip Wreath Instructions
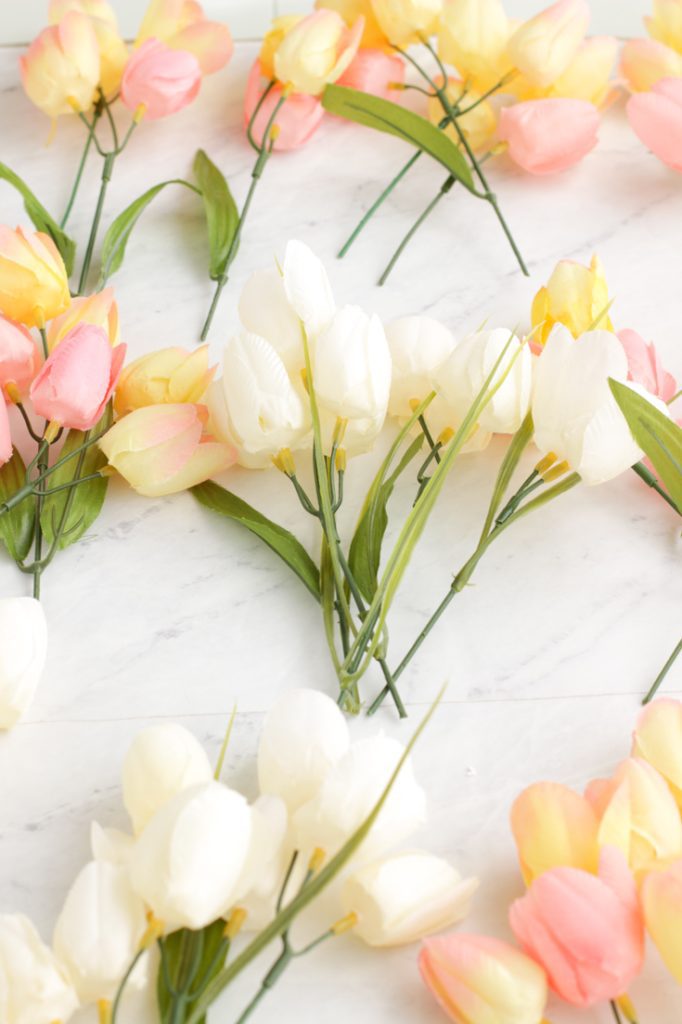
Step 1 – Trim Tulips
Trim tulip stems to about 6 inches in length.
Step 2 – Make Bunches of Tulips
I placed the trimmed tulips in bunches of four stems before I began. This evenly distributes the tulips, so there are just clumps of flowers on your white tulip wreath. Also, make sure to arrange your bouquet so that one stem is a bit taller than the other three.
Also, my bunches combined about four white tulips and two variegated tulips. I placed the colored ones on the top and bottoms of the bouquet. I know that the above photo shows bouquets of white and orange ones which you can design, but I did end up with mostly white bouquets with a few added orange/pink ones.
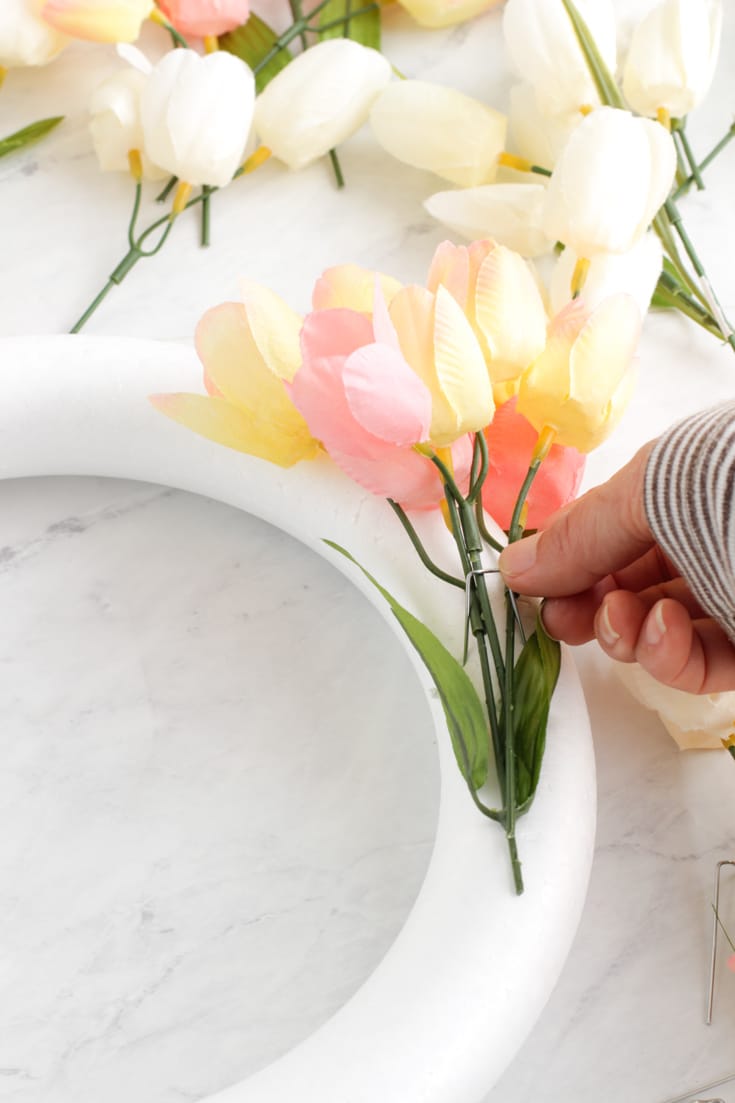
Step 3 – Make Tulip Wreath
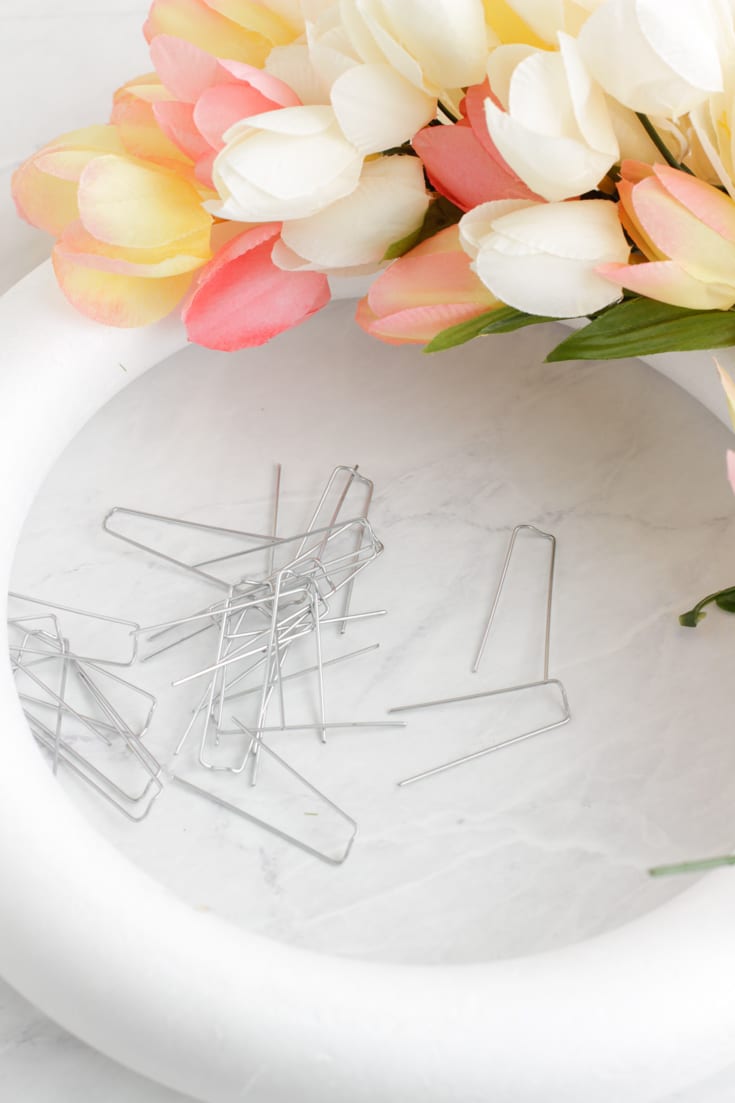
Place your first bouquet on the top surface of the wreath and secure it with a floral pin.
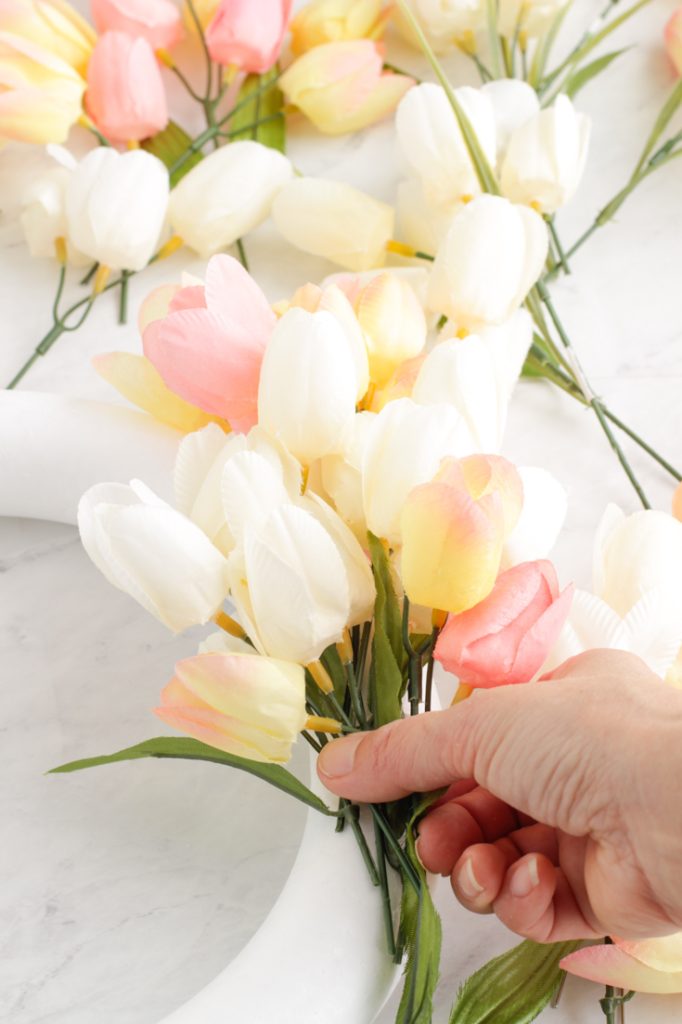
Step 4 – Repeat Step 3
Then repeat these steps by layering your next bouquet halfway on the previous tulips. Make sure that the tulip blossoms face the same direction as the rest of the flowers. Keep securing your tulips in this pattern. Work your way around the white tulip wreath by partly placing each bouquet on the last layer.
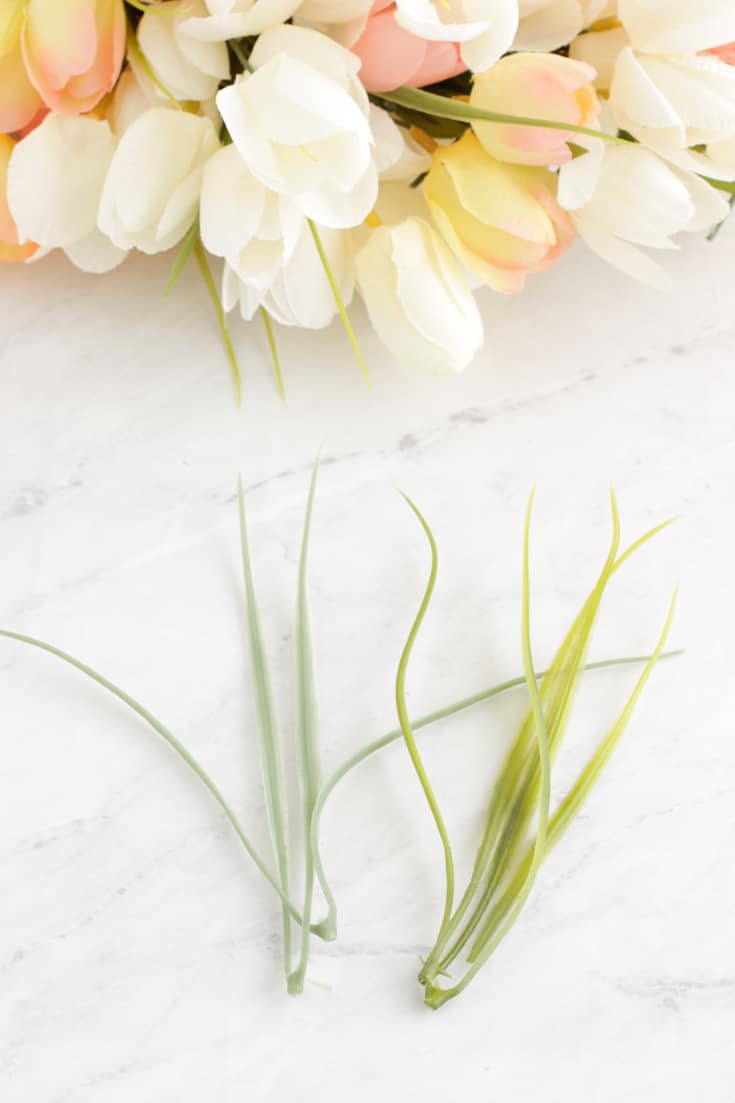

Step 5 – Fill in Empty Spaces
Secure one tulip stem on the inner circle next to the top bouquet. And then secure a two stem bouquet on the outside rim that is in alignment with the other tulips. Note that you only use one tulip stem for the inner circle. Placing only one or two tulips in the center prevents filling the middle of the wreath.
Also, I used a few of the green stems and placed them around the wreath. Make sure to have them poke out a bit. I used the light green stems instead of the darker ones. I wanted a light spring wreath.
Just note that when you have filled in the whole wreath with tulips, add or take away any flowers. Fiddling with the tulips is a balancing act that can take time.

A Few Details About the Wreath
Faux Tulips
If you can, try and buy your tulips only when they are on sale. You’ll need about 12 bunches, which can get a bit expensive if you pay full price for the tulips.
I bought mine from Michael’s, and I think they were something like $1.99 a bunch on sale. Otherwise, they cost $3.99. Also, I ordered them online and had them delivered to my home. If my memory serves me right, it only took a week to get the package.
Styrofoam Wreath
I wanted a thicker wreath, but I could only find this thin one. And I used what I had among my supplies, so this thinner one had to work.
You need it thick since the floral pins can go right through to the other side if you aren’t careful. To avoid this, I placed my pins at an angle so they wouldn’t go through to the other side of the wreath.
Does the Wreath Need to be Covered
When I made my last one, I did cover it with yarn, just so the white styrofoam wasn’t an eyesore. But this time, I was lazy, and it turned out fine.
Are Floral Pins Necessary?
You could hot glue the tulips down, but you’ll have a bit of trouble if you need to adjust them. The floral pins are removable if you make a mistake with the placement of your flowers.
The pins give you a lot of flexibility, and they are great at securing the flowers in place.
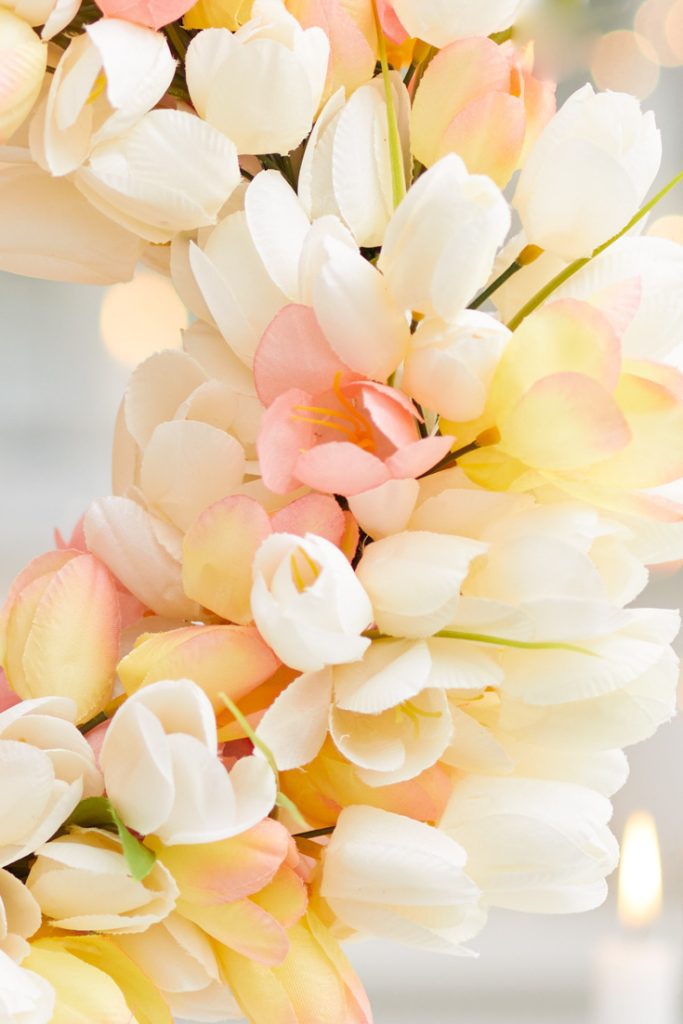
There is something so pretty about the faux tulip wreath. I could make a ton of them since they’re so pretty. I have a neighbor who has two red ones that she hangs from her doors at Christmas time. I may have to make one for the holidays!
Thanks for joining me today and check back in later for more fun craft projects!
Cheers,

Blogger’s Best Series – Spring Wreath DIY
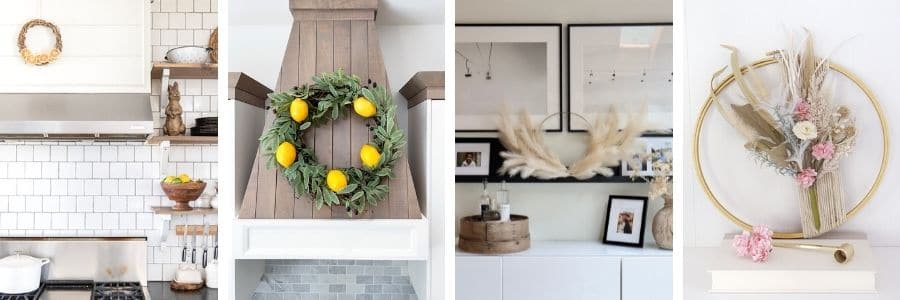
Easy Dried Lemon Slice Spring Wreath | Twelve on Main
DIY Lemon and Olive Spring Wreath | The Happy Housie
DIY Modern Spring Wreath | My Sweet Savannah
Simple Spring Wreath | Paint Me Pink
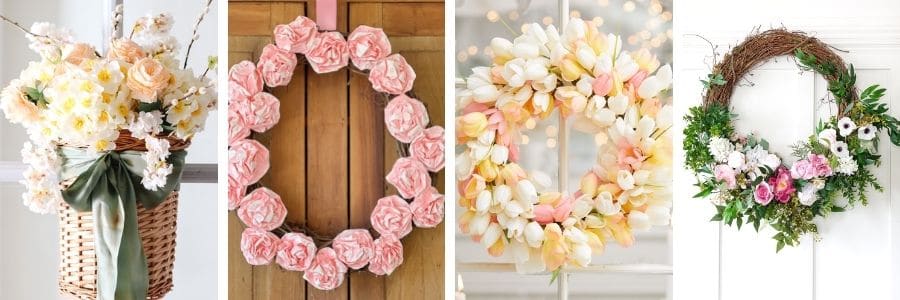
Spring Basket Wreath | Modern Glam
How to Make a Spring Wreath from a Small Lunch Bag | My 100 Year Old Home
Easy Spring Tulip Wreath | Happy Happy Nester
Spring Wreath Ideas and DIY | Craftberry Bush

Buffalo Check Easter Wreath | Thistlewood Farms
Easy Spring Rainbow Butterfly Wreath | Tatertots and Jello
Easy Interchangeable DIY Spring Wreath | Your Marketing BFF
A Pressed Pansy Wreath | Finding Lovely


- Heart Shaped Brownies Recipe - February 13, 2026
- Framed Artwork from Amazon - February 12, 2026
- Chocolate Covered Quinoa Recipe - February 5, 2026


Jackie
I just love love your wreaths..I’ve been trying to make a few and they are so fun and what a difference they can make on your walls or up against a lamp or books…I just cannot get enough of them..Yours are so beautiful
Jackie Goodrich
I’m going to make a tulip wreath this week…love making wreaths yours are all so pretty…hope mine will look as good as yours