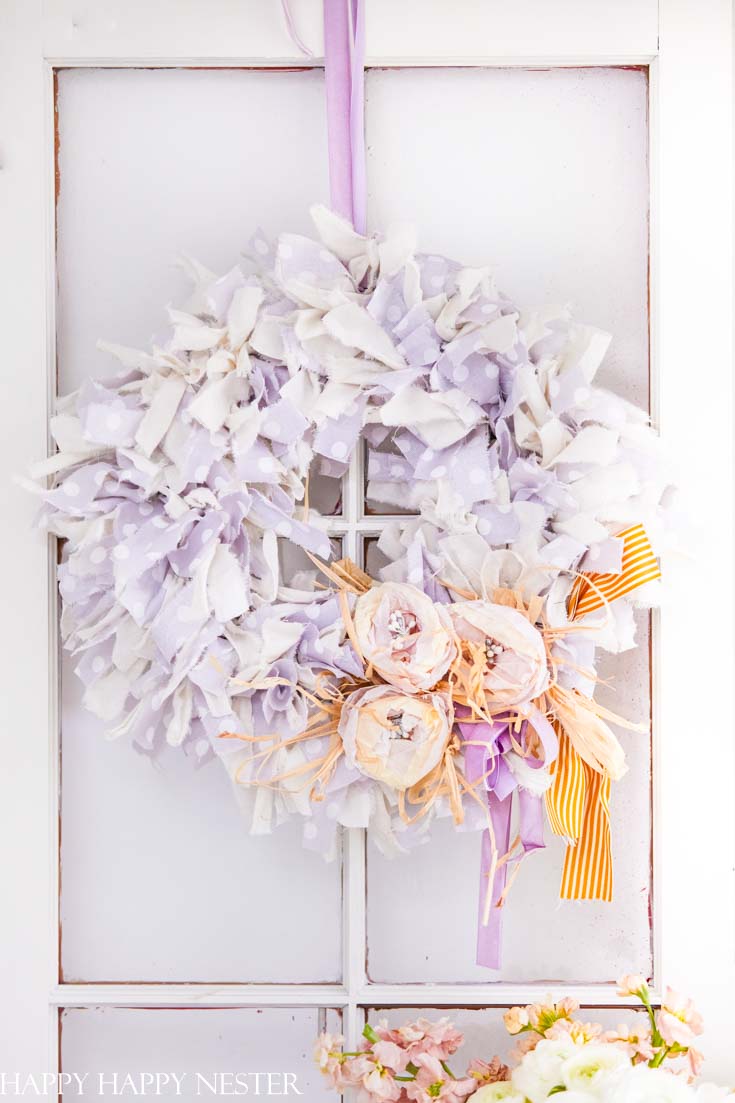
I am thrilled to share my latest Fabric Rag Wreath DIY today. I am pretty sure you are going to enjoy making this wreath as well as love how it looks in your home.

As you all know, I have made quite a few different wreaths, felt flower wreath, arm-knitted wreath, and a paper flower wreath, to name a few. But for some reason, I haven’t made a rag wreath yet. So, for this fun DIY tour, I quickly got busy and had a blast ripping up the fabric and attaching the gazillion fabric strips to my wireframe wreath. And this post is the result of this fun craft project.
But before going any further, my good friend, Tana, gathered a few of her friends for this Home Decor Craft and DIY Blog Tour! A warm welcome if you are joining us from Sarah of Lemon and Bloom. Our six projects are all so different and also amazing, gotta love that!

Ok, back to my wreath. When researching how to make a rag wreath, I quickly noticed that most crafters gave vague information when it came to how much fabric the project required. Yup, I bought the amount of cloth they mentioned (1/4 of a yard) and had to make another trip to the store. So, I was super alert as to how much material is needed to make a 12-inch fabric rag wreath.
But before we dive in, here are some questions you may have about making your wreath.

What type of fabric is best to use?
I bought mostly cotton-based material. I love the neutral characteristics of muslin, so I purchased half muslin and a calico print to act as an accent. I did buy some flannel wondering how that would rip into strips, and it did fine. So, when it comes to other fabrics to use, I would probably not use fleece unless you plan to cut the strips with scissors. I have my doubts that you can rip fleece.
How much material do I need to buy?
So, you’ll need a total of 4 yards of fabric for a 12-inch frame. If you use a couple of different materials, then divide the 4 yards into however many you use. So, I used two different fabrics, so I bought 2 yards of each. So, if you had four choices, make sure to buy 1 yard of each. Does this make sense?
Should I rip my strips or cut them?
That is totally up to you, depending on the look you want for your wreath. I like the rough, frayed look, so I ripped my strips.
How do you rip the fabric?
Use scissors to make a small cut (about 1/2 inch) on the edge of the fabric. Then hold the left side of the material in place and pull the right side up with your right hand. The fabric will rip nicely. I found that sometimes the fabric will stop ripping, and I had to add a little snip at the top of the tear.
Where do you buy your fabrics?
I find the best selection of fabrics is at Joann Fabrics. They have some great calico prints. I ended up purchasing an inexpensive muslin and a grey and white polka dot fabric. Here is the link to the cute polka dot material that I bought.

*The following contains affiliate links
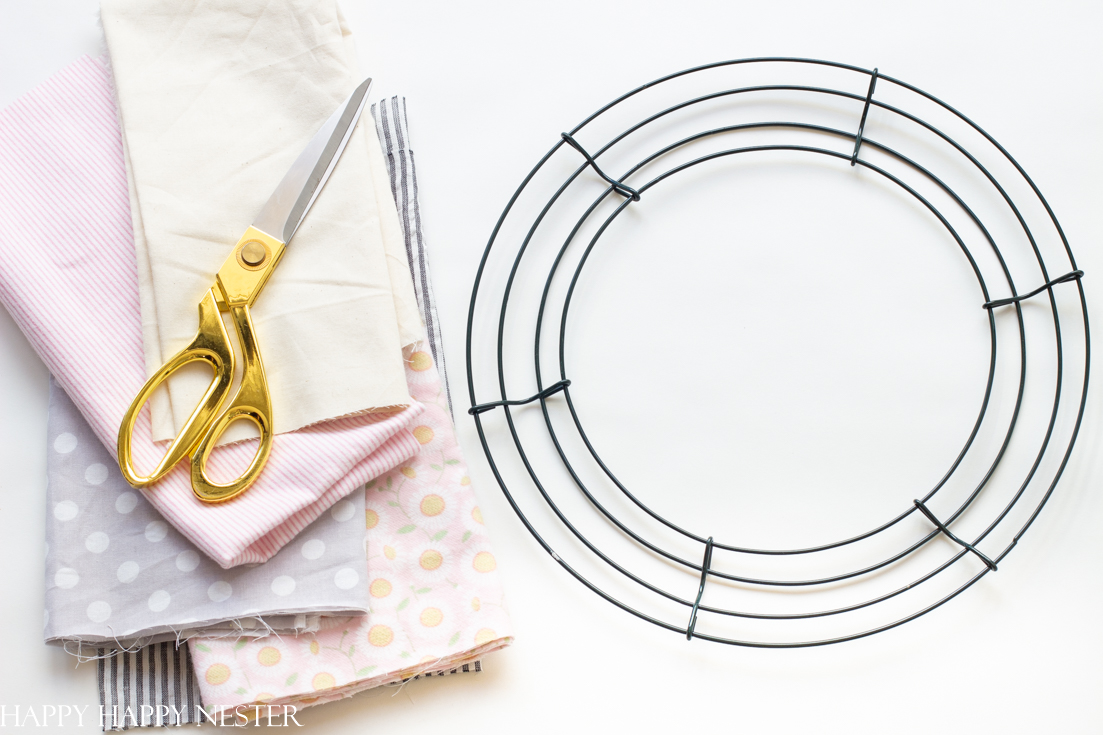
Items You’ll Need for the Rag Wreath
4 yards of fabric
Strips of fabric – Make roughly 260 fabric strips out of your 4 yards of material.
Wire (optional if you are adding decor to your wreath)
Decor accents (optional)
Glue gun (optional)
Lavender velvet ribbon (optional)
Yellow stripe ribbon (optional)
Instructions for Making a Fabric Rag Wreath
Watch the helpful video or follow the steps below.
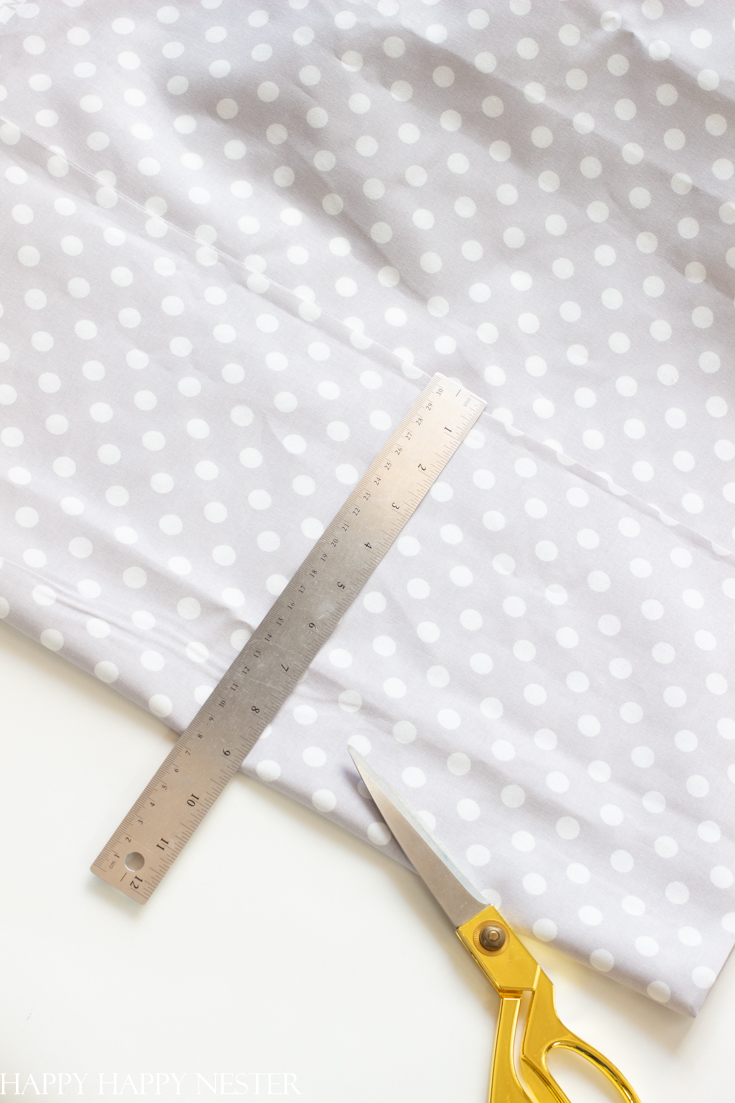
1. To make 9 inch long strips that are 1 inch in width, you’ll measure and cut your fabric into widths of 9 inches. I folded my material lengthways, so I cut two at a time. Then make sure to cut along the fold, so you have two pieces.
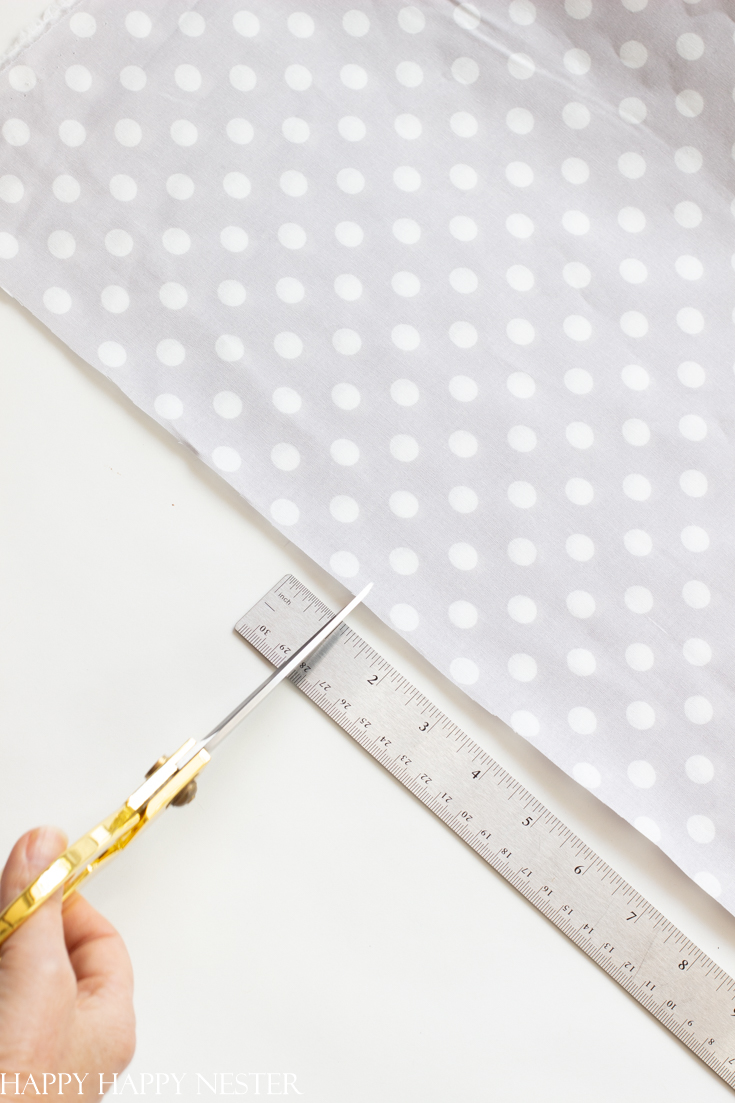
2. Then take the 9-inch wide fabric and snip along the bottom edge, 1-inch increments.
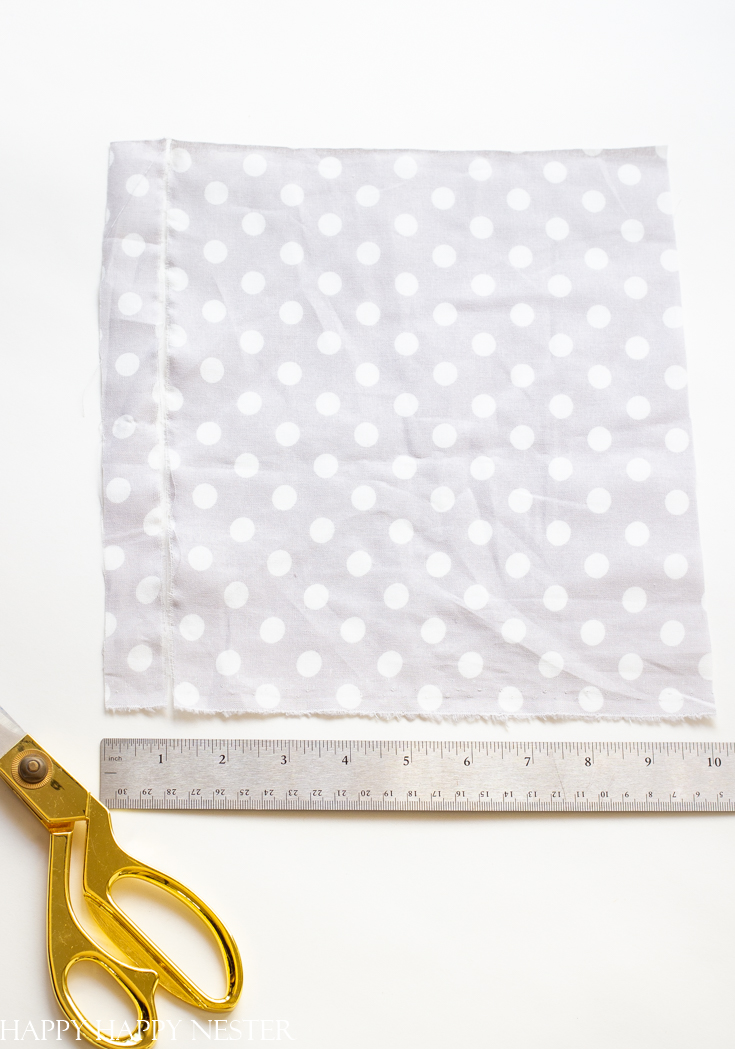
3. Where you cut your material, rip the fabric. It will have fabric grain and should rip easily.

4. Make roughly 260 strips of cloth. If you have a few different fabrics, divide up how many you need to each. I used two, so I had about 2 yards of fabric for each and about 130 strips of each. I cleaned off some of the loose threads on the fabric.
5. You’ll notice that there is a curve to the metal wreath so that the middle section is higher than the outer edges. When starting your wreath, make sure your wreath is bowed up rather than concave.
6. Next, thread your strips through the wire and pull both ends so that they wrap the backside of the wire. Tie the ends into a single knot and lay the loose fabric and its edges on top. Whatever pattern you want to create is up to you. I have two materials, so I alternated my strips when I attached them.
6. Add a wire to the backside of the frame to hang it. And place any accents to the wreath. You can attach them via a wire or hot glue. I chose to place them on with a wire, so I can change out the look of the wreath with the seasons.

I hope you liked this wreath project. I love making wreaths, and I teach a lot of wreath making over in my private FB membership. So if you like this post, you may enjoy our group. It is a $15 a month payment, and I provide weekly live tutorials, which include flowers, crafts, and baking. We would love for you to join!

So back to our fun tour! Here is the next spring project from the talented, Amanda from The Ginger Home. Amanda created a rolling library ladder, oh my goodness I so need this in my closet too!
Thanks again for joining me on the Fabric Rag Wreath project! I hope you have the time to create one for your home. There are so many fun fabrics out there, and the possibilities are endless. Choosing fabrics is probably the hardest part of this project!
Happy Crafting!


- Fluffy Japanese Pancake Recipe (Souffle) - March 16, 2026
- Sweet Lemon Treats - March 14, 2026
- Spring Flower Wreath DIY - March 13, 2026


Amanda
This is so pretty! Perfect for Spring!
happyhappynester
Hi Amanda,
I totally love how it turned out!
Thanks,
Janine
Andrea
What a fun project! Loved doing this hop with you friend! 🙂
happyhappynester
Hi Andrea!
Thank you, my friend!
Janine