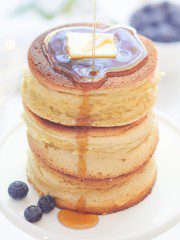
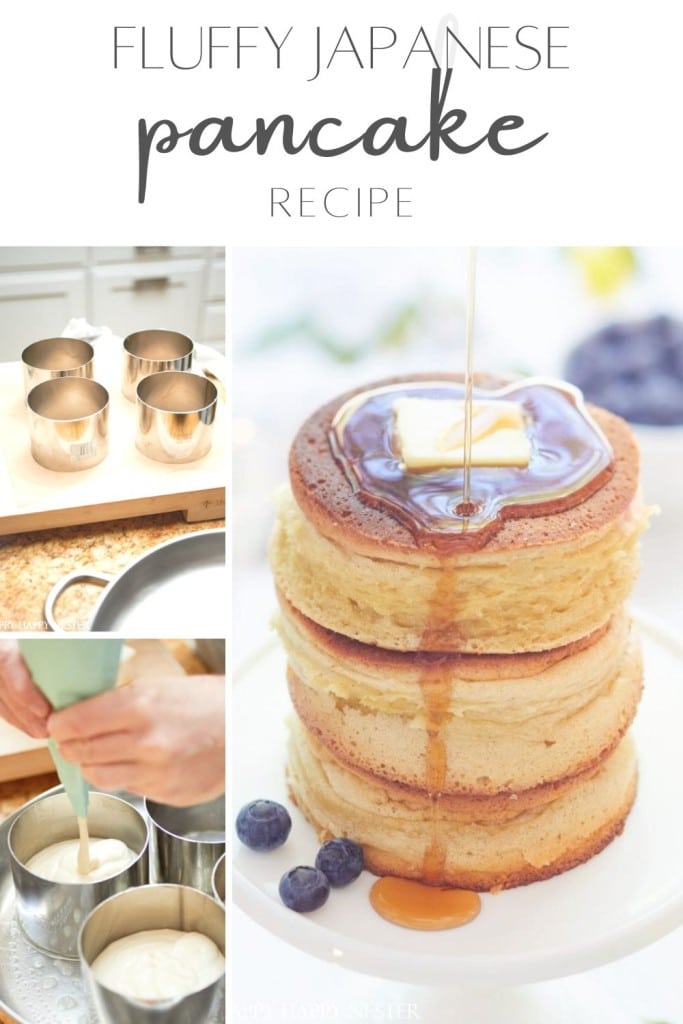
Fluffy Japanese pancakes are truly some of the fluffiest pancakes you’ll ever taste. They’re unbelievably airy, cloud-like, and melt-in-your-mouth soft, especially when topped with warm maple syrup. I don’t want to oversell them, but that’s a bit hard since they’ve quickly become one of my favorite desserts. This recipe uses egg yolks and whipped egg whites beaten to stiff peaks, which gives the pancakes their incredible height and delicate soufflé texture. Instead of cooking them in a low-heat skillet like many recipes, this version bakes them in the oven using ring molds to help them rise tall and perfectly round. The result is a fun and impressive twist on traditional pancakes that’s perfect for special breakfasts or celebrations.
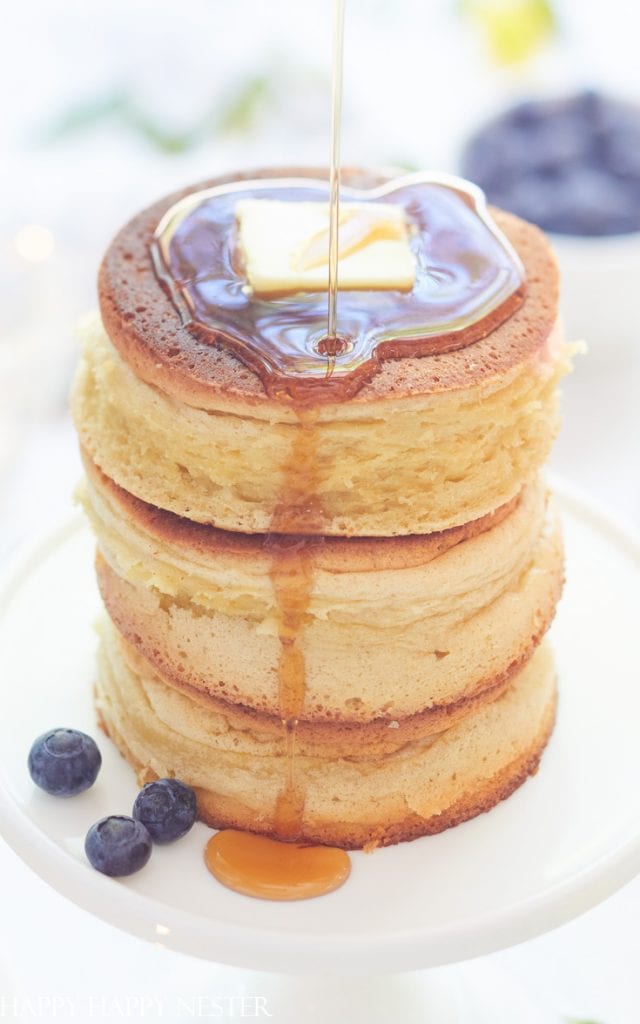
Photo: My Photography
The first time I saw it was on Tik Tok and social media. Yes, I’m over there, and I love all the videos. And I don’t think I would have a newfound love for our new yummy breakfast recipe.
*The following post contains affiliate links
Photo: My Photography
What is a Fluffy Japanese Pancake?
I’m looking at the trend (on my analytics) for this dessert; it peaked about last January and is starting to trend up again.
Don’t feel bad if you don’t know anything about these fluffiest pancakes. But before you Google Japanese pancakes, there are the traditional pancakes that are more of a savory recipe. My kiddos and I were served some at a playdate, and the kids were sadly disappointed. They were picturing sweet pancakes; instead, they had eggs with vegetables.
But this pancake is more like a sweet soufflé!
When you make these lofty pancakes, you whip the egg whites like a soufflé. This gives them their height, custardy, and jiggly characteristics! If you have had a Dutch Baby pancake and love the egg base, this is similar to them but on steroids.
Photo: My Photography
History of the Japanese Fluffy Pancakes Recipe
According to the New York Times, these fantastic pancakes appeared at a New York Japanese restaurant called Hi-Collar. And this all began in 2013. Then two shops in Osaka, Japan, began making these soufflés. These shops opened new places in Tokyo, and in 2016, the pancakes became popular.
We have a place here in San Francisco, Gram Cafe, and they serve these famous pancakes. Once we are free to roam and visit places, my husband and I will venture into the city for a little treat.
A Quick Recipe Snapshot
Recipe at a Glance
• Texture: ultra fluffy, airy, jiggly pancakes
• Difficulty: intermediate
• Prep Time: 20 minutes
• Bake Time: 25 minutes
• Yield: 6 tall pancakes
• Best For: brunch, special occasions, weekend breakfast
Ingredients You’ll Need for Fluffy Japanese Soufflé Pancakes
Each ingredient plays a role in creating the fluffiest pancakes — egg whites add lift, baking powder gives extra rise, and milk keeps the crumb tender and moist.
- Granulated Sugar
- Water
- Egg Yolks
- All Purpose Flour
- Baking Powder
- Vanilla Extract
- Butter (melted and at room temperature)
- Milk
- Egg Whites
Photo: My Photography
How do you make these delicious pancakes?
I’m sincere here. Let me start that if you are up for a bit of a baking challenge, this recipe is for you! If you are new to baking, then you might struggle a bit.
I feel these pancakes are super special and worth the bit of extra effort.
Step 1 – Prep
So, first, you gather all your ingredients. And for this recipe, you’ll want to invest in a food scale. So measure out all your ingredients. Also, you’ll want to get your baking rings ready. Measure and cut tin foil or parchment paper to the shape of the ring’s inside—lightly oil the inside of the ring and the aluminum tin foil or parchment paper. Next, place the aluminum or paper inside the ring for best results, ensuring the oiled side faces the pancake batter. Place the rings on a cookie sheet with a Silpat liner.
Separate the eggs, placing the yolks in a separate bowl.
Step 2 – Preheat oven to 350 degrees Fahrenheit.
Step 3 – Mix Sugar and Water
Get your sugar mixture ready for the egg whites.
Step 4 – Make the Flour Paste
Place egg yolks, all-purpose flour, vanilla extract, and milk in a large bowl. Whisk this egg yolk mixture.
Step 5 – Whip Egg Whites
Using your KitchenAid stand mixer with the wire whisk attachment, begin whipping the remaining egg whites at the slowest speed. Once they start to foam, slowly add the sugar mixture. Then, once you have added the sugar, increase the mixer speed to high.
Step 6 – Egg Whites Form Stiff Peaks
So, do this test once your egg whites start to look stiff. Please turn off the mixer, unlock the bowl, and turn it upside down. The egg white should be stiff enough, and it will not move. If this is how your whites appear, they are ready.
Step 7 – Mix Whites with Paste
Mix only 1/3 of your egg whites with the flour paste. Mix thoroughly. Next, add another 1/3 of the egg whites and gently fold them from the bottom of the bowl to the top. Then, once the mixture is good, add the final bunch of whites and mix.
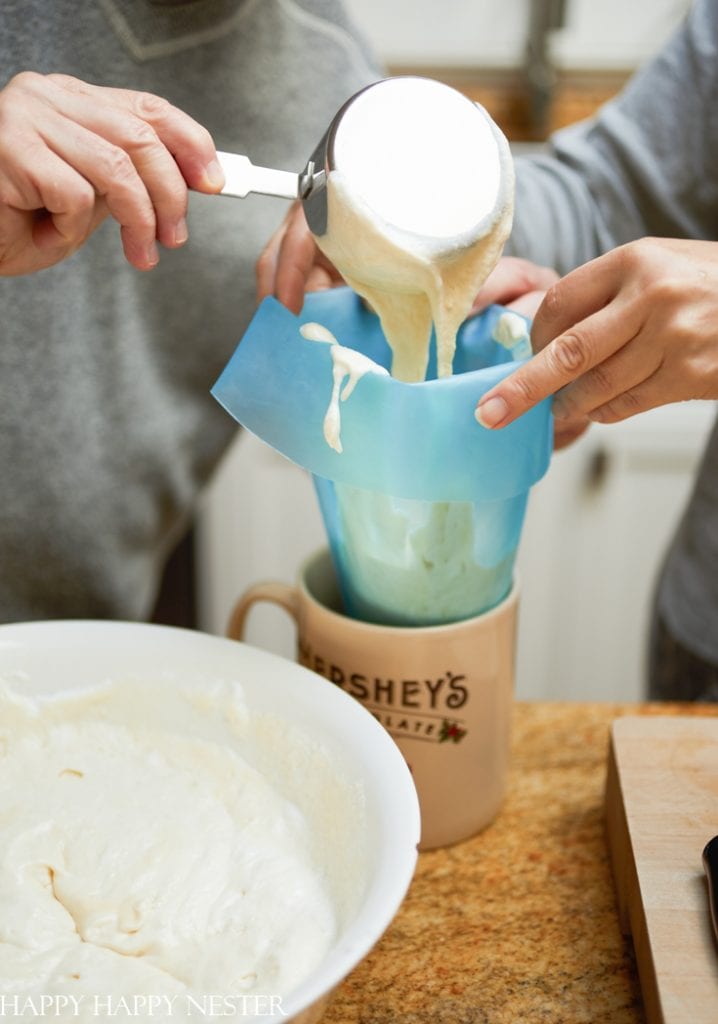
Photo: My Photography
Step 8 – Place Batter in Piping Bag
This is a little tricky, and you may need some help. Somehow clamp the end of your piping bag before filling. Then fill the bag with the batter. You may need to fill two bags. I have a huge pastry bag, so we fill it to the brim.
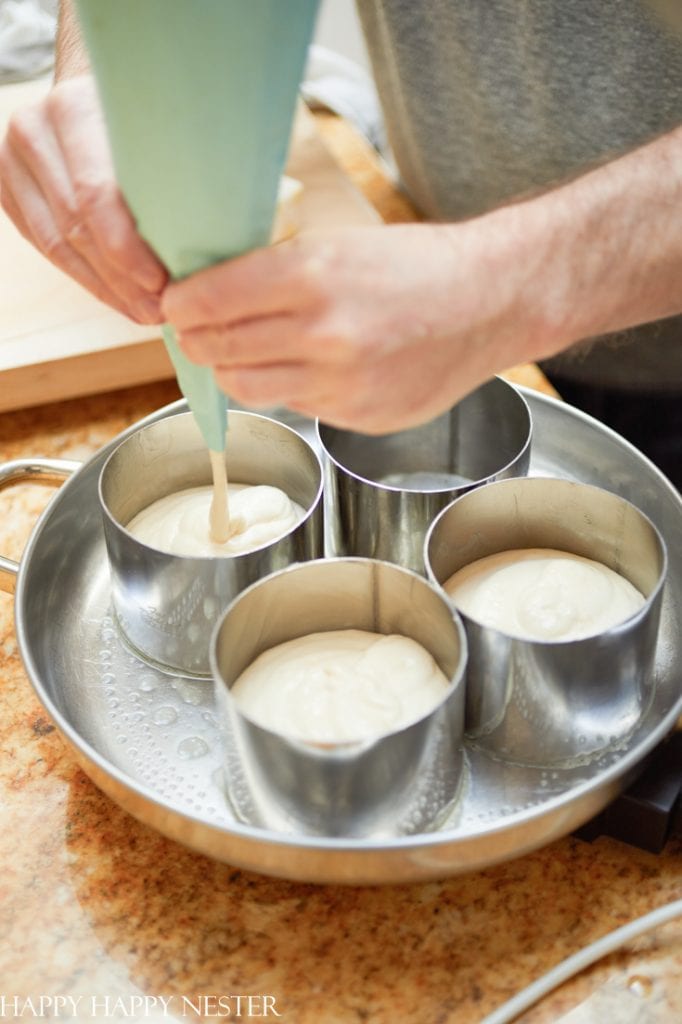
Photo: My Photography
Step 9 – Fill Rings
Note that these photos show a frying pan instead of an oven. We finally figured out that baking the pancakes is a more straightforward process.
So, place a Silpat on your cookie sheet. Next, place your prepared rings on top of the Silpat. Here is where it’s good to have a second person. I held onto the top of the pastry bag, and my hubby held the bottom. He decided when to open the bottom of the pastry bag to let the batter flow. Then, he clamped it with his hands when it was full, and we filled the next ring. Make sure to fill the molds 2/3 of the way up. If you fill 3/4 of the mold with batter, it will rise and bake over the mold. Once you have filled all six rings, place them in the oven.
Step 10 – Bake – Cooking Time
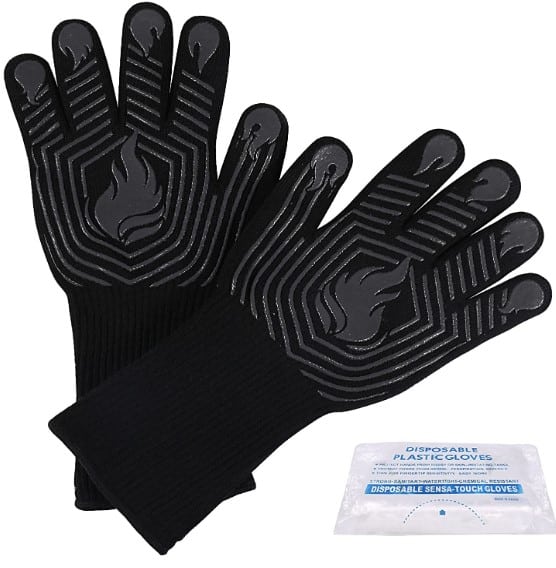
Bake the pancakes for 20 minutes or until golden brown. Bring out the pancakes and carefully flip the rings off the top of the batter when it is cooked and not runny. This can be tricky since the molds are hot. You may have to use a knife to pry the dough away from the top edge of the ring rim. I bought the oven gloves so we could flip the molds.
Step 11 – Return Pancakes to the Oven
Bake for another 5 minutes, and then take the pancakes out of the oven. Run a thin knife around the inside of the ring to free the dough and lift the round mold off the pancake.
You’re done, and now it’s time to enjoy your creation!
Fluffly Japanese Pancakes
Ingredients
Sugar Mixture
- 152 grams sugar
- 72 grams water
Paste
- 4 egg yolks
- 150 grams all-purpose flour
- 4 tsp baking powder
- 4 tsp Vanilla Extract
- ½ cup butter melted and room temperature
- ½ cup milk
Meringue
- 12 egg whites
Prepping Molds
- Crisco
Instructions
Prep
- Prepare the rings by covering the inside with Crisco. Measure and cut parchment paper to fit inside the rings. Place the paper against the inner part of the rings. You may need to add more Crisco to get the paper not to stick.
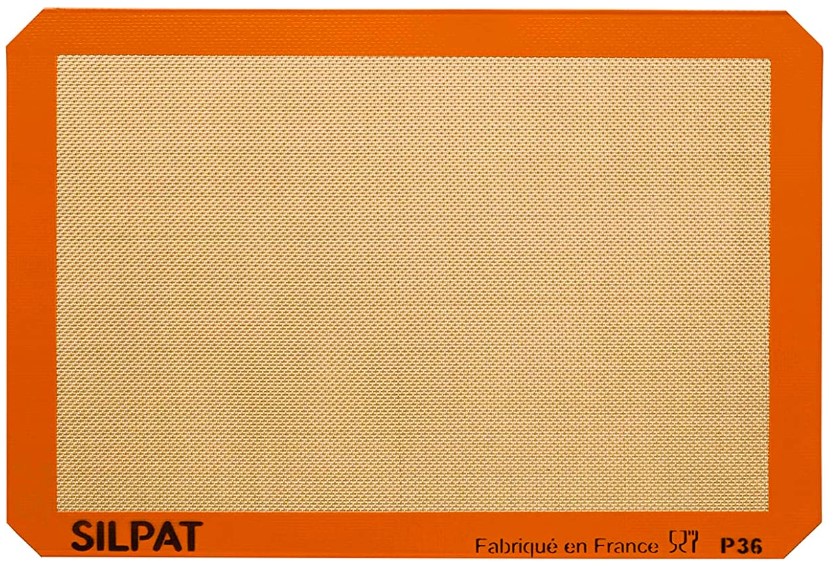
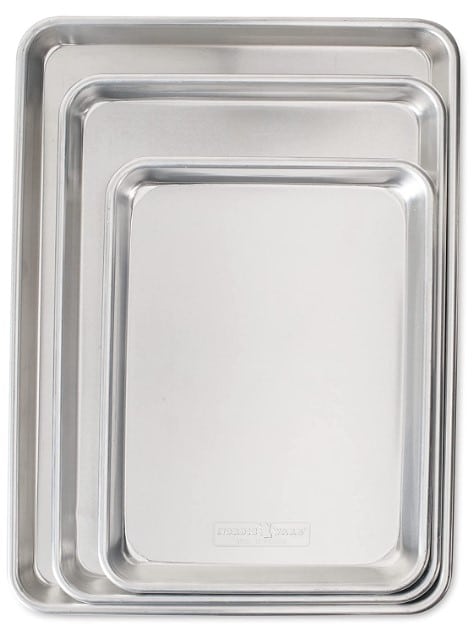
- Place a Silpat mat on the cookie sheet.
- Place prepared rings on the Silpat.
- Measure all ingredients with the food scale and place them in bowls.
Paste
- Place egg yolks, flour, vanilla extract, and milk in a large bowl. Mix well with a whisk.
- Add room temperature melted butter to the egg yolk mixture.
- Next mix in the baking powder.
- Set mixture aside.
Meringue
- Place egg whites in a mixer, and with the whisk attachment, start slowly stirring.
- Once the egg white begins to foam, add the sugar mixture to the whites. Now increase the mixer speed to high. Beat until the whites form stiff peaks.
- You'll know the peaks are stiff when you turn the bowl upside down, and the egg whites stay in the bowl and don't move.
Mix Meringue with Paste
- Mix ⅓ of the meringue (stiff egg whites) with the paste. Mix thoroughly.
- Add the next ⅓ of the egg whites to the mixture. Then fold in the final ⅓ to the paste.
Fill Pasty Bags
- Add batter to a large pastry bag. Make sure to tie or clamp off the bottom, so the batter doesn't flow out the end.
- Also, no need to use a pastry tip with your bag. The hole in the bag with be fine.
Fill Baking Rings
- Add batter to the rings. Have another person hold the bottom of the bag so the batter won't come out. They can regulate how much batter goes into the rings.
- Fill the rings ⅔ full. These fluffy pancakes will rise quite a bit, so don't be tempted to fill them beyond the ⅔ level.
Bake
- Bake at 350° for 20 minutes. When the tops are brown, take the tray out of the oven.
- Remove any excess cooked batter that leaked out.
- Use oven gloves, flip the pancake rings and the pancake and place them on the Silpat mat.
- Return the flipped pancakes to the oven and bake for another 5 minutes.
- When the pancakes are done, remove them from the oven and run a thin knife along the inside edges. This will release the parchment from the mold. Take off the rings from the pancakes.
- Remove the parchment from the pancakes and serve immediately.
Nutrition
Do I Need Any Special Equipment to Make This Japanese Fluffy Pancake Recipe?
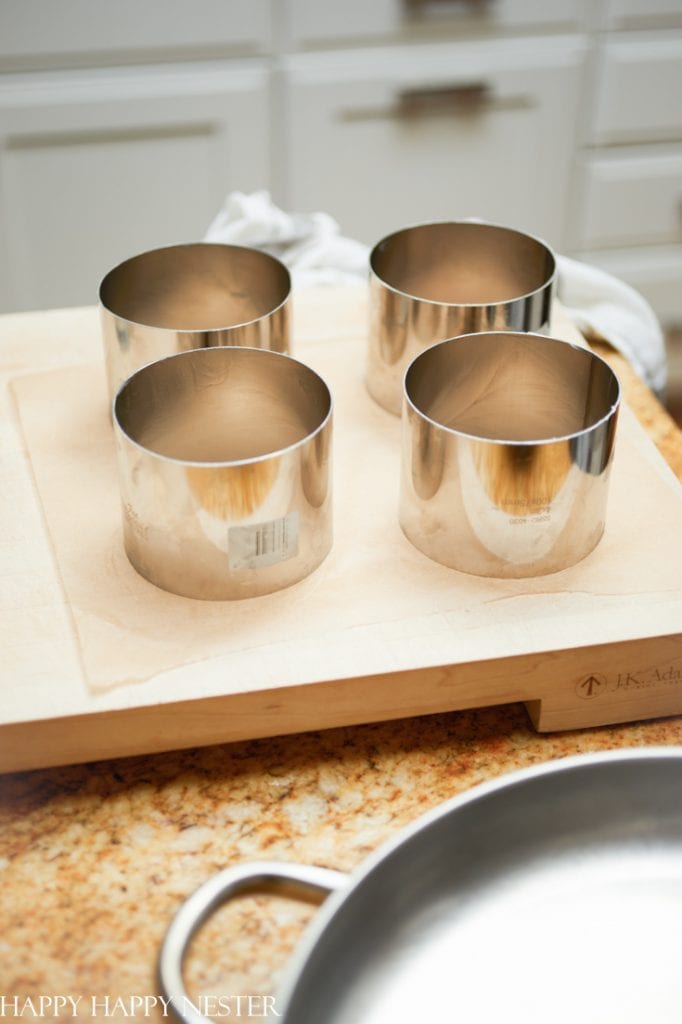
We made this recipe using parchment as molds, which didn’t work. We also made a mold using tin foil, and it all worked well.
Photo: My Photography
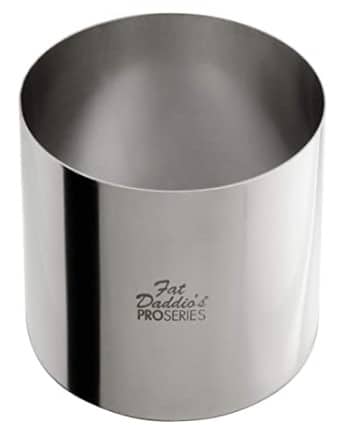
But you must make a circle and weigh it down so the foil is flush at the bottom. It’s easiest if you use these stainless steel cooking rings.
If your cookie sheet is warped, place a Silpat on it. This step will create a good seal between the rings and the Silpat. You want a good seal so the batter won’t seep out. But that isn’t a deal breaker; we just cut away the baked dough.
Also, I bought some heavy oven gloves since we had a tough time flipping the rings with clunky big oven mitts.
Some of the ingredients need to be measured with a scale. So you’ll need this tool to make this recipe.

Why These Are the Fluffiest Pancakes
• Whipped egg whites create a stable meringue structure
• Gentle folding traps air bubbles for maximum lift
• Baking in molds helps pancakes rise tall instead of spreading
• Slow baking prevents collapse and keeps the texture soft and custardy
Pro Tips for Making the Fluffiest Pancakes
• Use room-temperature egg whites for better volume
• Whip egg whites to stiff peaks but avoid over-mixing
• Fold gently to prevent deflating the batter
• Fill molds only ⅔ full, so pancakes rise evenly
• Bake immediately after folding for maximum fluffiness
Troubleshooting Fluffy Pancakes
Why did my pancakes collapse? Over-mixing or under-baking can cause deflation.
Why aren’t my pancakes fluffy? Egg whites may not have reached stiff peaks.
Why are my pancakes dense? Folding too aggressively removes air from the batter.
Frequently Asked Questions
Air incorporated into the batter — especially whipped egg whites — creates lift and softness.
Yes, but molds help pancakes rise taller and maintain their signature soufflé shape.
Yes, they are lighter, taller, and more airy thanks to the meringue technique.
No, the batter should be baked immediately to preserve volume and fluffiness.
Things to Add to These Jiggly Pancakes and Best Toppings for the Fluffiest Pancakes
- Fresh Fruit
- Fresh Berries
- Whipped Cream
- Maple Syrup
- Powdered sugar dusting
- Lemon curd
- Vanilla whipped cream
- Fresh strawberries
- Honey butter drizzle
More Pancake Recipes to Try!
If you love soft breakfast treats, you might also enjoy my Dutch Baby Pancake recipe and classic buttermilk pancakes — both are reader favorites on Happy Happy Nester.
If you’ve been searching for the fluffiest pancakes to impress family and friends, this Japanese soufflé pancake recipe is pure magic. With their airy texture, delicate sweetness, and jiggly height, they’re guaranteed to turn any breakfast into a special occasion.
I hope you have a chance to try baking these beautiful, tall pancakes! Of course, we are now big fans. It is pretty rewarding to figure out how to make this breakfast treat. It only took us five attempts to perfect these. And lucky for you, we came up with an easier way to make these fluffy Japanese Pancakes!
Bon Appétit!

Please make sure to visit my friend’s fabulous recipes!
9 Best Easter Brunch Delicious Recipes
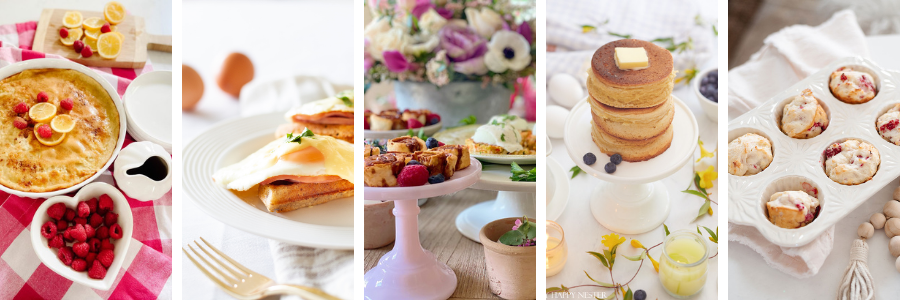
Keto Low-Carb Dutch Baby Giant Pancake // Tatertots & Jello
Easy Waffle Eggs Benedict // Zevy Joy
My Favorite Easter Brunch Recipe Ideas // My 100 Year Old Home
Fluffy Japanese Souffle Pancake // Happy Happy Nester
Raspberry Greek Yogurt Muffins // The DIY Mommy
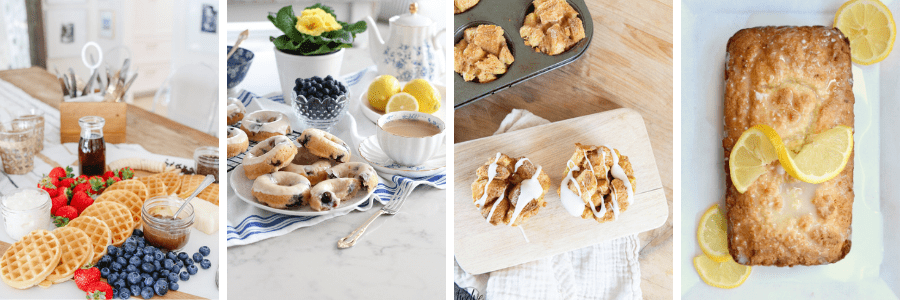
Waffle Brunch Board // Modern Glam
Blueberry Donuts with Lemon Glaze (Gluten Free) // Satori Design For Living
Brioche French Toast Muffins // Twelve on Main
Easter Brunch Recipe Ideas // My Sweet Savannah


- Mochi Recipe: How to Make Easy Homemade Mochi - June 18, 2026
- Strawberry Oreo Cheesecake Recipe with Oreo Cookie Crust - June 15, 2026
- Ai Kitchen Remodel - June 12, 2026


Shauna
These pancakes look absolutely delicious! Love that they’re baked too, which means not having to stand over a griddle and wait.
Teddee Grace
Whew! Maybe you should just start selling these. That recipe sounds like a doozy.
Sarah @ The DIY Mommy
These look so tasty.
happyhappynester
Ah, thank you, Sarah!
Sydney85
would love to have a video of you making these pancakes.
Janine Waite
I’m sure my husband would be up for making them and filming them! He loves these pancakes! Ok, it’s on my list for the new year!
Amy
Just checking – in step 3 you say to flip the ring and loosen pancake, but then step 4 says flip ring onto the silpat and bake the flipped pancake 5 more minutes. If I’m flipping it twice I’m returning it back to the oven with the same side up that originally was correct?
Janine Waite
Hi Amy,
I’m such a putz. I didn’t mean to say to flip the ring and loosen the pancake. Ignore those old directions. Just flip the pancake and ring back onto the Silpat. I corrected the recipe. Thanks for catching that mistake.
Penny Thomas
Please tell us which size molds we are to purchase. Is it the 4 x 3 rings? They come in many sizes!