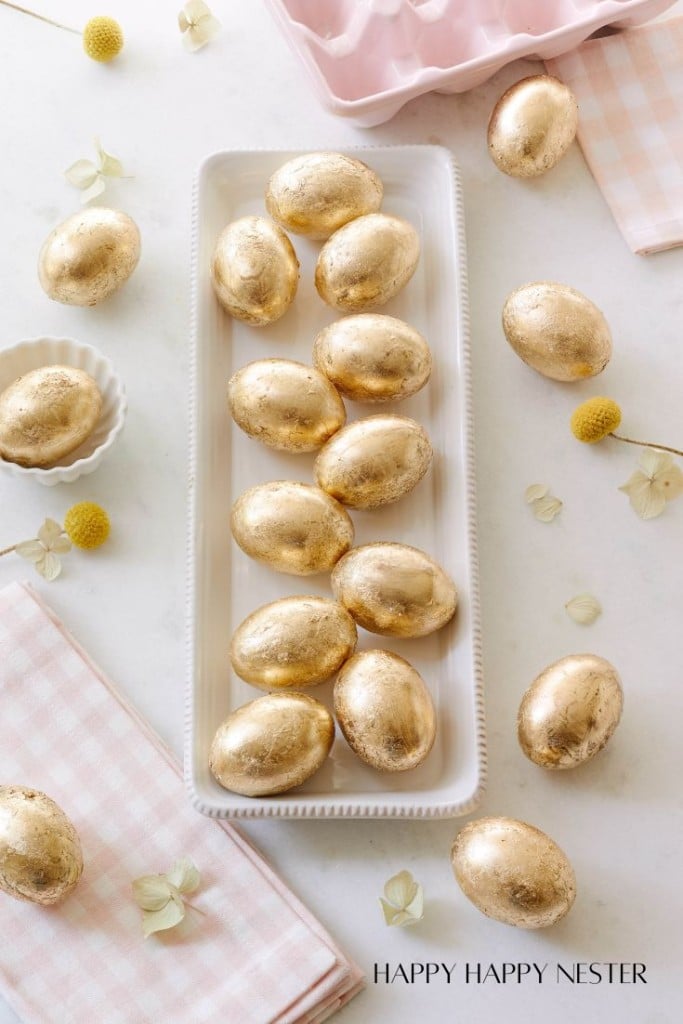
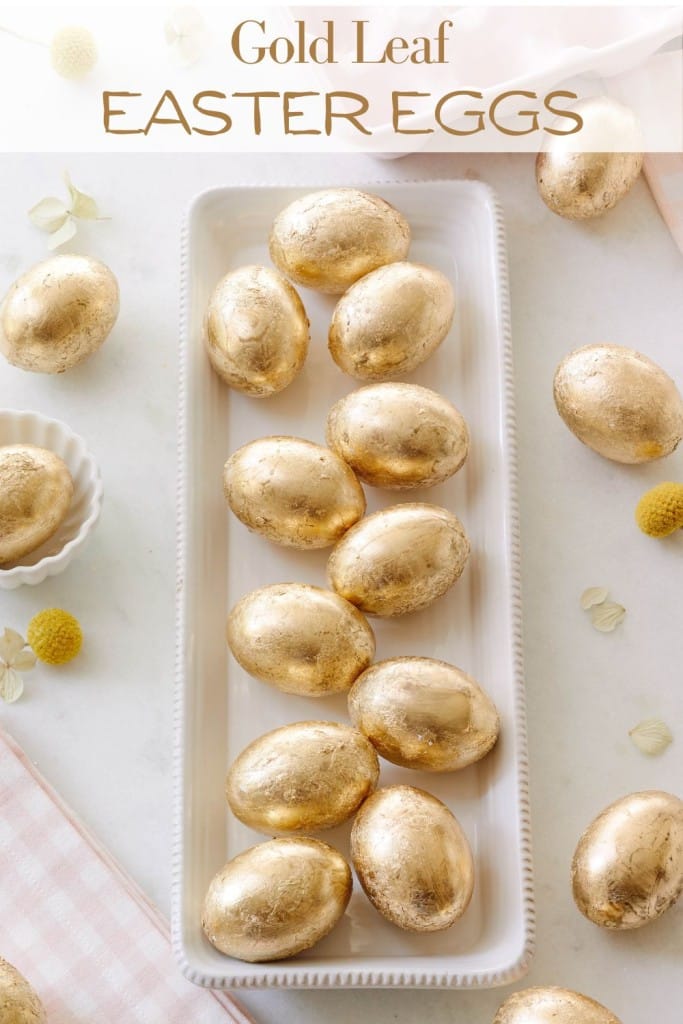
I’m in the middle of putting together this Easter egg wreath, and I’ve decided to add some pretty Gold Leaf Easter Eggs. I thought I’d share how to apply and seal those gold leaf sheets onto wooden eggs. It’s a bit of a learning curve, but I’ve got all the tips and tricks covered in this easy and helpful tutorial.
Before covering your wooden eggs with thin sheets of gold leaf, you’ll want to read this step-by-step tutorial.
If you’ve ever been curious about gold leafing, this tutorial will demystify the process and help you start your first faux Easter egg gilding adventure!
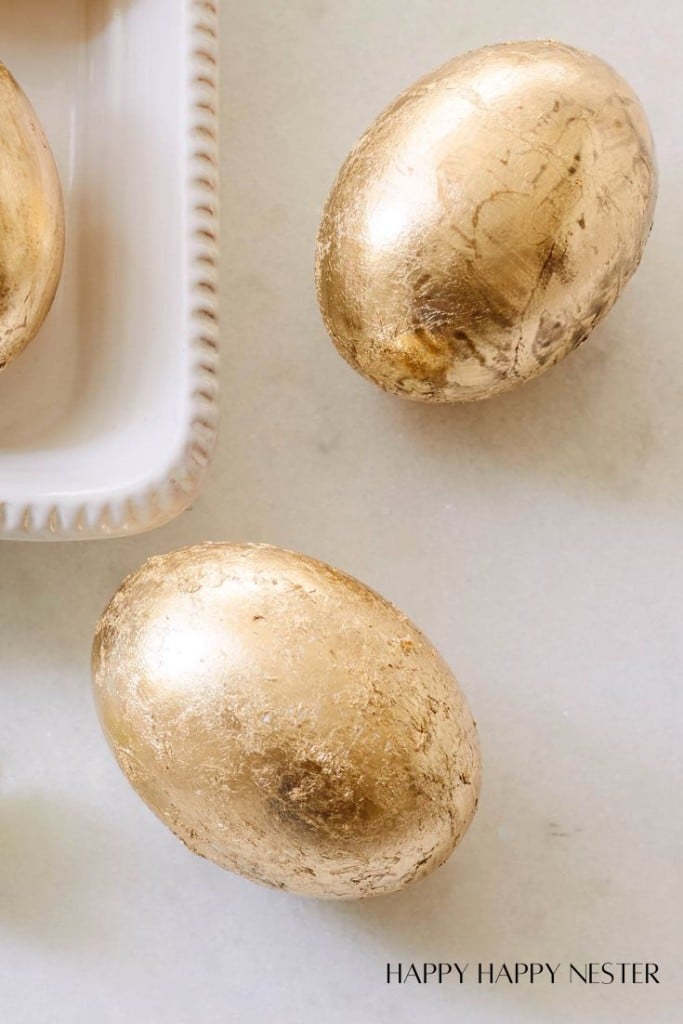
Gold Leaf Easter Eggs
These gold wooden faux eggs are so beautiful! I searched on the internet to buy them pre-made but couldn’t find them anywhere. I’m unsure if I’m too early for Easter or if they just don’t exist in stores. You see, I wanted the eggs fully covered with gold leaf. Most of the ones available were speckled. As much as I liked the speckled look, I was determined to have the egg fully covered.
And the only way to do that was to make my own and share this DIY.
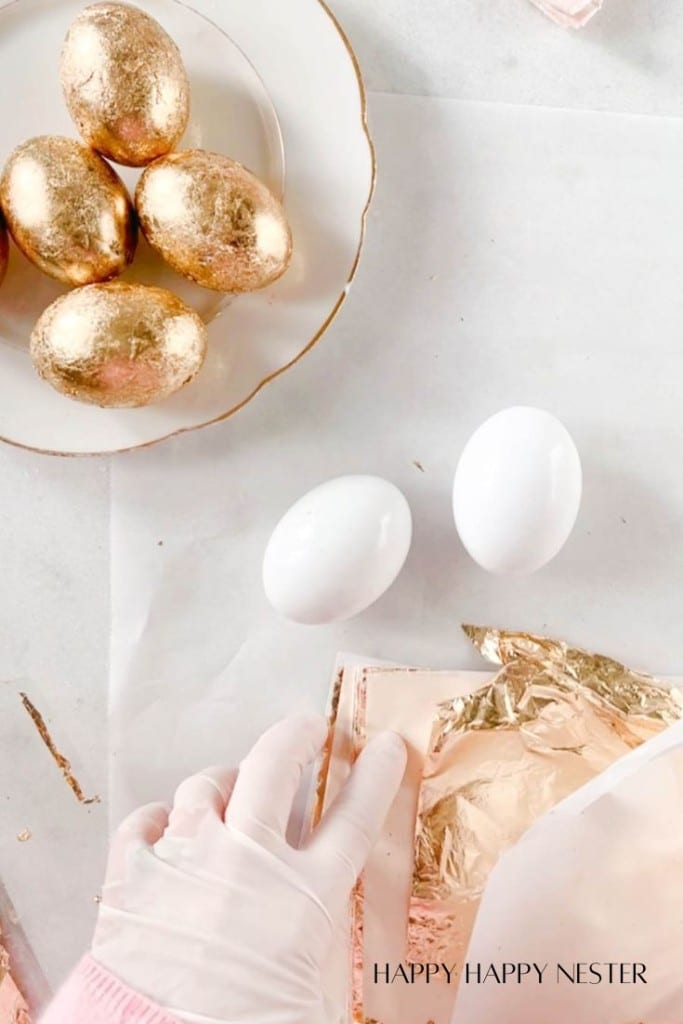
Supplies You’ll Need
- Wooden Eggs: Serve as the base for the gold leafing process, providing a sturdy surface for application.
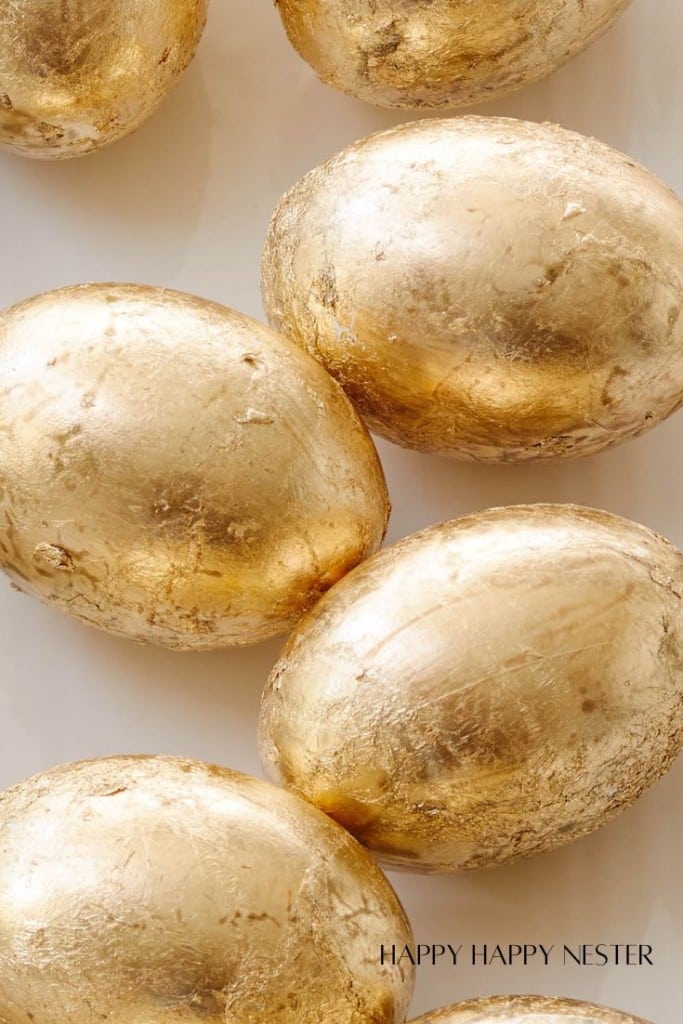
- Gold Leaf Sheets: These delicate, ultra-thin sheets of real gold add a stunning shimmer to any surface they’re applied and are perfect for Easter eggs. It sells in a packet of 100 sheets, and I used about three for each egg. I made about 18 eggs, so I used a lot of gold leaf sheets. I found that 100 sheets wasn’t overkill.
- Gold Leaf Adhesive: Used to adhere the delicate gold leaf sheets onto the wooden eggs, ensuring they stick securely.
- Gold Leaf Sealer: Applied after gold leafing to protect the delicate finish and enhance its shine, providing a durable, glossy surface.
- Paint Brush: Enables precise application of the adhesive and sealer onto the wooden eggs, ensuring an even coat for optimal adherence and protection.
- Parchment Paper: Acts as a non-stick surface for drying freshly painted eggs, preventing them from sticking to other surfaces and maintaining their pristine appearance.
- Gloves: Protect hands from sticky adhesive and sealant and prevent fingerprints or smudges on the delicate gold leaf finish during application.
How To Gold Leaf
Prep: Before starting, get out three sheets of parchment paper.
Step 1: Prepare the Wooden Eggs
Before applying gold leaf, ensure your wooden eggs are clean and smooth.
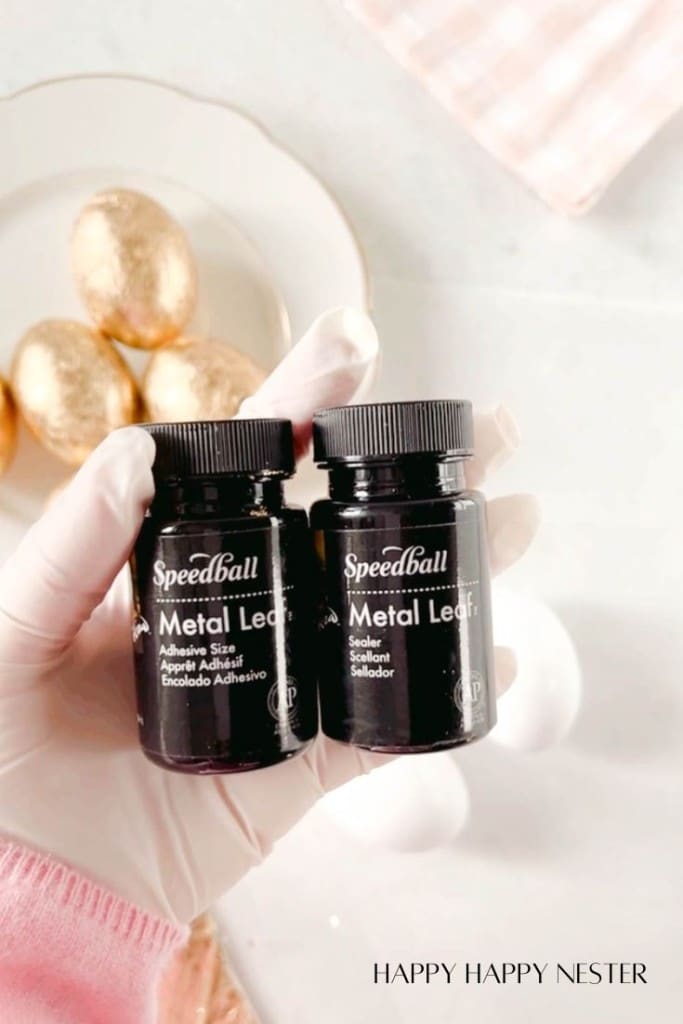
Step 2: Apply Gold Leaf Adhesive
The adhesive bonds the gold leaf securely, ensuring smooth coverage and optimal adherence.
Put on your latex gloves and apply a thin layer of gold leaf adhesive onto the prepared wooden eggs using a paintbrush. Make sure to cover the entire surface evenly. Place the wet eggs on your parchment paper to ensure they don’t touch each other.
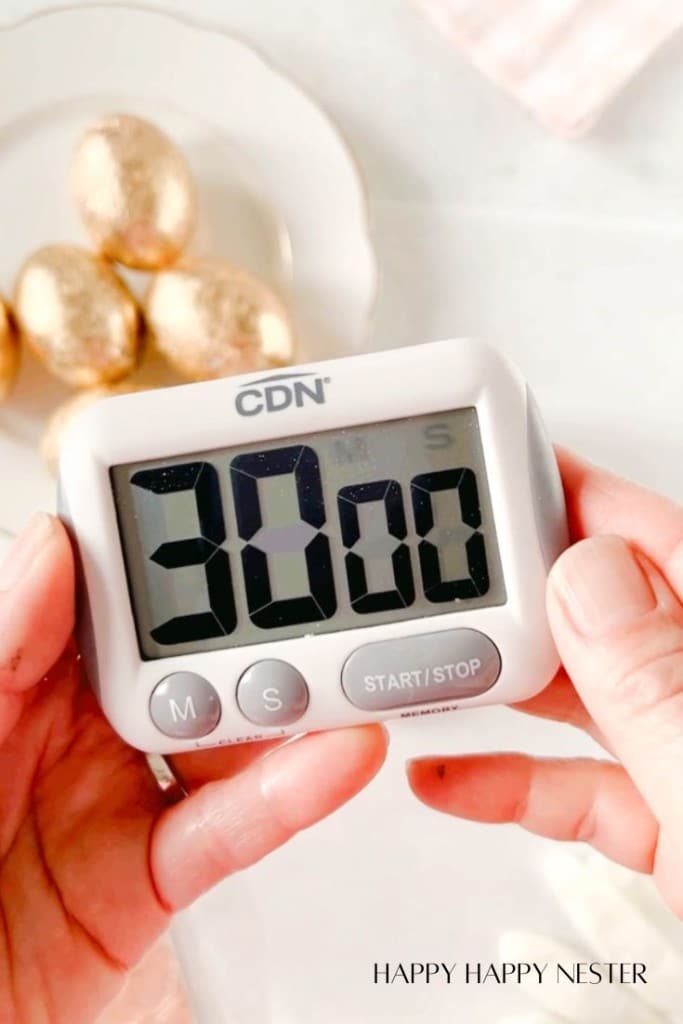
Step 3: Let the Adhesive Set
Allow the adhesive to sit for at least 30 minutes to achieve optimal tackiness before applying the gold leaf.
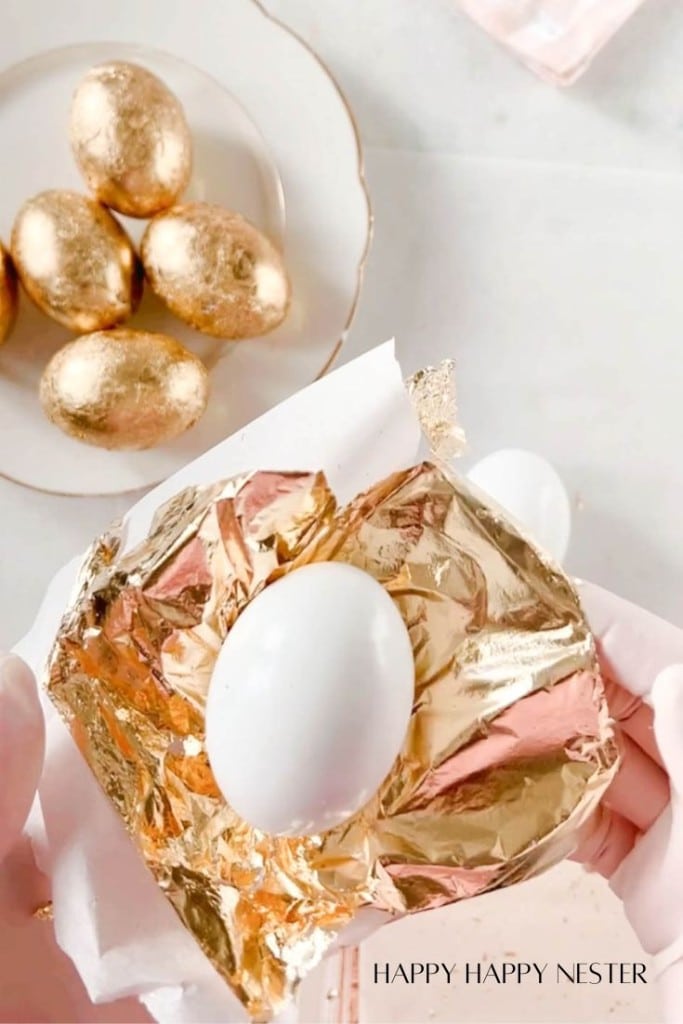
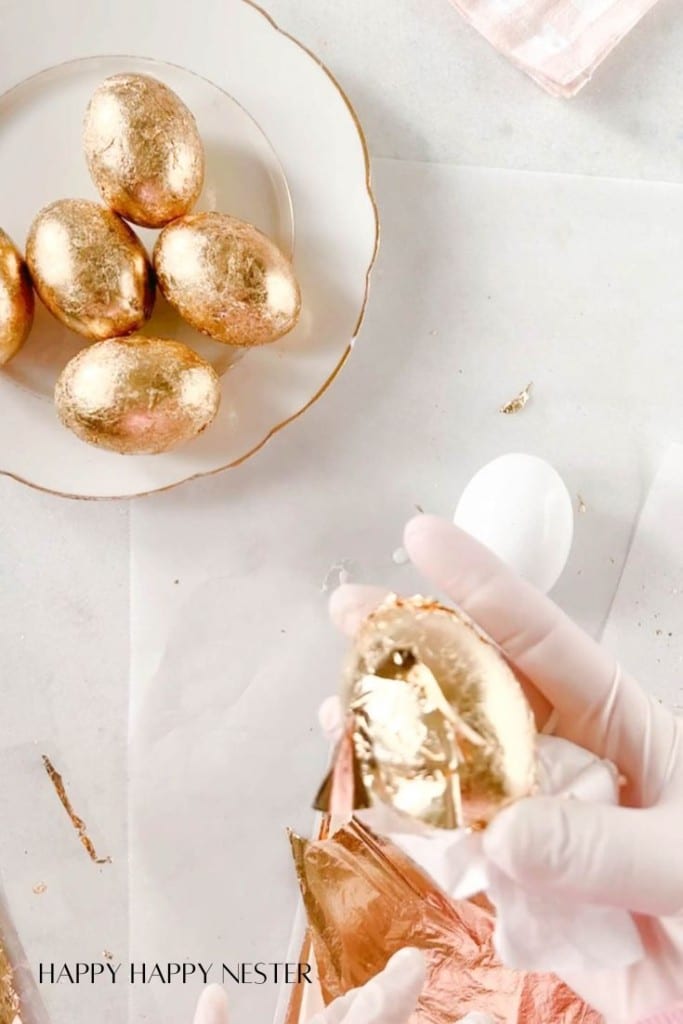
Step 4: Apply Gold Leaf
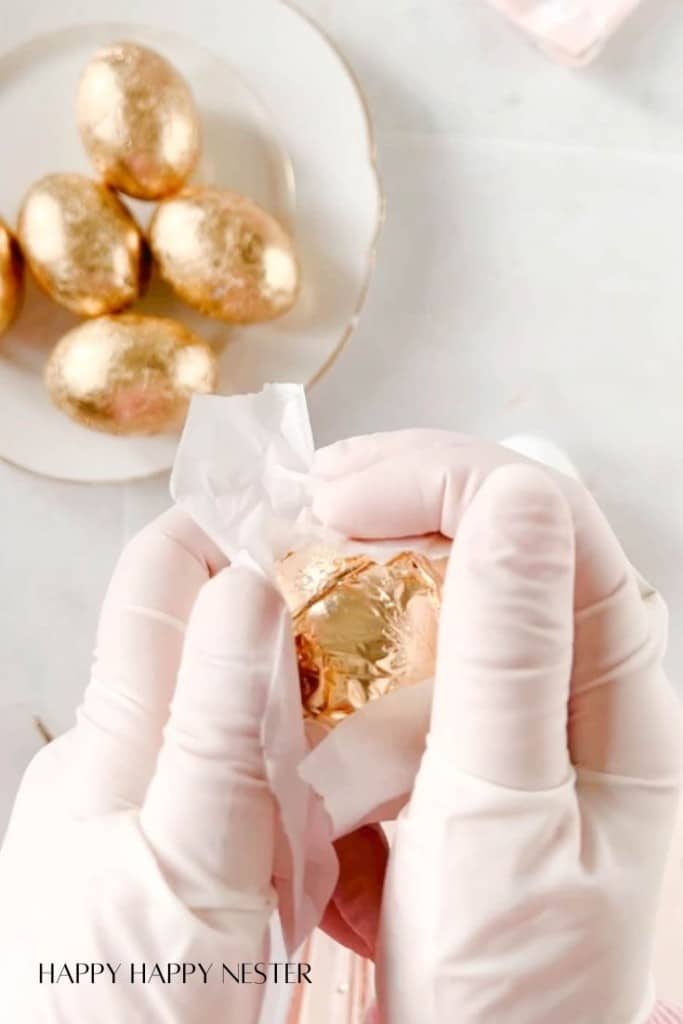
The delicate nature of gold leaf requires a gentle touch during application to prevent tearing or wrinkling. Pressing the gold leaf onto the adhesive ensures a smooth and even finish.
You’ll want to wear a new pair of gloves since your old ones are probably sticky. Be aware that the sheets of gold leaf will stick to everything. Carefully place a sheet of gold leaf onto the adhesive-covered surface of the wooden eggs. I picked up both the paper inserts and the gold leaf sheet together. Then, I wrapped the gold leaf sheet gently all over the egg. I used the paper to press the paper into the egg since it would most likely stick to my gloves. Press the gold leaf onto the eggs, ensuring they adhere to the adhesive.
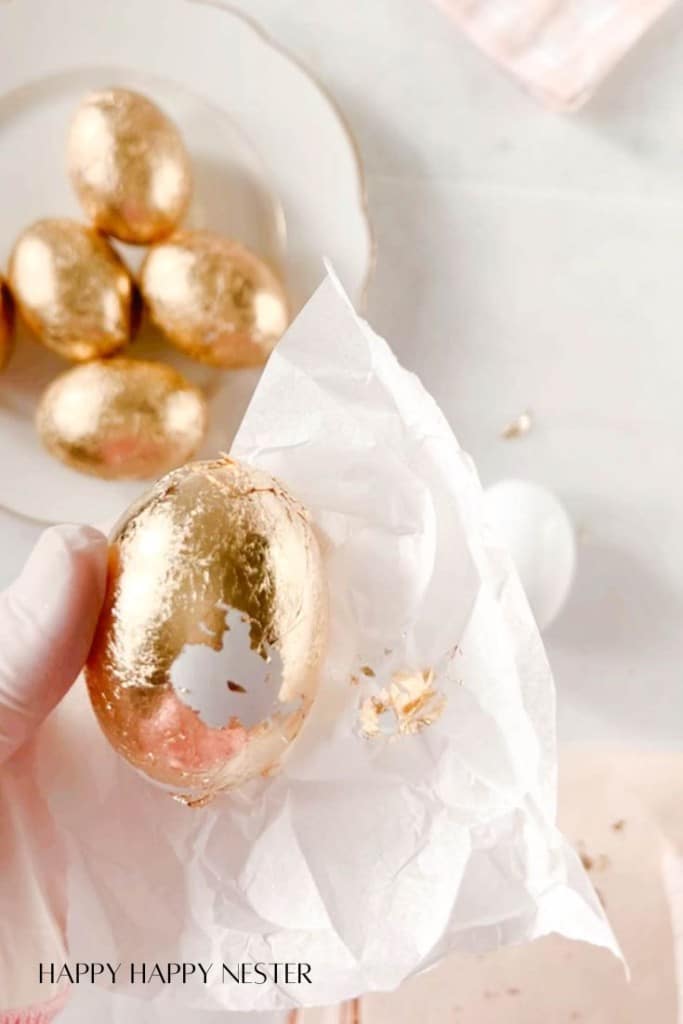
If you have bare spots with no gold leaf, pour a tiny bit of adhesive on your parchment paper and dip that bare spot into the solution. Then, take a piece of gold leaf and dab the egg onto it.
Step 5: Let the Adhesive Dry
Allow the adhesive to dry completely before applying the sealer. This ensures a strong bond and smooth application.
It can take anywhere from 15 minutes to 1 hour for the adhesive to dry completely, depending on the temperature and humidity of your home.
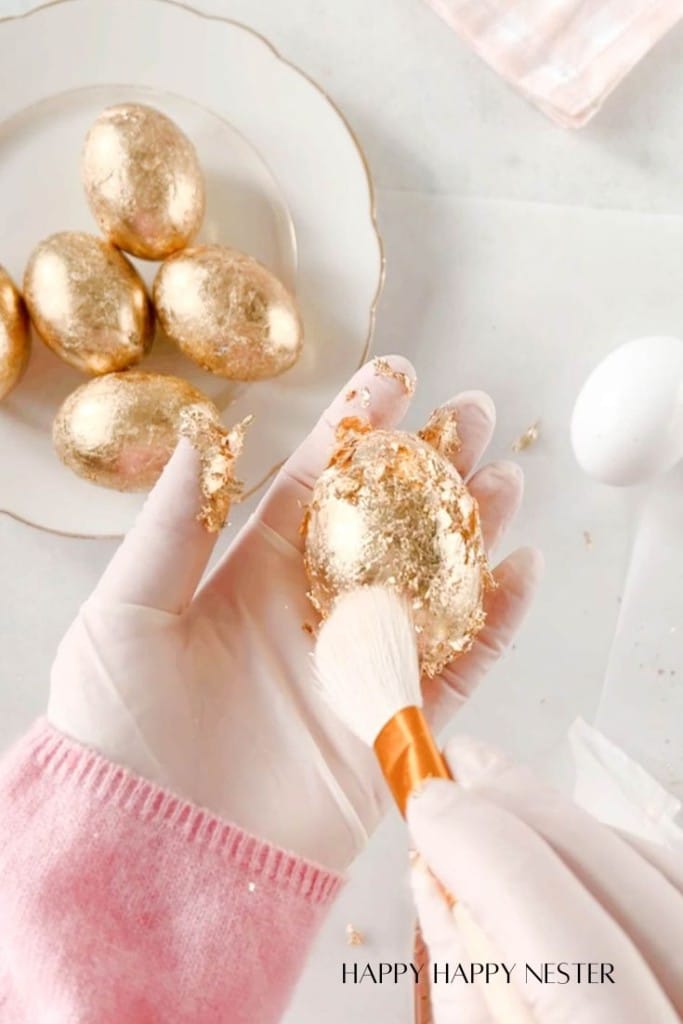
Step 6: Remove the Excess Gold Leaf
After the adhesive has thoroughly dried, use a soft brush or cloth to gently rub the surface of the gold leaf to remove any excess and smooth out any wrinkles.
This step helps to create a polished and uniform appearance, enhancing the overall shine and finish of the gold leaf.
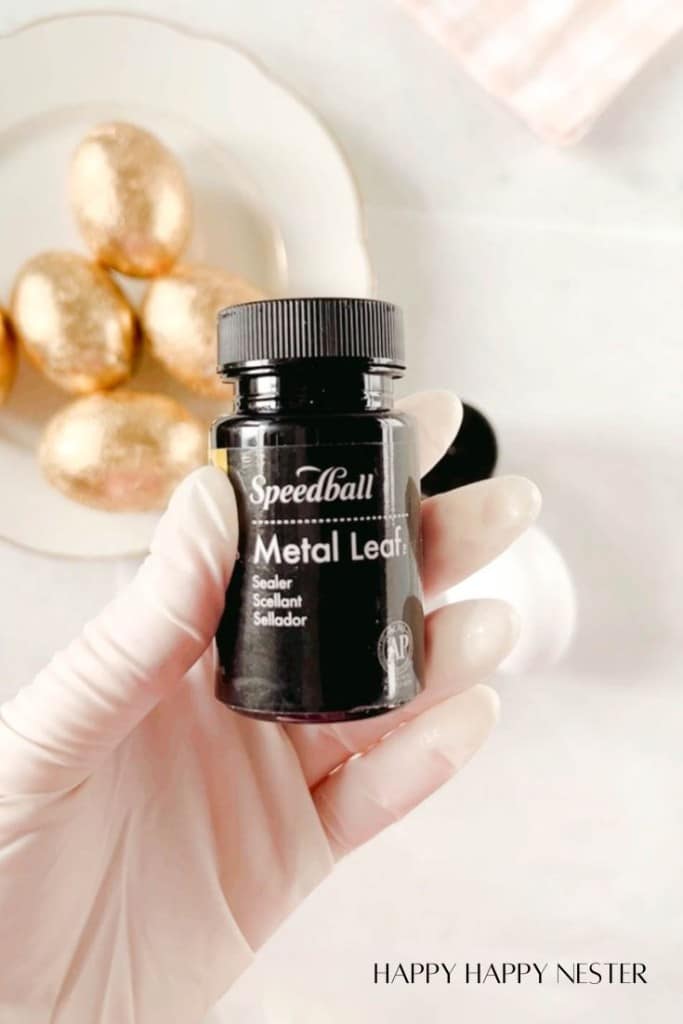
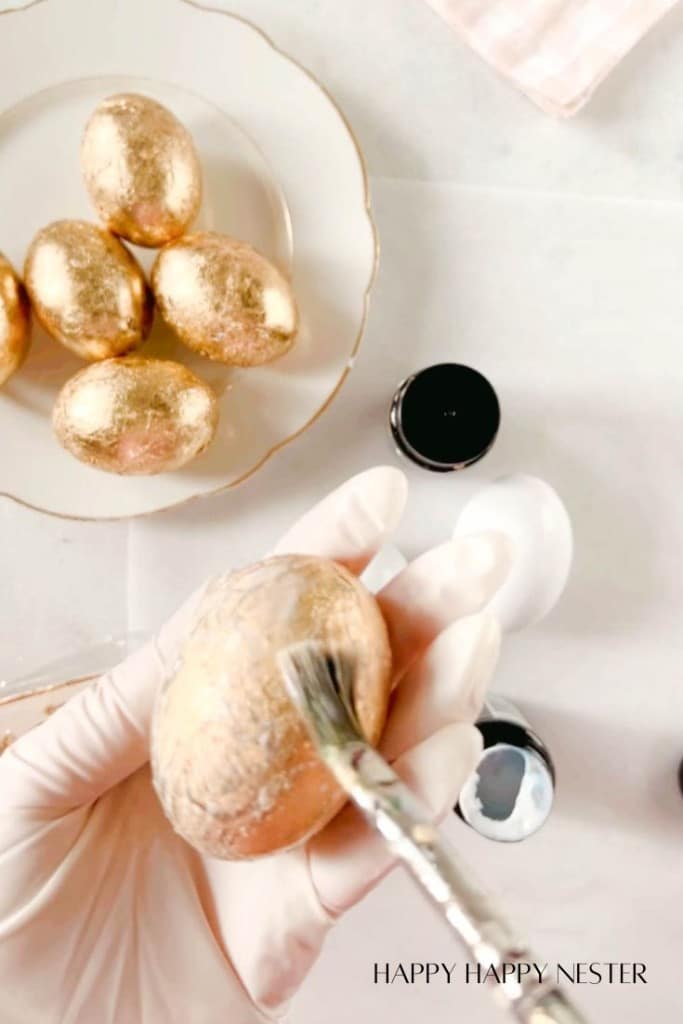
Step 7: Seal the Gold Leaf
Wearing gloves, apply a coat of gold leaf sealer over the entire surface of the eggs using a clean paintbrush. Ensure even coverage to protect the gold leaf from tarnishing and to provide a glossy finish.
Sealing the gold leaf helps to preserve its luster and prevent it from flaking or fading over time. It also adds a protective layer that makes the eggs more durable.
Step 8: Allow to Dry
Allow the sealed eggs to dry completely before handling or displaying them. This ensures that the sealer has fully cured and the gold leaf has securely adhered to the surface.
Drying time may vary depending on your home’s temperature. It’s important to wait until the eggs are completely dry before proceeding to the next step.
Important Tips About Gold Leafing:
- Make sure to use gloves and lots of them. You may want to skip this step, but please don’t skip it. The gold leaf adhesive glue looks innocent, but it takes forever to remove when it gets on your hands!
- Allow the adhesive to set for 30 minutes. During this time, the glue gets tacky and perfect for gold leafing.
- When attaching the gold leaf sheet, pick it up with the protective paper that is in between the sheets.
- When placing your wet eggs on a surface, place them on parchment paper. Your eggs won’t stick to the parchment paper, so that’s a good thing.
Egg Embellishments
Once the eggs are dry, you can embellish them with decorative elements such as ribbons, bows, or glitter. Get creative and personalize your gold leaf eggs to suit your style and preferences.
- Ribbons: Tie colorful ribbons around the eggs for a festive touch.
- Glitter: Add a sprinkle of glitter for extra sparkle and shine.
- Stickers: Decorate the eggs with themed stickers for a fun and easy embellishment.
- Paint: Use acrylic paint to add intricate designs or patterns to the eggs.
- Decoupage: Apply decorative paper or fabric using decoupage glue for a unique and textured look.
How To Decorate With Your Gold Leaf Eggs
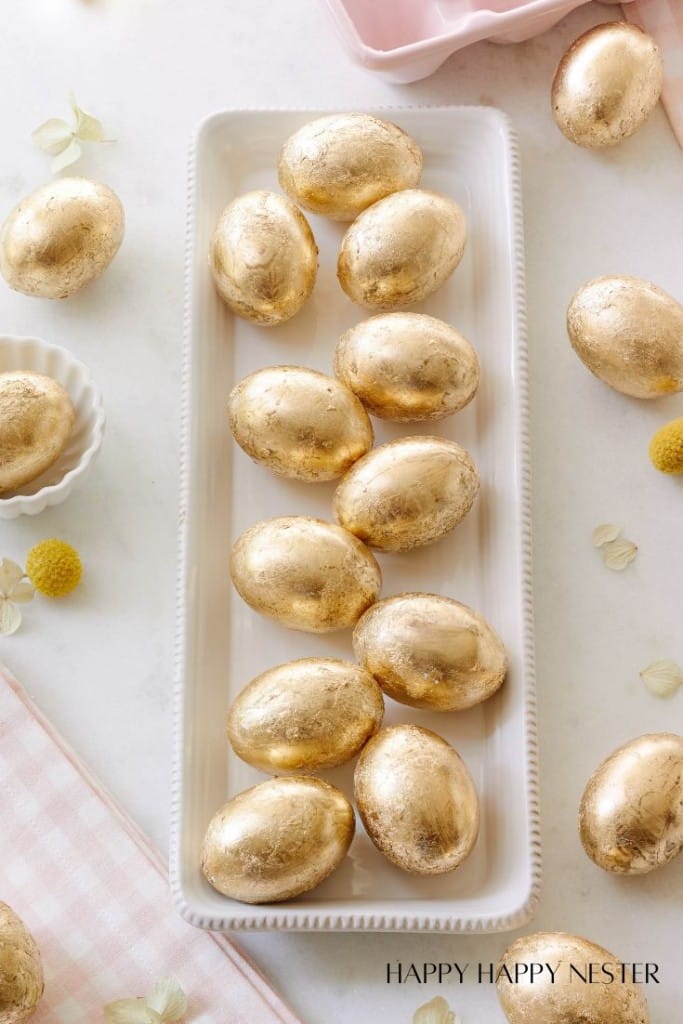
- Display in a Basket: Arrange the gold leaf Easter eggs in a decorative basket for a stunning centerpiece.
- Hang on an Easter Tree: Attach strings to the eggs and hang them on branches to create a beautiful Easter tree.
- Create a Centerpiece: Use the gold leaf eggs to decorate a festive Easter table centerpiece.
- Incorporate into Floral Arrangements: Nestle the eggs amongst spring flowers for a charming floral display.
- Make an Easter Egg Garland: String the eggs together to create a festive Easter egg garland to hang across a mantel or doorway.
- Adorn an Easter Egg Wreath: Use the gold leaf eggs to embellish an Easter egg wreath for a luxurious and elegant touch.
Here are Some Other Easter Projects
- Decoupage Easter Eggs with Cupcakes Liner
- 9 Unique Easter Egg Ideas: Decoupage Eggs
- Borax Crystals Easter Eggs
Once you’ve got the hang of those key tricks for gold leafing, you’ll breeze through covering them. I’m thrilled I nailed down how to completely coat my gold leaf Easter eggs. I absolutely love the outcome, and my Easter egg wreath looks fantastic. Keep an eye out, I’ll be dropping that tutorial in a few days!
Thanks for stopping by, and Happy Easter!
Cheers,

Photo Credits: MyPhotography.com


- Recipes For Springtime - March 28, 2026
- Irish Soda Bread Recipe (with Buttermilk) - March 26, 2026
- Outdoor & Indoor Faux Flowers from Amazon - March 25, 2026


Leave a Reply